Day: September 29, 2026

  • How to Remove Ink Off Leather Step by Step

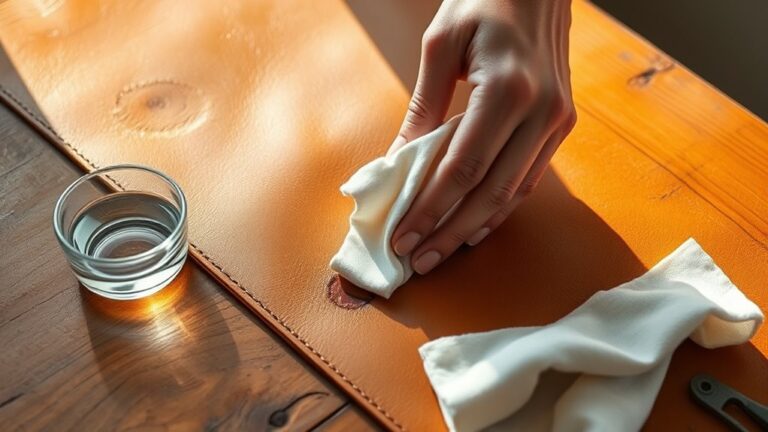
    To remove ink from leather, first identify your leather type and the kind of ink you’re dealing with. Then, gather some soft cloths, rubbing alcohol or a gentle leather cleaner, and cotton swabs.

    Before you start, test your chosen cleaner on a hidden spot to make sure it won’t damage the leather. Lightly dab the ink stain with the cleaner—remember, no heavy rubbing or soaking.

    Once you’ve treated the stain, wipe the area clean with a soft cloth and let it air dry. To finish up, condition the leather to help restore its suppleness.

    Follow these steps, and you’ll find even more tips for effective stain removal and leather care along the way.
  • 10 Easy Steps to Remove Ink From Vinyl

    To remove ink from vinyl, first identify the ink type and gather mild cleaning supplies like rubbing alcohol, soap, and soft cloths. Test your cleaner on a hidden spot to avoid damage.

    Gently blot the stain, then carefully apply rubbing alcohol without soaking the area. Clean with soapy water, dry thoroughly, and repeat if needed.

    Protect your vinyl afterward by using covers or sealants to prevent future stains. For full details and tips, keep exploring these simple steps.

  • How to Remove Gel Pen Ink From Clothes Step by Step

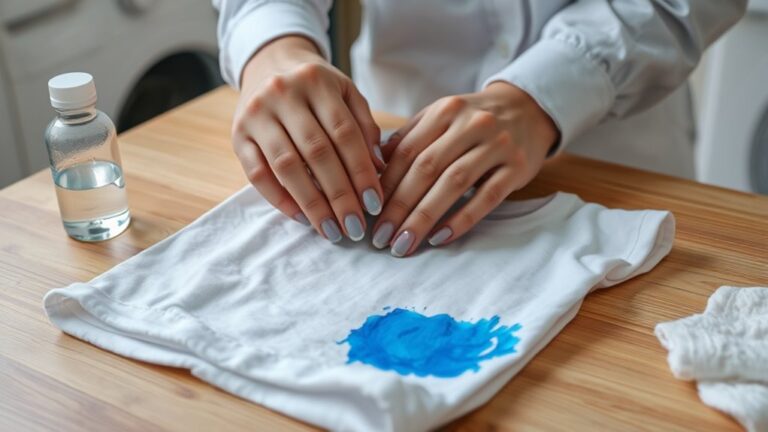
    First, check your garment’s fabric type and care label. Blot any excess gel pen ink gently with a clean cloth or paper towel—don’t rub.

    Next, apply rubbing alcohol or a stain remover to a cloth, testing on a hidden spot first, and dab the stain carefully. Use a soft cloth to lightly scrub in circles, then rinse with cold water.

    Launder as usual but air dry until the stain’s gone. Keep going to discover more tips on tackling tough ink stains.

  • How to Refill an Epson Ink Cartridge in 7 Easy Steps

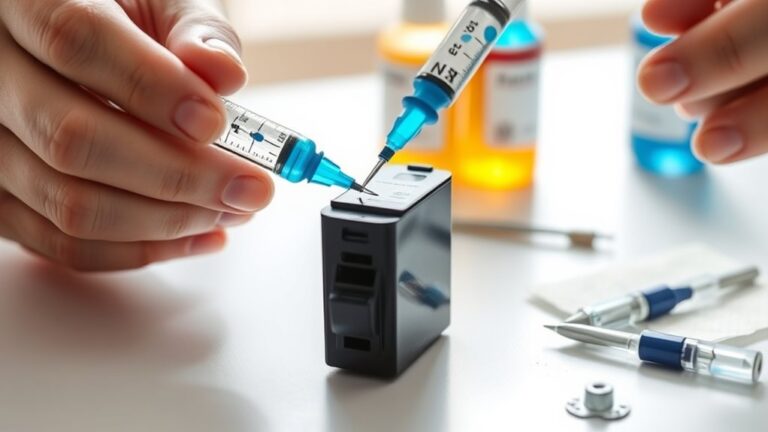
    To refill your Epson ink cartridge, first gather your refill ink, syringe, gloves, and cleaning materials. Prepare a protected workspace and remove the cartridge from your printer.

    Next, find and open the refill hole by lifting the rubber plug. Then carefully inject ink using the syringe without overfilling.

    Seal the hole securely, clean any spills, and reinstall the cartridge. Finally, run a test print to ensure the quality is just right.

    If you want to master this process perfectly, keep exploring these simple steps. It’s easier than you think once you get the hang of it!

  • How to Refill a Canon Ink Cartridge in 3 Easy Steps

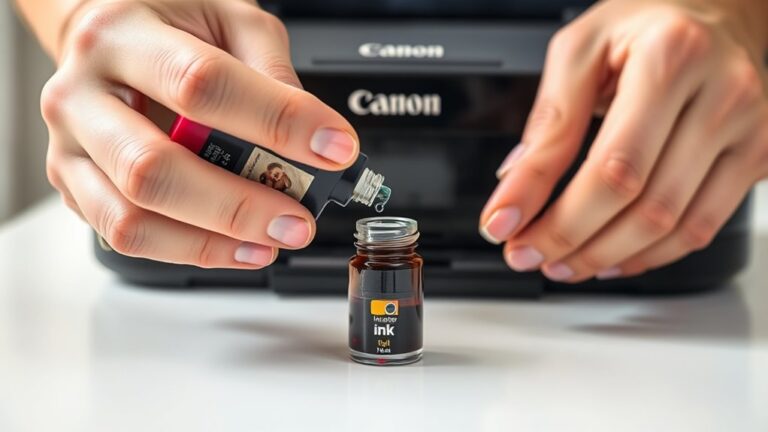
    To refill your Canon ink cartridge, first remove it carefully and locate or create a small refill hole.

    Next, use a syringe to slowly inject the compatible ink into the cartridge, avoiding spills or air bubbles.

    Finally, seal the hole, reinstall the cartridge properly, reset the printer’s ink levels by holding the stop/reset button, and print a test page to ensure everything works well.

    If you want to get the best results, there’s more useful info to explore.