How Do You Remove Pen Ink From Leather Step by Step
First, identify your leather type and the ink kind to choose the safest cleaner. This step is important because different leathers react differently to cleaning products.
Gather a mild leather cleaner, soft cloths, and cotton swabs to get started.
Test a small amount of cleaner on an unseen spot and wait for any reaction. If all’s well, gently dab the ink stain without rubbing.
Then, blot the area to lift the ink carefully.
Finish by applying leather conditioner to restore moisture and protect your leather. This helps keep your leather soft and prevents future damage.
For more detailed tips on each step, keep exploring this guide.
Key Takeaways
- Identify your leather and ink types to choose the safest cleaning method without damaging the material.
- Gather mild leather cleaner, soft cloths, cotton swabs, and clean water. Avoid harsh chemicals like bleach because they can ruin your leather.
- Test the cleaning solution on a hidden leather spot for 10–15 minutes to make sure nothing bad happens.
- Gently dab the cleaning solution onto the ink stain with a cotton swab. Try not to rub or soak the leather too much.
- Blot the stain with a dry cloth to lift the ink. Then, apply a suitable leather conditioner and buff it once it’s absorbed.
Assess the Type of Leather and Ink
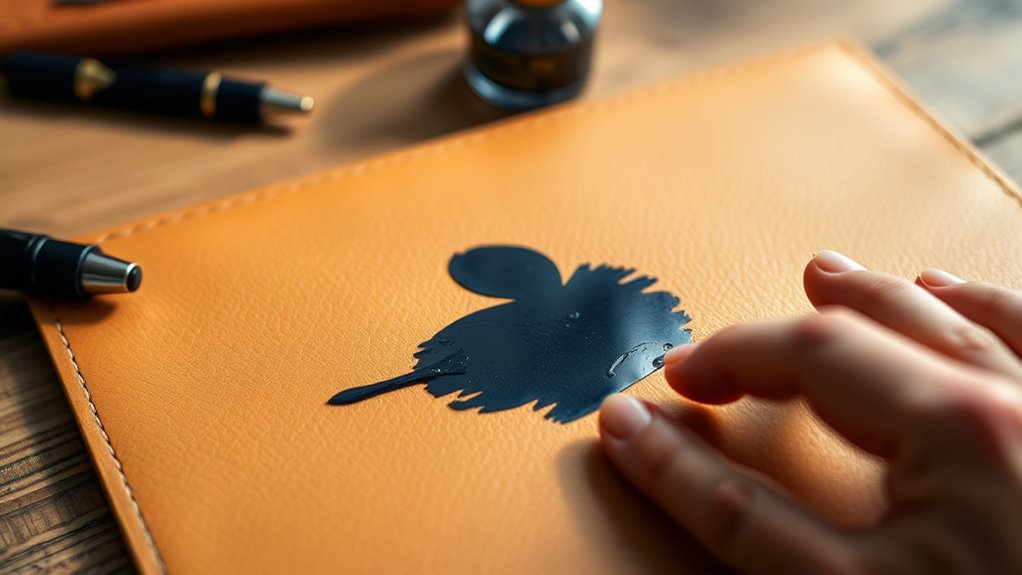
Before you begin removing pen ink from leather, you need to identify both the type of leather and the kind of ink involved. Different leathers—such as aniline, semi-aniline, and pigmented—react differently to cleaning methods.
Aniline leather is more delicate and absorbs ink quickly, so you’ll need a gentler approach. Pigmented leather has a protective coating, making it easier to clean without damage.
Next, determine the ink type. Ballpoint ink is oil-based and usually easier to remove, while gel or fountain pen inks are water-based and might require different treatment.
Understanding these differences helps you choose the right cleaning strategy and avoid worsening the stain or damaging your leather item. Take your time with this step; accurate assessment guarantees better results in the following cleaning process.
Gather Necessary Cleaning Supplies
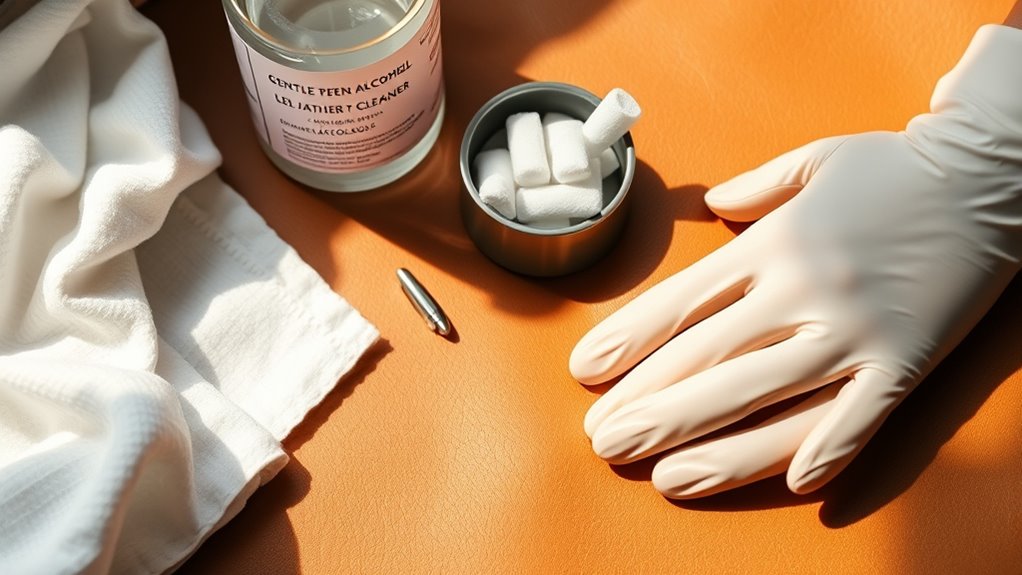
Before you start cleaning, make sure you have all the essential materials like a soft cloth, mild soap, and leather conditioner. Choose products specifically designed for leather to avoid damage.
Using safe supplies guarantees you can remove the ink without harming your leather item. It’s always better to be prepared than to risk ruining your favorite stuff!
Essential Cleaning Materials
Although removing pen ink from leather can be tricky, having the right cleaning supplies makes the process much easier. You’ll want to gather items that effectively lift ink without damaging the leather’s surface.
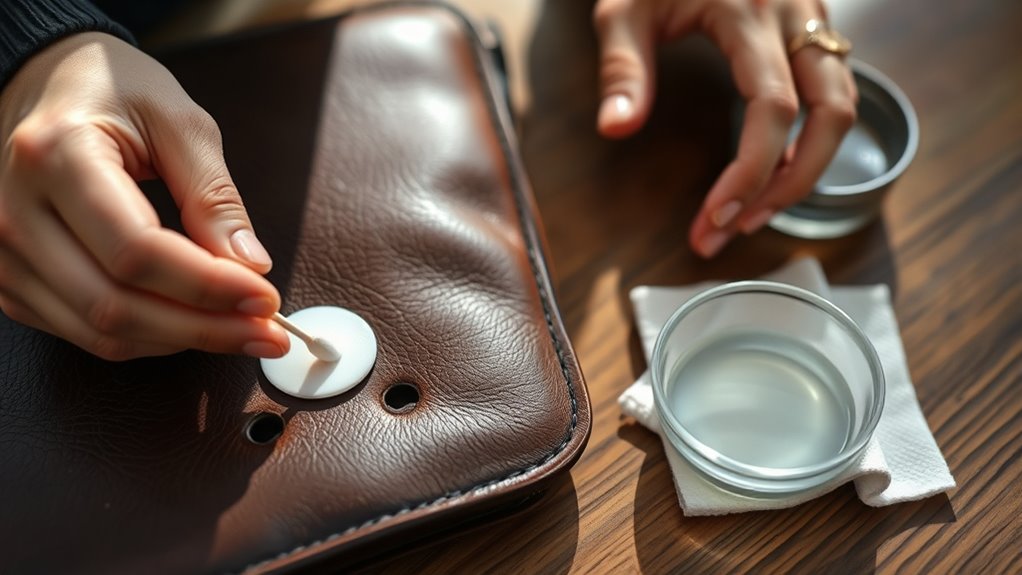
Prepare a soft cloth for gentle wiping, a cotton swab for targeted application, and a mild cleaning solution to break down the ink stains. Also, keep a bowl of clean water handy for rinsing.
Here’s a quick reference table for essential materials:
| Item | Purpose | Tip |
|---|---|---|
| Soft Cloth | Wiping surface gently | Use microfiber for softness |
| Cotton Swabs | Applying cleaner precisely | Avoid oversaturating |
| Mild Cleaner | Breaking down ink stains | Dilute as per instructions |
With these materials ready, you’re set for effective and safe ink removal.
Choosing Safe Products
Since leather is sensitive, you’ll want to choose cleaning products that remove ink without causing damage. Opt for mild, leather-specific cleaners or gentle household items like rubbing alcohol diluted with water.
Avoid harsh chemicals like bleach or ammonia, as they can discolor or dry out the leather. Test any product on a small, hidden area first to confirm it won’t harm the material.
Soft cotton cloths, cotton swabs, and sponges are ideal tools for applying these products gently. Keep a bowl of clean water nearby for rinsing and wiping excess cleaner.
Test Cleaning Solution on a Hidden Area
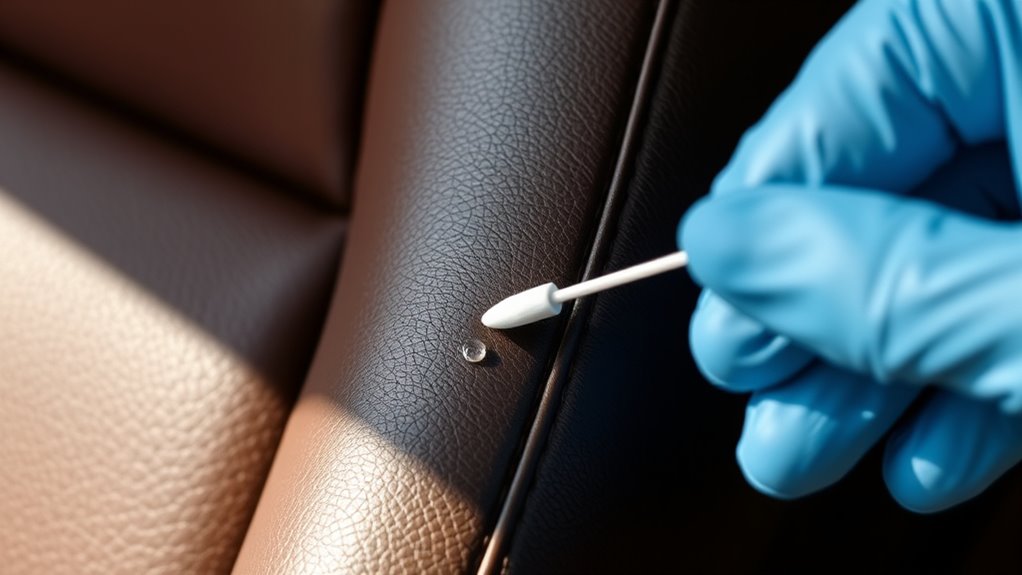
To avoid damaging your leather, you should always test the cleaning solution on a hidden spot first. This step helps guarantee the product won’t discolor or harm the material.
Here’s how to do it effectively: choose a discreet area, like inside a seam or under a flap, where damage won’t be visible. Then, apply a small amount of the solution using a cotton swab or soft cloth.
Wait 10–15 minutes to observe any changes in color, texture, or finish. If the leather reacts negatively—such as darkening, drying out, or peeling—stop immediately and try a different product.
Only proceed with cleaning the visible stain once you confirm the solution is safe for your leather item. This cautious approach preserves your leather’s appearance and longevity.
Apply Cleaning Solution to the Ink Stain
Once you confirm the cleaning solution won’t harm your leather, you can apply it directly to the ink stain. Use a cotton swab or a soft cloth to gently dab the solution onto the stained area.
Avoid pouring or rubbing the solution harshly, as that could spread the ink or damage the leather. Focus on covering the entire ink spot evenly, but don’t soak the leather.
Applying a small amount at a time helps control the process and prevents over-wetting. Remember to work in a well-ventilated area if your cleaning solution has strong fumes.
Gently Blot and Wipe the Stain
While the cleaning solution works on loosening the ink, you’ll want to gently blot the stain with a clean, dry cloth to lift the ink without spreading it further. Avoid rubbing, which can push the ink deeper into the leather fibers.
Here’s how to do it:
- Press the cloth lightly onto the ink stain, allowing it to absorb the loosened ink.
- Move to a clean area of the cloth frequently to prevent reapplying ink to the leather.
- Repeat blotting gently until you see the ink transferring onto the cloth and the stain visibly lightening.
Patience is key—keep at it carefully so you don’t damage the leather while effectively removing the ink stain.
Condition the Leather After Cleaning
After removing the ink, you’ll want to choose a leather conditioner that suits your item. Apply the conditioner evenly to keep the leather soft and supple.
Then, let the leather absorb it fully to restore its natural texture. This step really helps bring your leather back to life!
Choose Suitable Leather Conditioner
Selecting the right leather conditioner plays an essential role in restoring your leather’s softness and protecting it from future damage. After cleaning, you want to nourish the leather without causing discoloration or buildup.
To choose a suitable conditioner, consider these points:
- Leather Type Compatibility: Check if the conditioner is designed for your specific leather type—aniline, semi-aniline, or pigmented leather. This helps you avoid any adverse reactions.
- Ingredients and Quality: Opt for conditioners with natural oils and waxes rather than harsh chemicals. High-quality products penetrate better and provide lasting moisture.
- Purpose and Finish: Decide if you want a matte, glossy, or neutral finish. Some conditioners enhance color vibrancy, while others focus solely on hydration.
Apply Conditioner Evenly
How do you guarantee your leather conditioner works effectively? You apply it evenly across the surface. Start by using a clean, soft cloth or a sponge to scoop a small amount of conditioner.
Gently rub it into the leather using circular motions, making sure to cover every part of the cleaned area. Don’t rush—take your time to spread the conditioner uniformly, preventing patches or streaks.
Applying too much in one spot can cause buildup, while too little leaves the leather dry. Focus especially on areas where ink was removed, as these spots might be more vulnerable.
Allow Leather to Absorb
Once you finish applying the conditioner, let the leather absorb it fully to maximize its benefits. This step is essential to restore moisture, maintain softness, and protect the surface from future damage.
Here’s what you should do next:
- Leave the leather undisturbed in a well-ventilated area for at least 30 minutes to allow deep absorption.
- Avoid direct sunlight or heat sources, as they can dry out or crack the leather.
- After absorption, gently buff the surface with a soft cloth to remove any excess conditioner and enhance the leather’s natural shine.
Frequently Asked Questions
Can Pen Ink Permanently Damage Leather?
Yes, pen ink can permanently damage leather if it soaks in deeply. You’ll want to act quickly to clean it.
Otherwise, the stain might set, making it very difficult or impossible to remove later. So, the sooner you treat it, the better!
Are There Specific Inks Harder to Remove From Leather?
When it comes to ink, some are tougher nuts to crack—permanent and oil-based inks cling stubbornly to leather. You’ll need stronger cleaners, but be careful not to damage the material while trying to erase the stain.
These inks really sink in deep. So, don’t rush the process. Take your time and test any cleaner on a small, hidden spot first to make sure it won’t harm your leather.
How Often Should Leather Be Conditioned After Cleaning?
You should condition leather every 3 to 6 months after cleaning to keep it soft and prevent cracking.
If the leather feels dry or stiff, condition it more often to maintain its durability and appearance.
It’s all about keeping your leather looking and feeling great for as long as possible. So, just pay attention to how it feels and adjust your conditioning routine as needed!
Can DIY Ink Removal Methods Void Leather Warranties?
Like walking on thin ice, DIY ink removal methods can void your leather warranty if they damage the material. Always check your warranty terms before trying home remedies to protect your leather’s guarantee and longevity.
It’s tempting to just grab something from around the house and try it out. But trust me, a quick fix might end up costing you more in the long run if it ruins your warranty. So, better safe than sorry!
Is Professional Cleaning Recommended for Expensive Leather Items?
Yes, you should opt for professional cleaning with expensive leather items. They have the expertise and proper products to safely remove stains without damaging your leather or voiding warranties.
This way, you’re making sure your investment stays in top condition. It’s definitely worth the extra care!
Conclusion
Now that you’ve carefully treated the ink stain, imagine your leather looking as smooth and flawless as a calm lake at dawn. With a little patience and the right touch, you’ve restored its natural beauty, letting the rich texture shine through once more.
Remember, a gentle hand and proper care keep your leather looking its best. Regular cleaning and prompt attention to pen ink stains will help maintain that pristine appearance.
By following these steps to remove pen ink from leather, you’re not only preserving its elegance but also extending its life. Your leather will age gracefully, telling your story with every use—looking fresh, clean, and beautiful for years to come.