How to Remove Pen Ink From Skin Step by Step
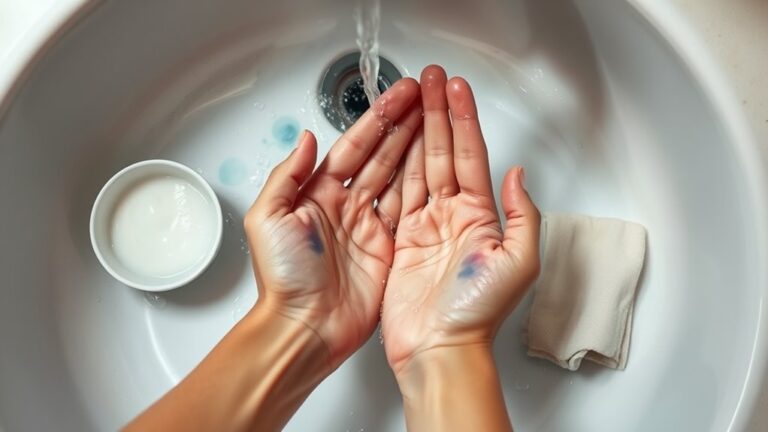
To remove pen ink from your skin, start by washing the area with warm water and mild soap. Gently rub the skin to help lift the ink off. This simple first step can often do the trick if the ink hasn’t set in too deeply.
If some ink still remains, don’t worry. You can apply rubbing alcohol or hand sanitizer using a cotton ball. Just dab it on the inked area, then rinse with water. These products help break down the ink for easier removal.
Another effective method is making a paste from baking soda and water. Gently rub this paste on the stain to loosen the ink.
Alternatively, you can use olive oil or coconut oil, which also helps dissolve the ink while being gentle on your skin.
After you’ve removed the ink, always follow up by moisturizing. This keeps your skin healthy and prevents dryness from the cleaning process.
Keep reading to discover more helpful techniques and tips for getting rid of pen ink quickly and safely.
Key Takeaways
- Wash the ink-stained skin gently with warm water and mild soap, rubbing in small circular motions. Then, rinse and pat dry.
- Next, apply rubbing alcohol or hand sanitizer on a cotton ball. Rub gently in circles, rinse with soap and water, and don’t forget to moisturize afterward.
- You can also create a baking soda and water paste. Apply it to the ink spots, rub gently for a minute, then rinse. Repeat if needed.
- Another option is to use olive or coconut oil on a cotton ball. Rub gently to loosen the ink, wipe it away, then wash your skin with soap and water.
- Always moisturize the skin after ink removal. This helps prevent dryness and keeps your skin healthy.
Gather Necessary Supplies
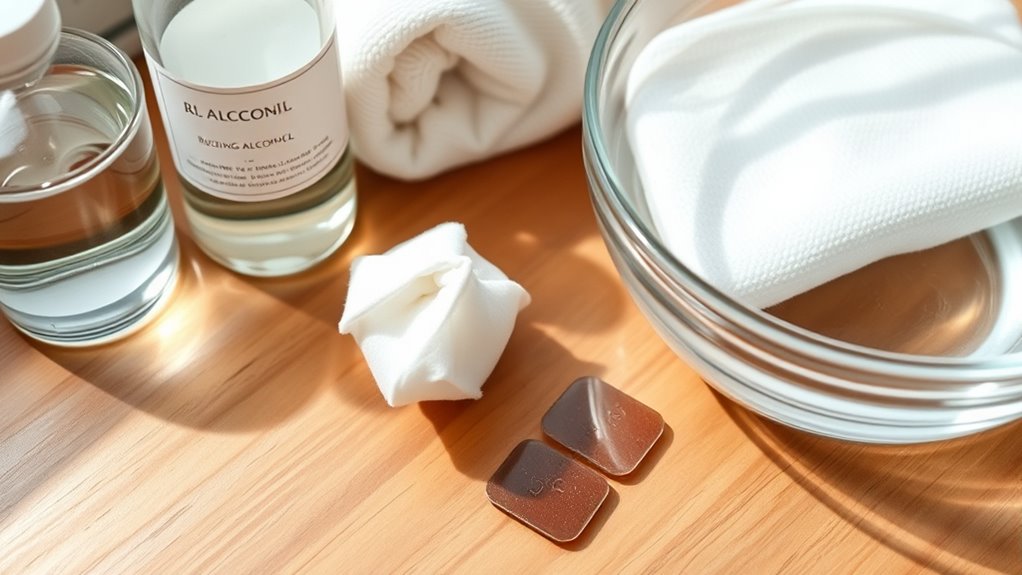
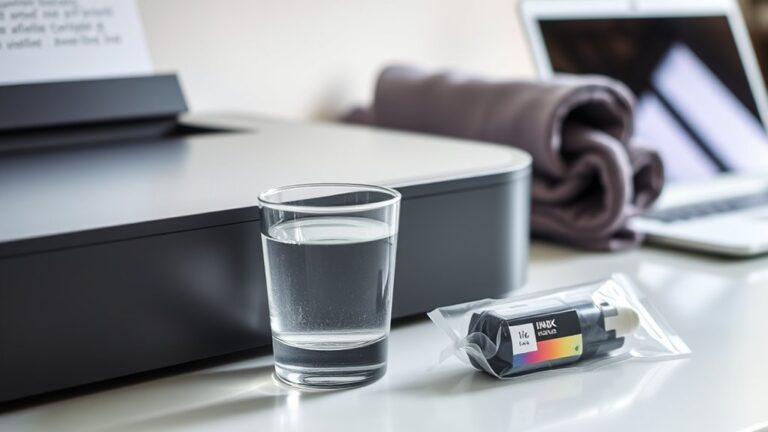
Before you begin removing pen ink from your skin, gather all the necessary supplies to make the process quick and effective. You’ll need some rubbing alcohol or hand sanitizer, as these break down ink pigments efficiently.
Grab cotton balls or swabs for applying the solution gently. Keep a clean cloth or paper towels nearby to blot excess liquid and prevent spreading ink further.
If you prefer a gentler option, have some baby oil or olive oil ready—they help loosen ink without harsh chemicals. Make sure you also have access to warm water for rinsing later.
Having everything within reach ensures you won’t interrupt the removal process, reducing the chance of ink setting deeper into your skin. Now, you’re all set to tackle that stubborn ink stain!
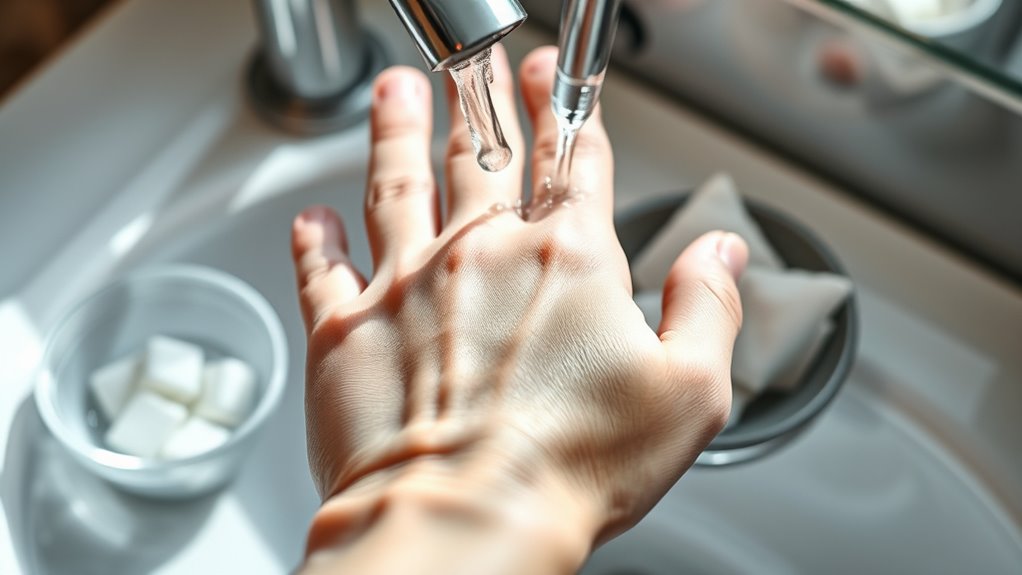
Wash the Ink-Stained Area With Soap and Water
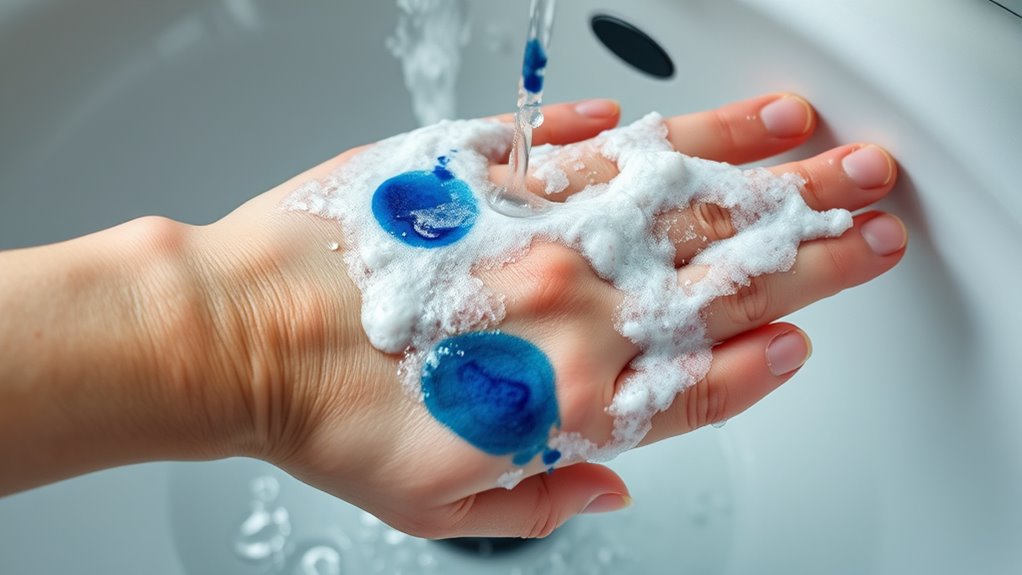
Since ink tends to settle quickly, you should wash the stained area with soap and warm water as soon as possible. Begin by wetting the skin gently, then apply a mild soap.
Act quickly by gently wetting the skin and applying mild soap to remove ink stains.
Use your fingers to rub the area in small, circular motions to help lift the ink from the surface. Avoid scrubbing harshly, as this can irritate your skin.
Rinse thoroughly with warm water to remove the loosened ink and soap residue. If some ink remains, repeat the process once or twice more.
This simple step often removes most of the ink, especially if you act quickly. Remember to pat the area dry with a clean towel afterward, rather than rubbing it, which might spread the ink further or irritate your skin.
Use Rubbing Alcohol or Hand Sanitizer
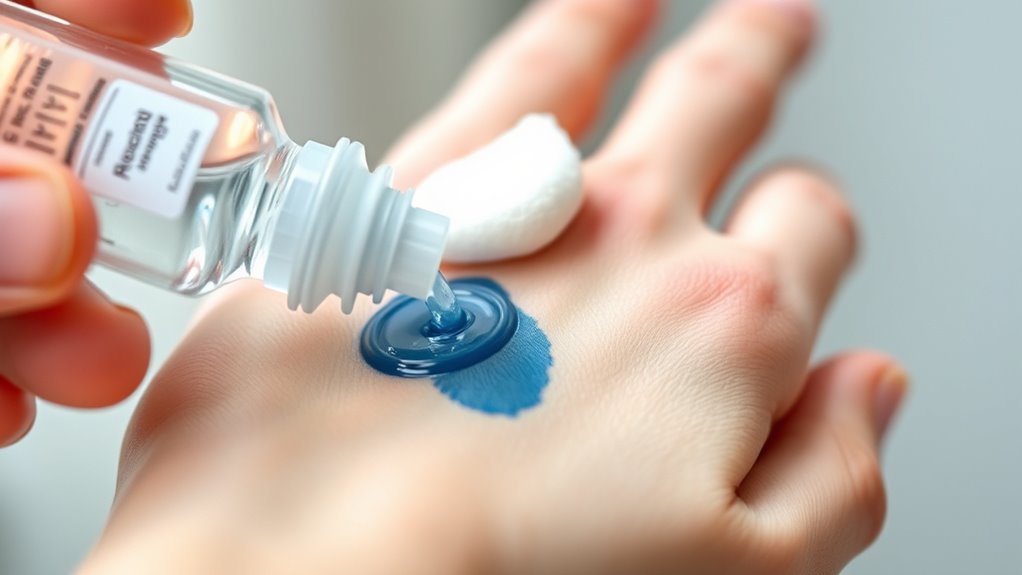
If soap and water don’t fully remove the ink, rubbing alcohol or hand sanitizer can help break down stubborn stains. Apply a small amount of rubbing alcohol or hand sanitizer to a cotton ball or directly onto the ink-stained skin.
Gently rub the area in circular motions, allowing the alcohol to dissolve the ink. Be careful not to scrub too hard to avoid skin irritation.
Once the ink starts to lift, rinse your skin with warm water and mild soap to remove any residue. If needed, repeat the process until the stain fades.
Remember to moisturize afterward, as alcohol can dry out your skin. This method works effectively because alcohol breaks down the ink’s pigments, making removal easier.
Apply Baking Soda and Water Paste
When rubbing alcohol isn’t available, you can create a simple paste by mixing baking soda with a small amount of water. Start by adding just enough water to a tablespoon of baking soda to form a thick paste.
Apply this paste directly to the ink-stained area on your skin. Gently rub the paste in circular motions for about a minute. The mild abrasiveness of baking soda helps lift the ink without irritating your skin.
After rubbing, rinse the area with warm water and pat dry. If some ink remains, you can repeat the process once more.
This method is gentle, effective, and uses ingredients you likely already have at home. Just be sure not to scrub too hard to avoid skin irritation.
Try Using Olive Oil or Coconut Oil
Although oil might seem unconventional, olive oil or coconut oil can effectively break down pen ink on your skin. To start, pour a small amount of either oil onto a cotton ball or directly onto the stained area.
Gently rub the oil into the ink in circular motions. The oil works by loosening the ink’s hold on your skin without causing irritation. After massaging for about a minute, wipe away the loosened ink with a clean cloth or tissue.
If some ink remains, repeat the process until it fades. Using oil is especially gentle, making it ideal for sensitive skin. Just remember to wash your hands with soap afterward to remove any oily residue and keep your skin clean and fresh.
Moisturize Your Skin After Cleaning
Since ink removal methods can dry out your skin, you’ll want to moisturize immediately after cleaning. Applying a gentle, fragrance-free moisturizer helps restore the skin’s natural moisture barrier and prevents irritation.
Choose creams or lotions containing ingredients like aloe vera, shea butter, or glycerin, which soothe and hydrate effectively. After rinsing off ink and drying your skin, massage a small amount of moisturizer in circular motions until fully absorbed.
Avoid harsh products with alcohol or heavy fragrances that might cause further dryness or sensitivity. Keeping your skin hydrated reduces redness and promotes faster healing, especially if you used rubbing alcohol or other drying agents during ink removal.
Make moisturizing a regular step to maintain healthy skin after any cleaning process. It really makes a difference!
Frequently Asked Questions
Can Pen Ink Cause Skin Irritation or Allergic Reactions?
Yes, pen ink can cause skin irritation or allergic reactions, especially if you have sensitive skin. You might experience redness, itching, or a rash.
How Long Should I Wait Before Applying Makeup After Ink Removal?
Patience is a virtue; you should wait at least 30 minutes to an hour after ink removal before applying makeup. This lets your skin calm down and reduces irritation risk.
You want to make sure you don’t cause more harm. Giving your skin a little break can really help with that.
Are There Any Natural Remedies Safe for Children’s Skin?
Yes, you can use natural remedies like coconut oil or aloe vera on children’s skin. They’re gentle and safe, but always do a patch test first.
This helps avoid any irritation or allergic reactions before applying widely. It’s a simple step that keeps your little one safe!
Will Removing Ink Damage Sensitive or Dry Skin?
Removing ink can be like walking on thin ice; you might irritate sensitive or dry skin if you’re too harsh.
But if you’re gentle and use mild, moisturizing products, you won’t cause damage or discomfort.
How Can I Prevent Pen Ink Stains on My Skin in the Future?
You can prevent pen ink stains by handling pens carefully, using pens with quick-dry ink, and washing your hands regularly.
Wearing gloves during extensive writing or using pen grips also helps keep ink off your skin.
It’s all about being a bit mindful when you’re writing.
Try these tips out, and you’ll likely see fewer ink stains on your hands!
Conclusion
Who knew that a little pen ink could turn your skin into an unwanted masterpiece? Luckily, you don’t have to live with it forever. With simple household items like rubbing alcohol, baking soda, or even olive oil, you can erase your accidental art in no time.
Just remember to moisturize afterward—because your skin deserves a little love after all that scrubbing. So go ahead, make mistakes; now you know how to fix them!
Removing pen ink from skin is easier than you think. Whether it’s a quick smudge or a stubborn mark, these easy steps help you get clear skin without irritation. Using everyday items like rubbing alcohol or baking soda is a safe and effective way to clean ink off your skin quickly. And don’t forget to keep your skin hydrated by applying moisturizer after cleaning to prevent dryness. Now that you know how to remove pen ink from your skin step by step, you can confidently handle those little accidents anytime they happen!