7 Easy Steps to Fill a Fountain Pen With Ink
First, prepare your workspace by clearing a flat, well-lit surface and gathering your pen, ink, and cloth. Having everything ready makes the process smoother and less messy.
Next, carefully disassemble the pen to access the ink reservoir. Make sure you understand your pen’s filling mechanism before proceeding.
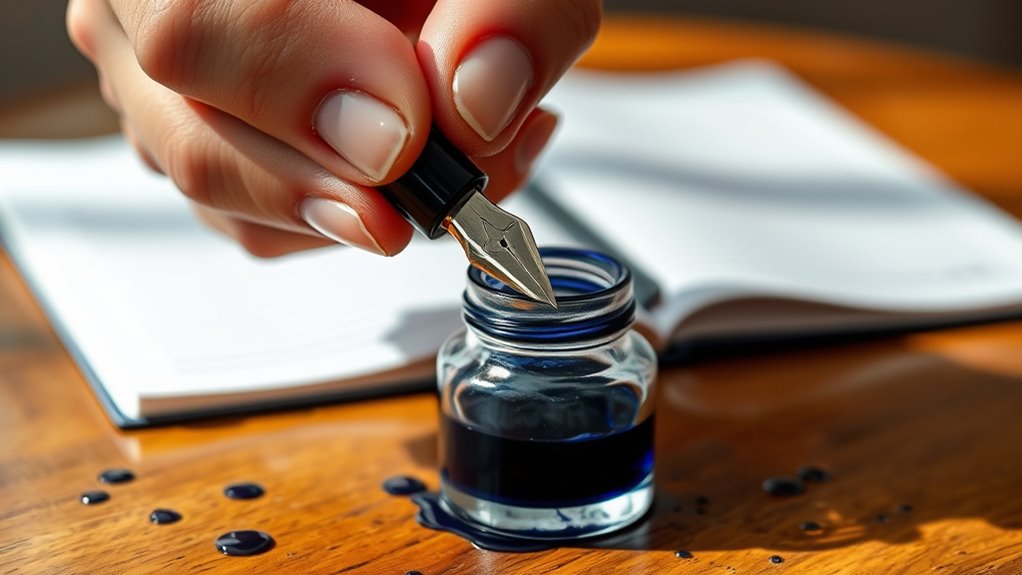
Select ink suitable for your pen type, then dip the nib into the ink bottle, submerging it just enough. Be careful not to overdo it!
Operate the filling mechanism to draw ink in, wipe off excess, and reassemble the pen securely. This helps prevent leaks and keeps your pen in good condition.
Test it on paper to guarantee smooth flow. If you keep exploring, you’ll discover tips to perfect every step and enjoy writing even more.
Key Takeaways
- Prepare a clean workspace and organize all tools within easy reach before starting the filling process.
- Unscrew the pen barrel carefully to access the ink reservoir or converter without damaging any parts.
- Dip the nib gently into the ink bottle, submerging just enough to cover the feed and nib.
- Operate the filling mechanism (twist, pull piston, or squeeze converter) to draw ink into the reservoir fully.
- Wipe excess ink from the nib, reassemble the pen securely, and test on paper for smooth ink flow.
Prepare Your Workspace
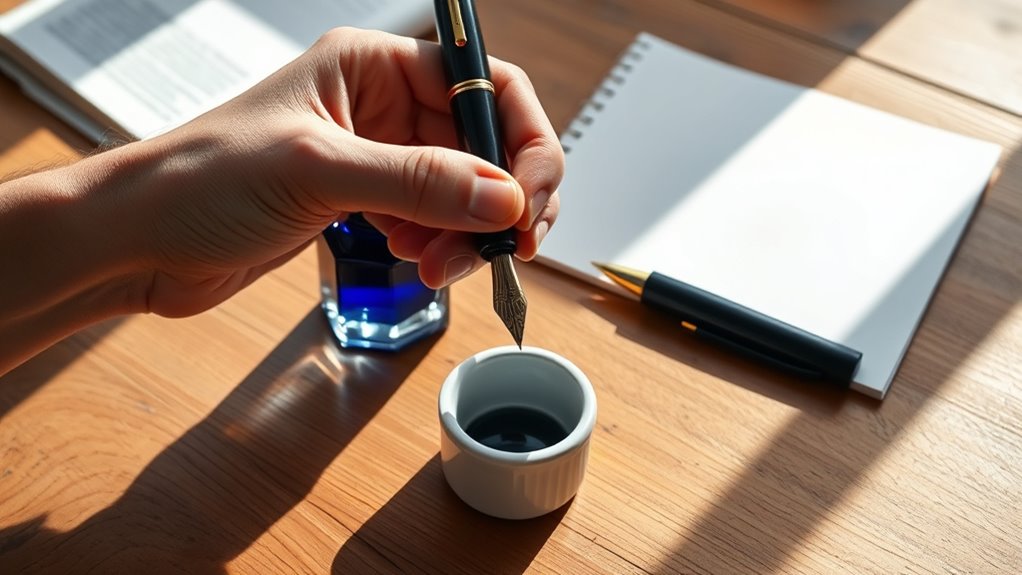
Before you begin filling your fountain pen with ink, make sure you set up a clean, well-lit workspace. You want enough light to see the ink clearly and avoid spills.
Lay down some paper towels or a cloth to protect the surface from accidental drips. Keep your ink bottle stable by placing it on a flat, non-slip area.
Have a small container of water or a damp cloth nearby for quick cleanups. Make sure your hands are clean and dry to prevent smudges or ink stains.
Organize all the tools you’ll need within easy reach to avoid fumbling mid-process. Taking these simple steps will help you fill your pen smoothly and keep your area tidy.
Disassemble the Fountain Pen
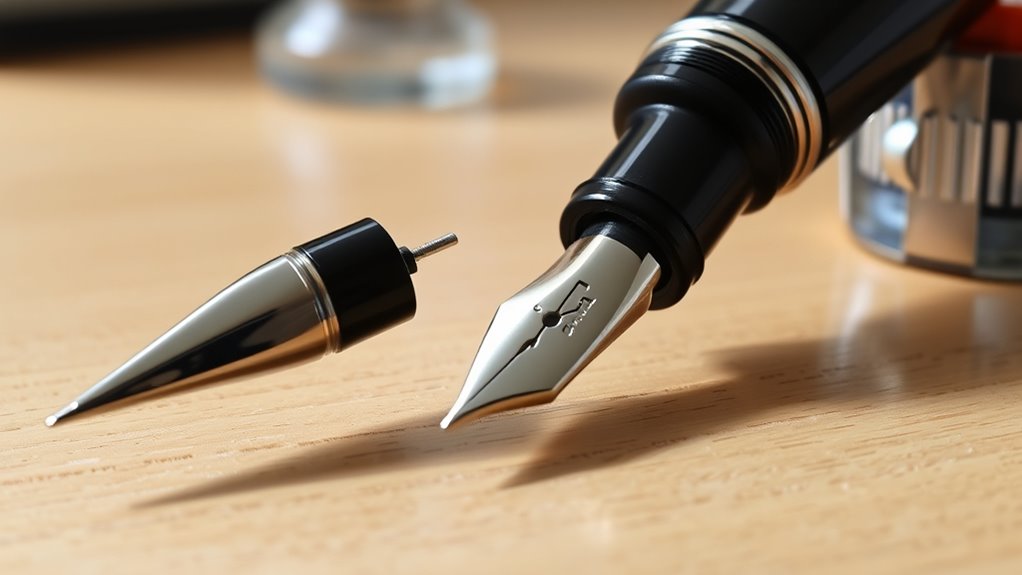
Start by carefully unscrewing the barrel from the pen’s section. This will give you direct access to the ink reservoir inside.
Once separated, you’re ready to proceed with filling or cleaning the pen. It’s pretty straightforward, so take your time and handle each part gently.
Remove the Barrel
How do you access the ink reservoir inside your fountain pen? You start by removing the barrel, the outer casing that holds the ink chamber and nib assembly.
Grip the barrel firmly and twist it counterclockwise to unscrew it from the pen’s section. If it feels stuck, avoid forcing it; try gently warming the connection or using a rubber grip for better traction.
Once removed, you’ll see the ink reservoir ready for filling or replacement.
| Step | Action | Tip |
|---|---|---|
| 1 | Hold barrel firmly | Use a cloth for grip |
| 2 | Twist counterclockwise | Don’t force if stuck |
| 3 | Separate barrel | Warm gently if needed |
Removing the barrel is straightforward and sets you up for easy ink refilling.
Access the Ink Reservoir
After removing the barrel, you’ll need to disassemble the pen further to reach the ink reservoir. Hold the section firmly and twist it counterclockwise to separate it from the nib unit, exposing the converter or cartridge inside. Be gentle to avoid damaging delicate parts.
If your pen uses a cartridge, you can simply pull it out. For converters, make sure it’s properly attached but ready to be filled. Some pens may have a piston mechanism; in that case, locate the knob at the end and get familiar with its movement.
Once you’ve accessed the ink reservoir, you’re ready to proceed with filling. Keep parts organized and avoid losing small components during this process. This step is essential for a smooth and mess-free refill.
Select the Right Ink
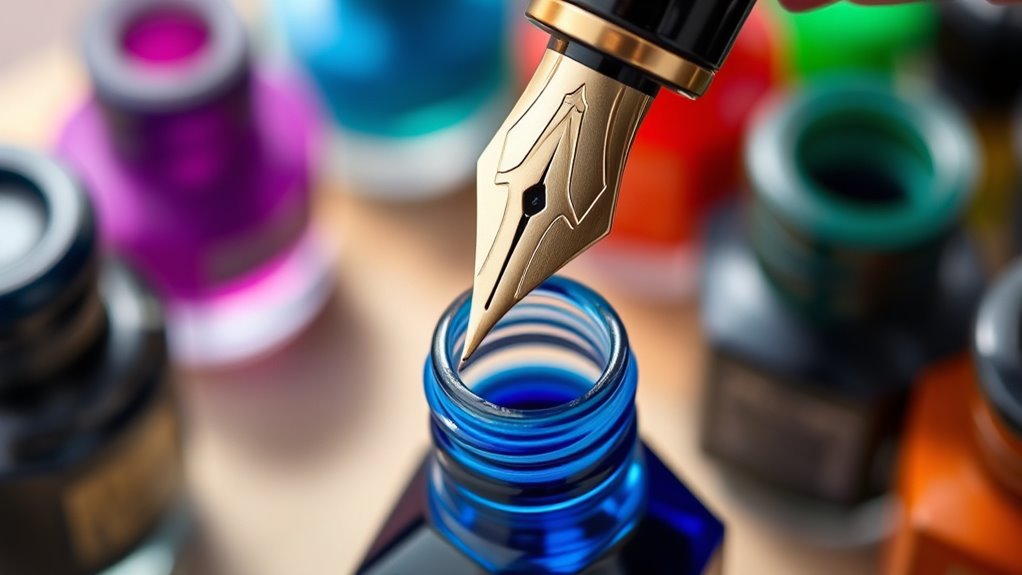
You’ll want to choose ink that works well with your fountain pen’s design and materials. Different ink types offer varying flow and drying times, so picking the right one guarantees smooth writing.
Keep compatibility in mind to avoid clogging or damaging your pen. It really makes a difference in how your pen performs and lasts.
Ink Types Overview
Which ink suits your fountain pen best depends on several factors, including the pen’s design and your writing habits. You’ll find three main types of ink: dye-based, pigment-based, and iron gall.
Dye-based inks are vibrant and flow smoothly, making them ideal for everyday writing. Pigment-based inks offer better water resistance and permanence but may require more frequent cleaning.
Iron gall inks are highly durable and archival-quality but can be harsher on your pen. You might also encounter specialty inks like shimmering or fast-drying formulas that add flair or practicality.
Knowing these distinctions helps you choose ink that complements your style and maintenance preferences. Always opt for high-quality ink to keep your pen performing well and your writing sharp.
Ink Compatibility Factors
Because fountain pens vary widely in design and materials, selecting ink compatible with your specific pen is essential to guarantee smooth writing and prevent damage. Using the wrong ink can clog your pen or cause corrosion.
To choose the right ink, consider these factors:
- Ink Composition: Avoid pigmented or India inks unless your pen supports them.
- pH Level: Neutral or slightly acidic inks are safer for most pens.
- Drying Time: Faster drying inks reduce smudging but may require more frequent cleaning.
- Color Intensity: Some inks are more saturated and may stain your pen.
- Brand Recommendations: Always check if the manufacturer suggests specific inks.
Dip the Nib Into the Ink Bottle
Before you start, make sure the ink bottle is placed on a stable surface to prevent spills. Hold your fountain pen firmly and carefully dip the nib into the ink bottle.
Place the ink bottle securely and gently dip the nib to avoid spills and ensure a clean fill.
Submerge just enough of the nib so the ink can reach the feed and reservoir inside. Avoid dipping the entire section or barrel, as this can cause unnecessary mess and make cleaning difficult later.
Keep the nib steady while it soaks in the ink to ensure proper flow. If your pen has a transparent or ink window, you’ll see the ink start to fill the reservoir.
Make sure not to touch the sides of the bottle with the nib to prevent scratching or contamination. Now, your pen is ready for the next step in the filling process.
Operate the Filling Mechanism
Once the nib is submerged in ink, you’ll need to engage your pen’s filling mechanism to draw ink into the reservoir. Depending on your fountain pen type, this process varies, but the goal is the same: create suction or pressure to pull ink inside.
Here’s what you typically do: twist or pull the piston knob to create a vacuum. Then, press or squeeze the converter or sac to expel air. After that, release the pressure slowly to allow ink to flow in.
You might need to repeat the action if necessary to fill completely. Just be careful not to lift the nib out of the ink during the process to prevent air bubbles.
Operate your filling mechanism carefully to ensure a smooth, full ink flow without leaks or messes. It’s easier than it sounds once you get the hang of it!
Remove Excess Ink and Reassemble
After carefully operating the filling mechanism and drawing ink into the reservoir, you’ll want to remove any excess ink from the nib and surrounding areas. Use a clean, lint-free cloth or paper towel to gently wipe the nib and grip section, preventing ink smudges or stains.
Be thorough but gentle to avoid damaging delicate parts.
Next, carefully screw or snap the pen’s barrel back onto the section, ensuring it’s securely in place without forcing it. Double-check that all parts align properly and that the pen feels stable in your hand.
Proper reassembly keeps your fountain pen ready for smooth writing and avoids leaks. Taking these simple steps maintains your pen’s performance and appearance.
Test Your Pen on Paper
How well does your pen write right after filling it? Testing your fountain pen on paper is essential to guarantee smooth ink flow and proper function.
Grab a piece of scrap paper and gently write a few lines. This helps detect any issues early, like skipping or uneven ink distribution.
When testing, pay attention to:
- Ink flow consistency
- Smoothness of the nib on paper
- Any scratchiness or resistance
- Color vibrancy of the ink
- Whether the pen starts writing immediately or needs priming
If you notice problems, try gently shaking the pen or wiping the nib to remove excess ink.
Testing now saves frustration later, so always take a moment to check your pen’s performance after filling.
Frequently Asked Questions
How Often Should I Clean My Fountain Pen?
You should clean your fountain pen every 4 to 8 weeks, or whenever you change ink colors.
Regular cleaning prevents clogs and keeps your pen writing smoothly. So, don’t skip this essential maintenance step.
Can I Use Any Ink Brand With My Fountain Pen?
You can’t use just any ink brand; fountain pens need water-based, fountain pen-specific inks. Using other inks might clog or damage your pen.
What Should I Do if My Pen Leaks After Filling?
If your pen leaks after filling, check the nib and feed for proper alignment. Make sure the converter or cartridge is tightened securely.
Clean any excess ink carefully and try not to overfill the pen. Sometimes, that’s all it takes to stop the leaking.
If the problem persists, you might want to consider replacing any faulty parts or seals. It could save you a lot of trouble in the long run.
Is It Safe to Travel With a Filled Fountain Pen?
When traveling with a filled fountain pen, you’re playing with fire if you don’t prepare properly.
To avoid leaks, carry it nib-up, use secure ink, and consider emptying it before flights for peace of mind.
It’s a little extra effort but totally worth it to keep your bag clean and your pen intact.
How Do I Store Ink Bottles Properly?
You should store ink bottles tightly sealed, upright, and in a cool, dark place to prevent evaporation and fading.
Avoid extreme temperatures and direct sunlight, and keep them away from children and pets for safety. That way, your ink stays fresh and safe!
Conclusion
Now that your fountain pen is filled, imagine the smooth glide of ink flowing effortlessly onto crisp paper. Each stroke captures your thoughts like a gentle river carving its path.
With every line you write, you bring ideas to life, turning blank pages into vibrant stories. It’s a simple pleasure that makes writing feel special.
Keep your workspace tidy and your pen ready. This simple ritual connects you to a timeless art, where creativity flows as freely as the ink in your pen.
Filling a fountain pen with ink is more than just a task; it’s the start of a creative journey. By mastering how to fill your pen properly, you ensure a smooth writing experience every time. So, enjoy the process, and let your words flow beautifully onto the page!