How Is Ink Created Step by Step
You start by gathering raw materials like water, solvents, binders, and pigments or dyes. These ingredients are essential for creating the perfect ink.
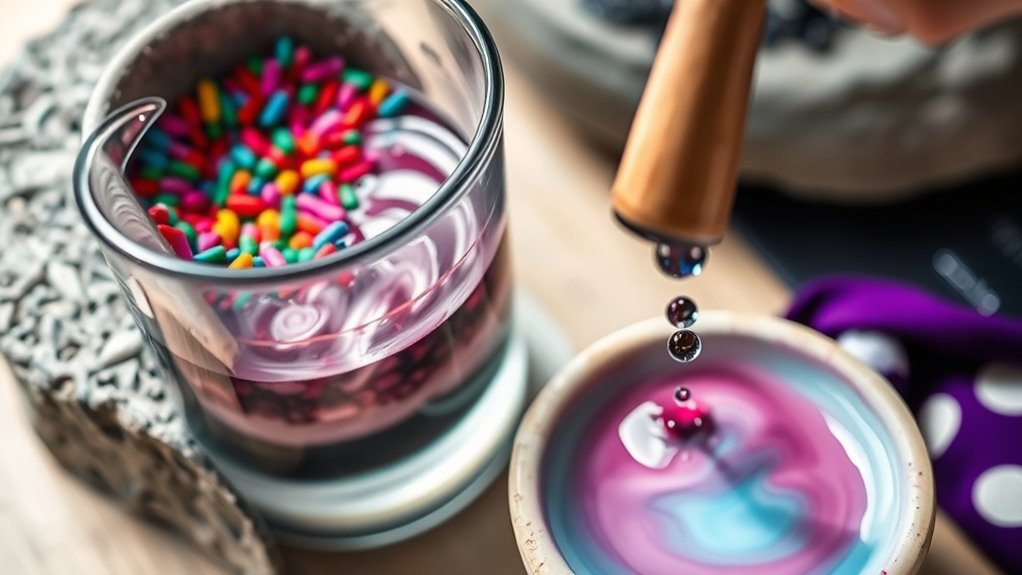
Then, you carefully mix the pigments or dyes with the base – a blend of solvents and binders – to get the right color and consistency.
After that, you refine the mixture through filtering to remove impurities and adjust viscosity. This step ensures the ink flows smoothly and prints clearly.
Once quality checks guarantee uniform color and flow, you package the ink safely.
Keep exploring to uncover more about each step’s details. It’s pretty fascinating how much goes into making something as simple as ink!
Key Takeaways
- Raw materials like water, solvents, resins, and colorants are carefully selected and prepared for ink formulation.
- Pigments and dyes are mixed and ground to achieve the desired color and consistency.
- Solvents, binders, and additives are blended with pigments using mechanical stirrers for uniform dispersion and a stable ink base.
- Ink is filtered and tested for viscosity, color accuracy, drying time, and impurities to ensure quality.
- Finally, the finished ink is packaged in airtight containers, labeled, inspected, and stored under controlled conditions for distribution.
Gathering the Raw Materials
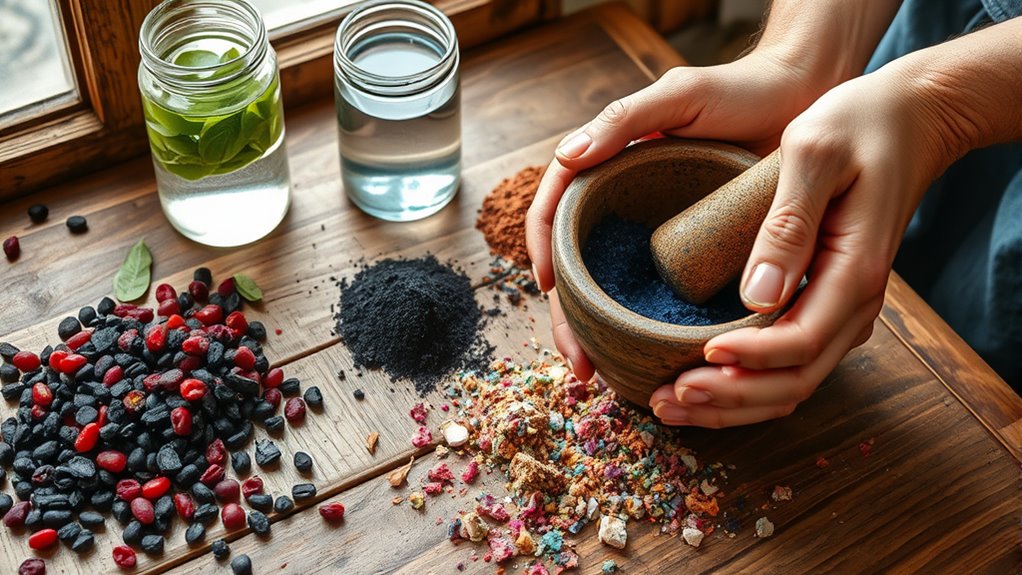
Where do the essential ingredients for ink come from? You start by sourcing raw materials like water, solvents, resins, and colorants. These elements come from various natural and synthetic origins.
Essential ink ingredients originate from diverse natural and synthetic sources including water, solvents, resins, and colorants.
For instance, water often serves as the base, while solvents help dissolve other components. Resins act as binders, guaranteeing the ink sticks well to surfaces.
The colorants, either pigments or dyes, provide the ink’s vibrant hues. You’ll find pigments mined from minerals or created through chemical processes, while dyes often come from plant extracts or synthetic compounds.
Gathering these materials requires careful selection to verify quality and consistency. Each ingredient plays a crucial role, so you must ensure they meet specific standards before moving on to the next steps in ink production.
Preparing the Pigments and Dyes
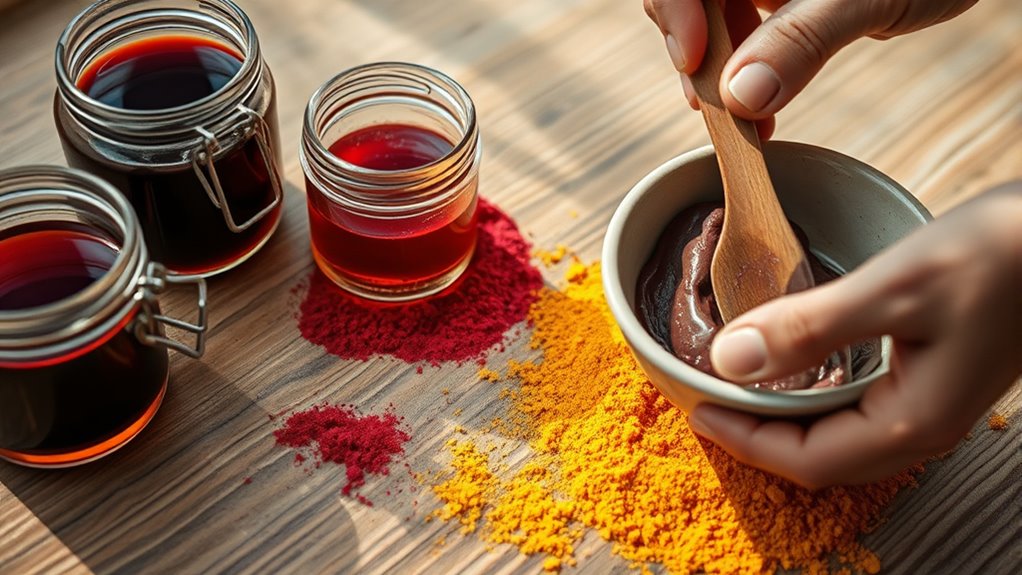
Now that you have the raw materials, it’s time to select the right color sources for your ink. You’ll mix pigment powders carefully to achieve the exact shade you want.
This step guarantees your ink has both the color and consistency needed for a smooth application. It’s all about getting that perfect balance so your ink flows just right.
Selecting Color Sources
Although choosing the right color sources might seem straightforward, it’s a crucial step that shapes the quality and appearance of the final ink. You need to decide between pigments and dyes based on your ink’s purpose.
Pigments offer vibrant, long-lasting colors and resist fading, making them ideal for printing and art applications. Dyes, on the other hand, dissolve directly into the liquid carrier, providing brighter, more transparent hues but with less durability.
You’ll also consider natural versus synthetic options; natural pigments come from minerals or plants, while synthetic ones are lab-made for consistency and strength. Selecting the right source involves balancing color intensity, lightfastness, and compatibility with your ink base.
Mixing Pigment Powders
Once you’ve picked the right pigments or dyes, the next step is to prepare them properly by mixing the powders. You’ll want to combine the pigment powders thoroughly to guarantee a consistent color throughout the ink.
Start by measuring the exact amounts needed for your recipe, then use a mortar and pestle or a mechanical mixer to blend them evenly. This step breaks down any clumps and distributes the pigments uniformly.
After mixing, you can gradually add a liquid binder or solvent to the powder blend, stirring continuously to form a smooth paste. Proper preparation at this stage prevents color inconsistencies and improves the ink’s performance when applied.
Mixing pigment powders carefully sets the foundation for high-quality, vibrant ink. So, take your time with this step—it really makes a difference!
Mixing the Base Components
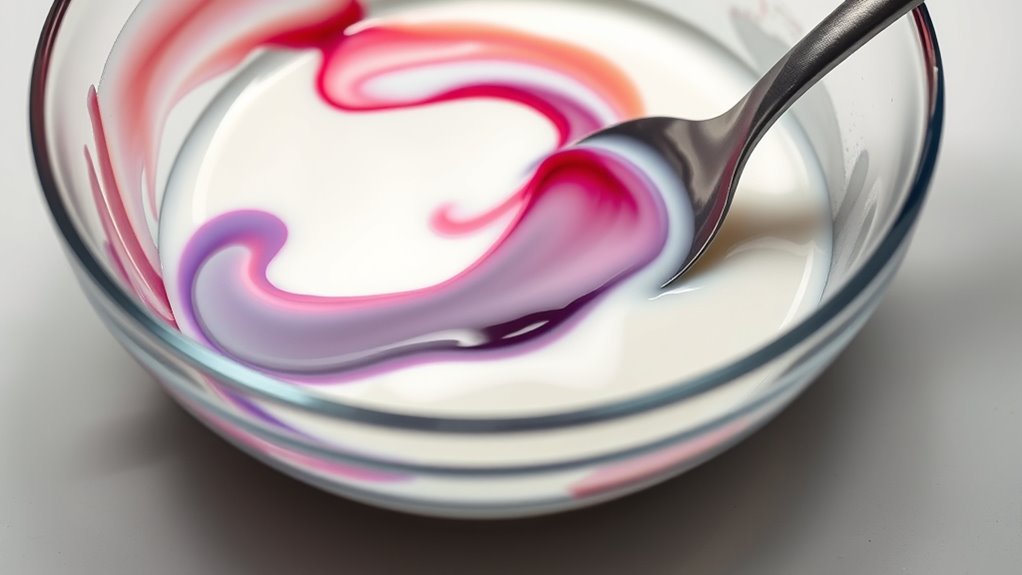
Before ink can take shape, you need to combine its essential base components carefully. These components typically include a solvent, a binder, and additives.
Creating ink starts with carefully blending its core ingredients: solvent, binder, and additives.
The solvent acts as the carrier, helping to dissolve or suspend pigments and enabling smooth application. The binder ensures pigments stick to the surface once dried, providing durability. Additives adjust properties like drying time, flow, and gloss.
You measure each ingredient precisely and pour them into a mixing vessel. Using a mechanical stirrer or agitator, you blend the components thoroughly to achieve a uniform, stable liquid.
Mixing must be consistent to avoid separation or clumping later. This balanced base creates the perfect foundation for adding pigments, which will give the ink its color and opacity in the next step of the process.
Combining Pigments With the Base
When you add pigments to the base mixture, you transform a simple liquid into vibrant ink. Pigments give ink its color and opacity.
You start by slowly blending finely ground pigment powders into the base. The goal is to evenly distribute the pigments without clumps. You’ll use stirring and sometimes mild heat to guarantee a smooth mixture.
The pigment’s type and concentration affect the ink’s brightness and coverage.
| Pigment Type | Color Examples |
|---|---|
| Organic | Blue, Red, Green |
| Inorganic | White, Black |
| Metallic | Gold, Silver |
| Fluorescent | Neon Yellow, Pink |
Refining and Filtering the Ink
Once the pigments and base are combined, you’ll need to refine and filter the ink to remove any impurities. This step guarantees the texture stays consistent and smooth for printing.
You’ll also enhance the color purity, making the final ink vibrant and reliable.
Removing Impurities
Although the initial ink mixture contains vibrant pigments and essential solvents, it still holds tiny particles and impurities that can affect its quality. To guarantee a smooth finish, you must remove these unwanted elements through refining and filtering.
This step involves passing the ink through fine meshes and filters that trap debris and oversized pigment clumps. You’ll also use centrifugal processes to separate heavier particles from the liquid base, ensuring purity.
Here’s a quick look at common impurity removal methods:
| Method | Purpose | Common Use |
|---|---|---|
| Filtration | Removes solid particles | All ink types |
| Centrifugation | Separates heavy debris | Specialized inks |
| Magnetic Filtering | Captures metal bits | Industrial inks |
| Settling Tanks | Allows sedimentation | Bulk ink production |
| Ultrafiltration | Filters microscopic impurities | High-precision inks |
Achieving Consistent Texture
To achieve a consistent texture, you need to refine and filter the ink carefully, ensuring uniform pigment distribution and smooth flow. This step is essential because uneven texture can cause clogging or blotchy printing.
You’ll start by grinding the pigment finely and mixing it thoroughly with the binder. Then, use specialized filters to remove any remaining lumps or particles.
Consistency in viscosity is also critical to maintain smooth application. So, keep an eye on how thick or thin the ink is.
Here are key actions to focus on:
- Use high-quality grinding equipment for even pigment size
- Mix pigments and binders thoroughly to avoid clumps
- Pass the ink through progressively finer filters
- Monitor viscosity and adjust with solvents if needed
- Test flow properties to ensure smooth spreading during printing
Enhancing Color Purity
Because color purity directly affects the vibrancy and accuracy of your ink, you need to focus on refining and filtering processes that eliminate impurities and unwanted particles. Start by passing the ink through fine mesh filters or ultrafiltration systems to remove any solid contaminants. This step ensures smooth application and prevents clogging in printers or pens.
Next, use centrifugation or settling techniques to separate and discard any residual pigments or additives that don’t meet quality standards. You might also employ chemical treatments to neutralize impurities that could alter the ink’s color over time.
Packaging and Quality Control
Once the ink is perfectly blended, manufacturers package it carefully to prevent contamination and guarantee freshness. You’ll find that the packaging materials are chosen to protect the ink from exposure to air, light, and moisture. All of these can degrade quality if not properly controlled.
Careful packaging shields ink from air, light, and moisture, preserving its freshness and quality.
Before sealing, the ink undergoes rigorous quality control checks to ensure consistency in color, viscosity, and drying time. It’s all about making sure you get the best product every time.
Here’s what you can expect during packaging and quality control:
- Sterile filling environments to avoid impurities
- Use of airtight containers or cartridges
They also do sampling for color accuracy and uniformity, plus testing viscosity and flow properties. Finally, there’s a thorough inspection to make sure the packaging is intact.
In short, every step is taken to keep the ink fresh and reliable. That way, you won’t have to worry about it when you start using it.
Frequently Asked Questions
What Types of Inks Are Used for Different Printing Methods?
You’ll use dye-based inks for inkjet printing, oil-based inks for offset printing, solvent inks for outdoor signage, UV-curable inks for digital presses, and toners for laser printers, matching each ink type to your printing method.
Each ink type is designed to work best with its specific printing technique. This way, you get the best results whether you’re printing at home or in a professional setting.
How Long Does the Ink Manufacturing Process Take?
The ink manufacturing process usually takes a few hours to a couple of days, depending on the complexity and type of ink.
You’ll find that drying and quality testing can add extra time before it’s ready to use. So, it’s not always just about mixing the ingredients—there’s a bit more to it!
Are There Eco-Friendly Inks Available?
Yes, you can find eco-friendly inks made from natural ingredients like soy, vegetable oils, and water-based formulas. These inks reduce environmental impact and are great if you want sustainable, non-toxic options for printing or art projects.
They’re becoming more popular because people care about the planet. Plus, they work well and come in lots of colors, so you don’t have to sacrifice quality for sustainability.
Can Ink Cause Allergic Reactions?
Yes, ink can cause allergic reactions, especially if you have sensitive skin or allergies to certain chemicals or pigments.
You should always test new inks on a small area first to avoid irritation. Or better yet, consult a dermatologist if you’re unsure.
How Is Ink Shelf Life Determined?
You might not realize it, but ink’s shelf life is determined by its chemical stability and storage conditions.
If you keep it sealed, away from light and heat, you’ll preserve its quality much longer than expected. It really makes a difference!
Conclusion
Now that you know how ink comes to life, imagine the vibrant pigments swirling into a smooth, glossy base. This creates a perfect blend ready to bring words and art to life.
From raw powders to the final filtered liquid, each step shapes the ink’s rich color and flow. Next time you pick up a pen or watch a printer hum, you’ll see the magic behind every drop.
Ink creation is truly an art and a science combined. The process ensures the ink’s quality, consistency, and vibrancy. So, whether it’s for writing, printing, or painting, every drop of ink has a story behind it—turning blank pages into vivid stories that capture our imagination.