How to Remove Gel Pen Ink From Clothes Step by Step
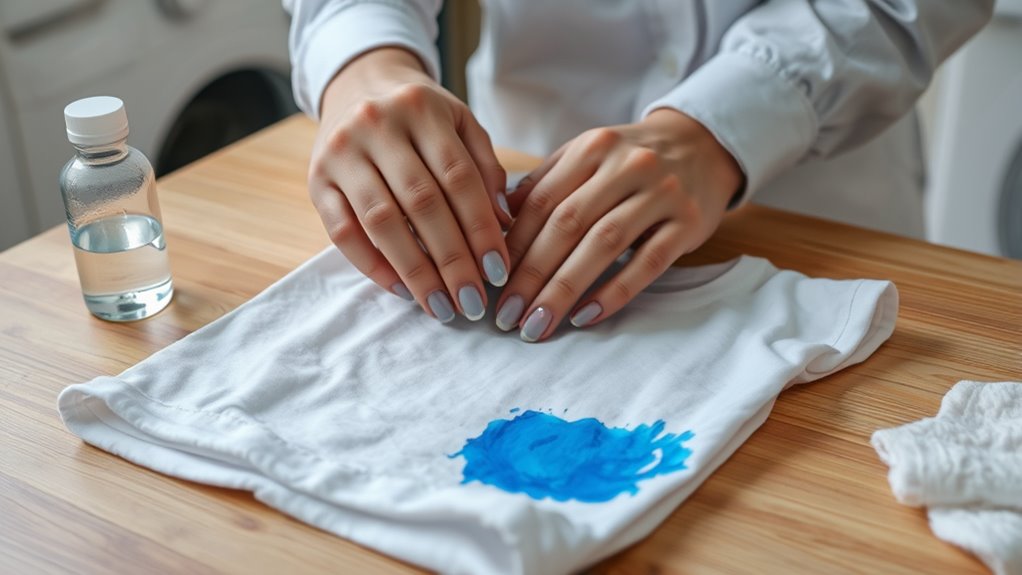
First, check your garment’s fabric type and care label. Blot any excess gel pen ink gently with a clean cloth or paper towel—don’t rub. This helps prevent the ink from spreading or setting deeper into the fabric.
Next, apply rubbing alcohol or a stain remover to a cloth, but be sure to test it on a hidden spot first. Dab the stain carefully, then use a soft cloth to lightly scrub in small circles.
After that, rinse the area with cold water to wash away the loosened ink.
Finally, launder your clothing as usual, but air dry it instead of using the dryer. This way, you can see if the stain is completely gone before heat sets it in. Keep going to discover more tips on tackling tough ink stains!
Key Takeaways
- Identify the fabric type and check care labels before treating the gel pen ink stain.
- Blot the stained area gently with a clean cloth to absorb excess ink without spreading.
- Apply rubbing alcohol or a suitable stain remover to a cotton ball and dab the stain carefully.
- Gently scrub the stain in circular motions with a soft cloth, reapplying stain remover if necessary.
- Rinse the fabric under cold water and launder according to care instructions, air drying afterward.
Identify the Stain Type and Fabric
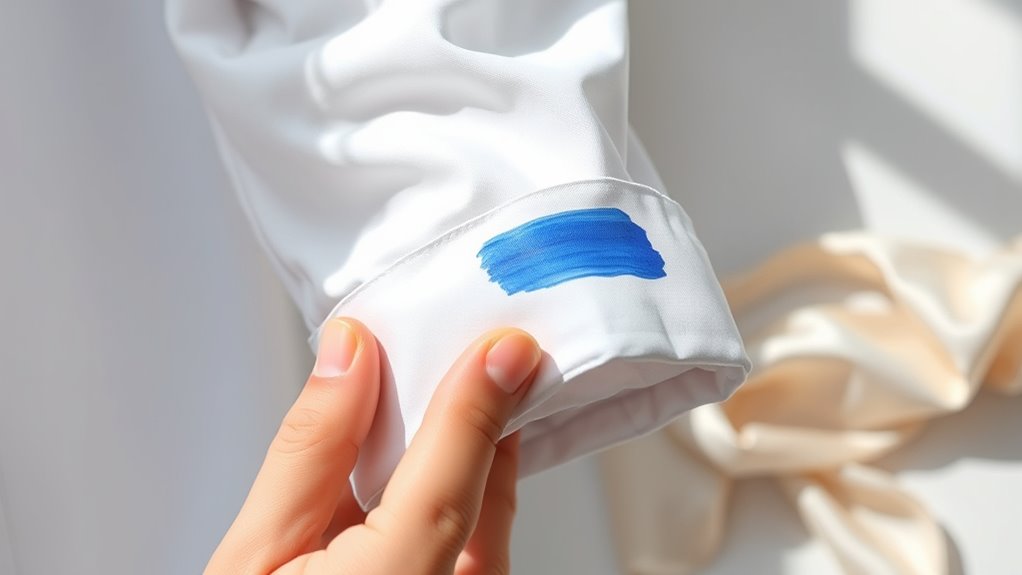
Before you tackle the gel pen ink stain, you need to identify the type of fabric and the nature of the stain. Different fabrics react differently to cleaning agents, so knowing what you’re working with helps prevent damage.
Check the garment’s label for fabric content and washing instructions. For delicate fabrics like silk or wool, you’ll need gentler methods.
Always check the garment’s label for fabric type and care instructions before treating stains.
Also, examine the stain closely. Is the ink fresh or has it dried? Fresh ink is easier to treat, while dried ink might require more effort.
Understanding whether the stain is just ink or mixed with other substances, like oil or dirt, matters too. This knowledge lets you choose the right cleaning approach and products, increasing your chances of removing the gel pen stain without harming your clothes.
Blot the Stain to Remove Excess Ink
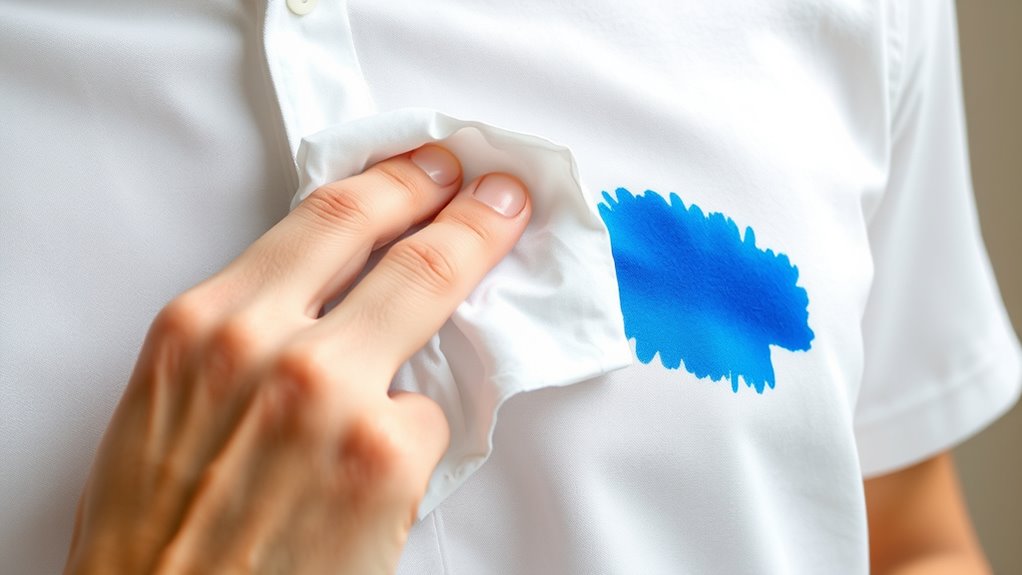
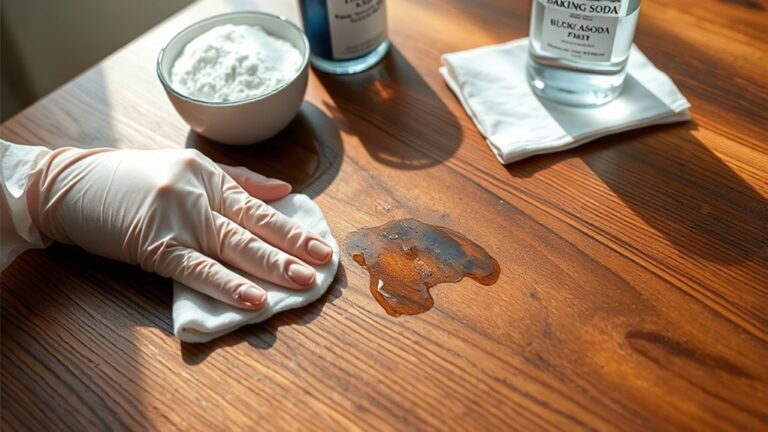
Start by placing an absorbent material like a clean cloth or paper towel on the stain. Gently blot the ink to lift as much as possible without rubbing it in.
Use Absorbent Material
When you spot gel pen ink on your clothes, grab an absorbent material like a clean cloth or paper towel and gently blot the stain. This step helps soak up excess ink before it sets deeper into the fabric.
Avoid pressing too hard; instead, use light dabbing motions to lift the ink without spreading it further. Replace the cloth or paper towel as it absorbs ink to prevent re-depositing it onto the garment.
Using an absorbent material quickly reduces the stain’s intensity, making later cleaning steps more effective. Remember, absorbent materials work best when applied promptly after the spill, so don’t wait.
Acting fast with the right material is key to successfully minimizing gel pen ink stains on your clothes. So, keep a cloth handy and tackle those stains right away!
Avoid Rubbing Ink
Although it might be tempting to rub the gel pen ink stain, you should resist and blot it instead to avoid spreading the ink further into the fabric. Grab a clean, absorbent cloth or paper towel and gently press it onto the stain.
Blotting helps lift excess ink without pushing it deeper into the fibers. Avoid scrubbing or wiping, as this will only enlarge the stain and make removal harder.
Change to a fresh section of the cloth as it absorbs the ink to prevent reapplying it. Continue blotting until no more ink transfers onto the cloth.
This careful approach sets you up for more effective stain treatment later, preserving your garment and increasing the chance of a spotless finish.
Apply a Stain Remover or Rubbing Alcohol
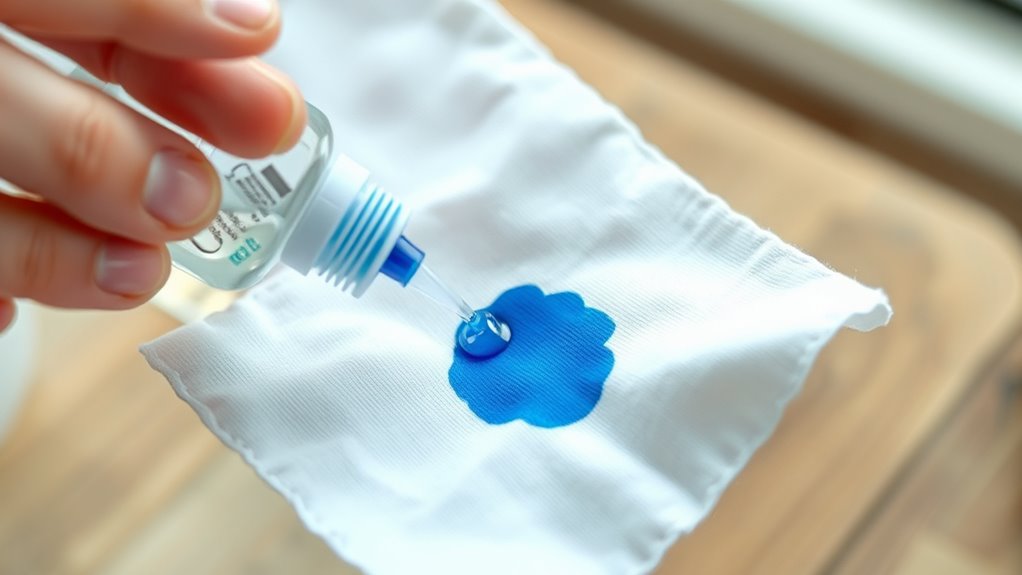
Because gel pen ink can be stubborn, you’ll want to act quickly by applying a stain remover or rubbing alcohol directly to the affected area. Choose a stain remover designed for ink or use isopropyl rubbing alcohol, which breaks down the ink’s pigments effectively.
Before applying, test the product on a hidden part of the fabric to make sure it won’t damage or discolor it. Apply a small amount of stain remover or rubbing alcohol onto a clean white cloth or cotton ball, then dab it gently onto the ink stain.
Avoid soaking the fabric completely; a light application is enough to start dissolving the ink. Let it sit for a few minutes to allow the solution to penetrate the fibers and loosen the ink for easier removal in the next step.
Gently Scrub the Stain With a Soft Cloth
After letting the stain remover or rubbing alcohol sit for a few minutes, you can start to gently scrub the ink stain. Use a soft cloth or cotton ball to avoid damaging the fabric.
Gently scrub the ink stain with a soft cloth after letting stain remover sit for a few minutes.
Dab the stain lightly, working from the outside toward the center to prevent spreading the ink further. Apply gentle pressure and move in small circular motions to help lift the ink without pushing it deeper into the fibers.
If the stain doesn’t budge, you can reapply a small amount of your stain remover and continue scrubbing carefully. Just be patient and avoid harsh scrubbing, as this can weaken or damage the fabric.
Keep blotting the area with a clean part of the cloth to absorb the ink as it loosens. This way, you’ll get the best results without making things worse.
Rinse and Launder the Garment
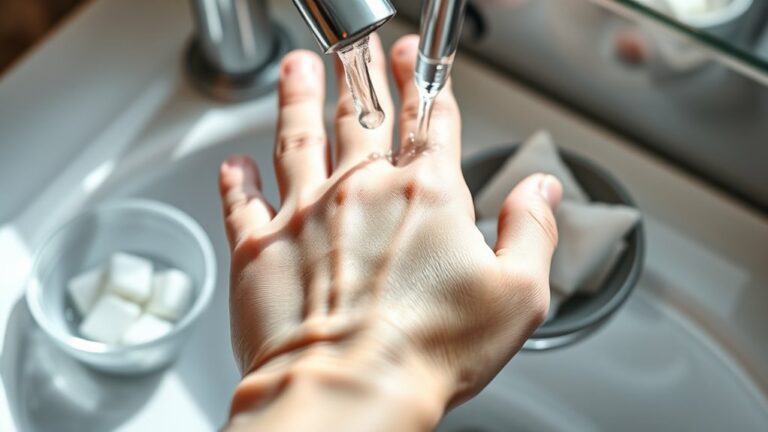
Once you’ve gently scrubbed the ink stain, rinse the garment thoroughly under cold water to flush out any remaining ink and cleaning solution. Hold the fabric under the running water, allowing it to flow through the stained area from the back to push the ink out. Avoid using hot water, as it can set the stain.
After rinsing, check the fabric to ensure the stain has visibly lightened. Next, launder the garment as usual, following the care label instructions. Use a regular cycle with cold water and your typical detergent.
Avoid drying the garment in a dryer until you’re sure the stain is fully removed, since heat can permanently set any remaining ink. Instead, air dry the clothing to keep it safe. It’s a safer bet to let it dry naturally.
Check and Repeat if Necessary
Even if the stain looks faint, you should check the garment carefully before drying. Heat can set the ink stain permanently, making it much harder to remove later.
Inspect the fabric under good lighting to spot any lingering ink marks. If you still see traces of ink, don’t hesitate to repeat the removal process.
Apply your chosen stain remover again, let it sit briefly, then rinse thoroughly. After that, launder the garment once more according to the care label instructions.
Avoid putting the item in the dryer until you’re sure the stain is completely gone. Taking these extra steps guarantees the ink won’t become a permanent blemish.
Patience here can save your clothes and keep them looking fresh and clean.
Frequently Asked Questions
Can Gel Pen Ink Stain Be Removed From Leather or Suede?
You can remove gel pen ink stains from leather or suede, but you need to be careful. Use a gentle cleaner or rubbing alcohol sparingly.
Make sure to test it first on a small, hidden area. Avoid harsh scrubbing to prevent damage or discoloration.
This way, you protect your leather or suede while getting rid of the stain. Just take your time and be gentle!
Are There Any Natural Alternatives to Rubbing Alcohol for Ink Stains?
You can try lemon juice or white vinegar as natural alternatives to rubbing alcohol. They break down ink stains effectively.
Just apply, let it sit briefly, then blot gently before washing your clothes as usual. It’s pretty simple and uses stuff you probably already have at home.
How Long Should I Wait Before Treating a Fresh Gel Pen Ink Stain?
Don’t wait too long—treat that fresh gel pen ink stain immediately to prevent it from setting.
You might think waiting helps, but acting fast gives you the best chance to remove it completely.
Will Removing Gel Pen Ink Damage Delicate Fabrics Like Silk?
Yes, removing gel pen ink can damage delicate fabrics like silk if you’re too aggressive.
You should always test a small area first and use gentle, fabric-safe stain removers to protect the material.
It’s better to be cautious because silk is very sensitive. So, take your time and treat the stain gently to avoid any harm.
Can Gel Pen Ink Stains Be Removed After the Garment Has Been Dried?
You’d think dried gel pen ink on clothes is a stubborn beast, but you can still remove it!
Act quickly with rubbing alcohol or stain remover; repeated treatments increase your chances of success without ruining fabric.
Conclusion
Don’t let gel pen ink turn your favorite shirt into a permanent disaster! With just a bit of patience and these simple steps, you’ll zap that ink like a superhero battling a villain.
Imagine your clothes looking spotless again, free from those stubborn blue or black marks. Just follow the steps, and you’ll be amazed how quickly your fabric bounces back—like magic, but real.
So go ahead, tackle that stain and save your wardrobe! Removing gel pen ink from clothes may seem tricky at first, but with the right approach, it’s totally doable. Whether it’s on your favorite shirt or a delicate fabric, these methods will help you restore your clothes to their original state. Keep these tips handy, and next time you face a gel pen mishap, you’ll know exactly how to remove gel pen ink from clothes effectively and effortlessly.