How to Use Infusible Ink in 5 Easy Steps
To use infusible ink in five easy steps, start by choosing compatible blanks like polyester or coated items and select infusible ink sheets or pens. These materials are essential because infusible ink works best with specific surfaces that allow the ink to transfer properly.
Next, design your artwork with simple, mirrored images using compatible software. This ensures your design will come out looking just right once transferred.
Then, prepare your workspace with all tools and blanks ready. Position your design face down, apply heat evenly with a press, and let it cool before peeling.
Finally, care for your project by washing it inside out gently. This helps maintain the vibrant colors and longevity of your design.
Keep going to uncover expert tips and tricks that make your infusible ink projects even better!
Key Takeaways
- Choose compatible polyester or coated blanks and use only infusible ink transfer sheets or pens for best results.
- Design simple, bold artwork and mirror it horizontally using compatible software before cutting.
- Prepare a clean, organized workspace with all tools and materials within reach.
- Position the design face down, cover with butcher paper, and apply heat with a press at recommended settings.
- Allow the project to cool completely before removing protective sheets.
- Follow care instructions to preserve the design.
Choose the Right Materials
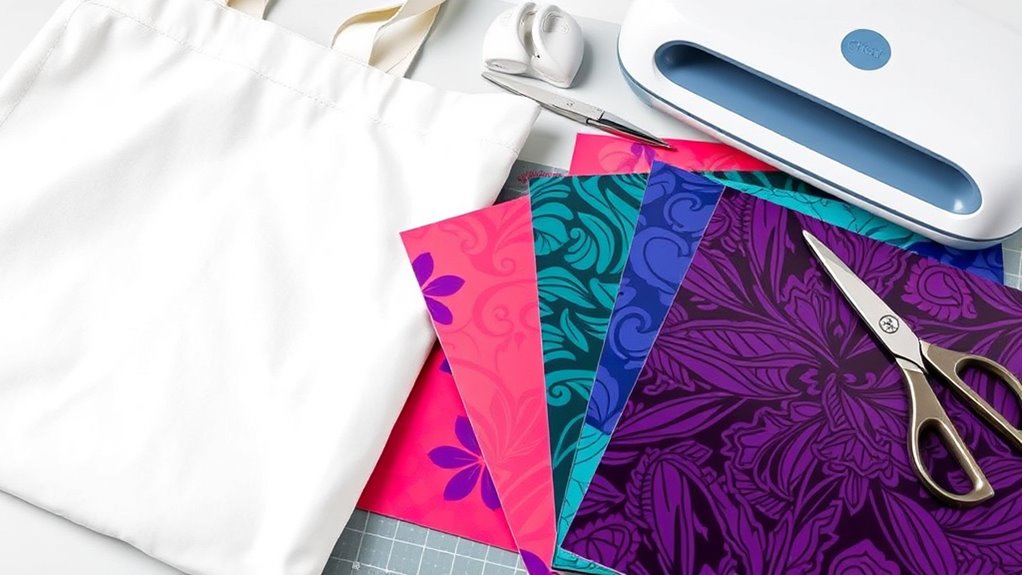
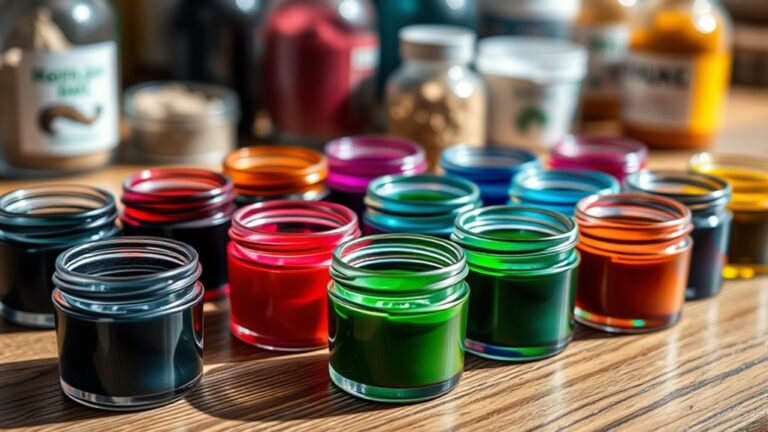
Before you begin, make sure you have the right materials for infusible ink projects. You’ll need compatible blanks that can handle the heat transfer process—usually polyester or specially coated items like tote bags, coasters, or t-shirts.
Start with the right blanks—polyester or specially coated items work best for vibrant infusible ink transfers.
Using cotton won’t work because the ink needs a synthetic surface to bond properly. Grab infusible ink transfer sheets or pens designed specifically for this technique; regular markers or vinyl won’t give you the same vibrant, permanent results.
Don’t forget heat-resistant tape to secure your design and butcher paper or cardstock to protect your heat press or EasyPress. Finally, a reliable heat source like a Cricut EasyPress or heat press guarantees even heat distribution.
Having the right supplies sets you up for success and prevents frustration later on. So, get everything ready and you’ll be good to go!
Design Your Artwork

Once you have your materials ready, it’s time to create the design that will bring your project to life. Start by choosing software or apps compatible with your cutting machine, like Cricut Design Space or Adobe Illustrator.
Keep your design simple and bold since infusible ink works best with clear, solid shapes and vibrant colors. Avoid intricate details or gradients, as they may not transfer well.
Remember, your design will be mirrored during the transfer, so flip any text or directional elements horizontally before cutting. Use vector images or high-resolution files to ensure crisp results.
Finally, adjust the size of your design to fit your project surface perfectly, and double-check alignment to avoid any surprises during transfer. Your well-crafted artwork sets the foundation for a stunning finished product.
Prepare Your Workspace and Tools
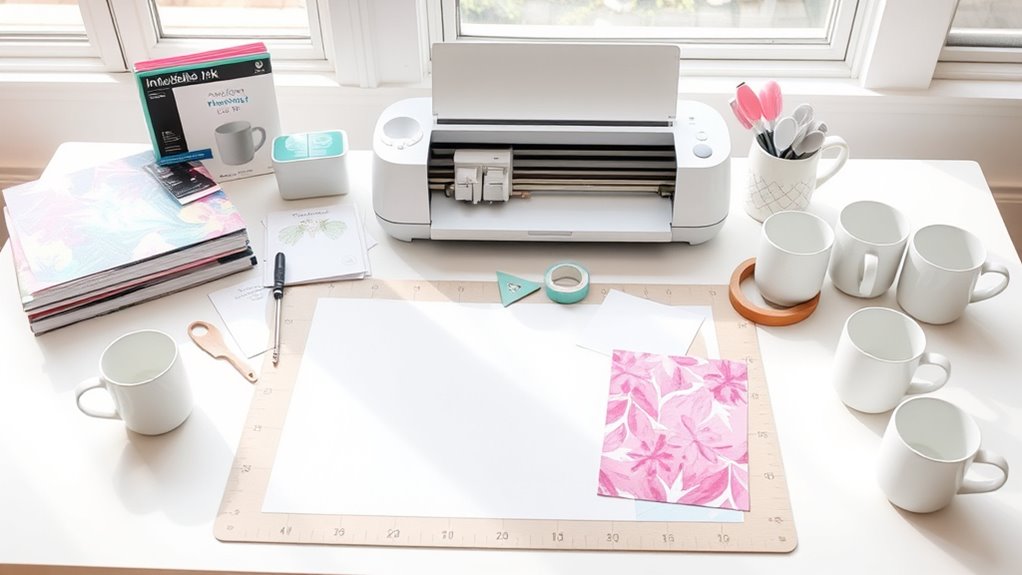
As you get ready to transfer your design, organize your workspace to keep all tools and materials within easy reach. Clear your surface of clutter to prevent accidental smudges or damage.
Gather your Cricut machine, cutting mat, and infusible ink sheets, placing them nearby. Have your blank base item—like a t-shirt or coaster—ready and flat.
Make sure you have heat-resistant tape, butcher paper, and a heat press or EasyPress close by. Check that your heat press settings are pre-set according to the material’s requirements.
Keep lint rollers handy to clean fabric surfaces before transferring. Good lighting helps you align everything precisely.
Transfer the Ink to Your Surface
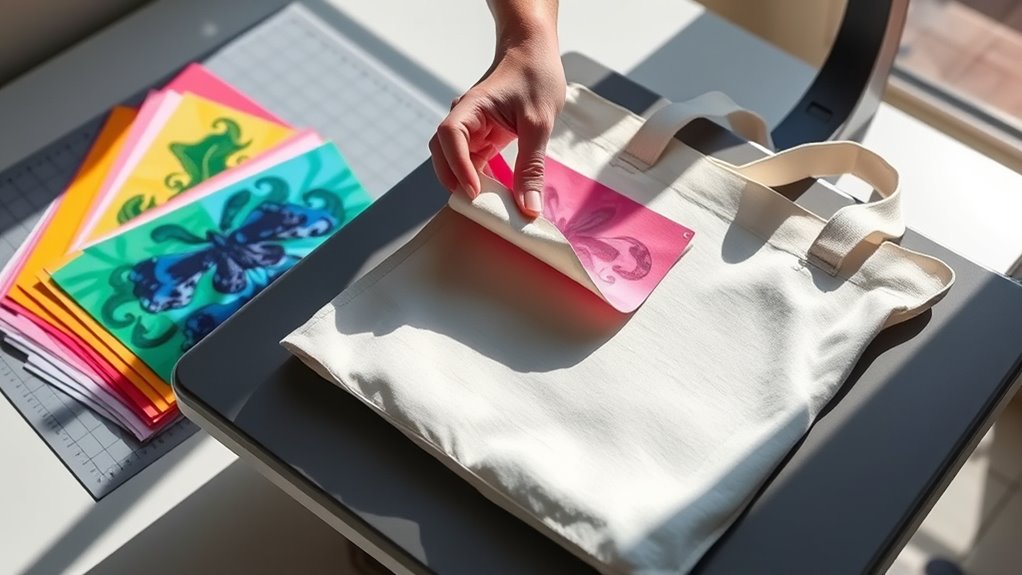
When you’re ready to transfer the ink, position your design face down on the flat, clean surface of your base item. Make sure it’s aligned exactly how you want it.
Next, preheat your heat press or EasyPress to the recommended temperature for your material. Place a protective sheet, like butcher paper or parchment paper, over the design to shield it during pressing.
Press down firmly with consistent pressure for the specified time. Try not to move the press to avoid smudging.
Once the timer beeps, carefully lift the heat press and let your item cool slightly before removing the protective sheet and liner.
This process permanently infuses the ink into the fibers, giving you a vibrant, durable design that won’t crack or peel. Pretty cool, right?
Finish and Care for Your Project
After transferring the ink and allowing your project to cool, it’s important to handle and care for it properly to maintain the vibrant finish. Avoid touching the design immediately to prevent smudging or fading.
Once cooled, remove any protective sheets gently. To keep your project looking fresh, follow these care tips:
- Wash inside out with cold water and mild detergent.
- Avoid bleach and fabric softeners that can dull the ink.
- Air dry or tumble dry on low heat to prevent cracking.
- Store in a cool, dry place away from direct sunlight.
Just a little care goes a long way to keep your project looking great!
Frequently Asked Questions
Can Infusible Ink Be Used on Fabric Other Than Polyester?
You can’t use infusible ink effectively on fabrics other than polyester because it bonds best with polyester fibers.
Using it on cotton or blends won’t give you vibrant, permanent results, so stick to 100% polyester for best outcomes.
How Long Does Infusible Ink Last Without Fading?
You won’t have to worry about fading anytime soon—infusible ink lasts for years because it bonds right into the polyester fibers.
Is Infusible Ink Safe for Children’s Clothing?
Yes, you can safely use infusible ink for children’s clothing since it bonds with fabric, preventing peeling or cracking.
Just make sure to follow safety guidelines and avoid direct skin contact during application to keep things safe and fun.
Can I Remove Mistakes Made With Infusible Ink?
You can’t unring a bell with infusible ink mistakes—they’re permanent once heat-pressed.
What Is the Difference Between Infusible Ink and Regular Iron-On Vinyl?
Infusible ink fuses with fabric, creating a permanent, smooth design that won’t crack or peel.
Regular iron-on vinyl sits on top, making it thicker and prone to peeling over time.
You’ll notice the difference instantly.
Conclusion
Now that you’ve mastered using infusible ink, remember that practice makes perfect. By choosing the right materials and designing your artwork thoughtfully, you set yourself up for success.
Preparing your workspace carefully is just as important. When you transfer your ink with care and finish your project properly, you’ll create stunning, lasting pieces.
Don’t rush the process—each step builds on the last. Keep experimenting with infusible ink, and soon you’ll see your creativity truly come to life, just like a seed growing into a beautiful flower. With the right approach, your infusible ink projects will shine with vibrant, permanent designs that make every creation special.