How to Get Ink off Wood With a Step-By-Step Guide
To get ink off wood, it’s important to first identify the type of ink and the finish on your wood surface. This helps you avoid any damage while cleaning. You’ll want to gather some mild soap, rubbing alcohol, and soft cloths before you start.
Always test any cleaner on a hidden spot first to make sure it won’t harm the wood. Then, gently dab rubbing alcohol on the ink stain—don’t rub it, just dab carefully.
If the stain is stubborn, try making a paste with baking soda and water. Apply this paste to the ink mark, let it sit for a while, then wipe it clean.
Once the stain is gone, dry the area thoroughly. Finally, restore the wood’s finish by applying some polish.
Follow these steps carefully, and even tough ink stains can be removed safely without ruining your wood.
Key Takeaways
- Identify the ink type and wood finish to choose the safest cleaning method without damaging the surface.
- Gather mild soap, rubbing alcohol, soft cloths, gloves, and ensure proper ventilation before starting.
- Test the chosen cleaning solution on a hidden wood area to check for any adverse effects.
- Gently blot the ink stain with rubbing alcohol using a soft cloth; avoid rubbing to prevent spreading.
- For stubborn stains, apply a baking soda and water paste, let sit, then wipe off and dry thoroughly.
Identify the Type of Ink and Wood Finish
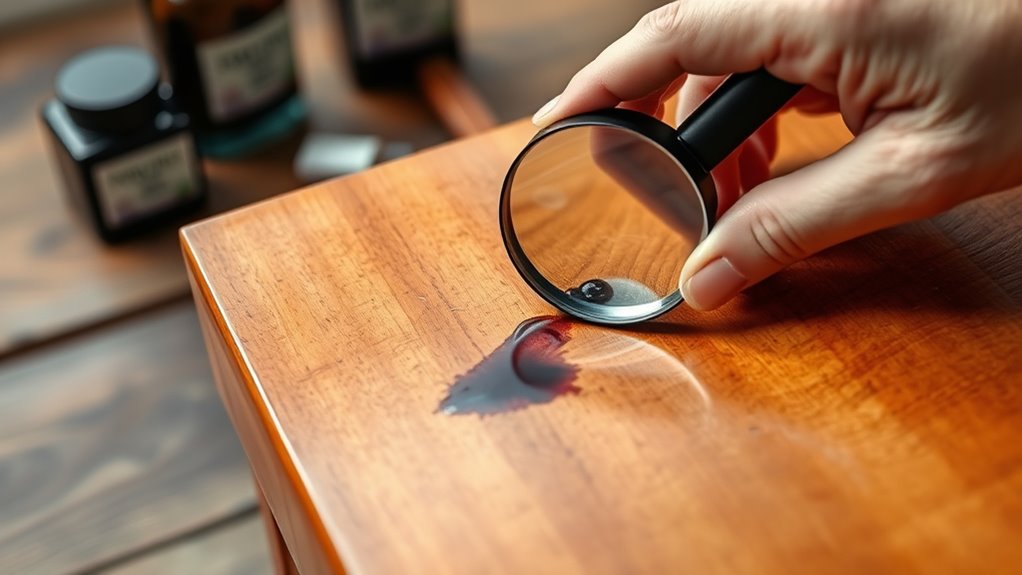
How can you effectively remove ink without damaging your wood? First, identify the type of ink you’re dealing with—ballpoint, marker, or printer ink—as each reacts differently to cleaning agents.
Next, determine the wood finish: is it varnished, painted, or raw? A glossy finish requires gentler methods to avoid dulling, while raw wood can absorb liquids quickly, making stain removal trickier.
Knowing your wood’s finish helps you choose the safest cleaning approach. For instance, water-based inks might lift with mild soap and water on sealed wood, but alcohol could ruin a delicate finish.
Taking these steps ensures you pick the right treatment, protecting your wood’s look while effectively tackling that ink stain.
Gather Materials and Tools Needed
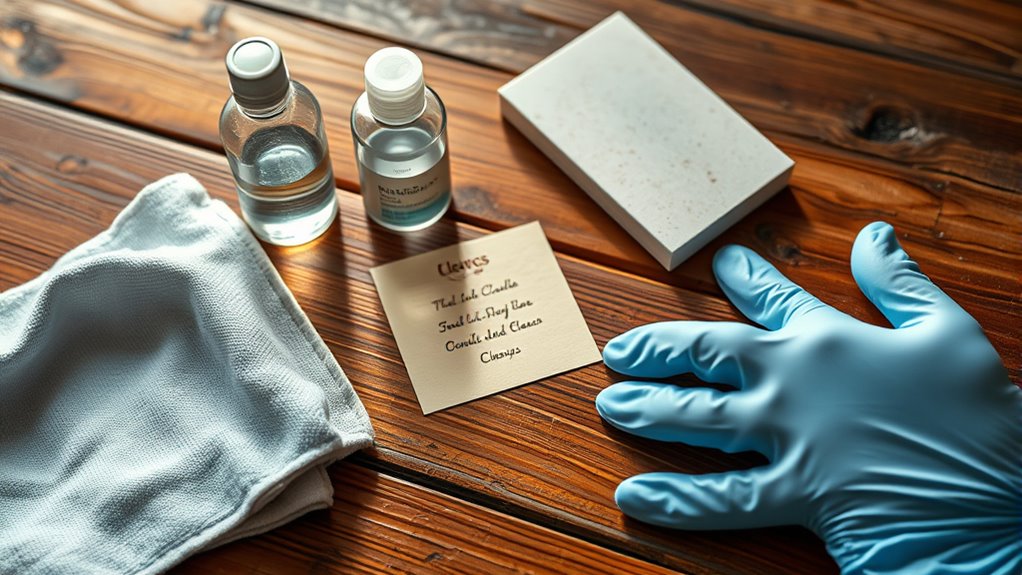
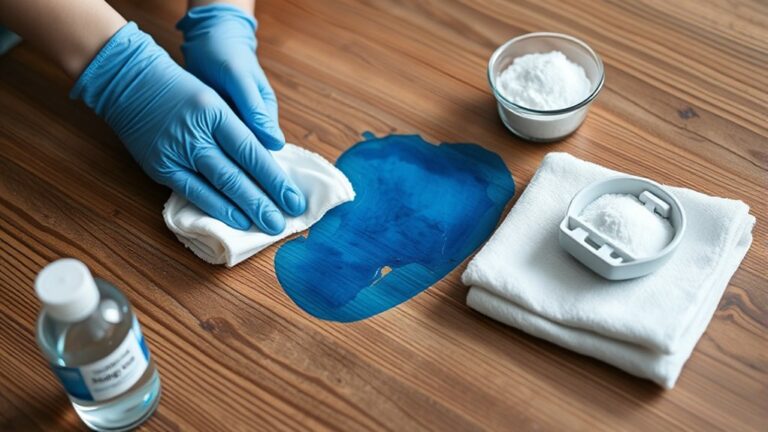
Before you start, make sure you have all the essential cleaning supplies like mild soap, rubbing alcohol, and soft cloths.
Don’t forget to prepare protective gear such as gloves to keep your hands safe.
Having everything ready will make the process smoother and protect both you and your wood surface.
Essential Cleaning Supplies
To effectively remove ink from wood, you’ll need a few essential cleaning supplies on hand. Having the right materials makes the process smoother and helps protect your wood’s finish.
Start by gathering items that gently lift the ink without causing damage. Here are three key supplies you’ll want:
- Isopropyl Alcohol: Works well to break down ink stains quickly.
- Soft Cloths or Cotton Balls: Ideal for applying cleaning solutions and blotting stains.
- Mild Dish Soap: Helps clean residual ink and dirt after treatment.
With these supplies ready, you’ll be equipped to tackle ink stains efficiently. Make sure to use gentle materials to avoid scratching or dulling the wood surface while you clean.
Protective Gear Preparation
Gathering the right protective gear helps keep you safe while handling cleaning agents like isopropyl alcohol. Start by putting on a pair of chemical-resistant gloves to protect your skin from irritation. Wear safety goggles to shield your eyes from splashes.
If you’re sensitive to fumes, consider using a mask or respirator to avoid inhaling any harmful vapors. Have a clean cloth or sponge ready for applying the cleaning solution, and keep paper towels nearby for blotting excess ink.
Make certain you work in a well-ventilated area to minimize exposure to fumes. Before you begin, organize all your materials within easy reach so you can work efficiently and safely without interruption.
Taking these precautions will help you remove ink from wood without risking your health. It’s worth the little extra effort to keep yourself safe!
Test Cleaning Solutions on a Hidden Area
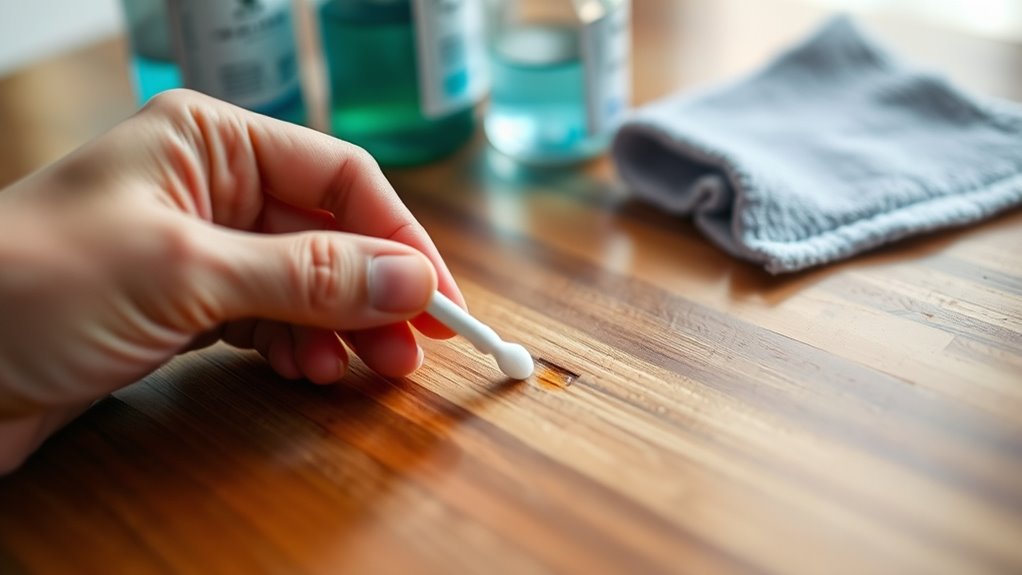
Although it might seem tedious, testing cleaning solutions on a hidden area guarantees you won’t damage the wood’s finish or color. Before applying any cleaner broadly, pick a discreet spot—maybe under a table leg or inside a drawer—where any mishap won’t be obvious.
Apply a small amount of the solution and wait a few minutes to observe any adverse effects. Look closely for discoloration or fading, surface dullness or shine loss, and wood grain damage or warping.
This quick test helps you avoid ruining your furniture or flooring, so you can make sure the cleaning method is safe. If the hidden area shows no change, you can confidently proceed with treating the visible ink stains without risking irreversible damage.
Use Rubbing Alcohol to Remove Ink Stains
Once you’ve confirmed that your cleaning solution won’t harm the wood, you can tackle ink stains with rubbing alcohol. Dab a small amount of isopropyl alcohol onto a clean, soft cloth or cotton ball.
Gently blot the ink stain—avoid rubbing, as it might spread the ink or damage the finish. You’ll notice the ink beginning to lift onto the cloth. Keep switching to a clean part of the cloth to prevent reapplying ink.
After the stain fades, wipe the area with a damp cloth to remove any leftover alcohol. Finally, dry the wood thoroughly with a soft towel. This method works best on fresh stains, so act quickly for ideal results.
Apply Baking Soda Paste for Stubborn Marks
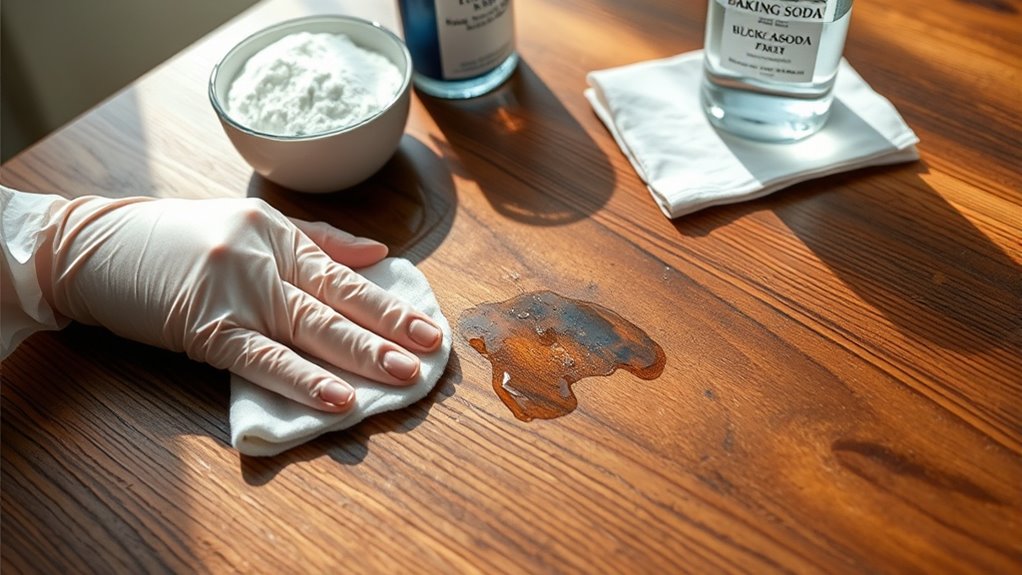
If rubbing alcohol doesn’t do the trick, you can make a baking soda paste by mixing it with water. Apply the paste directly to the stubborn ink marks and let it sit for a few minutes.
Then, gently scrub and wipe away the residue to reveal cleaner wood. It’s pretty simple, and often does the job when other methods don’t work!
Preparing Baking Soda Paste
When you encounter stubborn ink marks on wood, preparing a baking soda paste can be an effective solution. To make the paste, you’ll need just a few simple ingredients and tools.
Start by mixing equal parts baking soda and water in a small bowl until you get a smooth, spreadable consistency. Avoid making it too watery or too thick. The ideal paste should cling to the wood without dripping.
Gather these items before you begin:
- Baking soda (a common kitchen staple)
- Clean water (preferably at room temperature)
- A small mixing bowl and a spoon for stirring
Having the right consistency is key to gently lifting ink without damaging the wood’s surface. This preparation sets you up for effective stain removal.
Applying Paste to Ink
Although applying the baking soda paste requires a gentle touch, you can effectively lift stubborn ink marks by spreading it evenly over the stained area. Use a soft cloth or your finger to apply a thin layer, ensuring the paste fully covers the ink spot.
Avoid pressing too hard to prevent damaging the wood’s surface. Let the paste sit for about 5-10 minutes; this gives the baking soda time to break down the ink.
If the stain is particularly tough, you can gently rub the paste in small circular motions, but be cautious not to scrub aggressively. After the waiting period, you’re ready to proceed with the next step to remove the paste and ink residue without harming your wood finish.
Cleaning and Removing Residue
Since the baking soda paste has had time to work on the ink, you can now start cleaning it off carefully. Use a soft cloth dampened with warm water to gently wipe the paste and loosened ink away. Avoid scrubbing too hard to protect the wood’s finish.
If some stubborn marks remain, just repeat the paste application and cleaning steps. After removing the paste and ink, dry the area thoroughly with a clean towel to prevent moisture damage.
Finally, you can apply a wood polish or conditioner to restore the surface’s natural shine.
- Use gentle, circular motions with a damp cloth
- Focus on small sections to avoid spreading ink
- Dry immediately to maintain wood quality
Restore Wood Finish After Ink Removal
After removing ink stains from wood, you’ll need to restore its finish to protect the surface and bring back its original shine. Start by gently sanding the affected area with fine-grit sandpaper to smooth any roughness caused during cleaning.
Next, wipe away dust with a damp cloth and let the wood dry completely. If the cleaning process lightened the wood’s color, apply a matching wood stain. Use a small brush for precision and allow it to dry thoroughly.
Finally, seal the surface with a clear finish like polyurethane, varnish, or wax, depending on your wood type and furniture style. This step will safeguard the wood and enhance its appearance.
Frequently Asked Questions
Can Ink Stains on Wood Cause Long-Term Damage?
Yes, ink stains on wood can cause long-term damage if you don’t clean them quickly. The ink can seep into the wood grain, making stains permanent.
This can potentially affect the wood’s finish and appearance over time. So, it’s best to act fast when you notice any ink on your wooden surfaces.
Is It Safe to Use Nail Polish Remover on Wood Ink Stains?
You can use nail polish remover on wood ink stains, but be careful. Test it on a hidden spot first because acetone may damage or discolor the finish.
Apply gently and avoid soaking the wood to keep it safe. It’s always better to start with less and see how the wood reacts before going further.
How Long Should I Wait Before Reapplying Wood Finish?
You shouldn’t rush; waiting 24 hours before reapplying wood finish guarantees proper drying.
While impatience tempts you to hurry, patience guarantees a smooth, durable finish that protects your wood beautifully without sticky or uneven spots.
Can Ink Stains Be Removed From Antique Wood Without Harming Value?
Yes, you can remove ink stains from antique wood without harming its value by using gentle, non-abrasive methods like diluted rubbing alcohol or specialized wood cleaners.
Always test on a hidden spot and proceed carefully to preserve the finish.
It’s all about being gentle and patient. Taking your time helps keep that beautiful antique look intact!
Are There Eco-Friendly Alternatives for Removing Ink From Wood?
Like a gentle breeze, eco-friendly options like baking soda paste or white vinegar work wonders on ink stains.
You can safely remove ink without harsh chemicals, keeping your wood and conscience both clean and intact.
Conclusion
Now that you’ve tackled ink stains like a pro, your wood looks so flawless it could star in a museum! Removing ink isn’t just cleaning—it’s saving your cherished furniture from disaster.
With these simple steps, you’ve turned a potential nightmare into a triumph. You’re basically a wood-whisperer now!
So go ahead, face any ink mishap with confidence. You’ve got the power to restore beauty to your wood surfaces like it’s magic! When it comes to how to get ink off wood, remember these tips—they make all the difference. Your furniture is safe, stunning, and stain-free!