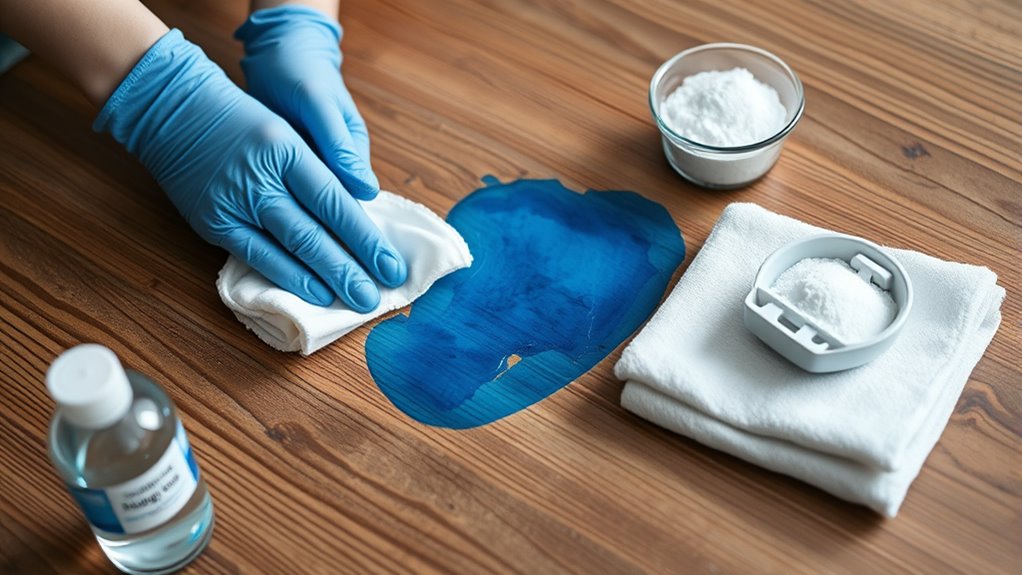
How to Get Ink Out of Furniture Step by Step
To get ink out of your furniture, the first step is knowing what kind of material your furniture is made of and what type of ink you’re dealing with. This is super important because the cleaning method depends on these factors.
Gather your supplies like rubbing alcohol, mild soap, and some clean cloths before you start.
Always test any cleaner on a hidden spot first to make sure it won’t damage your furniture.
For wood furniture, gently blot the stain and carefully apply rubbing alcohol.
If you have upholstery, mix rubbing alcohol with water and dab the stain gently instead.
Remember to always dry the area after cleaning, and don’t hesitate to repeat the process if needed.
Want to keep your furniture looking great? Keep exploring for detailed tips on protecting and maintaining it after you remove that pesky ink stain.
Key Takeaways
- Identify the furniture material and ink type first. This helps you pick the safest cleaning method and avoid any damage.
- Gather clean cloths, rubbing alcohol, mild soap, cotton swabs, and any other supplies that work with your furniture. It’s good to have everything ready before you start.
- Test your cleaning solution on a hidden spot. This way, you can make sure it won’t discolor or damage the surface.
- For wood furniture, gently blot the ink to lift it without spreading. Then, apply rubbing alcohol using a cotton ball, wipe it off, and dry the area thoroughly.
- When cleaning upholstery, start by blotting the ink. Next, dab a diluted rubbing alcohol solution on the stain, rinse with a damp cloth, and carefully blot dry.
Identify the Type of Furniture and Ink
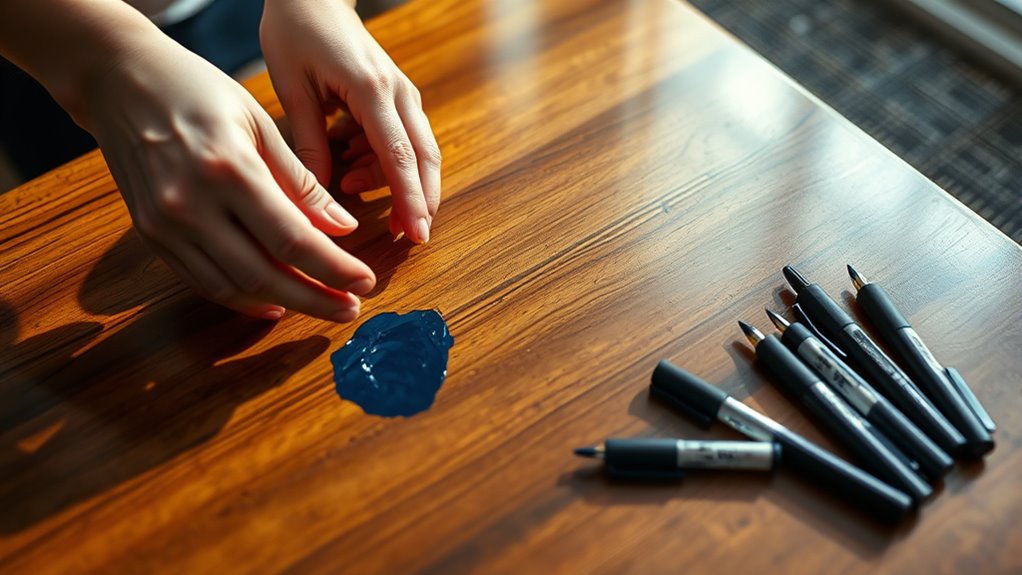
Before you begin removing ink stains, you need to identify the type of furniture and the ink involved. Check if your furniture is made of wood, fabric, leather, or synthetic material, as each requires different cleaning methods.
For example, delicate fabrics and leather need gentler treatments than hard surfaces. Next, determine the ink type—ballpoint, gel, or permanent ink—since some are more stubborn.
Ballpoint ink usually comes off easier than permanent markers. You can do a quick test on a hidden spot to see how the ink reacts to water or mild cleaners.
Knowing these details helps you choose the right approach and avoid damaging your furniture. Taking this step first saves you time and frustration later.
Gather Necessary Cleaning Supplies
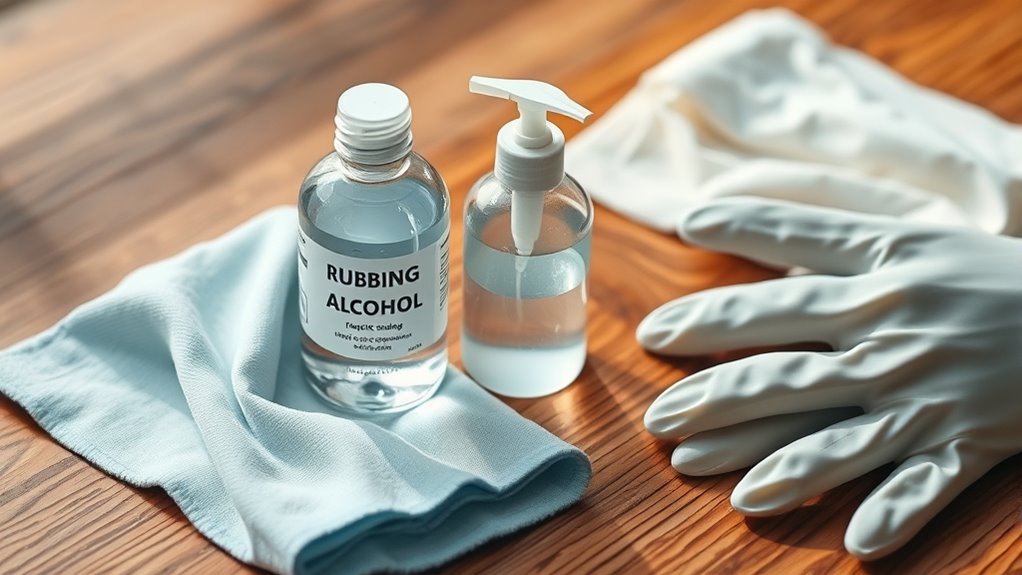
Once you’ve identified your furniture type and ink, gather the right cleaning supplies to tackle the stain effectively. Having the proper materials on hand streamlines the process and helps prevent damage.
You’ll want to select items that work well with your furniture’s material and the ink type.
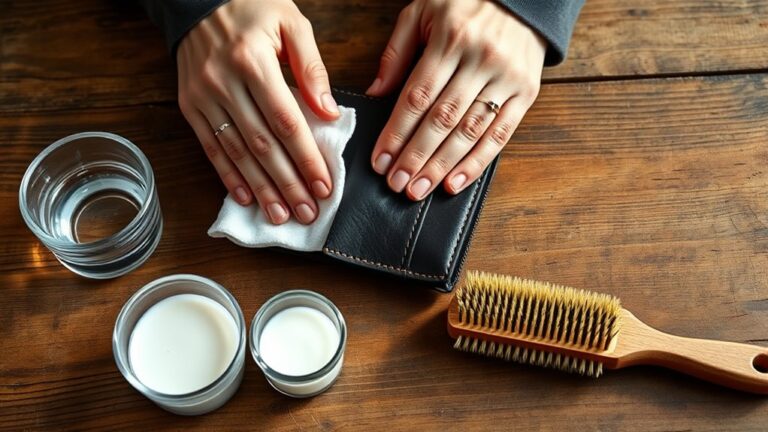
Here’s a list of essential supplies:
- Clean white cloths or paper towels for blotting and cleaning.
- Rubbing alcohol or an ink remover suitable for your furniture’s finish.
- Mild dish soap mixed with water to gently clean surfaces.
- Cotton swabs or soft-bristled brushes to reach tight spots.
With these supplies ready, you’ll be set to start removing the ink stain carefully and efficiently.
Test Cleaning Solutions on a Hidden Area
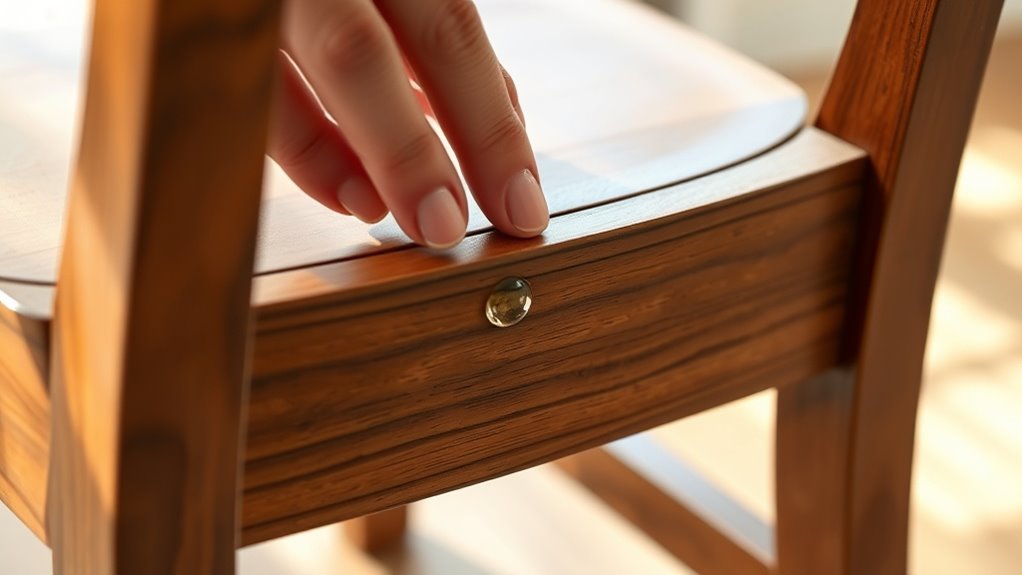
Although cleaning ink stains can feel urgent, you should always test your chosen cleaning solution on a hidden area of the furniture first. This simple step prevents unexpected damage and guarantees the product won’t discolor or weaken the material.
Just apply a small amount, wait a few minutes, then check for any changes. If the spot looks unchanged, you’re safe to proceed.
| Concern | What You Might Feel |
|---|---|
| Stain persistence | Frustrated and anxious |
| Furniture damage | Worried and cautious |
| Solution effectiveness | Hopeful and relieved |
| Hidden spot test | Confident and reassured |
Testing protects your investment and gives you peace of mind before tackling the visible stain. So, don’t skip this vital step!
Remove Ink Stains From Wood Furniture
When ink stains mark your wood furniture, act quickly to prevent permanent damage. Start by blotting the stain gently with a clean cloth to avoid spreading the ink.
Act fast and blot gently to stop ink stains from setting into your wood furniture.
Then, follow these steps:
- Apply a small amount of rubbing alcohol or a wood-safe ink remover to a cotton ball.
- Dab the stain lightly, working from the outside in to prevent it from spreading.
- Wipe the area with a damp cloth to remove any residue.
- Dry the surface thoroughly, then apply furniture polish or wax to restore the wood’s finish.
Remember to always test your cleaning solution on a hidden spot first to confirm it won’t harm the wood. Quick action and gentle care can save your furniture’s appearance.
Remove Ink Stains From Upholstered Furniture
Since ink can quickly soak into fabric fibers, you’ll want to treat ink stains on upholstered furniture as soon as possible to prevent them from setting. First, blot the stain gently with a clean cloth to absorb excess ink—avoid rubbing, which can spread it.
Next, mix a solution of equal parts rubbing alcohol and water, then lightly dab it onto the stain using a cotton ball or cloth. Be sure to test this on a hidden area first to make sure it won’t damage the fabric.
Keep blotting gently until the ink begins to lift. Afterward, rinse the area with a damp cloth to remove any residue and blot dry with a clean towel.
If needed, repeat the process, but don’t oversaturate the fabric. You want to avoid watermarks or damage, so take it slow and steady!
Prevent Future Ink Stains and Maintenance Tips
To keep your furniture ink-free, start by applying protective coatings that create a barrier against stains. You’ll also want to stick to a regular cleaning routine to catch any marks before they set.
These simple steps can save you time and effort in the long run. Trust me, it’s way easier to prevent stains than to deal with them later on!
Protective Coatings Application
Although removing ink stains can be challenging, applying a protective coating to your furniture helps prevent future damage and makes maintenance easier. You’ll want to choose a coating suited for your furniture’s material, such as a clear polyurethane for wood or a fabric protector for upholstered items.
Here’s how to apply it effectively:
- Clean the surface thoroughly to remove dirt and residue.
- Apply the protective coating evenly with a brush or spray.
- Allow the coating to dry completely, following product instructions.
- Reapply the coating periodically to maintain protection.
It’s pretty straightforward once you get the hang of it. Just remember, keeping your furniture protected means less hassle down the road!
Regular Cleaning Routine
Even if you apply protective coatings, maintaining a regular cleaning routine is essential to prevent ink stains and keep your furniture looking fresh. Wipe surfaces weekly with a soft cloth and a mild cleaner to remove dust and dirt that can trap ink particles.
Avoid harsh chemicals that might damage finishes. For fabric furniture, vacuum regularly to eliminate debris and reduce the risk of ink absorption.
If you notice any ink marks, address them immediately using appropriate stain removers to prevent permanent damage. Establish designated areas for writing or using pens away from your furniture to minimize accidents.
Frequently Asked Questions
Can Ink Stains Cause Permanent Damage to Furniture?
Yes, ink stains can cause permanent damage if you don’t act quickly. You’ll want to treat the stain right away to prevent it from setting into the fabric or wood.
Once it sets, removal becomes much harder. So, it’s best not to wait around when you notice an ink stain. Act fast to save your furniture!
Are There Eco-Friendly Alternatives to Chemical Cleaners?
Yes, you can use eco-friendly alternatives like white vinegar, baking soda, or lemon juice mixed with water. These natural cleaners are effective, gentle on furniture, and safer for the environment compared to harsh chemical cleaners.
They’re pretty easy to make at home too, which is a nice bonus. Plus, you avoid all those strong chemicals that can irritate your skin or the air in your home. Give them a try—you might be surprised how well they work!
How Long Does Ink Need to Be Treated for Effective Removal?
You’ll need to treat ink stains for about 10 to 15 minutes—long enough to feel like an eternity in a coffee shop queue.
Be patient, and repeat as needed for thorough removal without damage.
Is Professional Cleaning Recommended for Antique Furniture?
Yes, you should consider professional cleaning for antique furniture, especially to avoid damage.
Pros have the right tools and expertise to remove ink safely without harming delicate surfaces or finishes. This helps preserve your furniture’s value and beauty.
Can Ink Stains Be Removed From Leather Furniture?
Yes, you can remove ink stains from leather furniture. Use a gentle leather cleaner or rubbing alcohol on a soft cloth, dab carefully, and avoid soaking.
Always test a hidden spot first to prevent damage. This way, you’ll make sure the cleaner won’t harm your leather. Just take your time and be gentle!
Conclusion
Getting ink out of your furniture might seem tricky, but with patience and the right approach, you’ll tackle stains like a pro. Just like restoring a faded painting, each careful step brings your furniture back to life.
Remember to always test solutions first and act quickly to prevent permanent marks. With these tips, your furniture will stay fresh and ink-free, ready to brighten your space for years to come.
Removing ink from furniture requires quick action and the right cleaning method. Whether it’s a delicate fabric or sturdy wood, using the appropriate technique makes all the difference. So, keep calm and follow the steps carefully.
By treating ink stains promptly and using recommended cleaning solutions, you can effectively get ink out of furniture. This ensures your home stays looking its best without damaging your cherished pieces. Trust the process, and your furniture will remain beautiful and ink-free!