10 Easy Steps to Remove Ink From Vinyl
To remove ink from vinyl, start by identifying the type of ink and gathering mild cleaning supplies like rubbing alcohol, soap, and soft cloths. Knowing what kind of ink you’re dealing with helps you choose the best method for cleaning vinyl surfaces without causing damage.
Before you dive in, test your cleaner on a hidden spot to make sure it won’t harm the vinyl. This little step can save you from bigger problems down the road.
Gently blot the ink stain instead of rubbing to avoid spreading it further. Then, carefully apply rubbing alcohol, but don’t soak the area. A light touch works best here.
After that, clean the spot with soapy water and dry it thoroughly. You might need to repeat the process if the stain is stubborn.
Finally, protect your vinyl by using covers or sealants to prevent future stains. Want more helpful tips? Keep exploring these simple, easy steps!
Key Takeaways
- Identify the ink type and test a cleaning solution on a hidden vinyl area to avoid damage.
- Gently lift excess ink with a plastic scraper held at a 45° angle without scratching the vinyl.
- Dab rubbing alcohol or mild soap solution on the stain using a soft cloth without soaking the surface.
- Blot the stain gently, avoiding rubbing, and repeat cleaning and drying until the ink is fully removed.
- Protect vinyl surfaces by using covers and storing ink sources away to prevent future stains.
Assess the Type of Ink Stain
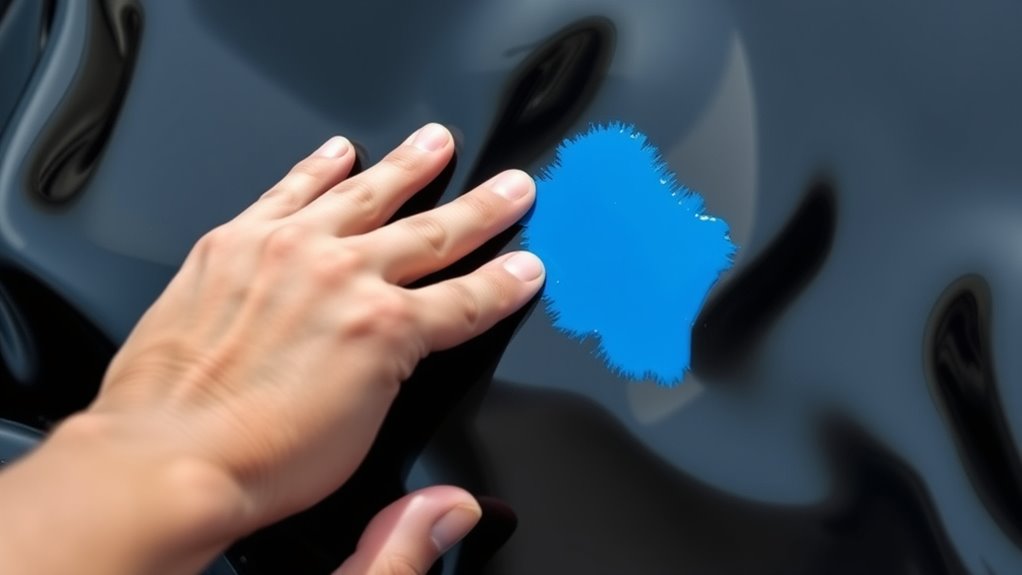
How can you effectively remove ink if you don’t know what kind it is? First, identify the ink type by examining its source. Is it from a ballpoint pen, marker, or printer cartridge?
Each ink reacts differently to cleaning methods. For instance, permanent marker ink is more stubborn than water-based pen ink.
Test the stain by gently pressing a damp cloth on a small, hidden section of the ink. If the ink smudges or transfers, it’s likely water-based and easier to remove.
If it stays intact, you may be dealing with a permanent or oil-based ink. Knowing this helps you choose the right cleaning approach and prevents damage to your vinyl.
Taking a moment to assess saves you time and frustration later.
Gather Cleaning Supplies
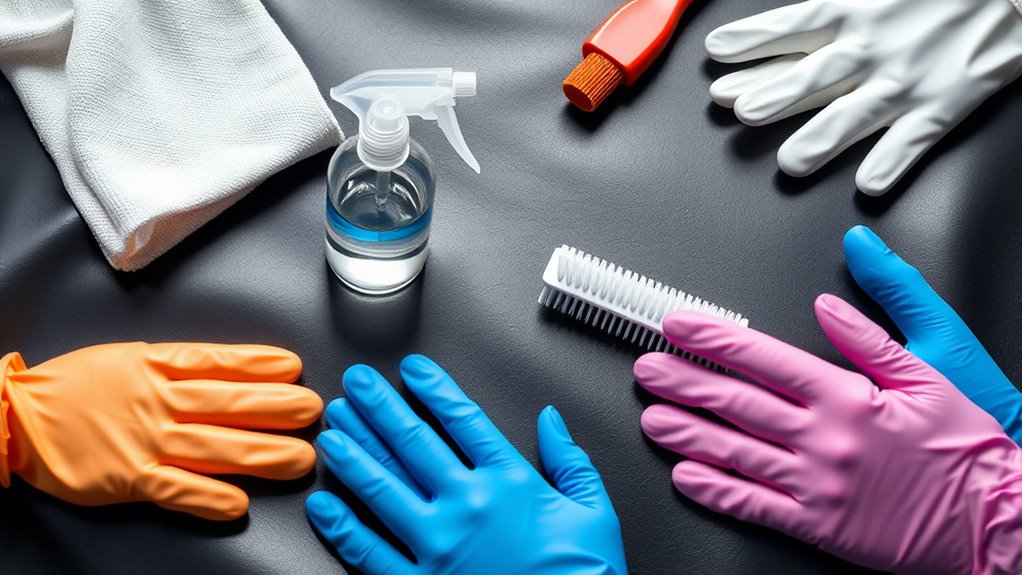
Once you’ve identified the type of ink stain, you can gather the right cleaning supplies to tackle it effectively. Having the appropriate materials on hand guarantees you don’t waste time and helps protect your vinyl from damage.
Start by choosing mild, non-abrasive cleaners because harsh chemicals can ruin the surface. You’ll also need soft tools to avoid scratching.
Choose gentle cleaners and soft tools to protect your vinyl from scratches and harsh damage.
Here’s what you should gather:
- Isopropyl alcohol or rubbing alcohol for most ink types
- A soft microfiber cloth or cotton balls for gentle application
- Mild dish soap mixed with warm water to clean residue afterward
With these supplies ready, you’re set to begin the cleaning process safely and efficiently. Remember, preparation is key to restoring your vinyl’s appearance without causing harm.
Test Cleaning Solution on a Hidden Area
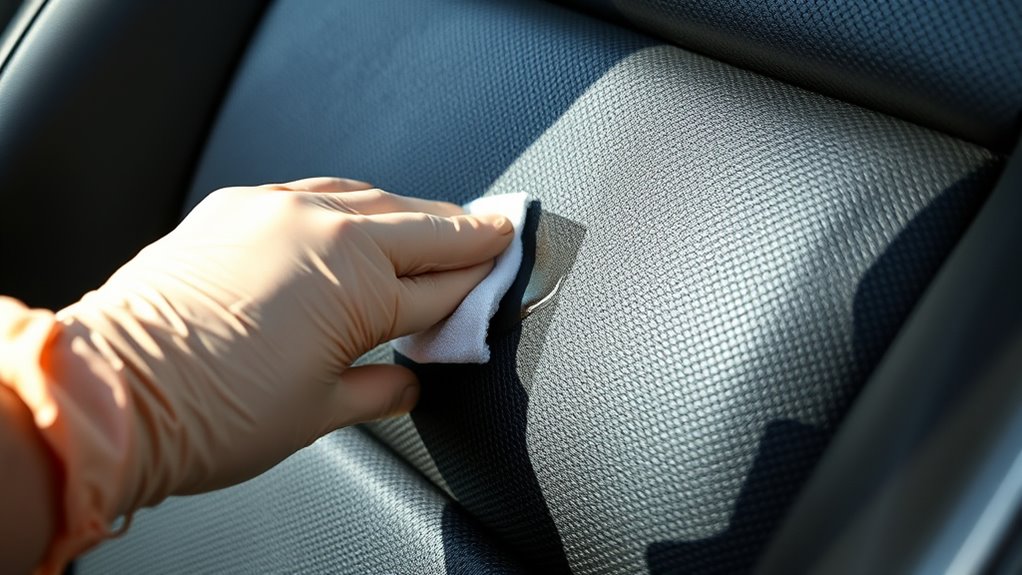
Before using any cleaning solution, pick a hidden spot on your vinyl to avoid visible damage. Apply a small amount of the cleaner and wait a few minutes.
Watch closely for any discoloration or texture changes before proceeding. It’s a simple step that can save you a lot of trouble later!
Choose Discreet Spot
Picking a discreet spot on your vinyl allows you to safely test any cleaning solution without risking visible damage. Before you start, find an area that’s hidden or less noticeable so you can see how the vinyl reacts without affecting the overall look.
This step helps you avoid discoloration, texture changes, or unwanted marks. When choosing your test spot, consider areas under furniture edges or seams, the backside or underside of the vinyl, or corners and edges that are rarely seen.
Testing in these spots helps you confidently move forward, ensuring the cleaning solution won’t harm your vinyl’s appearance or finish. Always take this precaution to protect your vinyl investment before applying any remover or cleaner to the ink stain.
Apply Small Amount
Although you’ve chosen a discreet spot, you should apply only a small amount of the cleaning solution to that hidden area first. This minimizes any risk of spreading the solution beyond where it’s needed.
Use a cotton swab or a clean cloth to dab just a tiny bit onto the vinyl. Avoid pouring or saturating the spot, as excess liquid can seep into seams or damage the material.
Applying a small amount lets you see how the vinyl reacts without committing to a full application. It also helps control the cleaning process, preventing potential discoloration or weakening of the vinyl surface.
Observe for Damage
Once you apply the cleaning solution to the hidden spot, watch closely for any signs of discoloration, texture changes, or damage. This step is vital to avoid ruining your vinyl. Give it a few minutes to see how the material reacts.
If the area looks unchanged, you’re good to proceed. However, if you notice any negative effects, stop immediately and try a different cleaner.
Pay special attention to:
- Color fading or blotching
- Surface softness or cracking
- Sticky or tacky residue forming
Testing in an inconspicuous area guarantees your cleaning method is safe and effective. It saves you from bigger problems and keeps your vinyl looking its best. Don’t skip this step!
Blot the Ink Stain Gently
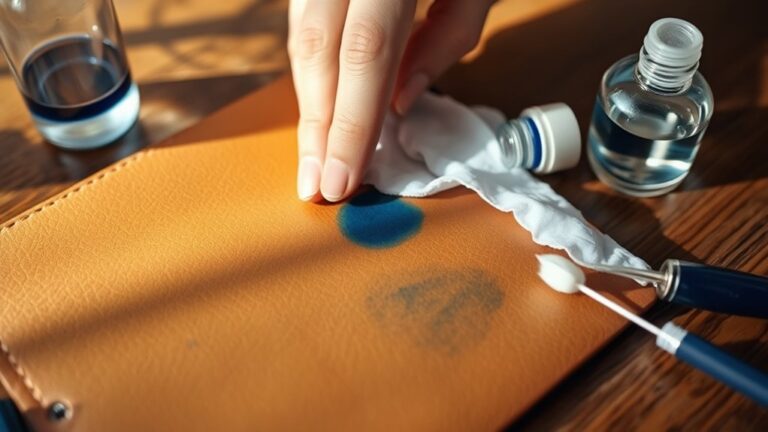
When you spot the ink stain, grab a soft cloth and start blotting gently. Don’t rub hard or smear the ink, since that can spread the stain.
Instead, dab carefully to lift the ink without damaging the vinyl. Just take your time and be gentle!
Use Soft Cloth
A soft cloth is essential for gently blotting ink stains on vinyl without causing damage. When you use a soft cloth, you reduce the risk of scratching or wearing down the vinyl’s surface.
Choose a cloth made from microfiber or soft cotton for the best results. Avoid rough or abrasive materials that might worsen the stain or harm the vinyl.
Keep these tips in mind when blotting with a soft cloth:
- Use gentle, dabbing motions to lift ink without spreading it further.
- Change to a clean section of the cloth frequently to avoid reapplying ink.
- Ensure the cloth is slightly damp but not soaked to prevent water damage.
Avoid Rubbing Hard
Although it might seem natural to rub the ink stain hard, you should always blot it gently to prevent pushing the ink deeper into the vinyl. Rubbing aggressively can spread the ink, making the stain larger and harder to remove.
Instead, use a soft cloth or paper towel and press it lightly onto the stain to absorb the ink. This gentle approach helps lift the ink without damaging the vinyl’s surface.
Remember, vinyl can scratch or become dull if treated roughly, so patience and a delicate touch are key. By blotting gently, you’ll increase your chances of fully removing the ink while maintaining the vinyl’s smooth finish.
Keep your movements controlled and avoid applying too much pressure during this step.
Dab, Don’t Smear
Since spreading the ink will only make the stain worse, you should dab it gently with a clean cloth instead of smearing it. Blotting helps lift the ink without pushing it deeper into the vinyl’s surface.
Use a soft, absorbent cloth and press lightly onto the stain. Avoid dragging the cloth across the area, which risks enlarging the spot and embedding the ink further.
Remember these key points when dabbing ink off vinyl:
- Use gentle pressure to avoid damaging the vinyl finish.
- Replace or rotate cloth sections to prevent reapplying ink.
- Work from the stain’s edges toward the center to contain the ink.
Apply Rubbing Alcohol Carefully
When you apply rubbing alcohol to vinyl, take extra care to avoid damaging the surface. Use a small amount on a clean cloth or paper towel rather than pouring it directly onto the vinyl.
Gently dab the stained area without rubbing aggressively, which can wear down the vinyl’s finish. It’s a good idea to test the alcohol on a hidden spot first to make sure it won’t discolor or degrade the material.
Work in small sections, allowing the alcohol to break down the ink without soaking the vinyl. After a few seconds, blot the area with a dry cloth to lift the ink and prevent the alcohol from lingering.
Use a Cotton Swab for Precision
If you want to target small ink spots without affecting the surrounding vinyl, use a cotton swab for precision. Dip the swab lightly in rubbing alcohol, then gently dab the ink stain.
This method guarantees you don’t saturate the vinyl, which can cause damage or discoloration. Work slowly and carefully, replacing the swab as it picks up ink to avoid spreading the stain.
Remember these key points when using a cotton swab:
- Use a fresh swab for each dab to keep the area clean.
- Avoid rubbing hard; gentle dabbing breaks down ink without harming vinyl.
- Focus on small sections to control the cleaning process and prevent over-wetting.
This technique helps you remove ink efficiently while protecting your vinyl’s surface. It’s a simple trick, but super effective!
Clean With Mild Soap and Water
A gentle mixture of mild soap and water can effectively lift ink stains from vinyl without causing damage. Begin by mixing a few drops of mild dish soap into a bowl of warm water.
Dip a soft cloth or sponge into the solution, wring out excess liquid, and gently wipe the stained area. Avoid soaking the vinyl, as too much moisture might cause harm.
Work in small, circular motions to loosen the ink. Rinse the cloth frequently and reapply the soapy water as needed.
This method helps break down the ink while preserving the vinyl’s finish. If the stain persists, repeat the process rather than scrubbing harder, which can scratch the surface.
This simple cleaning step sets you up perfectly for the next stage of restoration.
Dry the Vinyl Surface Thoroughly
Although you’ve just cleaned the ink stain, you can’t leave the vinyl damp. Moisture trapped on the surface may cause damage or attract dirt, undoing your hard work.
To dry the vinyl thoroughly, use a clean, soft cloth and gently pat the area until no moisture remains.
Make sure to:
- Avoid rubbing aggressively, which can damage the vinyl texture.
- Use a microfiber or lint-free cloth to prevent fibers from sticking.
Also, allow the vinyl to air dry for a few minutes after patting to ensure complete dryness.
Proper drying preserves the vinyl’s finish and prevents mold or mildew growth, keeping the surface clean and fresh.
Taking this simple step helps maintain your vinyl’s appearance and durability after ink removal.
Repeat the Process if Necessary
Once the vinyl is completely dry, check the ink stain to see if it has been fully removed. If you still notice any traces of ink, don’t worry—simply repeat the cleaning process.
Apply your chosen cleaning solution again, gently rubbing the stained area with a soft cloth or sponge. Be patient and avoid using harsh scrubbing motions, as they can damage the vinyl surface.
After treating the spot, dry the area thoroughly once more and inspect it again. You might need to repeat these steps a few times, depending on how stubborn the ink stain is.
Keep at it until the residue is gone, but always be gentle to protect the vinyl. This careful approach guarantees the best results without harming your item.
Protect Vinyl From Future Ink Stains
To keep your vinyl looking its best, you should take proactive steps to prevent ink stains from occurring in the first place. Protecting your vinyl surface not only preserves its appearance but also saves you time and effort later.
Here are some effective ways to guard against future ink stains:
- Use protective covers or mats in high-use areas to shield vinyl from accidental pen marks.
- Store pens and markers away from vinyl surfaces to reduce the risk of spills or leaks.
And don’t forget, you can also apply a vinyl-safe sealant or protective spray. This creates a barrier that makes ink easier to wipe off. It’s a simple step that can really pay off down the line!
Frequently Asked Questions
Can Ink Stains on Vinyl Cause Permanent Damage?
Yes, ink stains on vinyl can cause permanent damage if you don’t clean them quickly.
You’ll want to act fast because ink can seep into the material, making it harder to remove and potentially ruining the surface.
Are There Specific Ink Types Harder to Remove From Vinyl?
Yes, some ink types, like permanent markers and oil-based inks, are tougher to remove from vinyl.
You’ll notice water-based inks come off easier, so you’ll need stronger solvents for those stubborn stains.
Is It Safe to Use Commercial Stain Removers on Vinyl?
You should be cautious using commercial stain removers on vinyl because some contain harsh chemicals that can damage the surface. Always test a small, hidden area first and choose products labeled safe for vinyl to avoid problems.
It’s better to be safe than sorry, right? Taking a little extra time to check can save your vinyl from unwanted damage. So, always read the label carefully before you apply anything.
How Long Should I Wait Before Cleaning a Fresh Ink Stain?
Think of a fresh ink stain like spilled coffee—you’ve got about 10-15 minutes to act before it sets.
Jump in quickly to blot and clean; waiting longer makes removal much harder.
Can Heat Help in Removing Ink From Vinyl Surfaces?
Heat can actually make ink set deeper into vinyl, so you shouldn’t use it.
Instead, try cold water and gentle cleaning solutions to lift the stain without damaging the surface.
Avoid heat for best results.
Conclusion
Now that you know how to assess the stain, gather your supplies, and test solutions, you’re ready to tackle ink on vinyl with confidence. Blot gently, apply rubbing alcohol carefully, and clean with mild soap.
Dry thoroughly, repeat if needed, and protect your vinyl for the future. With patience, care, and the right steps, you’ll restore your vinyl’s beauty, prevent damage, and enjoy a cleaner, more vibrant space every day.
Removing ink from vinyl doesn’t have to be a headache. By following these simple steps, you can effectively eliminate stubborn stains without harming your vinyl surface. Remember, the key is gentle treatment and using the right materials to keep your vinyl looking fresh and new. So, take your time, be patient, and protect your vinyl for the long haul—your space will thank you!