How to Tell if the Ink Cartridge Is Empty With a Step-By-Step Guide
You can tell if your ink cartridge is empty by first checking the printer’s ink level indicator on its display or software. This is usually the quickest way to know if you’re running low on ink.
Printing a test page can also help you spot any faded or streaky output, which signals that the ink is running out.
Use your printer’s software to monitor real-time ink levels and receive alerts when ink is low.
If you’re still unsure, carefully remove the cartridge to visually check for any remaining ink inside.
Running a cleaning cycle on your printer can sometimes improve print quality if the ink isn’t fully empty yet.
If problems with print quality persist after these steps, you might need to replace the ink cartridge.
Keep reading to discover detailed steps and helpful tips to make this process easier and ensure your printer stays in good shape.
Key Takeaways
- Check the printer’s ink level indicator on the display screen or software for a visual or percentage reading of remaining ink. This gives you a quick snapshot of how much ink you have left.
- Inspect recent printouts for faded text, streaks, or inconsistent colors. These signs usually mean your ink is running low or empty.
- Use the printer’s software to monitor ink status and enable alerts for low ink notifications. That way, you’ll get a heads-up before the cartridge runs out completely.
- Remove the ink cartridge and visually check translucent areas for ink levels. Also, take a look for any damage or leaks while you’re at it.
- Run a test page or cleaning cycle via the printer controls. Then, check the print quality for missing lines or fading to see if the ink cartridge needs replacing.
Check the Printer’s Ink Level Indicator
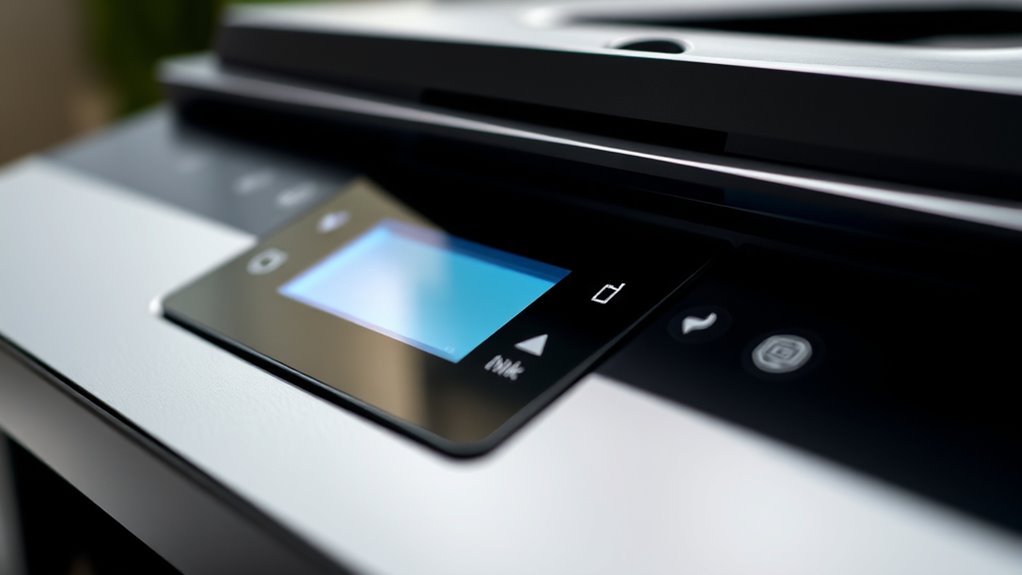
Before you assume your ink cartridge is empty, check your printer’s ink level indicator. Most modern printers have a built-in system that shows the remaining ink.
You can usually find this on the printer’s display screen or through the printer software installed on your computer. Open the printer software, navigate to the maintenance or status section, and look for ink levels.
This tool gives you a clear percentage or graphic representation of how much ink remains. If the indicator shows low or empty, then you’ll know it’s time to replace the cartridge.
Checking this first saves you from replacing cartridges prematurely. Plus, it helps you plan ahead so you’re not caught off guard when printing important documents.
Inspect the Print Quality for Signs of Low Ink
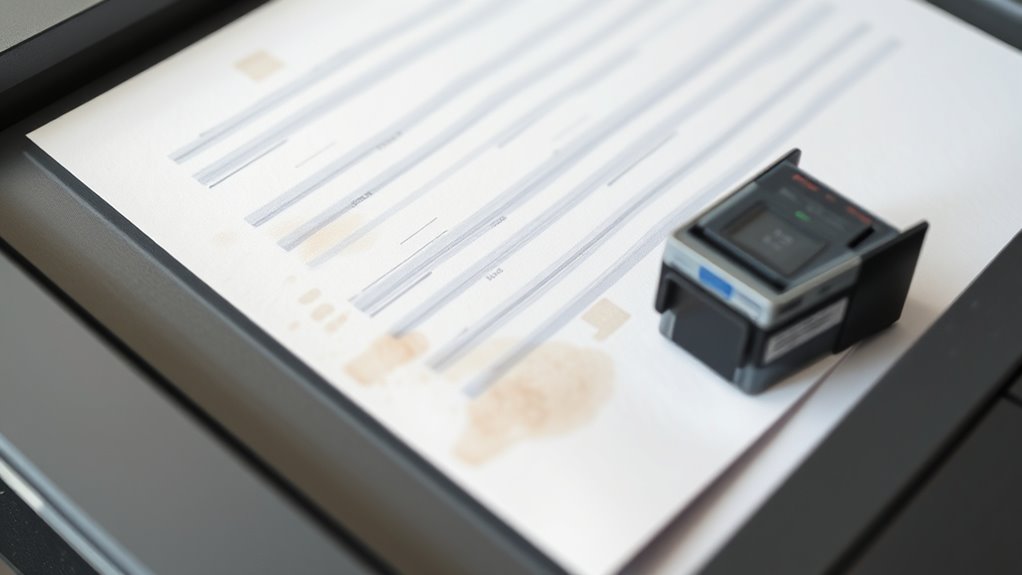
When your printouts start showing faded text or streaks, it’s a clear sign your ink cartridge might be running low. Take a close look at recent prints for inconsistent colors, missing lines, or blurry areas.
These issues often mean the ink isn’t flowing properly. You might notice light patches where the ink appears washed out or uneven shading in images.
Printing a test page can help you spot these problems more clearly. If the quality worsens over several prints, it’s time to think about replacing or refilling the cartridge.
Ignoring these signs can lead to poor document quality and potential printer damage. By regularly inspecting your print quality, you catch low ink early and keep your printer running smoothly.
Use Printer Software to Monitor Ink Status
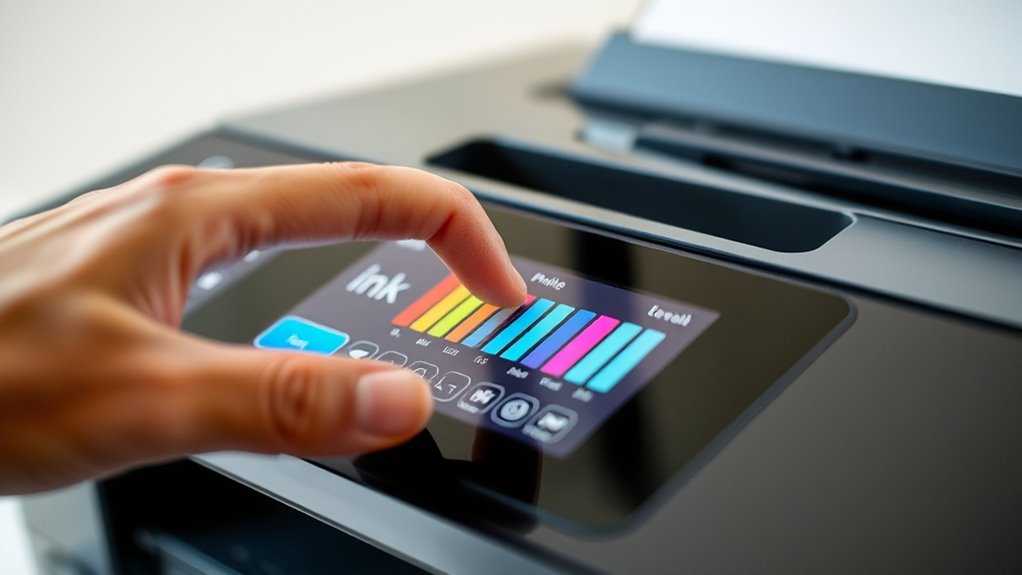
Although you can often spot low ink by inspecting print quality, using your printer’s software provides a quicker and more accurate way to monitor ink levels. Most printers come with built-in software or an app that displays your ink status in real-time.
Simply open the software on your computer or mobile device, then navigate to the ink or maintenance section. Here, you’ll see clear indicators showing the remaining ink percentage or color levels for each cartridge.
This helps you avoid surprises during printing and plan replacements in advance. If your printer supports notifications, enable them to receive alerts when ink runs low or cartridges need replacing.
Using the software takes the guesswork out of checking ink and keeps your printing smooth and uninterrupted. It’s really the easiest way to stay on top of your ink supply!
Remove and Visually Examine the Ink Cartridge
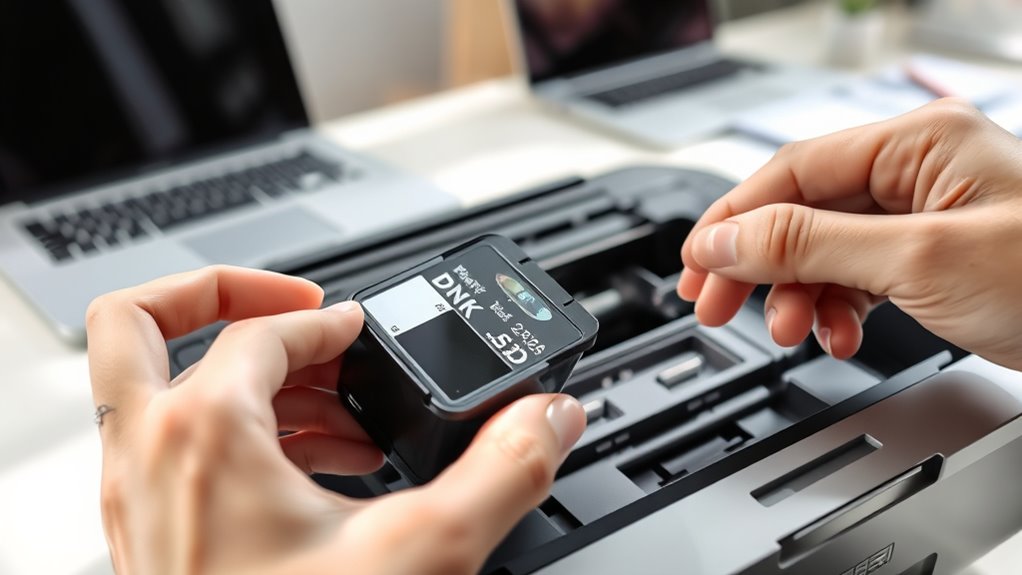
Start by locating and carefully removing the ink cartridge from your printer. Take a close look at the cartridge to check the ink levels through any transparent sections.
Also, inspect it for any visible damage that might affect printing. This way, you’ll know if the cartridge is the problem before moving on.
Locating the Cartridge
Before you can check if the ink cartridge is empty, you need to locate and remove it from your printer. Start by turning on your printer and opening its top cover or access panel—this is usually where the cartridges are housed.
The cartridge holder should slide to the center or become accessible once the cover is open. If it doesn’t move automatically, gently move it by hand, but be careful not to force anything.
Once you spot the cartridge, press the release tab or lever to free it, then carefully pull it out. Handle the cartridge by its sides to avoid touching the ink nozzles or electrical contacts.
Now that you have the cartridge out, you’re ready to visually examine it for ink levels or damage. Easy, right? Just take your time and be gentle!
Checking Ink Levels
How can you tell if your ink cartridge is running low just by looking? First, carefully remove the cartridge from your printer following the manufacturer’s instructions. Hold it up to a light source and look through the translucent plastic window, if it has one.
You should be able to see the ink level inside. If the cartridge looks nearly empty or dry, it’s time to replace or refill it. Some cartridges don’t have a clear window, so check for any ink stains or residue around the nozzle area, which might indicate low ink.
Be gentle while handling the cartridge to avoid spilling ink. After inspection, reinstall it securely to ensure proper printer function. This visual check helps you identify low ink before print quality deteriorates.
Identifying Physical Damage
Although it’s easy to overlook, physically examining your ink cartridge can reveal damage that affects printing quality. Start by carefully removing the cartridge from your printer.
Look for cracks, leaks, or dried ink that might block the nozzles. Also, check if the contacts are dirty or scratched, as this can disrupt communication with the printer.
| Issue | What to Look For | Effect on Printing |
|---|---|---|
| Cracks | Visible breaks or splits | Ink leakage, poor prints |
| Leaks | Ink stains on cartridge | Messy prints, smudges |
| Dried Ink | Hardened ink around nozzles | Blocked ink flow |
| Dirty Contacts | Dust or ink residue | Printer errors |
| Scratched Contacts | Surface scratches | Communication failure |
Spotting these problems early helps guarantee your cartridge works properly. So, it’s worth taking a few minutes to give your cartridge a good once-over now and then.
Run a Printer Test Page or Cleaning Cycle
When your prints start looking faded or streaky, running a printer test page or a cleaning cycle can quickly reveal whether the ink cartridge is empty or clogged. Here’s how to do it:
- Access your printer’s control panel or software on your computer.
- Select the option to print a test page or nozzle check pattern.
Take a close look at the test print for any missing lines or faded areas. Those are signs of ink issues.
If the print isn’t clear, go ahead and run the printer’s cleaning cycle to clear clogged nozzles.
After cleaning, print another test page to see if the quality gets better. If you still see streaks or fading, the ink cartridge might be empty or malfunctioning. That usually means it’s time to try some other steps.
Replace the Ink Cartridge When Necessary
If running test pages and cleaning cycles doesn’t improve your print quality, it’s a strong indicator that the ink cartridge needs replacing. First, check your printer’s display or software for low ink warnings.
Running test pages and cleaning cycles without improvement usually means it’s time to replace your ink cartridge.
Then, power off the printer and open the cartridge compartment carefully. Remove the empty cartridge by gently pressing the release tab or lever.
Before installing a new cartridge, avoid touching the copper contacts to prevent damage. Unpack the replacement cartridge and remove any protective tape.
Insert it firmly into the slot until it clicks into place. Close the compartment and power the printer back on.
Run a test page to ensure the new cartridge works correctly. Replacing cartridges promptly keeps your prints sharp and prevents damage to the printer’s components.
Frequently Asked Questions
Can Expired Ink Cartridges Damage My Printer?
Yes, expired ink cartridges can damage your printer by clogging the nozzles or causing poor print quality.
You should replace them promptly to avoid printer malfunctions and maintain peak performance.
It’s better to keep your printer running smoothly than to risk costly repairs. So, always check your cartridges and swap them out when needed!
How Should I Store Unused Ink Cartridges?
You should store unused ink cartridges in a cool, dry place, away from direct sunlight. Keep them sealed in their original packaging to prevent drying out.
Also, try to avoid extreme temperatures since that can mess with the ink quality and how long it lasts. Just a little care goes a long way!
Are All Ink Cartridges Compatible With Every Printer Model?
No, not all ink cartridges work with every printer model. You’ll need to check your printer’s manual or manufacturer website to find compatible cartridges.
Using the wrong one can cause printing issues or damage your printer. So, it’s really important to use the right cartridge for your specific printer.
Can Refilled Cartridges Cause Printing Issues?
Imagine your printer as a chef—refilled cartridges can be like using recycled ingredients. Sometimes, the dish turns out great, but other times, it causes trouble, like clogs or poor print quality.
You’ll want to watch for those signs. They can be subtle at first, but catching them early can save you a lot of hassle down the line.
How Long Does It Take to Replace an Ink Cartridge?
Replacing an ink cartridge usually takes just 5 to 10 minutes. You’ll open the printer, remove the old cartridge, and insert the new one.
After that, you run a quick alignment or test print to finish up. It’s pretty straightforward and doesn’t take much time at all!
Conclusion
Now that you know how to check your ink levels, you might wonder—can a cartridge still print when it’s “empty”? Surprisingly, sometimes it can, but print quality will drop fast.
Don’t rely on guesswork; use your printer’s tools and visual checks to be sure. Staying on top of ink levels saves you frustration and keeps your prints sharp.
So, ready to keep your printer running smoothly? Just follow these simple steps! Keeping an eye on your ink cartridge status helps you avoid unexpected print failures and ensures your documents always look professional. By regularly checking and replacing your ink cartridge when needed, you maintain vibrant colors and clear text. This simple habit is key to a hassle-free printing experience and prolongs the life of your printer.