How to Refill an Ink Stamp in 3 Easy Steps
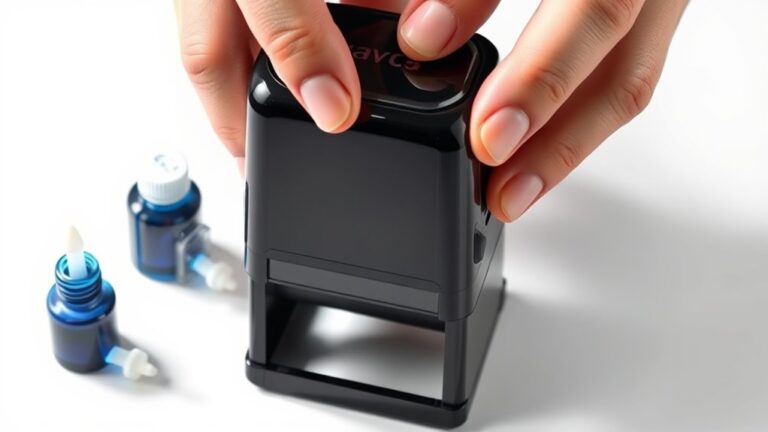
To refill an ink stamp in 3 easy steps, first gather your supplies like ink, gloves, and a dropper. Make sure you have everything ready before you start, so the process goes smoothly. Then, clean and prepare the stamp pad to ensure the new ink adheres properly.
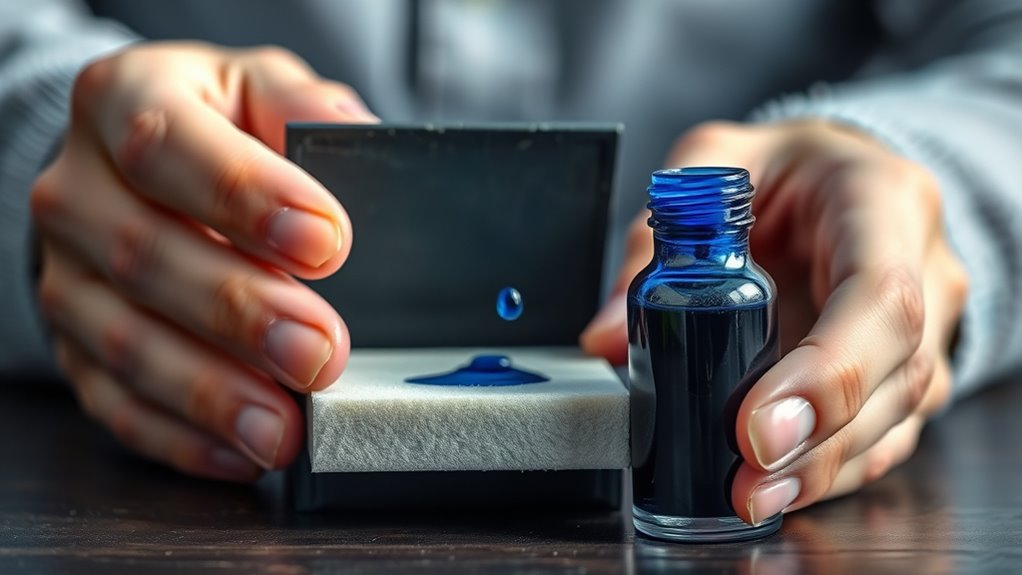
Next, apply small, even drops of ink to the pad, starting from the center. This helps avoid oversaturation and keeps the ink evenly distributed. Be patient and careful as you add the ink.
Finally, let the ink absorb for a few minutes. Test the stamp on scrap paper to check the impression, and add more ink if needed. Stick around to discover tips for getting the best, sharpest stamp impressions every time. It’s easier than you think!
Key Takeaways
- Gather necessary supplies including ink, gloves, cloth, and dropper before starting the refill process. It’s best to have everything ready so you don’t have to stop halfway.
- Carefully clean the stamp surface and remove the ink pad if possible for easier refilling. This helps make sure the new ink goes on smoothly.
- Use a dropper to apply small, even drops of ink starting from the center of the pad. Be gentle here—too much ink can cause problems.
- Avoid over-inking to prevent smudging and blot excess ink gently with a paper towel. You don’t want a mess, right?
- Allow the ink to absorb fully, then test the stamp on scrap paper and add more ink if needed. It might take a couple of tries to get it just right!
Gather Your Supplies and Prepare the Stamp
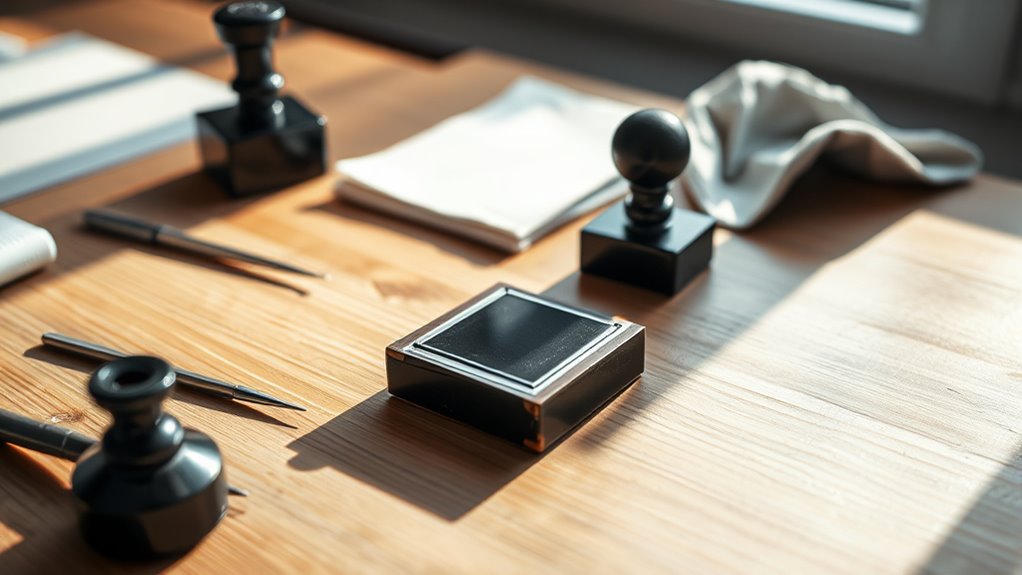
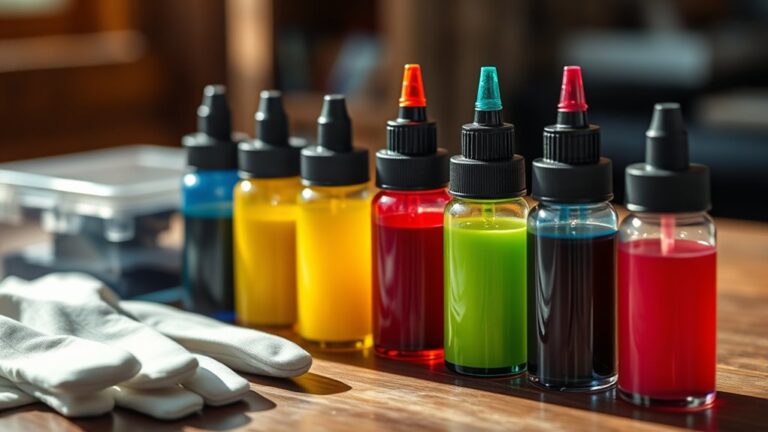
Before you begin refilling your ink stamp, gather all the necessary supplies to assure a smooth process. You’ll need the correct ink type for your stamp, a clean cloth or paper towel, gloves to keep your hands clean, and a small dropper or syringe for precise ink application.
Gather all supplies—correct ink, cloth, gloves, and a dropper—to ensure a smooth ink stamp refill process.
Make sure you have a flat, protected workspace to avoid spills. Next, prepare the stamp by removing the ink pad carefully. If your stamp allows it, take out the pad to work on it separately.
Clean the stamp surface gently with a damp cloth to remove any dried ink or debris. This preparation guarantees the new ink adheres well and prevents damage.
Once everything’s ready, you’ll be set for a successful refill.
Apply the Ink Carefully to the Stamp Pad
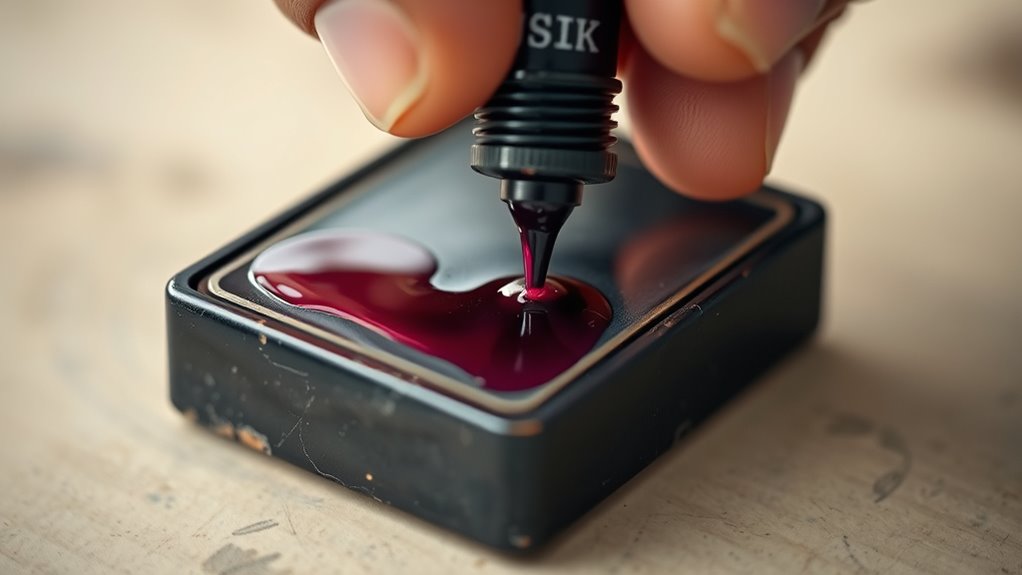
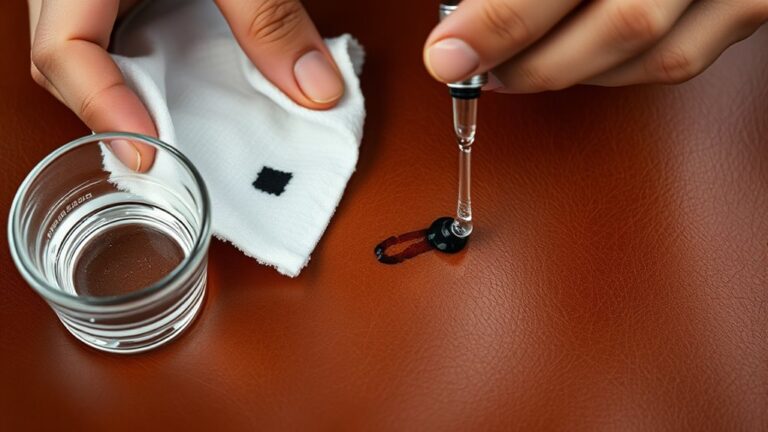
When you’re ready to apply the ink, use your dropper or syringe to place small, even drops onto the stamp pad’s surface. Avoid pouring too much ink at once, as this can oversaturate the pad and cause smudging.
Start by applying ink to the center, then gently move outward to cover the entire pad evenly. If your stamp pad has a removable cover, keep it nearby to prevent dust from settling on the ink.
Use a steady hand to keep drops controlled and avoid spills. If you notice any excess ink pooling, gently blot it with a clean paper towel to maintain an even distribution.
Applying the ink carefully ensures your stamp will produce clean, sharp impressions.
Allow the Ink to Absorb and Test the Stamp
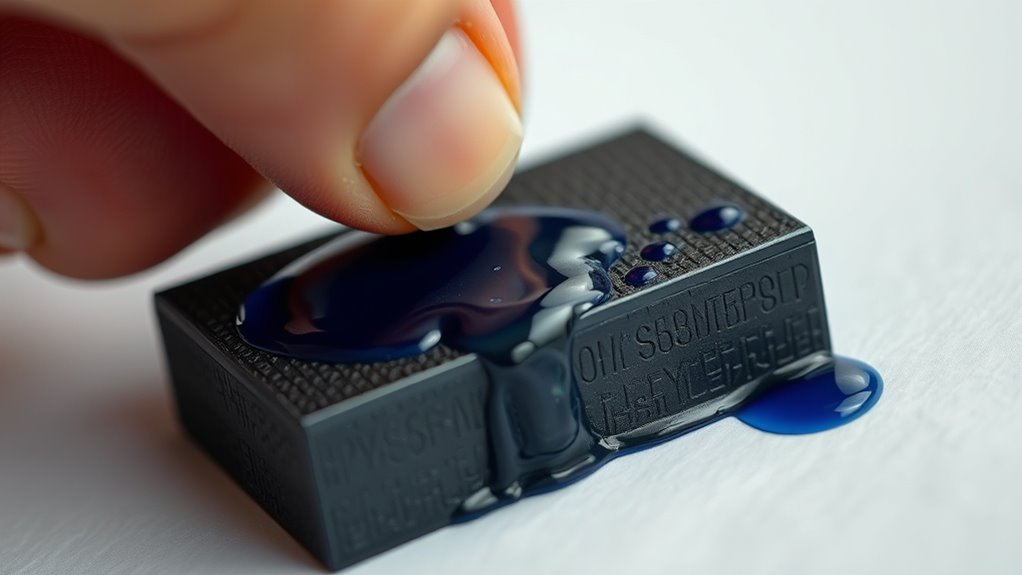
Although it might be tempting to use your stamp immediately, let the ink soak into the pad for a few minutes to guarantee even absorption. This waiting period helps the ink distribute uniformly, preventing blotchy or faint impressions.
After waiting, press the stamp gently on a scrap piece of paper. Check for consistent ink coverage across the design.
If the impression is too light, add a few more drops of ink and wait again. Repeat testing until you get a clear, even print.
Frequently Asked Questions
How Often Should I Refill My Ink Stamp?
You should refill your ink stamp whenever the impressions start looking faint or inconsistent. Typically, this happens after several uses, but it depends on your stamping frequency and the ink type you use.
Keep an eye on it! If the stamp isn’t making clear marks, it’s probably time for a refill. Don’t wait too long, or your impressions might become too light to read.
What Type of Ink Is Best for Different Stamp Materials?
For rubber stamps, water-based ink works best, but for metal or plastic, you’ll want oil-based ink for durability.
While water-based dries quickly, oil-based lasts longer—choose based on your stamp’s material and usage needs. It really depends on what you’re stamping and how often. So, think about what suits your project before picking your ink!
Can I Use Colored Ink Instead of Black?
Yes, you can use colored ink instead of black. Just make sure the ink is compatible with your stamp material.
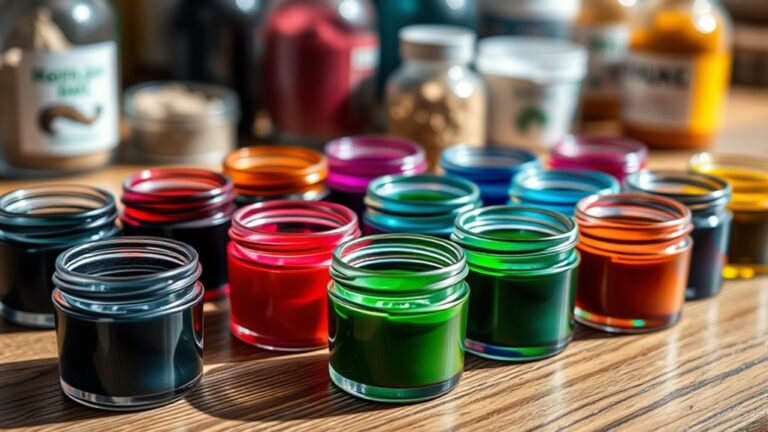
Colored ink adds variety and creativity, so feel free to experiment with different hues for your projects. It’s a fun way to make your work stand out!
How Do I Clean My Stamp Before Refilling?
You should clean your stamp before refilling to guarantee clear impressions. Gently wipe the surface with a damp cloth or use mild soap and water, then let it dry completely.
This avoids ink mixing and smudging. It’s a simple step, but it really makes a difference!
Is It Safe to Refill Self-Inking Stamps at Home?
Yes, it’s safe to refill self-inking stamps at home if you use the right ink and follow instructions carefully.
Just avoid overfilling, work in a well-ventilated area, and clean up any spills promptly.
That way, you’ll keep things neat and your stamps working perfectly!
Conclusion
Now that you’ve mastered refilling your ink stamp in just three simple steps, you’re basically a stamping superhero! No more frantic searches for a new stamp or messy blotches ruining your documents.
With your perfectly inked stamp, you could probably stamp your way through a mountain of paperwork in seconds—saving the world one imprint at a time. It’s amazing how a quick refill can keep your ink stamp working like new, making every impression crisp and clear.
So go ahead, enjoy that satisfying *click* and keep stamping like a pro! Refilling your ink stamp not only saves money but also helps reduce waste, making it a smart and eco-friendly choice. Keep your stamping game strong and your documents looking sharp with this easy ink stamp refill trick!