How to Refill Rubber Stamp Ink in 7 Easy Steps
To refill your rubber stamp ink in 7 easy steps, first gather the right ink and tools, then prepare a clean workspace. Having everything ready makes the process smooth and mess-free. Choosing the correct ink ensures your stamp works perfectly every time.
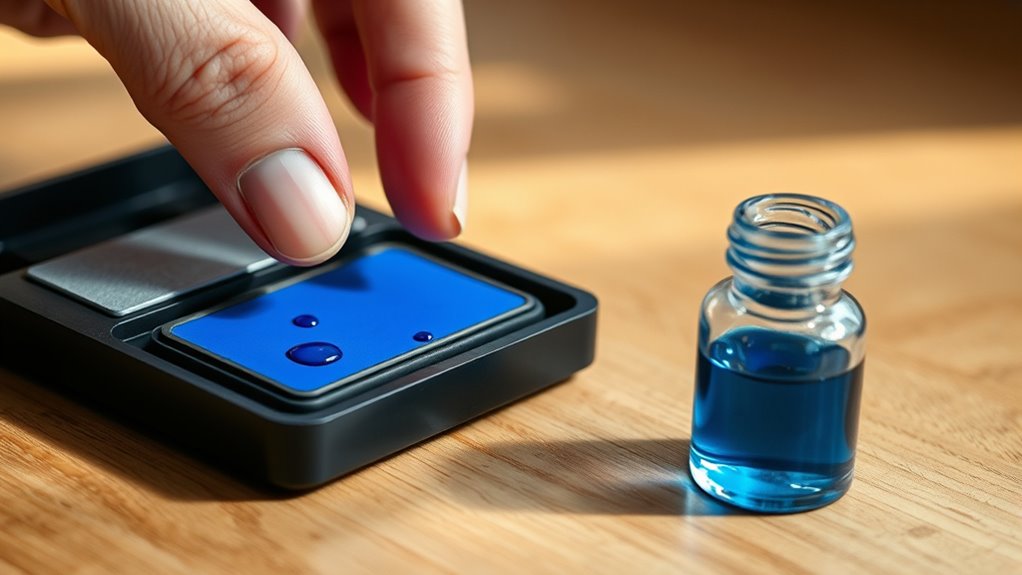
Carefully remove the ink pad from the stamp and apply a few drops of ink evenly onto the pad. Don’t rush this part—spread the ink gently for the best coverage. Let the ink absorb for 10-15 minutes, then test the stamp on scrap paper to guarantee clear impressions.
If the print looks a bit light, you can add a few more drops and wait again.
Finally, store the ink pad properly to keep it fresh and ready for your next stamping project. Keep going to discover tips for perfect, long-lasting results.
Key Takeaways
- Remove the ink pad carefully from the stamp and place it on a clean surface for inspection.
- Apply a few drops of compatible ink evenly onto the center of the pad using a dropper or syringe.
- Press the stamp surface in small circular motions to distribute the ink uniformly across the pad.
- Let the ink soak for 10-15 minutes and reapply if the pad remains dry or uneven.
- Test the stamp on scrap paper and add more ink if the impressions are faint or inconsistent.
Gather Your Supplies
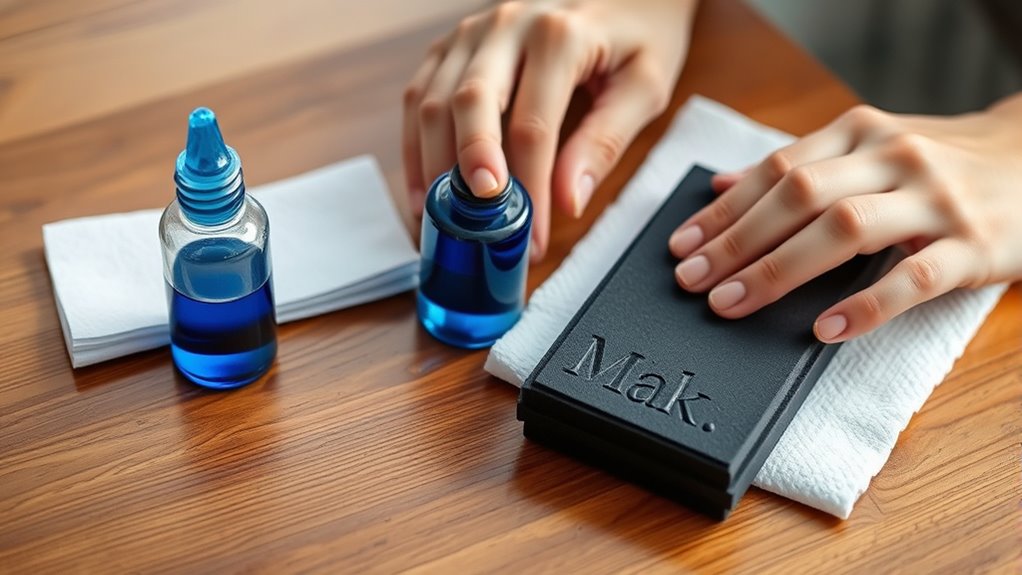
Before you begin refilling your rubber stamp ink, make sure you have all the necessary supplies ready. You’ll need the right ink type that matches your stamp pad—water-based or solvent-based.
Grab a dropper or small syringe to control the ink flow precisely. Have some paper towels or a clean cloth nearby for any spills.
Keep gloves handy to protect your hands from stains. It’s helpful to have a flat surface to place your stamp pad on while refilling, but avoid setting up your entire workspace here.
Finally, check your stamp pad for any cracks or damage before refilling. Gathering these supplies ensures a smooth, mess-free process when you start refilling your rubber stamp ink.
Prepare Your Workspace
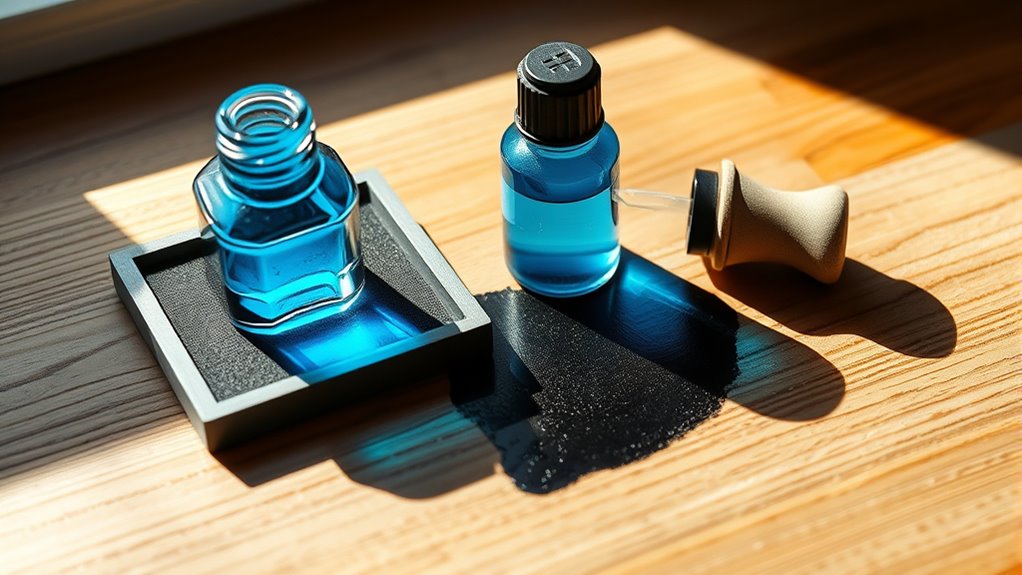
Before you start refilling your rubber stamp ink, make sure to clear your work area to avoid any spills or messes.
Gather all the materials you need within reach so the process goes smoothly. Having an organized space helps you work quickly and efficiently.
Clear Work Area
Since ink can be messy, you’ll want to clear your work area thoroughly to prevent stains and spills. Start by removing any unnecessary items from your table to create ample space.
Next, cover your surface with disposable paper towels or an old cloth to catch any drips. Keep a small container of water or cleaning wipes nearby for quick cleanup of accidental smudges.
Finally, make sure your workspace is well-lit so you can see exactly what you’re doing. Following these steps guarantees a tidy environment and minimizes the risk of damaging your furniture or clothes while refilling your rubber stamp ink.
Staying organized and prepared helps the process go smoothly from start to finish.
Gather Necessary Materials
You’ll need a few essential materials to refill your rubber stamp ink effectively. First, gather the correct ink refill specific to your stamp type—water-based, oil-based, or solvent-based inks each require compatibility.
Have clean paper towels or cloths ready to catch any drips or spills. You’ll also want gloves to protect your hands from staining.
A small dropper or syringe helps you apply ink precisely without mess. Finally, keep some cotton swabs on hand for cleaning excess ink from the stamp edges.
Preparing all these materials beforehand guarantees a smooth, efficient refill process and helps prevent accidental stains or damage. Organize everything within easy reach on your cleared workspace before you begin.
Remove the Ink Pad From the Stamp
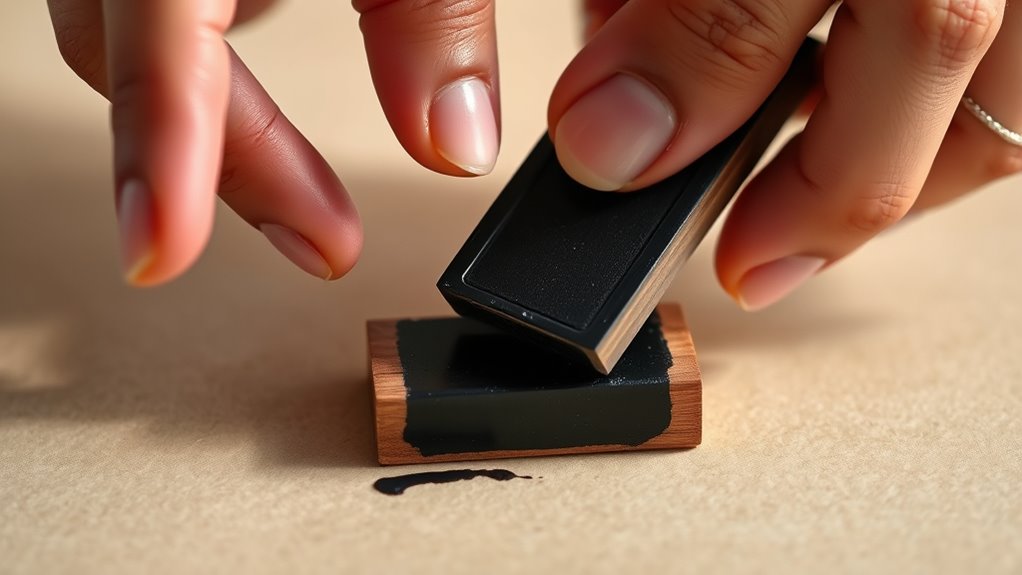
First, find the ink pad inside your rubber stamp by opening the stamp case carefully. Next, gently pull the pad out to avoid any damage.
Before refilling, check the pad for any cracks or worn areas that might need replacing. This way, you ensure your stamp works perfectly every time.
Locate the Ink Pad
Where can you find the ink pad on your rubber stamp? Typically, it’s housed within the stamp’s body or attached beneath the rubber surface. To locate it, follow these steps:
- Hold your rubber stamp firmly and look for a visible slot or compartment.
- Check beneath the rubber design for a rectangular or square pad.
- Examine the sides of the stamp; some models have sliding or removable panels.
- If your stamp is self-inking, the ink pad is usually inside, between the handle and the rubber surface.
Once you identify the ink pad’s position, you’re ready to proceed with removing it carefully before adding new ink. Knowing exactly where it sits makes the refilling process smoother and prevents damage to your stamp.
Gently Detach Pad
Before adding new ink, carefully detach the ink pad to avoid damaging the stamp. Hold the stamp firmly in one hand and gently pull the ink pad out with your other hand.
Most ink pads slide or snap out easily, so avoid forcing it to prevent breakage. If your stamp has a locking mechanism or clips, release them slowly before removing the pad.
Place the pad on a clean surface to keep it free from dust or debris. Detaching the pad properly guarantees you can work on refilling without harming the stamp’s rubber or casing.
Take your time during this step—it sets the stage for a smooth refill process and helps maintain the stamp’s longevity. Just be gentle, and you’ll be all set!
Inspect for Damage
How can you tell if your stamp needs repairs? After gently detaching the ink pad, take a close look for damage that might affect your stamping results. Here’s what to check:
- Cracks or tears in the rubber surface that could cause uneven ink distribution.
- Dry or hardened areas that won’t absorb ink properly.
- Warped or bent pads that won’t sit flush, leading to smudges.
- Excessive ink buildup that creates blotchy impressions.
If you spot any of these issues, consider replacing or repairing your stamp before refilling the ink. Catching problems early helps keep your stamping crisp and professional every time.
Apply Ink Evenly to the Pad
Since an uneven application can cause blotchy impressions, you’ll want to distribute the ink carefully across the pad. Begin by placing a few drops of ink onto the center of the pad. Use the tip of the ink bottle or a dropper for accuracy.
Next, gently spread the ink by pressing the stamp surface lightly onto the pad and moving it in small circular motions. Avoid soaking one area too much, as this leads to uneven coverage.
Keep adding ink sparingly, focusing on areas that appear dry or lighter. Make sure every part of the pad gets a consistent amount of ink for sharp, clear impressions.
Taking your time here guarantees your stamp will work perfectly every time you use it.
Allow the Ink to Absorb
Once you’ve spread the ink evenly across the pad, give it time to soak in fully. This step ensures your stamp will produce clear, consistent impressions.
Here’s what you should do:
- Set the stamp aside on a clean surface.
- Avoid pressing the pad or using the stamp during this period.
- Wait at least 10-15 minutes to let the ink permeate the fibers.
- If the pad still looks dry after waiting, apply a small additional amount of ink and repeat the process.
Patience here is key; rushing can cause uneven ink distribution or smudging. Just let it absorb properly—that way, your stamp stays vibrant and lasts longer without needing frequent refills.
Test the Stamp Impression
Before you start using your stamp regularly, you’ll want to test its impression to guarantee the ink is evenly distributed and the design comes out crisp. Press the stamp firmly onto a scrap piece of paper, applying consistent pressure across the entire surface.
Check the print carefully for any uneven spots, smudges, or areas that look too light or too dark. If the impression isn’t clear, add a few more drops of ink and let it absorb longer before testing again.
Avoid pressing too hard, as it can distort the design. Once you get a clean, sharp image, your stamp is ready for use.
Testing ensures your projects look professional and prevents wasting materials with poor prints. It’s a quick step that really pays off!
Store Your Ink Pad Properly
To keep your ink pad in good condition, you should store it in a cool, dry place away from direct sunlight. This helps prevent the ink from drying out or fading quickly.
Make sure the lid is securely closed to stop air from seeping in. Here’s how to store your ink pad properly:
- Place it in a drawer or cabinet to avoid temperature fluctuations.
- Keep it flat to prevent ink from pooling unevenly.
- Avoid storing near heat sources like radiators or electronics.
- Check periodically for any signs of drying or cracking.
Doing these simple things will help your ink pad last longer and stay fresh. It’s pretty easy to take care of once you get into the habit!
Frequently Asked Questions
How Long Does Rubber Stamp Ink Typically Last After Refilling?
Rubber stamp ink typically lasts several months after refilling, depending on usage and storage. If you keep your stamp clean and store it properly, you’ll get consistent, vibrant impressions for a good while before needing another refill.
It really depends on how often you use the stamp, though. Heavy use means you’ll probably need to refill more often. But with light or moderate use, the ink can hold up nicely over time.
Can I Use Different Brand Inks to Refill the Same Stamp?
Mixing different brand inks is a bit like blending oil and water—it might not work well. You can try, but sticking to the same brand guarantees consistent color and avoids potential stamp damage or poor ink performance.
It’s usually best to keep things simple. Using the same brand helps ensure your stamp looks great every time and lasts longer.
What Type of Ink Is Best for Rubber Stamps?
You’ll want to use dye-based or pigment-based ink for rubber stamps. Dye inks dry quickly and work well on paper, while pigment inks offer vibrant colors and last longer, especially on non-porous surfaces.
Dye inks are great if you need something fast-drying. They soak into the paper nicely, making your stamp look crisp.
On the other hand, pigment inks sit on top of the surface. So, they’re perfect if you want bold colors that really pop and hold up over time. Plus, they work well on materials that don’t absorb ink easily.
How Often Should I Clean My Rubber Stamp?
Think of your rubber stamp as a painter’s brush—clean it after every use to keep colors vivid and details sharp.
If you stamp daily, clean it weekly.
But if you don’t use it as often, cleaning once a month works fine to prevent ink buildup and keep it lasting longer.
Is It Safe to Refill Ink Pads With Homemade Ink Solutions?
It’s generally not safe to refill ink pads with homemade ink solutions because they might damage the pad or affect stamp quality. You should use manufacturer-recommended inks to guarantee the best results and avoid ruining your stamp.
Honestly, it’s just not worth the risk. Stamps and ink pads are designed to work with specific types of ink, so going off-script can lead to problems down the line. Better to stick with what’s proven to work!
Conclusion
Refilling your rubber stamp ink is easier than you might think, and now you’ve got the steps down! Some say stamp ink can last forever once refilled, but in reality, it fades over time—don’t worry, that’s normal.
By following these steps, you’ll keep your stamps looking fresh and sharp for longer. Just remember, a little care goes a long way, so enjoy the process and keep stamping with confidence!
Keeping your rubber stamp ink refilled properly ensures vibrant and clear impressions every time you use your stamp. Regular maintenance not only extends the life of your stamps but also saves you money on replacements. So, take a moment for this simple task, and you’ll be stamping beautifully for years to come. Happy stamping!