How Ink Is Manufactured Step by Step
You start by selecting pigments, binders, solvents, and additives that fit your desired ink qualities. These ingredients are crucial because they determine the color, texture, and performance of the ink. Choosing the right combination sets the foundation for high-quality ink.
Next, you grind pigments finely with dispersants for a smooth texture. This step ensures the color particles are evenly distributed and won’t clump together. It’s all about achieving that perfect consistency.
Then, you mix all ingredients carefully to balance color, viscosity, and drying time. Getting this mix right is key to how the ink will behave when used.
After that, you filter and refine the ink to guarantee uniform flow and prevent clogs. This keeps the ink working smoothly in any printing or writing process.
Finally, you test its consistency and package it safely. This makes sure the ink performs well and stays fresh until it reaches you. Keep exploring if you want to uncover each step in greater detail.
Key Takeaways
– Select raw materials including pigments, binders, solvents, and additives based on desired ink properties and application needs.
This step is crucial because the quality of raw materials directly affects the final ink performance.
– Grind and disperse pigments using mills and dispersing agents to achieve fine, uniform particle size for smooth ink texture.
Getting the particles just right ensures the ink flows well and looks consistent when printed.
– Mix ground pigments with binders, solvents, and additives to formulate the ink with proper consistency, durability, and drying time.
This mixing process balances everything so the ink behaves exactly as needed for its specific use.
– Filter and refine the ink to remove impurities, control viscosity, and ensure even pigment distribution for optimal printing performance.
Filtering helps avoid clogs and keeps the print quality top-notch.
– Conduct quality control tests on color, viscosity, drying, and adhesion before packaging ink in suitable containers with proper labeling.
These tests make sure the ink meets all standards before it’s shipped out.
Selecting Raw Materials
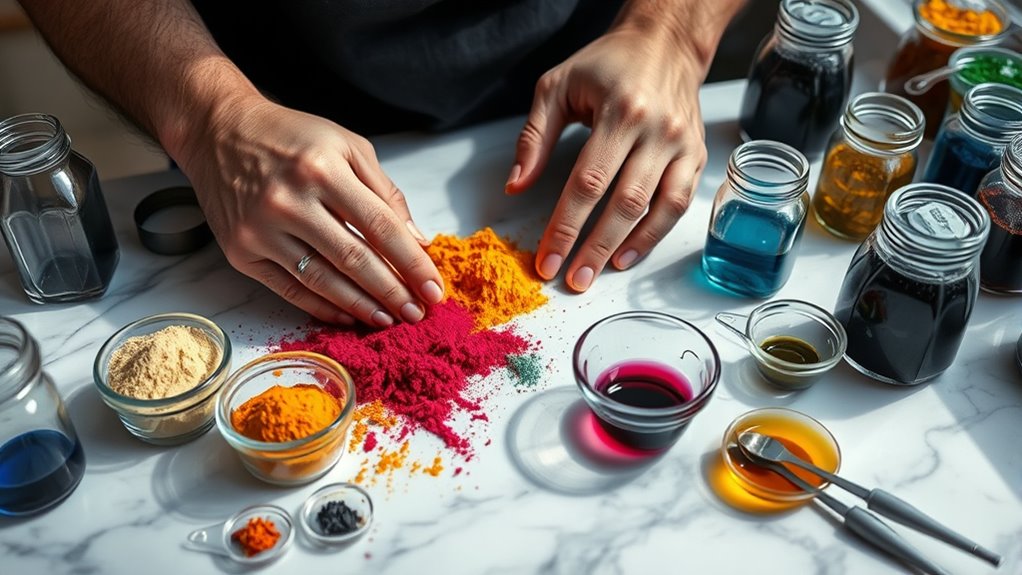
Before the ink can be made, you need to carefully select the raw materials that will determine its quality and performance.
Selecting the right raw materials is essential to crafting high-quality, effective ink.
You’ll start by choosing pigments or dyes, which provide the color and opacity. These must be vibrant, stable, and compatible with your intended ink type.
Next, you select the binder, a key ingredient that holds the pigment particles together and helps the ink adhere to surfaces. Resins and oils often serve this purpose.
You’ll also need solvents or vehicles to control the ink’s flow and drying time.
Additives like stabilizers, surfactants, and preservatives enhance properties such as shelf life and consistency.
Each material plays a critical role in the final product’s durability, colorfastness, and application method, so your choices directly impact the ink’s effectiveness.
Grinding and Dispersion of Pigments
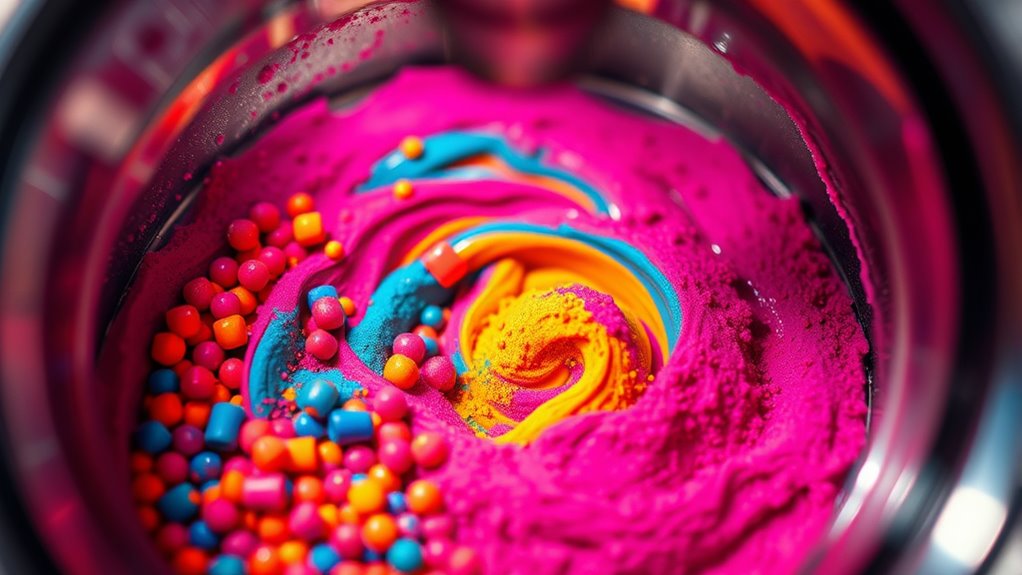
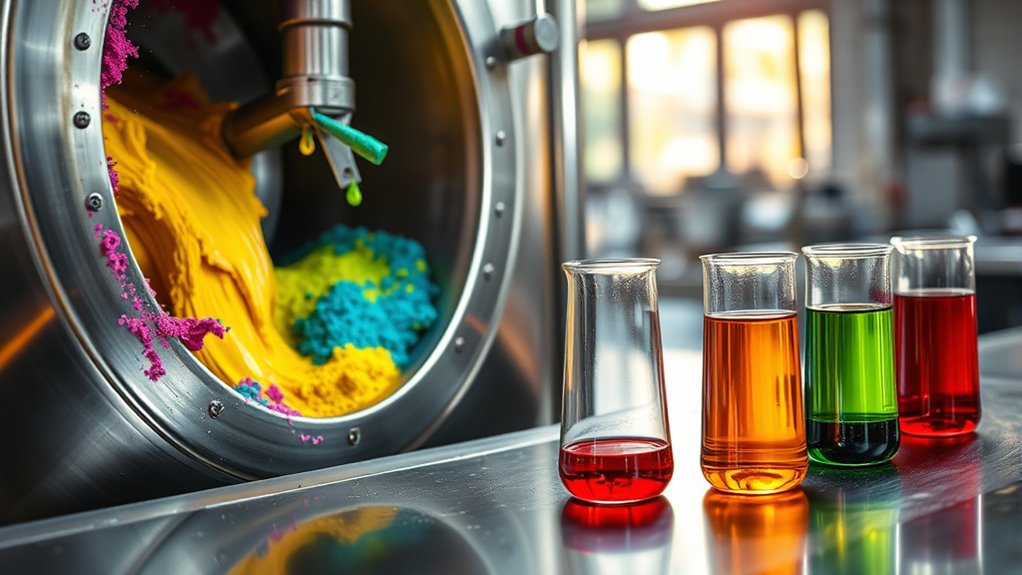
Once you’ve selected your pigments, you’ll need to grind and disperse them thoroughly to guarantee an even color and smooth texture. This process breaks down pigment particles into tiny, uniform sizes, preventing clumps and ensuring consistent color throughout the ink.
You’ll typically use grinding equipment like ball mills or three-roll mills, which use mechanical force to reduce particle size. As you grind, dispersing agents help separate the particles and keep them evenly suspended in the liquid medium.
Proper dispersion is vital; if pigments aren’t dispersed well, your ink can appear blotchy or uneven when applied. By carefully controlling grinding time, speed, and dispersant levels, you’ll achieve a finely ground pigment dispersion, setting a solid foundation for producing high-quality ink.
Mixing and Formulating the Ink
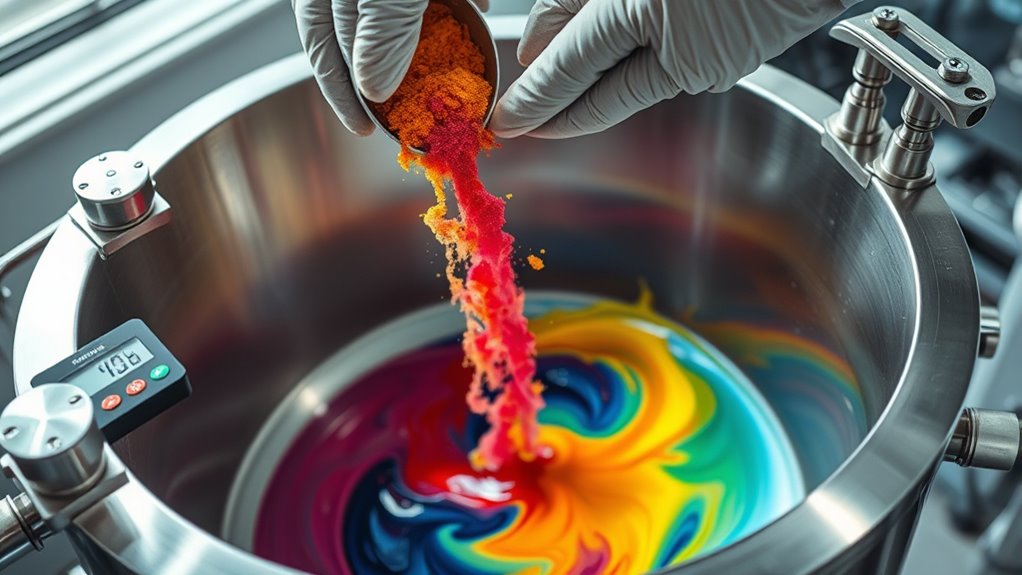
Although you’ve ground and dispersed the pigments thoroughly, you still need to carefully blend them with binders, solvents, and additives to create the final ink formula. This step guarantees the ink has the right consistency, drying time, and adhesion properties.
You’ll add binders to hold pigment particles together, solvents to adjust viscosity, and additives to enhance performance, like anti-foaming agents or preservatives.
Here’s a quick look at common ingredients and their roles:
| Ingredient | Purpose | Effect on Ink |
|---|---|---|
| Binder | Pigment adhesion | Durability, flexibility |
| Solvent | Viscosity control | Flow, drying speed |
| Additives | Performance boost | Stability, shelf life |
Mixing demands precision to balance these components perfectly.
Filtering and Refining the Ink
To guarantee your ink performs flawlessly, you need to filter and refine it carefully. After mixing, the ink contains tiny particles and impurities that can clog printing nozzles or cause uneven color. You pass the ink through fine mesh filters or specialized screens to remove these unwanted solids.
This step ensures a smooth, consistent texture. Refining goes beyond filtering; it involves adjusting the viscosity and particle size distribution to optimize flow and drying time. You might use techniques like milling or homogenizing to break down pigment clumps and achieve uniform dispersion.
Quality Control and Testing
How do manufacturers guarantee that every batch of ink meets high standards? They put it through rigorous quality control and testing.
First, you’ll test the ink’s color consistency with spectrophotometers to ensure it matches exact color specifications. Next, viscosity tests confirm the ink flows properly for different printing methods.
You’ll also check drying time and adhesion by applying the ink to sample materials. Chemical composition tests ensure the ink is safe and stable, preventing issues like fading or smudging.
Finally, manufacturers run print trials on actual printing machines to observe performance under real conditions. By conducting these thorough tests, you can be confident that the ink will deliver reliable, high-quality results every time it’s used.
Packaging and Distribution
Now that the ink passes quality checks, you’ll see it packed in different container types designed to keep it fresh and safe. You’ll also notice clear labeling and secure sealing to guarantee accurate information and prevent leaks.
Finally, the ink is shipped through carefully planned logistics to reach you on time and in perfect condition. It’s all about making sure what you get is just right!
Ink Container Types
Although ink’s composition is essential, the type of container it’s stored in plays an equally important role in preserving its quality and guaranteeing easy use. You’ll find ink packaged in various containers, from small cartridges for home printers to large drums for industrial applications.
Plastic bottles are common for liquid inks, providing durability and preventing leaks. For ink powders or solid forms, sealed bags or tins keep moisture out. Some inks come in squeezable pouches, making dispensing easier and reducing waste.
When you choose ink containers, manufacturers consider factors like airtight sealing, ease of handling, and compatibility with dispensing equipment. By selecting the right container type, they ensure the ink stays fresh and ready for use, whether you’re printing a single page or running a large production line.
Labeling and Sealing
Once the ink is securely stored in the right containers, it’s time to focus on labeling and sealing to protect its integrity during shipping and handling.
You’ll label each container with essential details like batch number, color, and safety information. Proper sealing prevents leaks, contamination, and evaporation, ensuring the ink arrives in perfect condition.
Here’s a quick look at common labeling and sealing methods:
| Label Type | Sealing Method |
|---|---|
| Paper Labels | Heat Shrink Bands |
| Waterproof Labels | Screw Caps |
| Tamper-Evident Tags | Induction Seals |
| Barcode Stickers | Foil Seals |
Shipping and Logistics
Since ink is a delicate product, you need reliable packaging and logistics to guarantee it reaches its destination safely. You start by selecting sturdy, leak-proof containers that protect ink from spills and contamination.
Then, you carefully pack these containers with cushioning materials to absorb shocks during transit. Finally, you coordinate with trusted shipping partners who understand the handling requirements for fragile liquids.
Here are key points to focus on during shipping and logistics:
- Use temperature-controlled transport to prevent ink from drying out or degrading.
- Label packages clearly with handling instructions to avoid mishandling.
- Track shipments in real-time to ensure timely delivery and address issues quickly.
Frequently Asked Questions
What Environmental Impacts Does Ink Manufacturing Have?
You’ll find ink manufacturing impacts the environment through chemical waste, air pollution, and high water use. It releases volatile organic compounds, strains resources, and can harm ecosystems if not managed responsibly.
How Is Ink Disposal Managed Safely?
Think of ink as a storm you must calm—dispose of it through designated hazardous waste programs or recycling centers.
You’ll prevent pollution by never pouring it down drains, protecting water and soil like a vigilant guardian.
Are There Eco-Friendly Ink Alternatives Available?
Yes, you can choose eco-friendly ink alternatives like soy-based or vegetable-based inks. They’re less toxic, biodegradable, and reduce environmental impact.
This makes your printing choices greener and safer for the planet without sacrificing quality. It’s a smart way to go green without giving up on good results.
How Is Ink Shelf Life Determined?
You know what they say, “A stitch in time saves nine.”
You determine ink’s shelf life by testing its stability, color retention, and drying time under various conditions. This way, you make sure it won’t spoil before you get to use it.
Can Ink Be Customized for Different Printing Technologies?
Yes, you can customize ink for different printing technologies by adjusting its formula—like viscosity, drying time, and colorants—to match specific printers such as inkjet, laser, or flexographic.
This ensures ideal performance and print quality. It’s all about tweaking the ink to suit the printer’s needs perfectly.
Conclusion
Just like a painter carefully chooses each color to create a masterpiece, you’ve seen how ink manufacturing involves precise steps—from selecting raw materials to packaging the final product.
Every stage matters to guarantee vibrant, high-quality ink reaches your hands.
Now, when you use ink, you’ll appreciate the detailed process behind it. It’s amazing how simple materials transform into vibrant colors that bring your ideas to life on paper.
Understanding how ink is manufactured helps you see the care and precision involved in every bottle or cartridge. From formulation to production and packaging, each step ensures consistent quality and beautiful results.
So next time you pick up a pen or printer cartridge, remember the journey ink takes to deliver those rich, lasting colors straight to your fingertips.