How Ink Was Made Step by Step
To make ink, start by gathering your raw materials like pigments, a binder, and a liquid base such as water or oil. These ingredients are essential because they determine the color, texture, and flow of your ink. Getting the right materials sets you up for success in creating vibrant, durable ink.
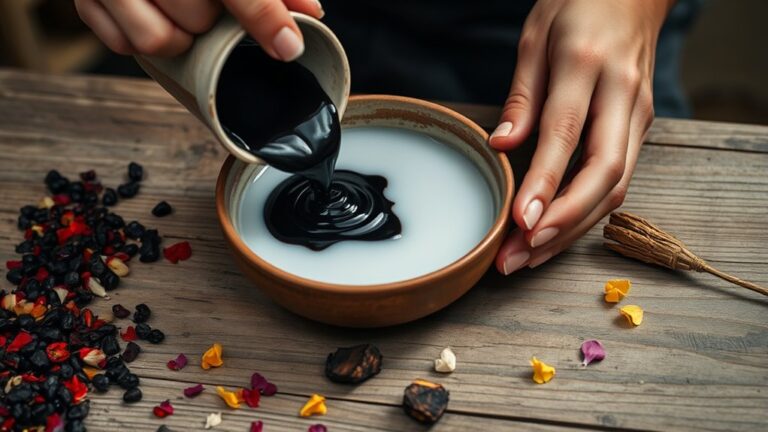
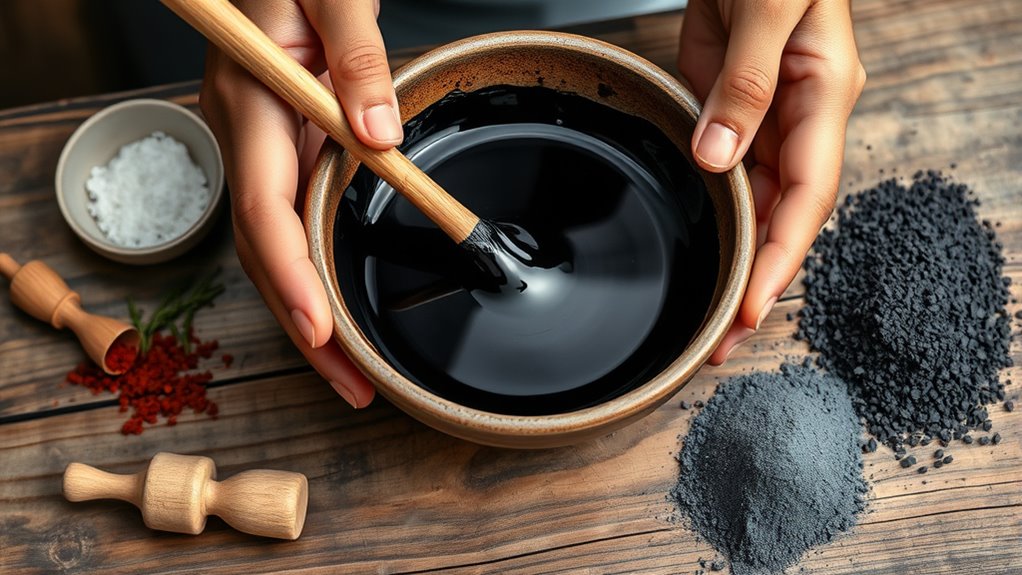
Next, grind your pigments into a fine powder and mix them thoroughly with the binder and liquid to create a smooth, vibrant base. This step is crucial because the pigment needs to be evenly dispersed for consistent color.
Then, filter the mixture to remove any clumps or impurities.
With these steps, you’re creating a durable, even ink—perfect for writing or art—and there’s plenty more to explore about each stage. It’s a fascinating process that combines chemistry with creativity, making every batch unique.
Key Takeaways
- Gather liquid base, binder, pigments, and additives carefully before mixing.
- Grind pigments into fine powder and sift to remove impurities.
- Prepare base liquid by mixing water, binder, and preservatives thoroughly.
- Slowly blend pigment powder into the base liquid for even color distribution.
- Filter the ink through fine meshes or filters to ensure smoothness and stability.
Gathering Raw Materials
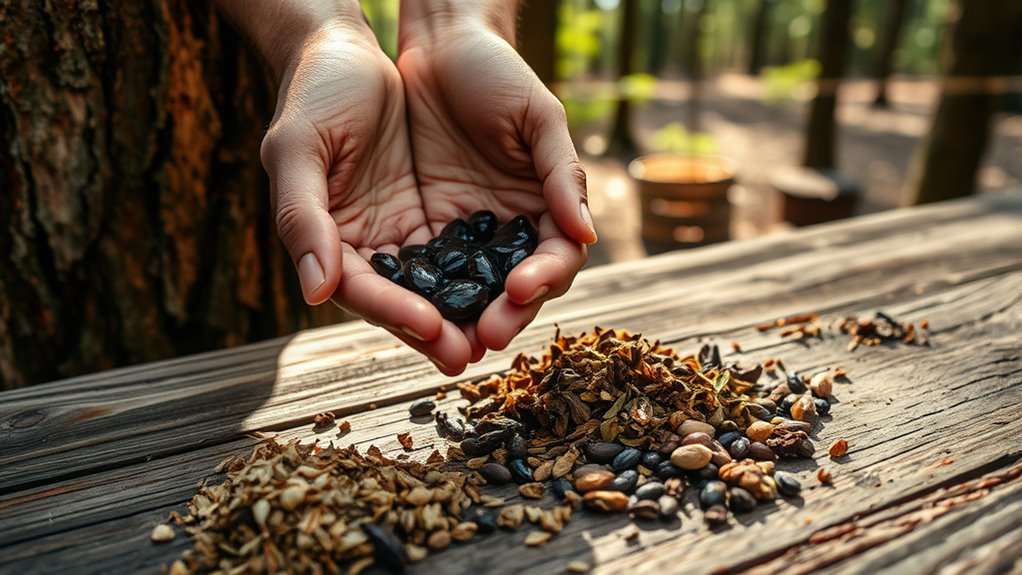
Before you can create ink, you need to gather the essential raw materials. You’ll start with a liquid base, often water or oil, to serve as the medium that carries the color.
Begin ink-making by collecting key raw materials, starting with a liquid base like water or oil to carry color.
Next, you need a binder—something sticky like gum arabic or shellac—that will help the pigment adhere to the writing surface. Don’t forget the color source itself, which comes from natural or synthetic pigments or dyes.
You might also want to include additives to control drying time, flow, and preservation. Each material plays a crucial role, so you must select them carefully based on the type of ink you want to produce.
Gathering these ingredients is the foundational step before moving on to preparing and mixing pigments.
Preparing the Pigments
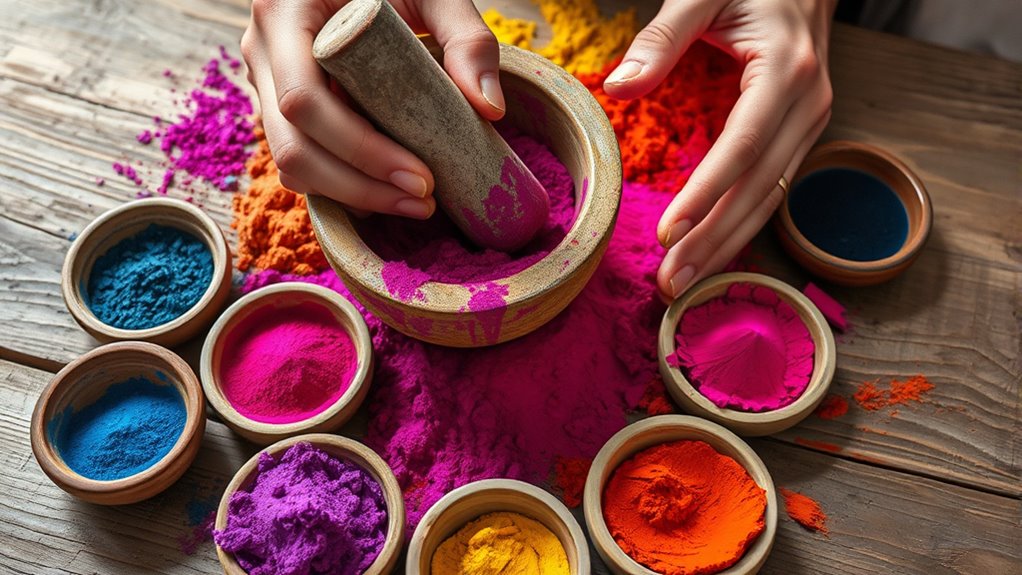
Once you have your raw materials, you’ll need to prepare the pigments by grinding them into a fine powder. This step is vital because finely ground pigments ensure smooth, even color in the final ink.
You can use a mortar and pestle or mechanical grinders to crush the materials thoroughly. Make sure the particles are uniformly small to avoid clumps that could clog pens or brushes.
After grinding, sift the powder through a fine mesh to separate any larger fragments. Depending on the pigment type, you might need to wash or dry it to remove impurities or moisture.
Taking care during this preparation guarantees a consistent, vibrant pigment that will mix well with the base liquid in the next step of ink making.
Mixing the Base Liquid
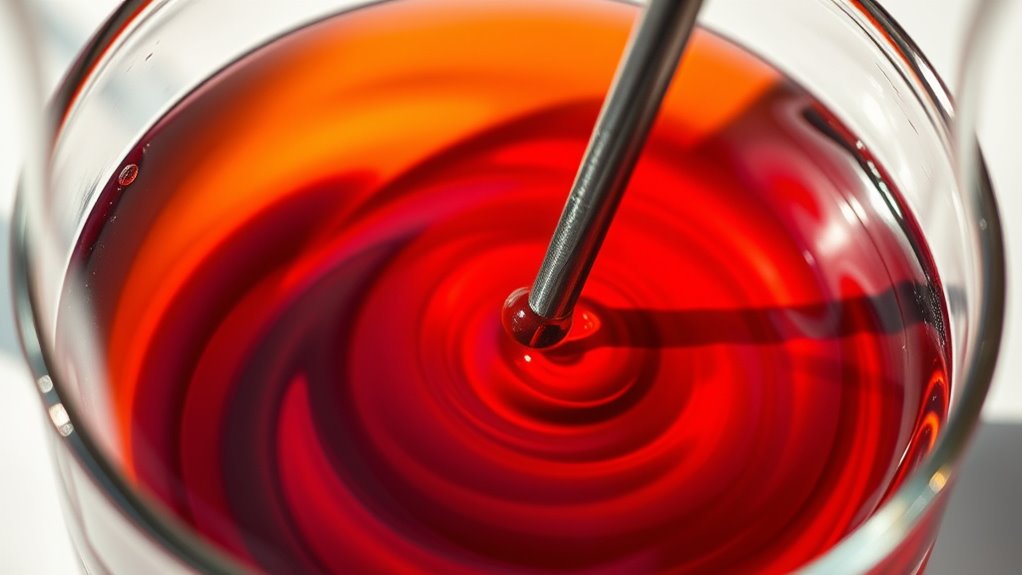
Three key ingredients usually make up the base liquid for ink: water, a binder, and a preservative. You start by measuring water as the solvent, which dissolves the other components.
Then, you mix in a binder to hold the pigment particles together and help the ink stick to surfaces. Finally, you add a preservative to prevent mold and bacteria growth, extending the ink’s shelf life.
Here’s a quick look at their roles:
| Ingredient | Purpose |
|---|---|
| Water | Solvent, dissolves components |
| Binder | Holds pigment, improves adhesion |
| Preservative | Prevents microbial growth |
Mix these thoroughly to create a smooth, stable base liquid, ready for the pigment blend.
Combining Pigments With the Base
How do pigments transform the base liquid into vibrant ink? When you add pigments to the base, they provide the color and opacity that make ink stand out.
You start by measuring the right amount of pigment powder or liquid concentrate, then slowly blend it into the base liquid. Stirring thoroughly ensures the pigments distribute evenly, preventing clumps or uneven shades.
Measure the pigment carefully, then blend and stir thoroughly for smooth, even color without clumps.
The pigments suspend within the liquid, giving the ink its characteristic hue and density. You might adjust the pigment concentration to achieve the desired color intensity or transparency.
This step is vital because the pigment choice affects the ink’s brightness, permanence, and drying time. By carefully combining pigments with the base, you create a consistent, vibrant ink ready for further processing.
Refining and Filtering the Ink
After blending the pigments thoroughly, you refine and filter the ink to remove any remaining particles or impurities. You start by passing the ink through fine mesh screens or sieves, which catch larger clumps or debris.
Next, you use specialized filters—often made of cloth or paper—to trap smaller particles that could clog printers or affect the ink’s smoothness. This step ensures the ink has a consistent texture and flows evenly.
Sometimes, you’ll also employ centrifuges or settling tanks to separate out heavier sediments. By carefully controlling this process, you maintain the ink’s quality and prevent issues during application.
Ultimately, refining and filtering guarantee your ink is clean, stable, and ready for the next stages of production. It’s all about making sure the ink performs perfectly when you need it to.
Packaging and Storing the Finished Ink
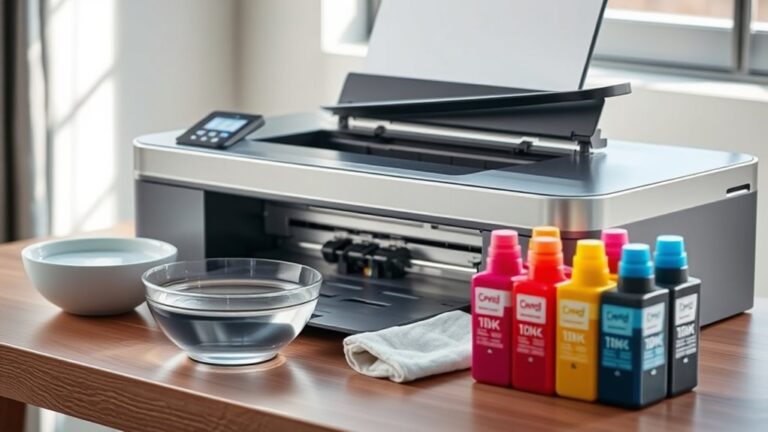
Now that the ink is ready, you need to choose the right containers to keep it fresh and easy to use. Proper storage conditions are essential to prevent drying out or spoilage.
Let’s explore the types of containers and how to store your ink correctly. It’s easier than you might think!
Ink Container Types
Where do you keep ink once it’s ready? Choosing the right container is key to preserving its quality and usability.
Here are four common ink container types you might use:
- Bottles – Small glass or plastic bottles with secure caps, perfect for liquid inks used in pens or brushes.
- Cartridges – Pre-filled, disposable containers designed for easy insertion into printers or pens.
- Cans or Tins – Metal containers ideal for large quantities of ink, often used in industrial or commercial settings.
- Syringes or Tubes – Flexible containers that allow precise dispensing, common for specialized inks or refills.
Selecting the right container depends on your ink type and how you plan to use or transport it. So, think about what works best for your needs!
Proper Storage Conditions
Although choosing the right container is essential, you also need to store your ink under proper conditions to maintain its quality. Keep your ink in a cool, dry place away from direct sunlight and heat sources. Excessive heat can cause it to dry out or separate.
Seal containers tightly to prevent air exposure, which can lead to oxidation and spoilage. Avoid places with extreme temperature fluctuations since they may affect the ink’s consistency.
If you plan to store ink long-term, consider refrigeration. Just make sure the container is airtight to prevent moisture contamination.
Always label your containers with the date of production to monitor freshness. By following these steps, you’ll preserve your ink’s color, texture, and performance for whenever you need it.
Frequently Asked Questions
What Are the Historical Origins of Ink?
You’ll find ink’s origins dating back to ancient Egypt and China, where people mixed soot, water, and gum to create writing fluids.
Over time, its formula evolved, helping you record history and ideas more clearly. It’s pretty amazing how such a simple mixture has shaped communication through the ages.
How Does Ink Affect Different Types of Paper?
Ink interacts intimately: it soaks softly on smooth, silky surfaces but seeps swiftly through spongy, porous paper.
You’ll notice colors cling clearly on coated sheets while bleeding and blurring tend to trouble thinner, textured types.
Are There Eco-Friendly Alternatives to Traditional Ink?
Yes, you can choose eco-friendly inks like soy-based, vegetable-based, or water-based options. These alternatives reduce environmental impact, use renewable resources, and often produce less harmful emissions compared to traditional petroleum-based inks.
They’re gaining popularity because they’re not only better for the planet but also perform well in printing. So, if you’re looking to be more environmentally conscious, these inks are definitely worth considering.
What Safety Precautions Should Be Taken When Handling Ink?
You should wear gloves and work in a well-ventilated area to avoid skin contact and inhaling fumes.
Keep ink away from eyes, avoid ingestion, and store it securely to prevent spills or accidents.
How Long Does Ink Typically Last Before Drying Out?
Like a fleeting sunset, ink typically lasts a few hours to days before drying out, depending on its type and environment.
You’ll want to seal it tight to keep your creative flow from evaporating too soon.
Conclusion
Now that you’ve gathered raw materials, prepared pigments, mixed the base, combined colors, refined the blend, and packaged the ink, you’ve seen how ink comes to life. You’ve watched colors transform, liquids merge, textures smooth, and bottles fill.
Just as ink flows onto paper to create stories, you’ve followed each step flowing seamlessly into the next. With every stage, you’ve held the magic of creation in your hands, ready to bring ideas to life.
From the initial gathering of raw materials to the final packaging, each step is crucial in the ink-making process. The pigments give ink its vibrant color, while the base and blending refine its texture and consistency. Watching these elements come together shows the craftsmanship behind every bottle of ink.
So, next time you dip your pen or use a printer, remember the journey ink takes—from raw ingredients to the finished product. It’s a blend of art and science, creating the perfect medium to turn your ideas and stories into reality.