
What Is Alcohol Ink Used for in Art?
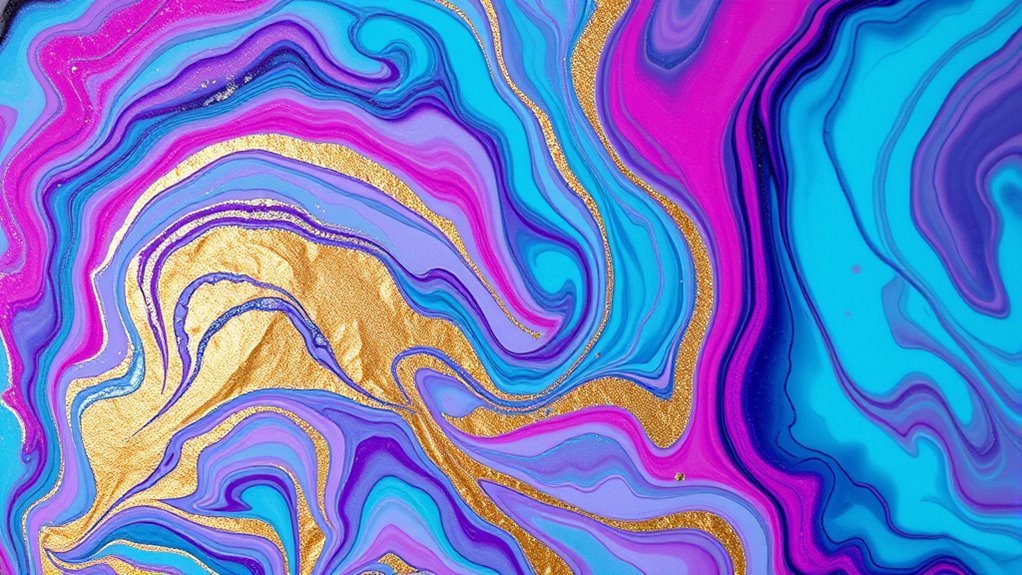
You use alcohol ink to create vibrant, flowing artwork on surfaces like glossy paper, glass, ceramics, and jewelry. This medium is perfect for making abstract art with bright, unpredictable patterns that really stand out.
It’s also excellent for adding depth and dimension through layering.
Plus, alcohol ink is a fantastic choice for enhancing mixed media projects. You can decorate unique pieces or craft eye-catching greeting cards that really pop.
By experimenting with different textures and drying times, you’ll discover even more creative effects.
These possibilities open up a whole new world for your art, allowing your work to come alive with color and movement. So dive in and see where alcohol ink can take your creativity!
Key Takeaways
- Alcohol ink is used to create vibrant, abstract art with flowing, layered colors on non-porous surfaces like Yupo paper.
- Artists use alcohol ink to enhance mixed media projects by adding depth, texture, and bright color contrasts.
- It decorates glass, ceramics, and tiles with glossy, colorful, and marbled effects that highlight surface transparency.
- Alcohol ink is popular for designing unique jewelry pieces by applying and sealing colorful patterns on metal, glass, or resin.
- Crafters use alcohol ink to produce vivid, marbled backgrounds on greeting cards, enabling quick, personalized artistic designs.
Creating Abstract Art With Alcohol Ink
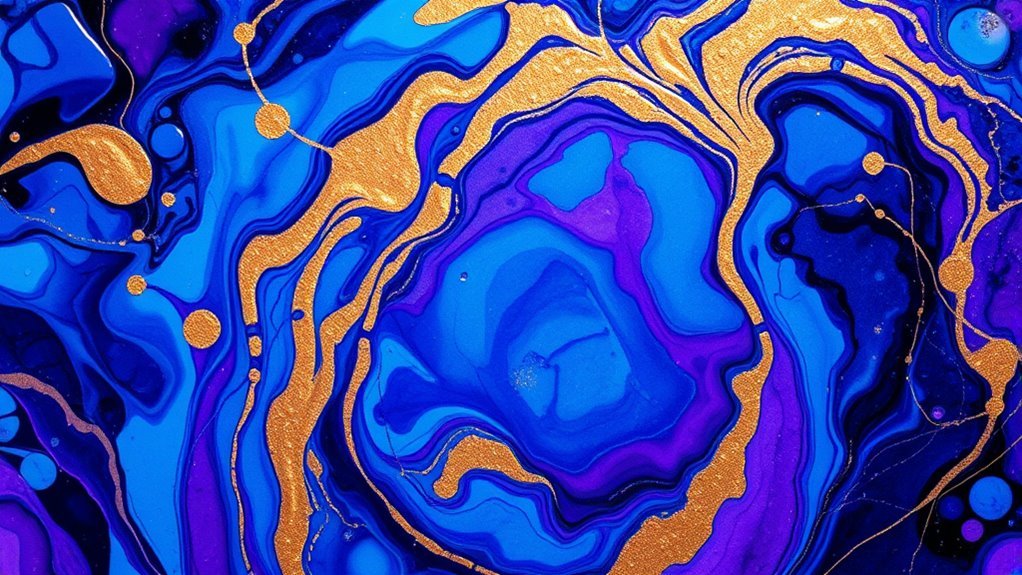
When you work with alcohol ink to create abstract art, you can achieve vibrant colors and unpredictable patterns that bring your imagination to life. The ink’s fluidity lets you manipulate it easily by tilting your surface or using a straw to blow the ink around.
You’ll notice how the colors blend and separate, creating organic shapes that are unique every time. Since alcohol ink dries quickly, you can layer colors without long waits, adding depth and texture to your piece.
You’ll find that using synthetic or glossy surfaces like Yupo paper enhances the ink’s brightness and flow. Experimenting with different tools such as brushes or sponges also lets you explore various effects, making every artwork a distinct expression of your creativity.
Enhancing Mixed Media Projects
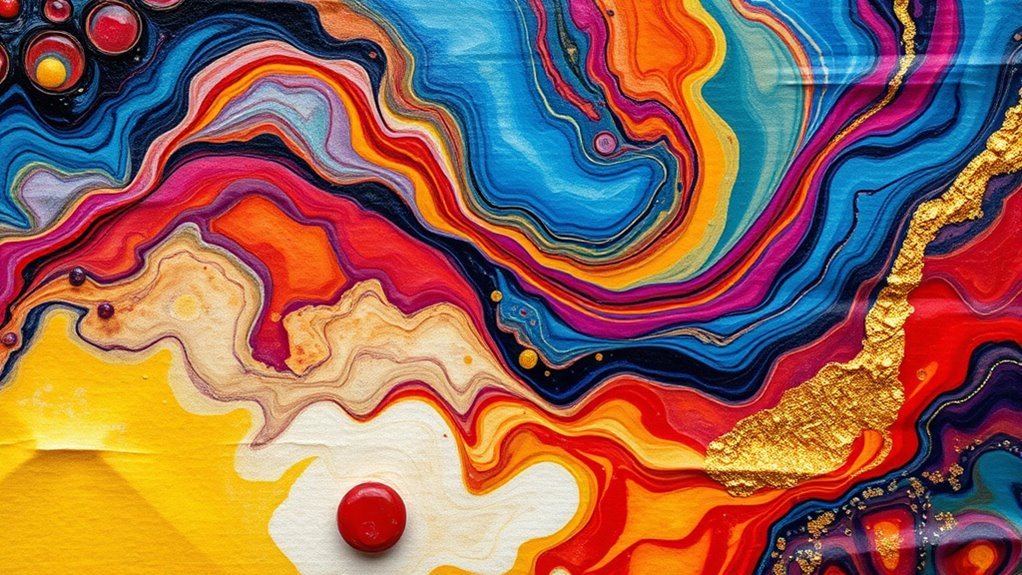
You can boost your mixed media projects by layering alcohol ink with different textures to create unique effects. Try combining it with acrylic paint to add vibrant colors and unexpected details.
This approach helps you bring depth and contrast, making your artwork truly stand out. Give it a shot—you might be surprised by the results!
Layering With Textures
Although alcohol ink is known for its vibrant colors and fluidity, layering it with different textures can transform your artwork into a dynamic mixed media piece. You can apply textured materials like tissue paper, fabric, or modeling paste beneath or over your ink layers to add depth and tactile interest.
These textures interact with the ink’s transparency, creating unique patterns and visual contrasts. Try experimenting with rough or smooth surfaces to see how the ink flows and pools differently.
Using textured layers also helps guide your creative process, encouraging you to explore new techniques and combinations. By incorporating textures, you’re not just enhancing the visual appeal—you’re adding a sensory dimension that invites viewers to engage more closely with your art.
Combining With Acrylic Paint
Since acrylic paint offers opaque, versatile coverage, combining it with alcohol ink can elevate your mixed media projects. You’ll enjoy how the vibrant, fluid nature of alcohol ink contrasts with acrylic’s solid textures.
Use acrylics to block in shapes or create bold backgrounds, then add alcohol ink details for dynamic, unpredictable effects. This combo lets you experiment with transparency and opacity, adding interest to your artwork.
| Acrylic Paint | Alcohol Ink |
|---|---|
| Thick, opaque layers | Thin, translucent washes |
| Matte or glossy finishes | Glossy, vibrant highlights |
| Controlled, brush-stroke textures | Flowing, organic patterns |
Adding Depth and Contrast
When you layer alcohol ink over textured surfaces or combine it with other mediums, it adds striking depth and contrast that make your artwork pop. You can use alcohol ink to highlight raised areas or create shadows in recessed parts, giving your piece a dynamic, multidimensional feel.
This technique works especially well in mixed media projects where you want to emphasize specific elements or create a focal point. By carefully controlling the ink’s flow and blending, you can achieve vivid contrasts that bring your composition to life.
Try these tips to enhance depth and contrast with alcohol ink:
- Apply ink in layers, allowing each to dry before adding the next
- Use alcohol ink with metallic or pearlescent mediums for reflective effects
- Combine bold colors with neutral tones to create striking visual separation
Decorating Glass and Ceramics

When you decorate glass and ceramics with alcohol ink, you’ll enhance their natural transparency and shine in ways paint can’t match.
You can also create unique surface textures that add depth and interest to your pieces.
Let’s explore how these effects bring your art to life.
Enhancing Transparency and Shine
Although glass and ceramics have smooth surfaces that can be challenging to decorate, alcohol ink makes it easy for you to add vibrant colors with a glossy finish. By applying alcohol ink, you enhance the natural transparency of glass and the sleek shine of ceramics, creating stunning visual effects.
The ink’s fast-drying nature ensures you can build up layers without losing clarity or brightness. To maximize transparency and shine, consider these tips:
- Use lighter ink applications to maintain the glass’s see-through quality.
- Seal your work with a clear topcoat to protect and amplify gloss.
- Experiment with blending colors while wet to achieve radiant gradients.
With alcohol ink, you can effortlessly transform plain glass and ceramics into dazzling, luminous art pieces. It’s a fun way to bring new life to your creations!
Creating Unique Surface Textures
Since alcohol ink interacts uniquely with smooth surfaces like glass and ceramics, you can create a variety of mesmerizing textures that add depth and interest to your art. By layering inks or manipulating drying times, you achieve effects ranging from marbled swirls to speckled patterns.
These textures transform ordinary objects into stunning focal points. Pretty cool, right?
Here’s a quick guide to textures you can create:
| Texture Type | Effect Description |
|---|---|
| Marbled | Swirling colors blend softly |
| Speckled | Tiny dots create a dynamic look |
| Cracked or Veined | Fine lines add intricate detail |
Experimenting with these textures lets you personalize your glass or ceramic pieces with vibrant, tactile finishes. Give it a try and see what amazing effects you can come up with!
Designing Unique Jewelry Pieces
If you want to create jewelry that truly stands out, alcohol ink offers vibrant colors and unique patterns that are hard to replicate. You can apply alcohol ink to various materials like metal, glass, or resin to design eye-catching pendants, earrings, and bracelets.
The ink’s fluidity allows you to blend colors effortlessly, giving each piece a one-of-a-kind look. Plus, it dries quickly, so you can move on to sealing and assembling your jewelry without waiting long.
Keep these tips in mind when designing jewelry with alcohol ink: Use a clear sealant to protect your artwork and enhance durability. Also, try experimenting with layering colors to create depth and texture.
And don’t forget, combining alcohol ink designs with metal findings adds a professional finish. This method lets you craft personalized, colorful accessories that express your creativity.
Crafting Handmade Greeting Cards
When you want to add a personal touch to your greetings, alcohol ink brings vibrant colors and fluid patterns that make handmade cards truly special. You can easily create stunning backgrounds by applying alcohol ink on glossy paper or Yupo sheets, then blending and layering colors to achieve unique effects.
The ink dries quickly, so you can work fast and experiment with designs like marbling or abstract swirls. Adding simple embellishments, like stamped sentiments or metallic accents, complements the bold ink patterns without overwhelming them.
Plus, alcohol ink’s intensity guarantees your cards stand out, making them perfect for birthdays, holidays, or just because. Crafting handmade greeting cards with alcohol ink lets you express creativity while offering recipients a one-of-a-kind keepsake they’ll cherish.
Experimenting With Surface Textures and Layers
Building on the vibrant effects you create with alcohol ink on cards, exploring different surface textures and layering techniques can elevate your artwork even further. You can experiment by applying alcohol ink on various surfaces like glossy paper, ceramic tiles, or Yupo paper to see how the ink reacts differently.
Layering colors adds depth and complexity, allowing you to build rich, multi-dimensional pieces. By manipulating drying times and adding blending solutions between layers, you control the flow and intensity of each color.
Try these approaches to enhance texture and layers in your work:
- Use textured surfaces to create unexpected patterns and tactile interest.
- Apply multiple ink layers, letting each dry partially for unique overlaps.
- Incorporate tools like brushes or sponges to add controlled texture effects.
Frequently Asked Questions
What Types of Surfaces Can Alcohol Ink Adhere to Besides Paper and Glass?
You can use alcohol ink on non-porous surfaces like ceramic tiles, metal, plastic, and glossy photo paper. It sticks well and creates vibrant effects.
Just keep in mind, avoid porous materials since the ink won’t bond properly or spread evenly. Those surfaces can be tricky to work with!
How Do You Safely Store Alcohol Inks to Prevent Drying Out?
You should tightly seal alcohol ink bottles and store them upright in a cool, dark place to prevent drying out. Avoid exposing them to heat or sunlight.
Always close caps securely after use to keep the ink fresh. It’s a simple step but super important to make your inks last longer.
Are Alcohol Inks Toxic or Safe for Children to Use?
Worried about toxins when kids paint? Alcohol inks aren’t safe for children because they contain solvents that can irritate skin and lungs.
You should always supervise and guarantee proper ventilation to keep everyone safe while creating. It’s better to be cautious, right?
Can Alcohol Ink Be Used for Outdoor Art Projects?
You can use alcohol ink for outdoor art projects, but keep in mind it’s not very UV or water-resistant.
You’ll want to seal your work properly to protect it from fading or running in harsh weather conditions.
What Tools Are Essential for Working With Alcohol Inks Effectively?
You’ll need alcohol inks, blending solution, Yupo paper, gloves, and felt or brushes. A heat gun or air blower helps control drying.
Having a well-ventilated space and a protective surface also makes working easier and cleaner. Plus, it keeps things safe and tidy while you create.
Conclusion
You might think alcohol ink is just for bright, flowing abstracts, but it’s so much more. While it creates vibrant, unpredictable patterns on paper, it also lets you add sharp, detailed touches to glass, ceramics, and jewelry.
You can experiment freely with textures or craft precise, elegant designs. This contrast between chaos and control is what makes alcohol ink a versatile must-have in your art toolkit.
Embrace both sides and watch your creativity soar. Alcohol ink is perfect for artists who want to explore different surfaces and techniques. Whether you’re creating bold abstracts or delicate accents, this medium offers endless possibilities for artistic expression. Using alcohol ink in art can transform your projects with vivid color and unique effects, making it an essential material for any creative journey.