
How Is Acrylic Ink Used?
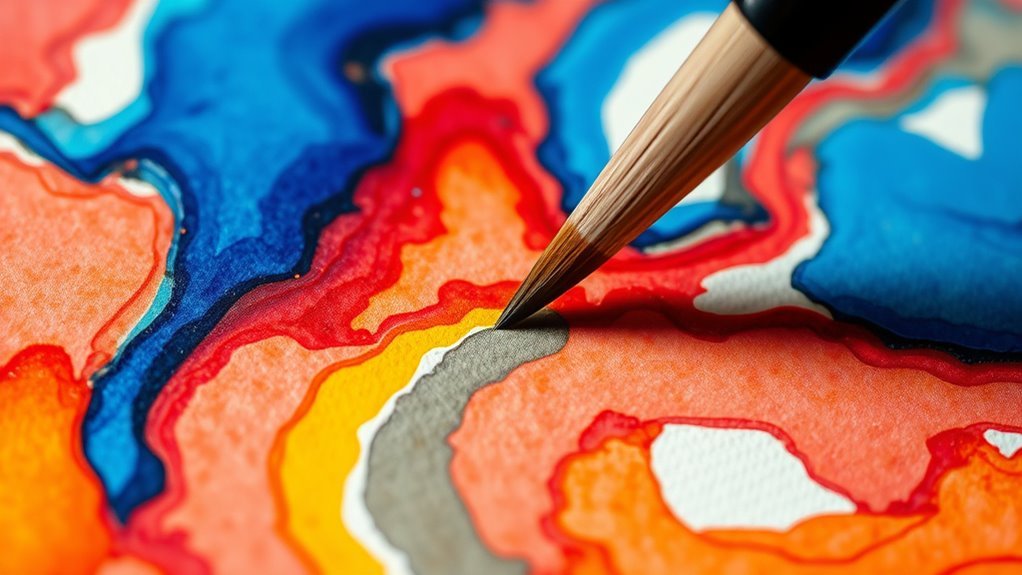
You can use acrylic ink in many creative ways, like painting with brushes or droppers to make vibrant washes and textures. It’s great for smooth calligraphy lines or bold lettering with flexible nibs and brushes.
Whether you’re working on detailed artwork or expressive designs, acrylic ink offers bright, durable colors that really pop.
You can layer it in mixed media art or add color to fabric by mixing it with fabric medium and heat setting. It’s super versatile!
You can even mix it into resin for glossy, colorful effects that stand out.
Keep your ink sealed and stored well to maintain its quality. And if you explore further, you’ll discover even more exciting uses. Acrylic ink really opens up endless possibilities for your creative projects!
Key Takeaways
- Acrylic ink is applied using brushes, droppers, or airbrushes for varied painting effects and fast-drying layers. It’s pretty versatile, so you can experiment with different tools to see what works best for your project.
- It is popular in calligraphy for smooth, crisp lines using dip pens or synthetic brushes with controlled ink flow. This makes it a favorite for artists who want precise, elegant lettering.
- Artists incorporate acrylic ink in mixed media by layering over paint, charcoal, or collage for texture and detail. It adds a unique touch, giving depth and interest to your artwork.
- On fabric, acrylic ink is mixed with fabric medium, applied with brushes or stamps, then heat-set for durability. This way, your designs stay vibrant and don’t wash out easily.
- Acrylic ink can be added to resin for vibrant, glossy finishes with swirling color effects and layered designs. It’s a cool technique if you want to create eye-catching, shiny art pieces.
Techniques for Painting With Acrylic Ink
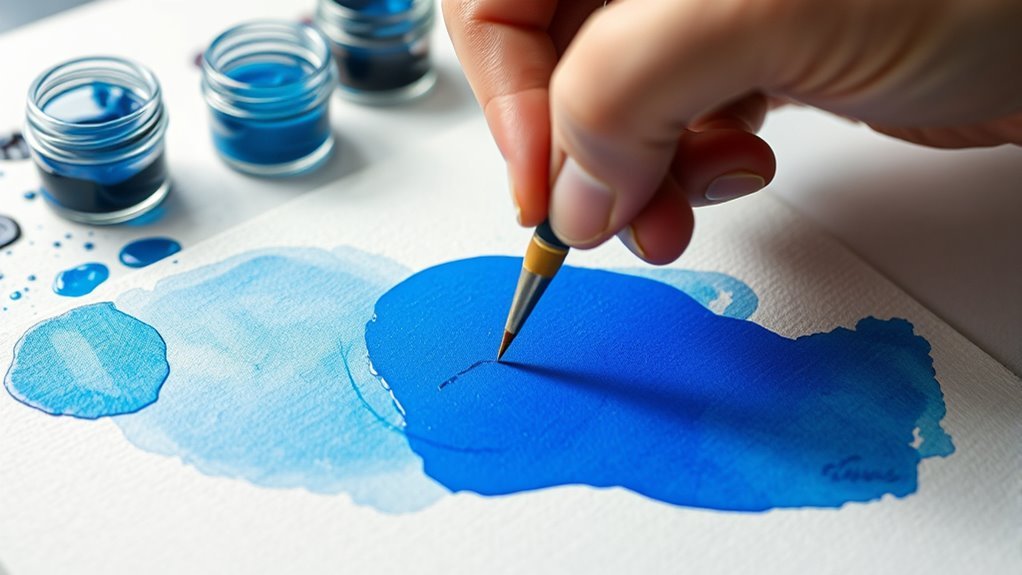
When you begin painting with acrylic ink, you’ll find that its fluidity offers unique opportunities to experiment with both control and spontaneity. You can use brushes, droppers, or airbrushes to apply the ink, each tool creating distinct effects.
Try layering thin washes to build depth or apply thick strokes for bold marks. Because acrylic ink dries quickly, you’ll need to work efficiently, but this also allows for rapid layering without long waits.
You can mix the ink with water to lighten colors or blend different hues directly on your surface for smooth gradients. Don’t hesitate to manipulate the ink with tools like sponges or palette knives to add texture.
Embracing these techniques helps you access acrylic ink’s versatility in your paintings. It’s all about playing around and seeing what works best for your style!
Using Acrylic Ink in Calligraphy and Lettering

When you use acrylic ink for calligraphy and lettering, choosing the right tools is key to achieving clean, smooth strokes. You’ll want to master techniques that help maintain consistent ink flow to keep your lines crisp.
Let’s explore how to select your brushes and pens while keeping your ink moving effortlessly. It’s easier than you might think once you get the hang of it!
Best Tools for Ink
Although acrylic ink offers vibrant colors and excellent durability, choosing the right tools can make or break your calligraphy and lettering projects. To get the best results, you’ll want to contemplate these essential items:
- Dip Pens with Flexible Nibs – These allow precise control over line variation, perfect for expressive lettering with acrylic ink’s thick consistency.
- Synthetic Brushes – Opt for fine-tipped synthetic brushes that hold ink well and maintain shape, ideal for bold strokes and intricate details.
- Palette and Mixing Tray – Acrylic ink can be thick, so use a palette to dilute or mix colors smoothly without wasting any ink.
Using these tools ensures your acrylic ink flows smoothly, enhancing your calligraphy’s vibrancy and crispness without clogging or bleeding.
It really makes a difference when your tools match the ink’s unique qualities!
Techniques for Smooth Strokes
Since acrylic ink has a thicker consistency than traditional inks, you’ll need to adjust your hand pressure and stroke speed to achieve smooth lines. Apply gentle, consistent pressure to avoid uneven strokes or blotches.
Move your hand steadily and avoid rushing; slower, deliberate movements help the ink flow evenly. Use a slight angle with your pen or brush to control the ink distribution better.
Practice light upstrokes and heavier downstrokes to create contrast and fluidity in your lettering. If you notice any rough edges, don’t press harder—adjust your speed instead.
Wiping the tip occasionally can also prevent ink buildup, but be careful not to disrupt the flow. With patience and practice, you’ll master smooth, elegant strokes using acrylic ink.
Maintaining Ink Flow
Mastering smooth strokes sets a solid foundation, but keeping your acrylic ink flowing consistently is just as important for clean calligraphy and lettering.
To maintain steady ink flow, you need to:
- Control Dilution: Thin your ink with water or a medium to the right consistency. Make sure it’s neither too thick nor too runny, because that affects flow and drying time.
- Clean Tools Regularly: Residue buildup on nibs or brushes can disrupt ink flow. So, rinse your tools frequently to avoid clogs and keep your application smooth.
- Use Proper Storage: Store ink containers tightly closed and in a cool place. This helps prevent the ink from drying out or thickening, which can really slow down flow when you’re using it.
Incorporating Acrylic Ink in Mixed Media Art
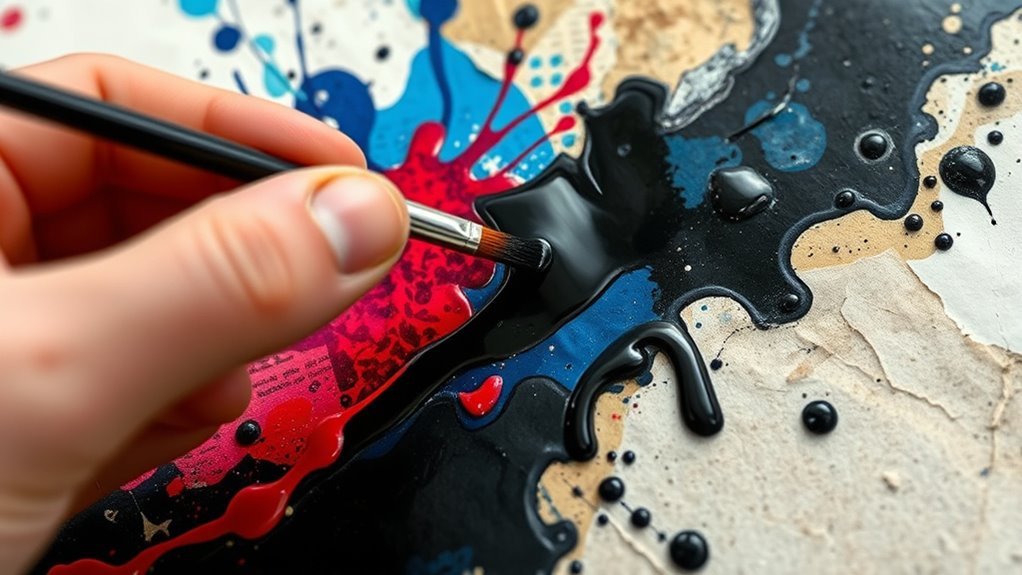
When you combine acrylic ink with other materials, you reveal a world of texture, color, and depth that can elevate your mixed media art. You can layer acrylic ink over acrylic paint, charcoal, or collage elements to create striking contrasts and dynamic effects.
Its fluid nature allows you to add fine details or bold washes, while its quick drying time keeps your workflow smooth. Experiment with different tools like brushes, droppers, or spray bottles to vary application styles.
You’ll find acrylic ink blends well with mediums like gel or modeling paste, enhancing texture without losing vibrancy. By integrating acrylic ink thoughtfully, you open endless creative possibilities and bring your mixed media pieces to life with vivid intensity and unique visual interest.
Applying Acrylic Ink on Fabric and Textiles
Although acrylic ink wasn’t originally designed for fabric, you can achieve vibrant, lasting designs by applying it carefully to textiles. To get the best results, follow these steps:
Acrylic ink can create vibrant, lasting fabric designs when applied carefully and heat set properly.
- Pre-wash the fabric to remove any sizing or chemicals that might prevent ink absorption.
- Use a fabric medium mixed with acrylic ink to keep the fabric soft and flexible after drying.
- Heat set your design by ironing or using a heat press to make the ink permanent and washable.
Keep in mind that acrylic ink is water-resistant when dry, but heat setting is essential for durability on textiles. You can experiment with brushes, stamps, or even airbrushes to create varied effects.
With proper preparation and sealing, acrylic ink can transform fabric into colorful, customized art pieces. Give it a try—you might be surprised how well it works!
Creating Resin Art With Acrylic Ink
Since acrylic ink offers vibrant colors and excellent flow, it works beautifully for creating resin art. You can mix the ink directly into clear resin to add stunning, translucent hues that catch light and depth.
Start by carefully measuring your resin components, then add drops of acrylic ink, adjusting the intensity to your liking. Stir gently to avoid bubbles.
Pour the colored resin into your mold or onto your surface, allowing the ink to swirl and blend naturally. As the resin cures, the ink’s pigments lock in, producing vivid, glossy finishes.
You can layer different colors for complex effects or use a brush to manipulate the ink before curing. Experimenting with acrylic ink in resin opens up endless creative possibilities for unique, eye-catching art pieces.
Tips for Maintaining and Storing Acrylic Ink
Properly maintaining and storing your acrylic ink guarantees it stays vibrant and usable for a long time. To keep your ink in top condition, follow these tips:
- Seal Tightly: Always close the lid firmly to prevent air exposure, which can dry out the ink or cause clumping.
- Store Upright: Keep bottles upright in a cool, dry place away from direct sunlight. This helps avoid heat damage and pigment separation.
- Shake Before Use: Gently shake the bottle before each use to mix any settled pigments evenly. This ensures consistent color application.
Frequently Asked Questions
Is Acrylic Ink Waterproof Once Dry?
Yes, acrylic ink is waterproof once dry, so you don’t have to worry about smudging or running when it gets wet.
Just make sure it’s fully dry before exposing it to moisture for best results. That way, your artwork stays safe and looks great!
Can Acrylic Ink Be Used on Glass Surfaces?
Yes, you can use acrylic ink on glass surfaces. Just make sure you clean the glass thoroughly first.
Once dry, it adheres well. But sealing it with a clear varnish helps protect your design from scratches and wear.
How Long Does Acrylic Ink Take to Fully Dry?
When push comes to shove, acrylic ink usually dries to the touch within 10-20 minutes. But to fully cure and set, you’ll want to wait 24 hours.
Patience pays off for the best results! Just give it some time, and you’ll see the difference.
Are Acrylic Inks Non-Toxic and Safe for Children?
Acrylic inks are generally non-toxic and safe for children, but you should always check the label. Some brands may contain chemicals, so it’s best to supervise kids during use.
Also, make sure they don’t ingest the ink or have prolonged skin contact. It’s just a good way to keep things safe and fun for everyone!
Can Acrylic Ink Be Mixed With Watercolor Paints?
Yes, you can mix acrylic ink with watercolor paints, and coincidentally, this combo enhances vibrancy and texture in your artwork.
Just remember, acrylic ink dries waterproof, so blend quickly before it sets for best results.
Conclusion
Immerse yourself in the vibrant world of acrylic ink and let your creativity flow like liquid fire. Whether you’re painting, lettering, or blending media, acrylic ink brings bold color and endless possibilities to your fingertips.
Treat it well, store it wisely, and watch your art come alive with every stroke. Embrace its fluid magic, and let your imagination soar—because with acrylic ink, you’re not just creating; you’re breathing life into your vision.
Acrylic ink is perfect for artists looking to add bright, permanent colors to their work. It works beautifully on a variety of surfaces and mixes easily with other media, making it a versatile choice for painting, calligraphy, and mixed media art. So dive in, experiment, and let acrylic ink inspire your next masterpiece!