How to Get Ink Stains Out of a Dryer Drum
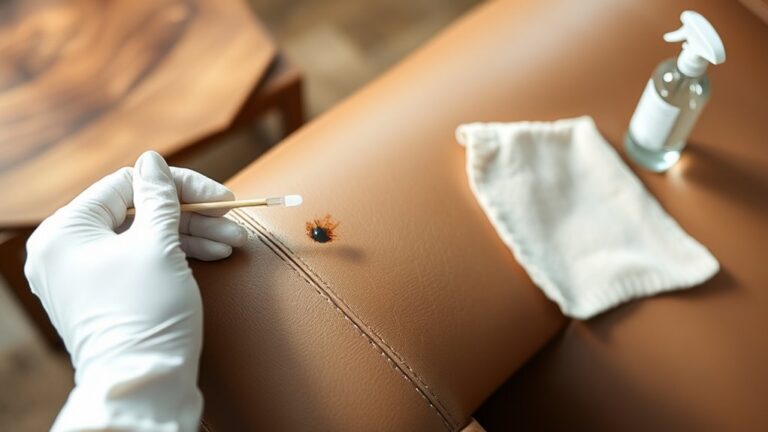
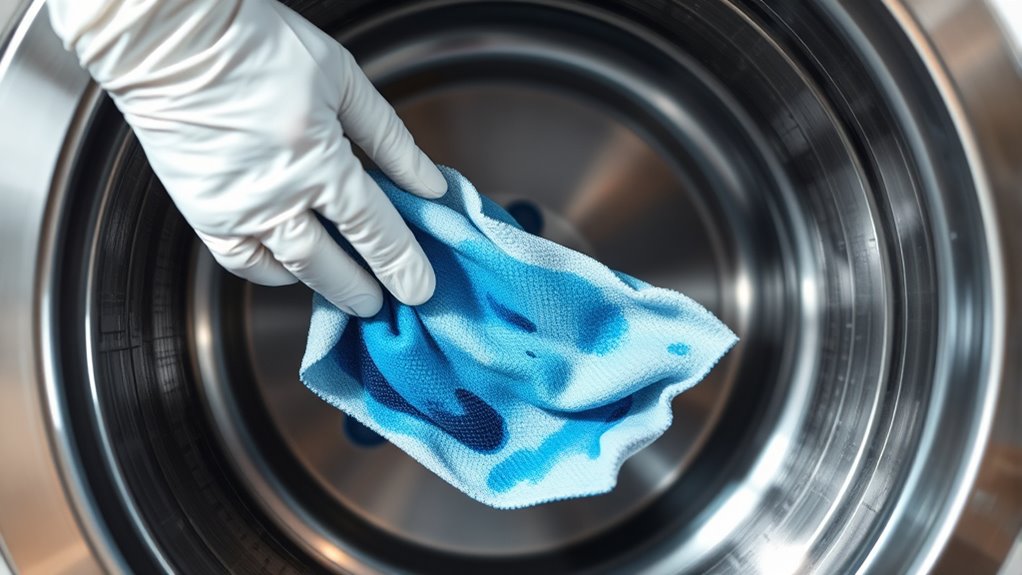
To get ink stains out of your dryer drum, the first step is to unplug the dryer for safety. Then, wipe the drum dry with a clean cloth. Ink stains can be tricky, but rubbing alcohol on a soft cloth works wonders when you gently rub the affected area.
If the stain is stubborn and doesn’t come off easily, try making a paste with baking soda and water. Apply it to the stain and let it sit for a few minutes before wiping it clean.
You can also use commercial stain removers, but always test them on a small spot first to avoid any damage to your dryer.
One important tip: don’t dry clothes with ink stains until you’ve fully cleaned the drum. This helps prevent the ink from spreading and causing more mess.
Keep reading for more handy tips on protecting your dryer from future stains and keeping it looking fresh!
Key Takeaways
- Unplug the dryer and wear gloves before cleaning to ensure safety and protect your skin.
- Test rubbing alcohol on a small drum area first to check for any damage before you go ahead with full stain removal.
- Apply 70%+ isopropyl alcohol with a soft cloth. Gently rub the ink stains in circular motions, then wipe clean.
- For stubborn stains, try using a baking soda and water paste. Let it sit for about 10 minutes, then wipe the drum thoroughly.
- After cleaning, wipe the drum with a dry cloth to remove any residue. This helps prevent ink from transferring to your clothes.
Identifying the Type of Ink Stain
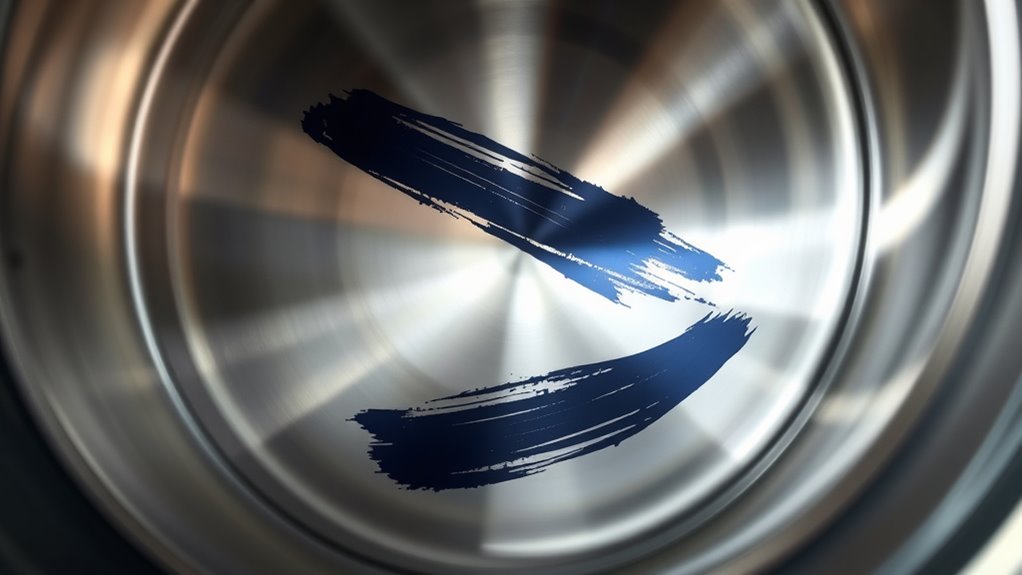
Before you can effectively remove ink stains from your dryer drum, you need to identify the type of ink involved. Different inks respond to cleaning agents in various ways, so knowing what you’re dealing with helps you choose the right method.
For example, ballpoint pen ink is oil-based and usually easier to remove than permanent marker, which contains dyes designed to resist fading. If the stain came from a printer cartridge, it likely contains pigments or dyes that might require stronger solvents.
You can test the ink by dabbing a small amount of rubbing alcohol on a cotton swab and applying it to an inconspicuous spot on the stain. If the ink starts to lift, it’s probably water or alcohol-soluble.
Identifying the ink type first saves you time and prevents damage to your dryer. So, take a moment to check before you dive into cleaning.
Preparing the Dryer Drum for Cleaning
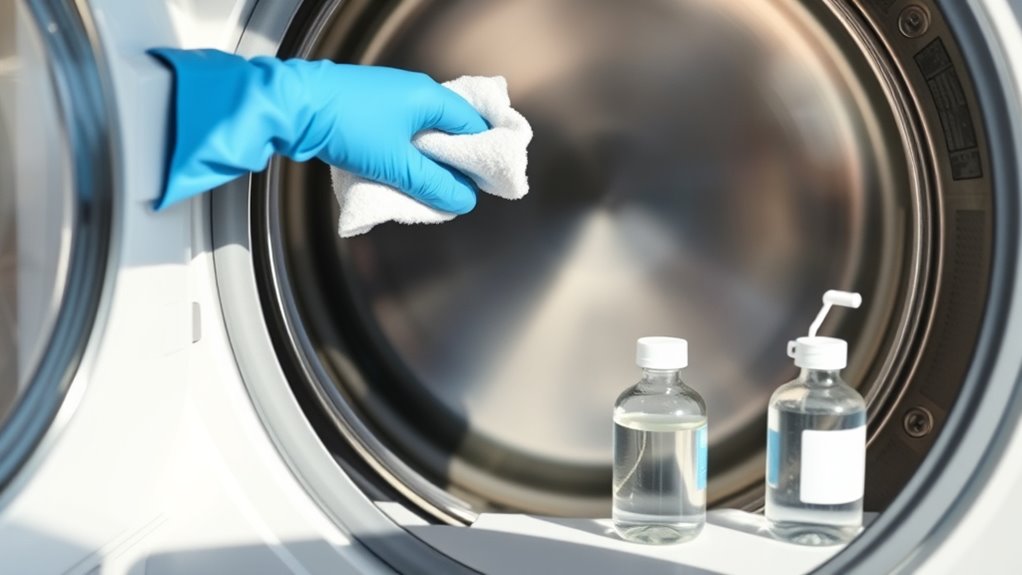
Before you start cleaning, make sure to unplug the dryer and wear gloves to protect your skin. Gather all the necessary cleaning supplies like rubbing alcohol, a soft cloth, and cotton swabs.
Then, clear out any clothes or debris from the drum to give yourself full access to the stained area. That way, you’ll have plenty of room to work and won’t miss any spots.
Safety Precautions First
While tackling ink stains in your dryer drum, you’ll want to prioritize safety to protect yourself and your appliance. First, unplug your dryer to avoid any risk of electric shock. Make sure the drum is cool before you start cleaning to prevent burns or damage from heat.
Work in a well-ventilated area, especially if you’re using cleaning products with strong fumes. It’s a good idea to wear gloves to protect your skin from harsh chemicals and ink residue.
Avoid using abrasive tools that could scratch the drum’s surface. Also, keep pets and children away during cleaning to prevent accidental exposure.
Finally, take a moment to read your dryer’s manual to check for any manufacturer warnings or recommended cleaning methods. Taking these precautions ensures a safe and effective cleaning process.
Gather Cleaning Materials
Since ink stains can be stubborn, you’ll need to gather effective cleaning materials to tackle them without damaging your dryer drum. Start with isopropyl alcohol or rubbing alcohol, which works well to break down ink.
Grab some soft, lint-free cloths or microfiber towels to avoid scratching the drum’s surface. Have cotton balls or swabs handy for applying alcohol to small, hard-to-reach spots.
You’ll also want a mild dish soap and warm water for a gentle clean afterward. Avoid harsh chemicals or abrasive tools that could harm the dryer’s finish.
Finally, keep gloves nearby to protect your hands from stains and irritation. By assembling these materials first, you’ll be ready to safely and efficiently remove those stubborn ink marks in the next step.
Clear Dryer Interior
With your cleaning materials ready, you’ll want to clear out the dryer interior to give yourself full access to the ink stains. Start by removing any clothes, lint, or debris inside the drum.
Check the lint trap and empty it thoroughly to prevent any interference during cleaning. If you notice any loose items, take them out to avoid accidental damage.
Use a vacuum with a brush attachment to suck out dust or particles from the drum edges and crevices. Wiping the drum with a dry cloth before applying any cleaning solution ensures better contact with the stains.
Clearing the interior properly not only makes cleaning easier but also helps you spot all the ink marks, so you don’t miss any during the process. It’s a simple step that really pays off!
Using Rubbing Alcohol to Remove Ink
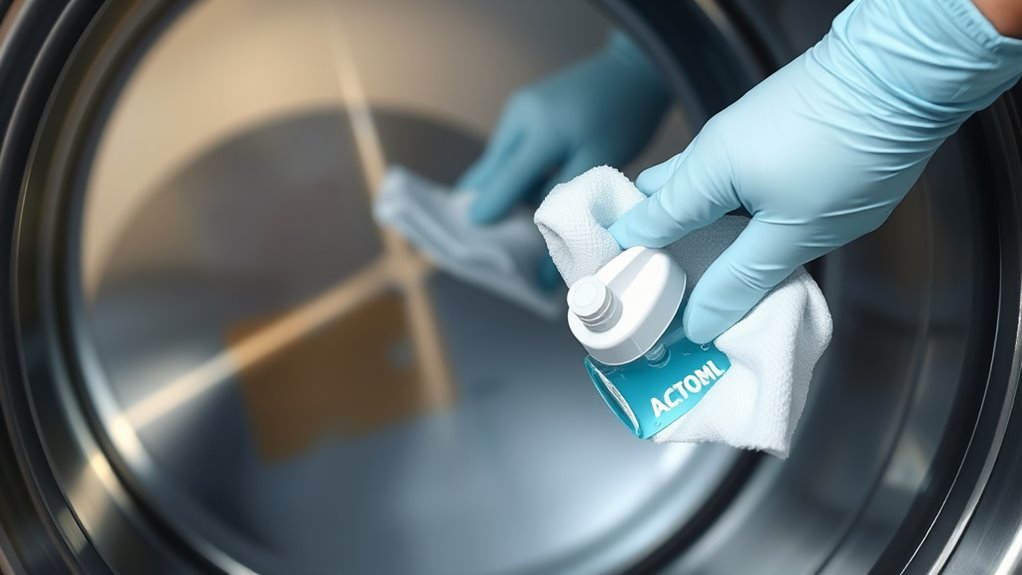
You’ll want to choose isopropyl rubbing alcohol, preferably 70% or higher, to tackle ink stains effectively. Apply it carefully with a soft cloth or cotton ball to avoid spreading the ink further.
Remember to test a small area first and work in gentle, circular motions for best results. It’s a simple trick, but it really helps!
Selecting Appropriate Rubbing Alcohol
Although many solvents can remove ink stains, rubbing alcohol stands out for its effectiveness and safety on dryer drums. When choosing rubbing alcohol, you want to pick the right type to avoid damaging your appliance.
Isopropyl alcohol is your best bet because it evaporates quickly and dissolves ink without leaving residue. Look for concentrations between 70% and 90%, as these balance potency and safety well.
Avoid methylated spirits or denatured alcohol, which can be harsher and risk corrosion.
Here’s what to contemplate when selecting rubbing alcohol:
- Purity: Choose pure isopropyl alcohol for safe cleaning
- Concentration: Aim for 70-90% for effective ink removal
- Avoid additives: No dyes or fragrances that might stain further
This way, you clean efficiently without harming your dryer drum.
Application Techniques and Tips
Before applying rubbing alcohol, make sure to unplug your dryer and work in a well-ventilated area to guarantee safety. Use a cotton ball or soft cloth dipped in rubbing alcohol to gently dab the ink stain. Avoid soaking the drum to prevent damage.
Let the alcohol sit for a minute, then wipe with a clean cloth. Repeat if necessary.
| Step | Tip |
|---|---|
| Dab gently | Prevents spreading the stain |
| Use minimal liquid | Avoids damaging dryer components |
| Ventilate well | Ensures your safety |
Following these techniques helps you remove ink effectively without harming your dryer. Always test a small spot first to confirm no discoloration occurs.
Applying Baking Soda and Water Paste
When ink stains stubbornly cling to your dryer drum, applying a baking soda and water paste can effectively lift the marks without harsh chemicals. Start by mixing equal parts baking soda and water to form a thick paste.
Use a soft cloth or sponge to spread the paste over the stained areas, gently scrubbing in circular motions to break down the ink. Let the paste sit for about 10 minutes to penetrate the stain.
Then, wipe off the residue with a clean, damp cloth and dry the drum with a microfiber towel.
Keep these tips in mind: test on a small hidden spot first to avoid damage. Also, avoid abrasive tools that can scratch the drum.
If the stains persist, don’t worry—just repeat the process for the best results.
Cleaning With Commercial Stain Removers
If baking soda and water don’t fully remove the ink stains, commercial stain removers offer a stronger alternative. Choose a product labeled safe for metal or appliance surfaces to avoid damage.
Apply the stain remover directly to a clean cloth, then gently rub the ink stains on the dryer drum. Let it sit for a few minutes, following the product’s instructions.
Apply stain remover to a cloth and gently rub ink stains on the dryer drum, then let it sit briefly.
Use a damp cloth to wipe away any residue, then dry the area thoroughly. Avoid spraying the remover directly inside the drum to prevent excess moisture buildup.
Repeat the process if necessary, but don’t over-apply, which could harm the drum’s finish. Always test the stain remover on a small, hidden spot first to make sure it won’t discolor or damage the surface.
Preventing Future Ink Stains in Your Dryer
To keep your dryer drum free from ink stains, you’ll want to take a few simple precautions during laundry. First, always check clothing pockets before tossing items in the washer or dryer—pens and markers can easily leak.
Next, separate items with potential ink stains from the rest of your laundry to prevent spreading. Finally, use a stain remover promptly on any ink marks before washing to avoid transferring stains to the dryer drum.
Here are three key tips to prevent ink stains:
- Inspect and empty all pockets before washing.
- Treat ink stains immediately with a stain remover.
- Wash ink-stained clothes separately to avoid contaminating other items or the dryer.
Frequently Asked Questions
Can Ink Stains Damage the Dryer Drum Permanently?
Ink stains usually won’t damage your dryer drum permanently, but if left untreated, they might cause discoloration or transfer to clothes.
Acting quickly and cleaning properly helps keep your dryer drum in great condition. So, if you spot some ink, don’t wait too long to tackle it!
Is It Safe to Use Bleach on a Dryer Drum?
You shouldn’t use bleach on your dryer drum—it can damage the metal finish.
Over 30% of appliance repairs stem from harsh chemical use, so stick to gentler cleaners like rubbing alcohol or baking soda instead.
That way, you keep your dryer safe and running smoothly without risking any corrosion or damage.
How Long Does Ink Removal Typically Take?
Ink removal usually takes about 10 to 30 minutes, depending on the stain’s severity. You’ll need to apply a cleaner, let it sit briefly, then scrub gently.
Sometimes, you might have to repeat the process a couple of times until the stain disappears. It’s all about being patient and careful.
Will Ink Stains Affect Dryer Performance?
You won’t find your dryer skipping a beat just because of ink stains, but they can be a thorn in your side by transferring onto clothes.
Can Ink Stains Transfer to Clothes During Drying?
Yes, ink stains can transfer to your clothes during drying.
If you don’t clean the dryer drum promptly, the ink residue may smear onto fabrics, causing permanent stains. So, it’s best to remove ink quickly.
Conclusion
Now that you’ve tackled those stubborn ink stains, your dryer drum should look as good as new. Remember, a little elbow grease and the right methods go a long way in keeping your appliance spotless.
Don’t let ink spills rain on your parade—clean them up promptly and take preventive steps to avoid future messes. Regular maintenance and quick action are key to preventing ink stains from setting in.
With these tips, you’ll keep your dryer running smoothly and looking sharp for the long haul. Getting ink stains out of a dryer drum isn’t as tricky as it seems once you know the best cleaning techniques. So, keep your appliance ink-free and enjoy fresh, clean laundry every time!