How to Get Ink Stains Out of Your Dryer Drum
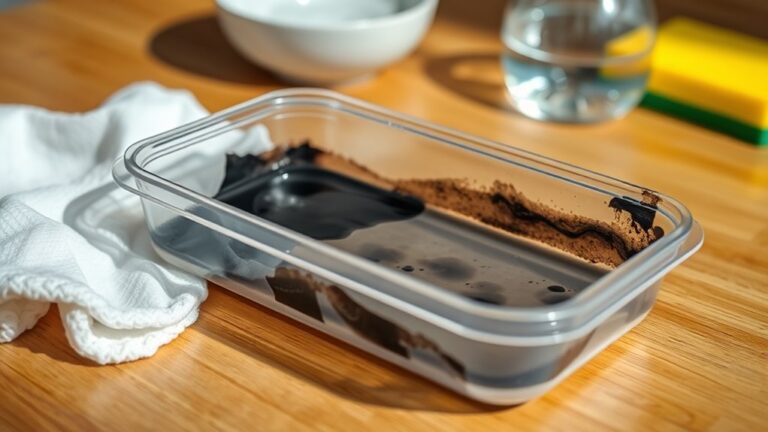
To get ink stains out of your dryer drum, start by inspecting the spots under good light to see how bad they are. Gather some common household items like rubbing alcohol, vinegar, or baking soda—they’re great for tackling tough stains.
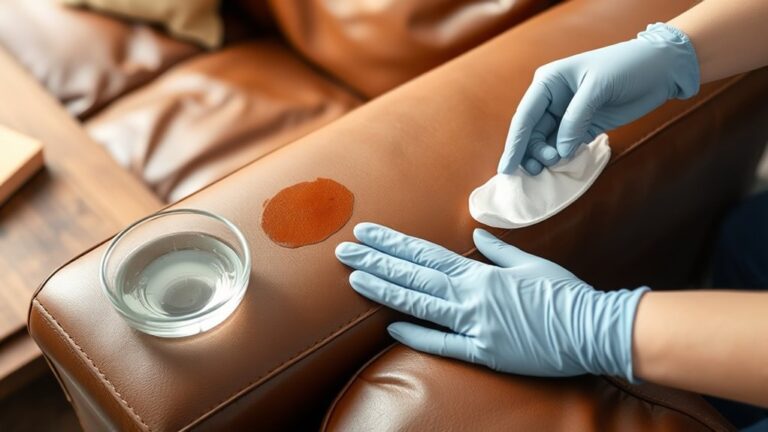
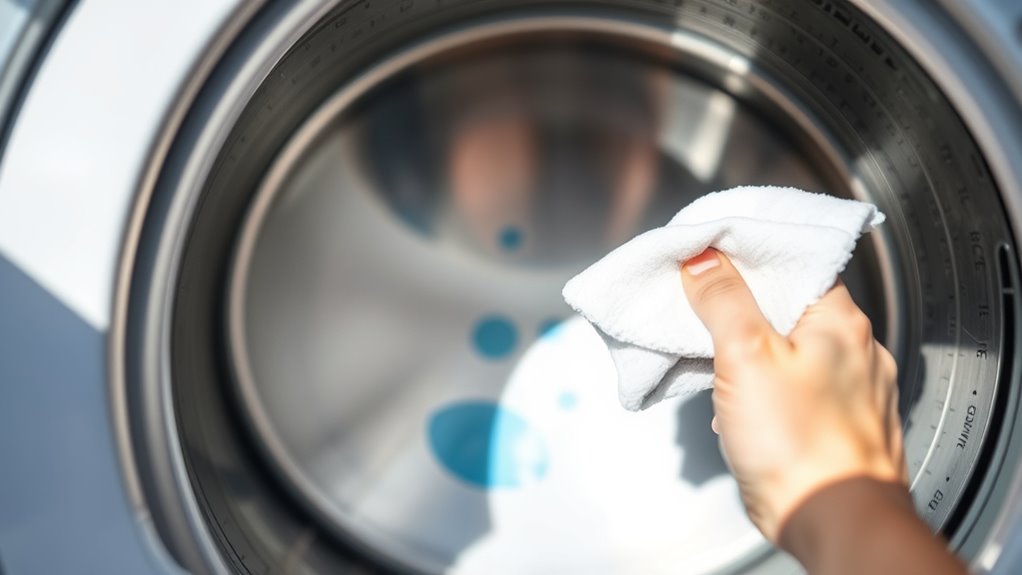
Next, dab a bit of rubbing alcohol on a soft cloth and gently rub the ink stains in small circles. This helps break down the ink without damaging the drum. Afterward, wipe the area with a damp cloth to remove any leftover residue.
If rubbing alcohol isn’t doing the trick, don’t worry! You can also try other household solutions like vinegar or even toothpaste. Just make sure to test these on a small, hidden area first to avoid any damage.
Always protect your hands with gloves and avoid scrubbing too hard—harsh scrubbing can harm your dryer’s surface.
If you want tips on preventing future stains or know when it’s time to call in a professional, keep reading for more helpful advice!
Key Takeaways
- Inspect the dryer drum under good lighting to identify all ink-stained areas and determine the ink type and stain severity. This helps you know exactly what you’re dealing with.
- Use rubbing alcohol on a cloth to gently rub ink stains in circular motions. Then, wipe clean with a damp cloth to remove any residue. It’s pretty effective for most ink stains.
- Apply household solutions like vinegar, baking soda paste, or hand sanitizer carefully. Always test a small area first to avoid damaging the drum. Better safe than sorry!
- Wear gloves and ensure proper ventilation when using cleaning agents. This protects you and helps prevent any damage to the dryer drum.
- To prevent future stains, check pockets before laundry. Using protective bags and pre-treating ink spots before washing clothes can save you a lot of trouble down the line.
Assessing the Ink Stains on Your Dryer Drum
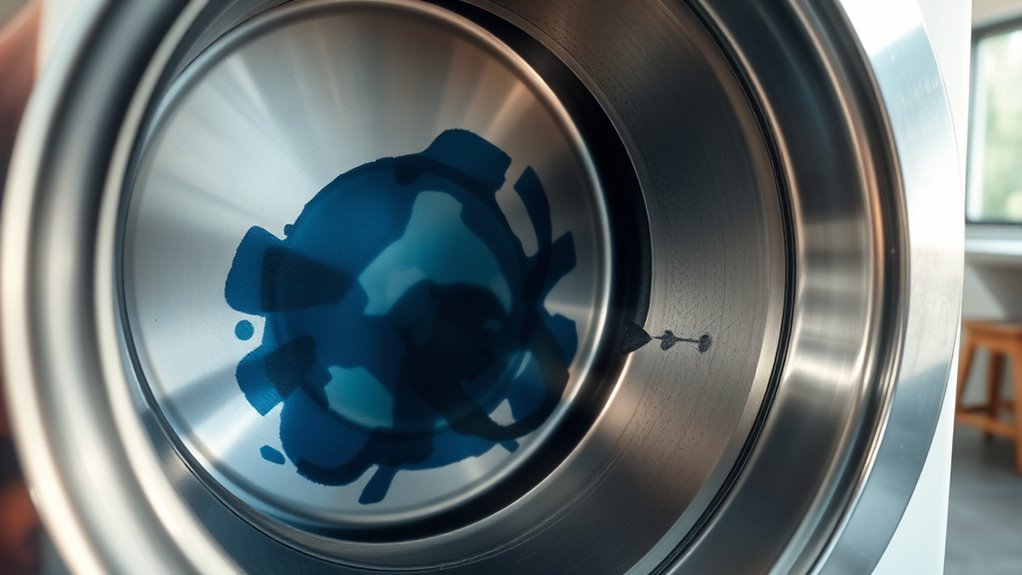
Before you begin cleaning, it’s important to assess the extent and type of ink stains on your dryer drum. Take a close look inside the drum under good lighting to identify all affected areas.
Notice whether the stains are fresh or have set in over time, as older stains may require more effort to remove. Check if the ink is from a ballpoint pen, permanent marker, or printer ink, since different types respond better to certain cleaning methods.
Also, determine the size and spread of the stains; small spots might come off quickly, while larger or smeared stains could need repeated treatment. This careful evaluation helps you tailor your cleaning approach effectively and prevents damage to your dryer’s surface.
Essential Materials Needed for Ink Removal
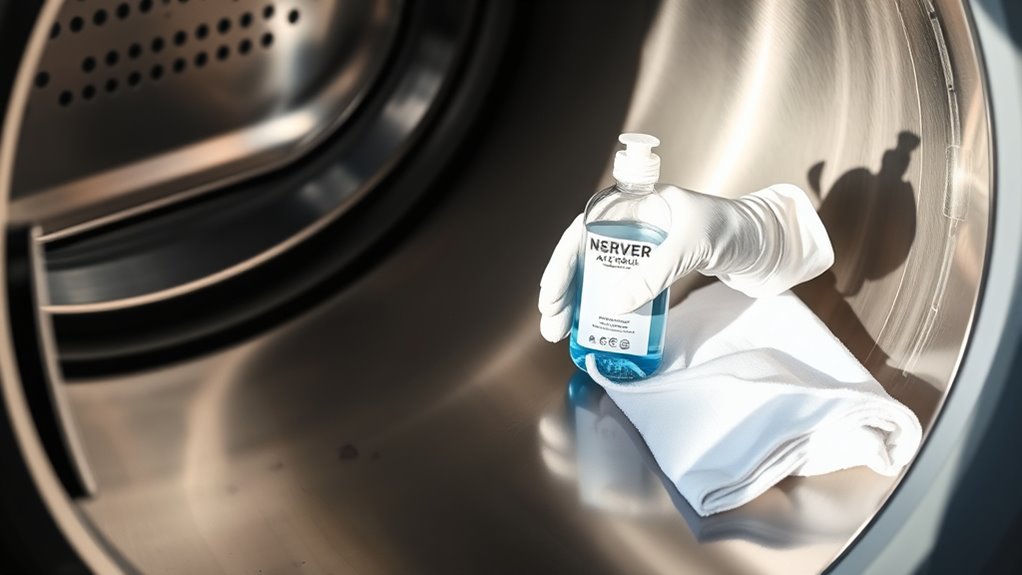
Before you start cleaning, gather the right cleaning agents like rubbing alcohol or a mild detergent. Don’t forget to wear protective gear such as gloves to keep your hands safe.
Having these materials ready will make the ink removal process smoother and safer. It’s always better to be prepared!
Cleaning Agents Selection
Although removing ink stains from your dryer drum can be tricky, choosing the right cleaning agents will make the process much easier and more effective. You want to select products that break down ink without damaging the drum’s surface.
Here are four key cleaning agents to consider:
- Rubbing alcohol – excellent for dissolving ink quickly and safely.
- Non-acetone nail polish remover – effective but gentle enough to avoid harm.
- Mild dish soap mixed with warm water – good for light stains and general cleaning.
- Baking soda paste – acts as a mild abrasive to lift stubborn spots without scratching.
Using these agents carefully will help you restore your dryer drum to its clean state without causing damage. Always test a small area first to ensure compatibility.
It’s a simple step that can save you from bigger problems later!
Protective Gear Essentials
When you tackle ink removal from your dryer drum, wearing the right protective gear keeps you safe and prevents accidental messes. First, grab a pair of disposable gloves to protect your hands from harsh cleaning agents and ink stains.
Safety goggles are a smart choice too, especially if you’re using sprays or liquids that might splash. Wearing old clothes or an apron helps avoid ruining your favorite outfit.
A mask can be useful if you’re sensitive to fumes from solvents or cleaners. In conclusion, keep some paper towels or clean rags handy for wiping up spills quickly.
With these essentials, you’ll work efficiently and avoid any unwanted contact with chemicals or ink, making the cleanup process smoother and safer.
Using Rubbing Alcohol to Remove Ink Stains
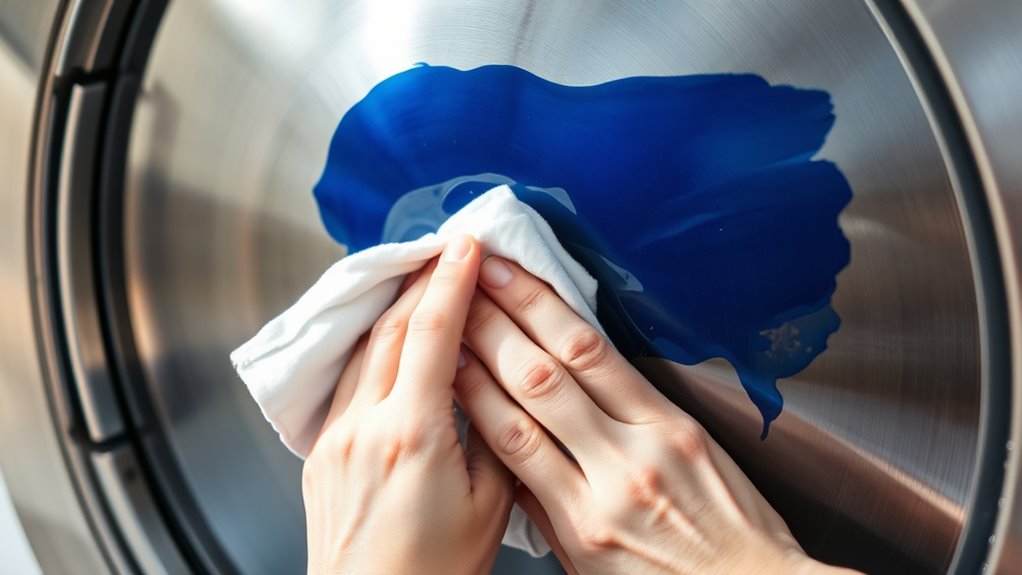
If ink stains have settled on your dryer drum, rubbing alcohol can be a powerful solution to lift them effectively. Here’s how you can tackle those stubborn marks:
- Dampen a clean cloth with rubbing alcohol—don’t soak it to avoid excess liquid.
- Gently rub the stained areas in circular motions, allowing the alcohol to break down the ink.
- Wipe away the loosened ink with a dry cloth, repeating the process if needed.
- Once the stain is gone, clean the drum with a damp cloth to remove any alcohol residue.
Using rubbing alcohol is quick and efficient, but make sure your area is well-ventilated. Also, avoid harsh scrubbing to prevent damaging your dryer’s surface.
Ensure good ventilation and gentle rubbing to protect your dryer while using rubbing alcohol effectively.
This method works best on fresh or moderately set ink stains. Give it a try, and you’ll likely be surprised how well it works!
Alternative Household Solutions for Ink Removal
You can tackle ink stains using common household ingredients like vinegar, baking soda, or hand sanitizer. These solutions are often effective and easy to apply with just a cloth or cotton ball.
Let’s explore how to use them properly to protect your dryer drum while removing those stubborn marks. It’s all about being gentle and patient, so you don’t damage the surface.
Common Household Ingredients
Although commercial stain removers are effective, common household ingredients often provide a quick and affordable way to tackle ink stains on your dryer drum. You might already have these items handy, making the cleanup process simpler.
- Rubbing Alcohol: Dab a cloth in rubbing alcohol and gently rub the stain—it’s great at breaking down ink.
- Baking Soda: Mix baking soda with water to form a paste; apply it on the stain and let it sit briefly before wiping.
- White Vinegar: Soak a cloth in white vinegar and use it to lift the ink without damaging the drum.
- Toothpaste: Non-gel toothpaste can act as a mild abrasive; apply a small amount and rub gently.
These ingredients can effectively remove ink without harsh chemicals. Give them a try!
Application Tips and Tricks
While household ingredients offer effective ink removal, applying them correctly makes all the difference. You’ll want to test a small area first to avoid damage.
Use gentle, circular motions with a soft cloth to lift stains without scratching the drum. Avoid soaking the drum; a damp cloth with a bit of solution works best.
Patience is key—repeat as needed, allowing the solution to sit briefly. Below is a quick guide to help you apply these solutions effectively:
| Ingredient | Application Method | Tips |
|---|---|---|
| Rubbing Alcohol | Dab with cloth, rub gently | Avoid excess liquid |
| Baking Soda | Make a paste, scrub lightly | Use soft cloth |
| Vinegar | Spray, wipe with cloth | Rinse after application |
| Toothpaste | Apply, rub in circular motion | Use non-gel variant |
| Milk | Soak cloth, blot stain | Repeat for stubborn ink |
Preventing Ink Stains in Future Laundry Loads
If you want to keep your dryer drum free from ink stains, taking a few simple precautions before tossing clothes into the laundry can make a big difference. Here’s how to prevent future ink mishaps:
- Check pockets thoroughly – Always empty pockets to avoid pens or markers going through the wash and dryer. It’s a quick step that can save you a lot of trouble later.
- Use protective laundry bags – Place items with ink, like printed fabrics, in mesh bags to limit direct contact. This helps keep the ink from spreading around.
- Pre-treat ink spots – Apply stain remover to ink marks before washing to minimize transfer. It’s like giving those spots a head start before the wash.
- Separate laundry loads – Wash ink-stained or suspect items separately to prevent ink bleeding onto other clothes. Keeping them apart can really save the day.
When to Call a Professional for Dryer Drum Cleaning
Taking steps to prevent ink stains can reduce the chance of damage, but sometimes stains still settle deep into the dryer drum. If you’ve tried household cleaning methods and the ink remains, it’s time to call a professional.
You should especially seek expert help if the stain is extensive, stubborn, or if you notice lingering odors or residue after cleaning. Professionals have specialized tools and cleaning agents that can safely remove tough stains without harming your dryer.
Also, if your dryer shows signs of damage or unusual performance after attempting DIY cleaning, don’t hesitate to get professional assistance. Addressing the problem early with expert care can save you from costly repairs or even having to replace the entire unit.
Frequently Asked Questions
Can Ink Stains Damage the Dryer Drum Permanently?
Ink stains usually won’t cause permanent damage to your dryer drum. But if you leave them untreated, they can get tougher to remove.
Over time, those stains might even transfer onto your clothes. So, it’s a good idea to clean them up as soon as you notice them.
That way, you keep your dryer in good shape and your clothes looking fresh.
Is It Safe to Use Bleach on the Dryer Drum?
You wouldn’t want to upset your dryer’s delicate balance, so using bleach on the drum isn’t the best move. It can be harsh and might cause damage.
Instead, try opting for gentler cleaners to keep your appliance happy. They’ll do the job without the risk of harm.
Will Ink Stains Affect Drying Performance?
No, ink stains won’t affect your dryer’s performance. They don’t interfere with heat or airflow, so your clothes will still dry properly.
However, you might want to clean them to avoid transferring ink onto your laundry. It’s better to be safe than sorry!
How Long Should I Wait Before Using the Dryer After Cleaning?
You should wait at least 30 minutes after cleaning your dryer drum to guarantee any cleaning residue fully evaporates. This helps prevent odors or stains from transferring onto your clothes during the next drying cycle.
Waiting a bit gives the drum time to air out and dry completely. So, it’s a good idea to be patient before using the dryer again!
Can Ink Stains Transfer to Clothes During Drying?
Don’t beat around the bush—yes, ink stains can transfer to clothes during drying.
If your dryer drum’s got ink, it’ll redeposit onto fabrics. So, clean it thoroughly before tossing in your laundry to avoid unwanted marks.
Conclusion
Picture your dryer drum gleaming like new, free from stubborn ink stains that once marred its surface. With rubbing alcohol or simple household items in hand, you’ve tackled the mess head-on, restoring both function and shine.
Remember, preventing future stains keeps that clean drum feeling fresh and ready for every load. Regular maintenance and quick action at the first sign of ink can save you a lot of trouble down the road.
If the ink won’t budge, don’t hesitate to call in a professional—sometimes, a little expert care is all it takes to keep your dryer spotless. Keeping your dryer drum clean not only improves its appearance but also helps maintain its efficiency and prolongs its lifespan. So, stay proactive and enjoy hassle-free laundry days with a pristine dryer drum!