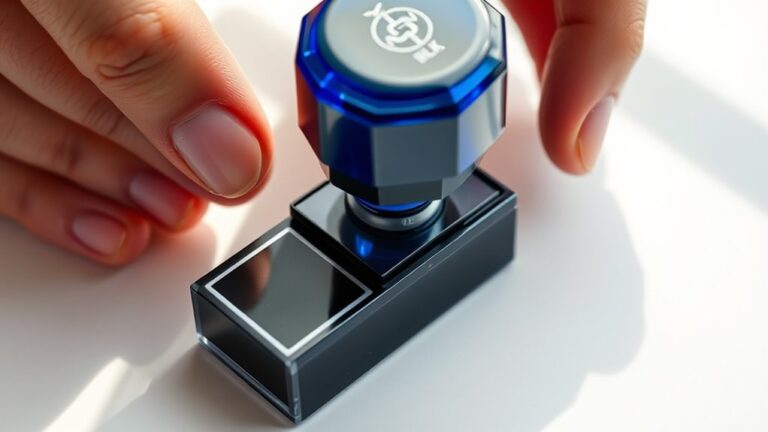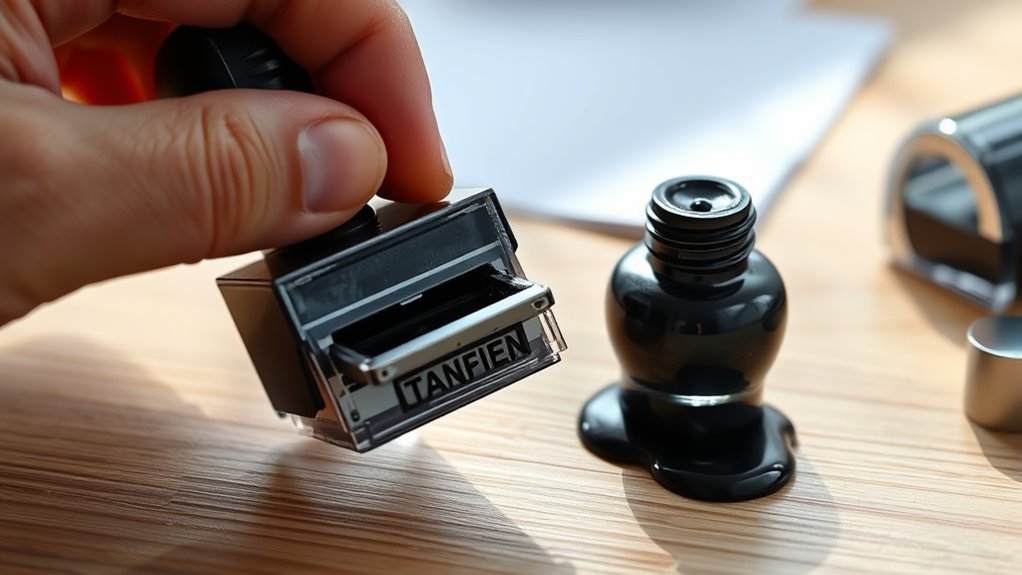
How to Refill a Self Ink Rubber Stamp in 5 Easy Steps
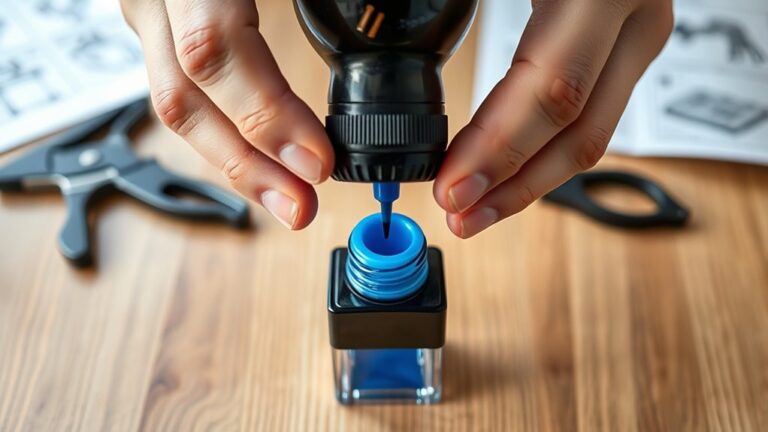
To refill your self-inking rubber stamp, start by gathering water-based ink and a dropper. These are essential for a smooth and mess-free refill process.
Begin by removing the ink pad carefully from your stamp and placing it on a flat surface.
Next, apply the ink evenly across the pad using drops, making sure to avoid pooling in one spot. This helps ensure your stamp will have consistent coverage.
Let the ink soak in for about 15-30 minutes to guarantee full absorption.
Finally, reinsert the pad back into the stamp and secure it properly.
Test your stamp on scrap paper to check for clear, consistent prints. Keep going to discover tips for perfect impressions every time.
Key Takeaways
- Gather water-based or pigment ink, a dropper, gloves, and a clean workspace before starting.
- Remove the ink pad gently by sliding or lifting it out of the stamp assembly.
- Apply several small drops of ink evenly across the pad surface without oversaturating.
- Let the ink absorb fully for 15-30 minutes in a clean, dry area before use.
- Reinsert the ink pad securely and test the stamp on scrap paper for consistent prints.
Gather Your Supplies
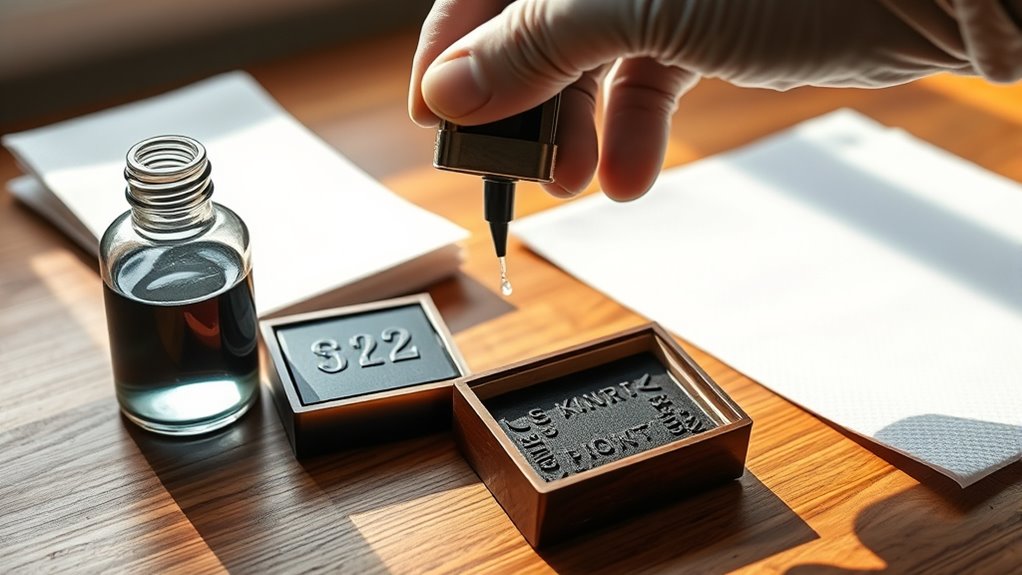
Before you begin refilling your self-ink rubber stamp, make sure you have all the necessary supplies on hand. You’ll need the correct ink for your stamp type—usually water-based or pigment ink.
Gather the correct ink and all supplies before refilling your self-ink rubber stamp for a smooth process.
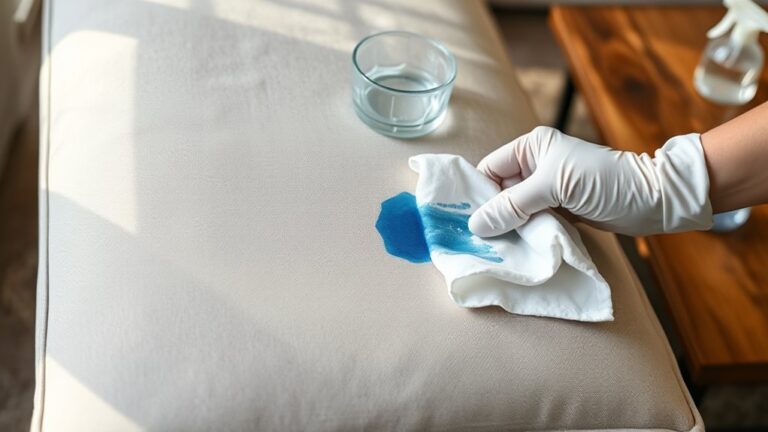
Grab a small dropper or eyedropper to apply the ink precisely. Have some paper towels or a clean cloth ready to catch any spills or excess ink.
It’s also helpful to wear disposable gloves to keep your hands clean. Finally, gather a flat surface where you can work comfortably without worrying about stains.
Double-check your supplies before you start to avoid interruptions during the process. Having everything prepared will make refilling smoother and prevent mistakes that could damage your stamp or create a mess.
Remove the Ink Pad From the Stamp
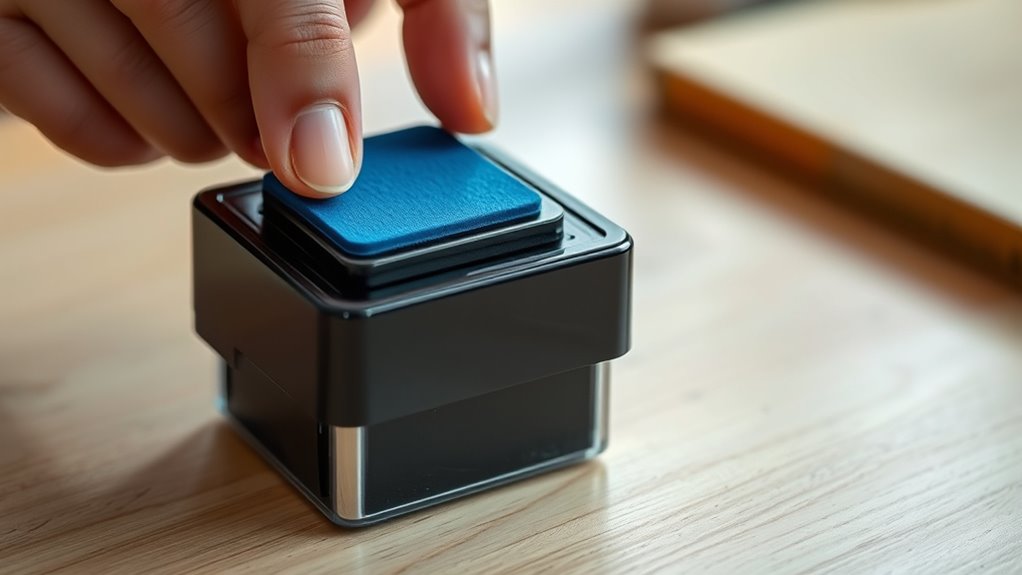
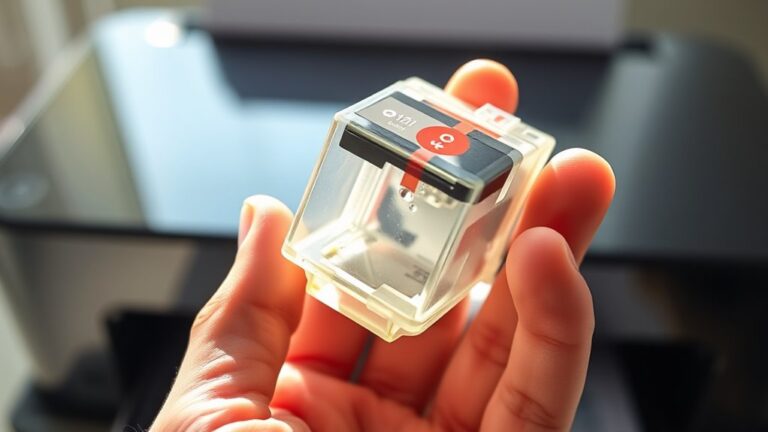
Once you’re ready, press the stamp slightly to expose the ink pad. Then carefully slide or lift it out depending on your stamp’s design.
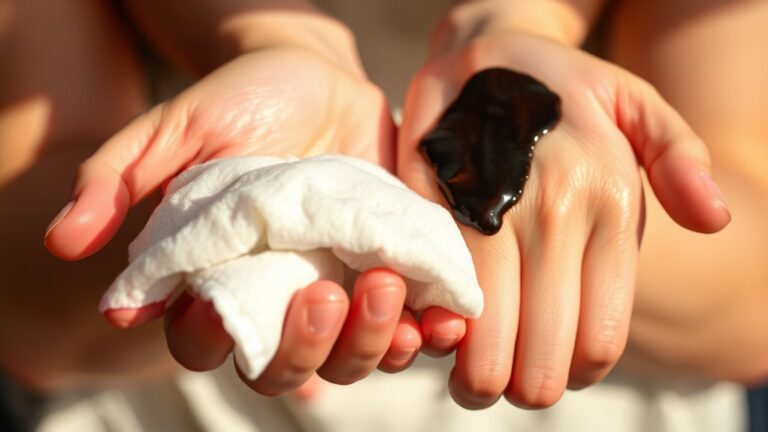
Handle the pad gently to avoid smudging ink or damaging the mechanism. Some stamps have a tab or small lever to aid removal; use it if available. Place the ink pad on a clean surface to prepare for refilling.
| Step | Action | Tip |
|---|---|---|
| 1 | Press stamp to expose pad | Apply gentle pressure |
| 2 | Identify removal method | Slide or lift carefully |
| 3 | Use tab or lever if present | Prevent damage |
| 4 | Place pad on clean surface | Keep pad flat and stable |
This careful removal sets you up for a smooth refill process.
Apply Ink to the Pad Evenly
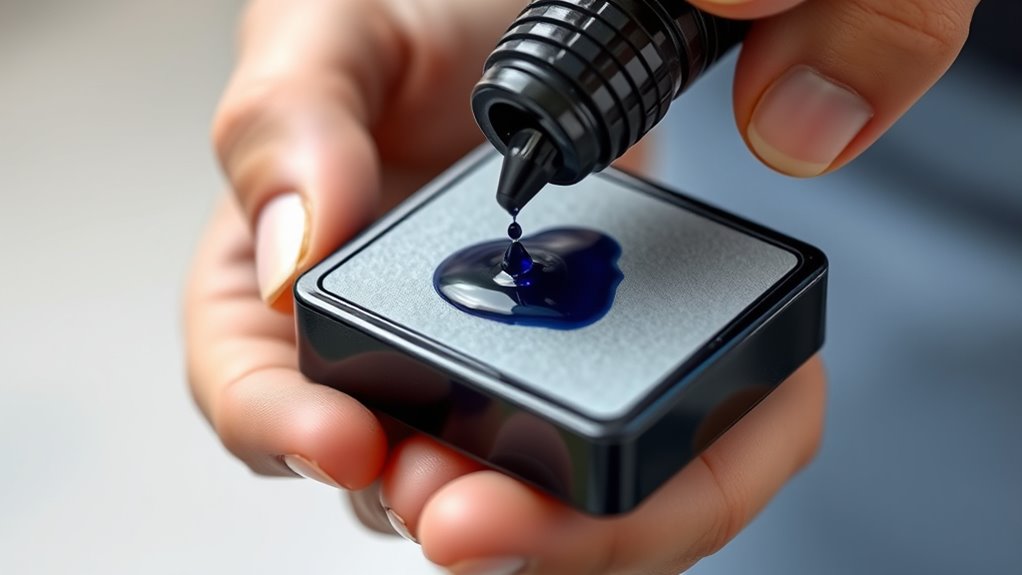
How should you apply ink to the pad to guarantee even coverage? Start by placing a few drops of ink evenly across the surface of the pad. Avoid pouring too much ink in one spot, as this can cause blotches and uneven stamping.
Instead, gently tap the ink bottle’s tip to distribute the ink gradually. Use a clean, disposable cloth or your finger to spread the ink lightly if needed, ensuring it saturates the entire pad uniformly.
Be careful not to over-saturate; too much ink can cause smudging and damage the stamp’s detail. Applying ink evenly helps maintain crisp impressions and prolongs the life of your self-inking rubber stamp.
Take your time and check the pad closely for consistent moisture before reassembling the stamp.
Let the Ink Absorb Fully
While the ink may look evenly spread, you’ll want to give the pad enough time to absorb it fully. This ensures the ink soaks deep into the foam or fabric pad, preventing smudges and uneven stamping.
Avoid pressing or using the stamp immediately after refilling, as the excess ink may cause blotches. Instead, set the stamp aside in a clean, dry place and let it sit for at least 15 to 30 minutes.
The exact time depends on the ink type and pad material, so check the manufacturer’s recommendations if available. Giving the ink this time also helps the stamp maintain consistent ink coverage over multiple uses, extending its lifespan and improving the clarity of your impressions.
Reassemble and Test Your Stamp
After giving the ink enough time to soak in, you can put your stamp back together. Carefully reinsert the ink pad into its original slot, making sure it fits snugly without forcing it.
Align any clips or tabs to secure the pad properly. Once assembled, press the stamp firmly onto a scrap piece of paper to test the ink flow.
If the impression looks faint or uneven, give the pad a few more minutes to absorb ink or consider adding a tiny drop more. Just be careful not to over-saturate it, since that can cause smudging.
Keep testing until your stamp produces a clear and consistent print. Now, your self-ink rubber stamp is ready for regular use, which will save you time and money on replacements.
Frequently Asked Questions
How Often Should I Refill My Self-Ink Rubber Stamp?
You should refill your self-ink rubber stamp whenever the impressions start looking faint or uneven. Typically, this happens after several hundred uses, but it depends on how often you stamp and the ink type you use.
If you notice the stamp isn’t as clear as before, it’s probably time to add more ink. Don’t wait too long, or your impressions might come out patchy. Just keep an eye on how your stamp looks, and you’ll know when it’s time to refill!
Can I Use Different Ink Colors in the Same Stamp?
Yes, you can use different ink colors in the same self-ink stamp. But you’ll need to clean it thoroughly between colors to avoid mixing.
Otherwise, the colors might blend and ruin your stamp’s clarity. So, make sure to take your time cleaning before switching colors. That way, your stamp stays sharp and vibrant every time.
What Type of Ink Works Best for Self-Inking Stamps?
You’ll want to use specially formulated self-inking stamp ink—it’s designed to dry fast and prevent smudging.
Using other inks might cause clogging or fading, so stick with stamp pad or refill ink for best results. It really makes a difference in how your stamp looks and lasts!
How Do I Clean My Self-Inking Stamp Before Refilling?
You clean your self-inking stamp by pressing it several times on a damp paper towel until no more ink transfers. Avoid harsh chemicals; a mild soap solution works best.
Let it dry completely before refilling. This way, you make sure everything is clean and ready for fresh ink.
Is It Possible to Over-Ink the Stamp Pad?
Don’t bite off more than you can chew—you can definitely over-ink your stamp pad. Too much ink causes smudging and uneven impressions, so add ink sparingly to keep your stamp clean and crisp every time.
It’s all about balance, really. Just a little ink goes a long way to get those perfect impressions without the mess.
Conclusion
Refilling your self-ink rubber stamp might seem tricky at first, but with just a few simple steps, it’s surprisingly easy. While a fresh ink pad brings crisp, clear impressions, neglecting this small task can leave your stamp dry and frustrating to use.
Taking a little time now means saving yourself from blurry, incomplete marks later. So, don’t wait—refresh your stamp and keep your projects looking sharp and professional every time.
By regularly refilling your self-ink rubber stamp, you ensure consistent, vibrant impressions that make your work stand out. Plus, it’s a cost-effective way to extend the life of your stamp without needing to replace it. Follow these easy steps to maintain your stamp’s quality and enjoy smooth stamping for all your creative or business needs.