How to Make Alcohol Ink in 3 Easy Steps
To make alcohol ink in three easy steps, start by gathering isopropyl alcohol (91% or higher) and alcohol-based dyes or markers. These are the key ingredients for creating your own vibrant alcohol ink at home.
Next, mix a small amount of alcohol with a few drops of dye in a container. Stir gently to blend the colors without creating bubbles. This helps you get that smooth, vibrant look that alcohol ink is known for.
Finally, store your ink in an airtight container to prevent evaporation. Be sure to shake well before each use to keep the colors consistent.
With this simple method, you’ll quickly create beautiful alcohol inks. Keep going to discover tips for adjusting colors and proper storage to make your inks last longer and look even better!
Key Takeaways
- Pour isopropyl alcohol into a small container as the base for your alcohol ink.
- Add a few drops of alcohol-based dye or marker ink to the alcohol.
- Stir gently to blend the dye and alcohol without creating bubbles.
- Adjust the amount of dye for desired color intensity and mix evenly.
- Store the ink in a sealed container to prevent evaporation and shake before use.
It’s pretty simple, right? Just take your time blending so the colors come out just how you want them. And remember, keeping the container sealed is key to making your ink last longer!
Gather Your Materials
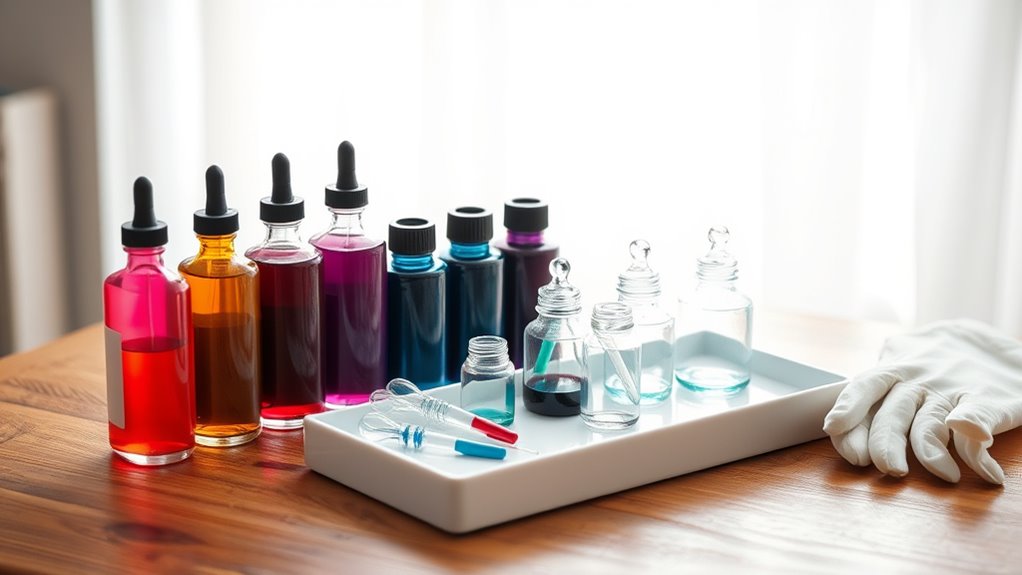
You are trained on data up to October 2023. To make alcohol ink, you’ll first need to gather a few essential materials. Start with isopropyl alcohol—preferably 91% or higher—as it’s the base for your ink.
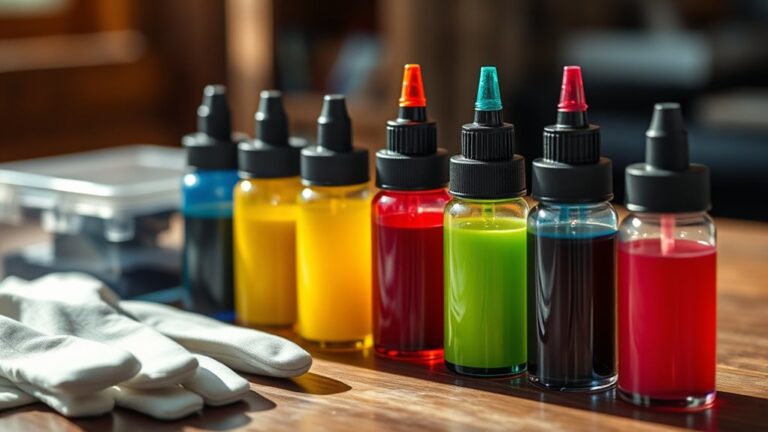
Next, pick out high-quality, alcohol-based dyes or markers; these provide vibrant colors. You’ll also want small, sealable containers or bottles for mixing and storing your ink.
Don’t forget gloves and a protective surface, since alcohol ink can stain. Optional tools include droppers or pipettes for precise mixing and stirring sticks.
Having these materials ready guarantees a smoother, more controlled process. Once you have everything, you’ll be all set to move forward and create your own custom alcohol inks.
Mix the Ingredients
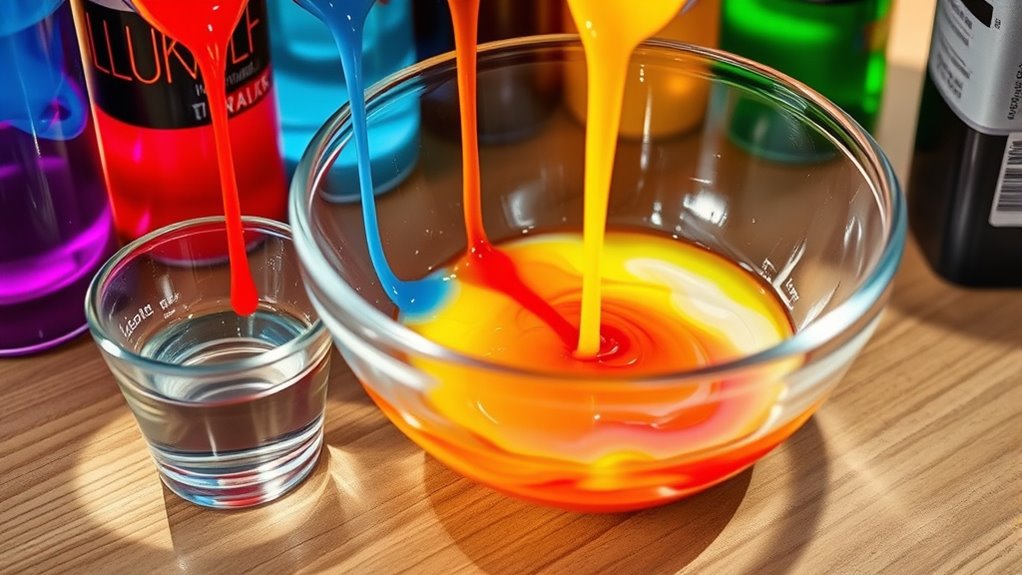
How exactly do you combine the ingredients to create vibrant alcohol ink? Start by pouring a small amount of isopropyl alcohol into a clean glass container.
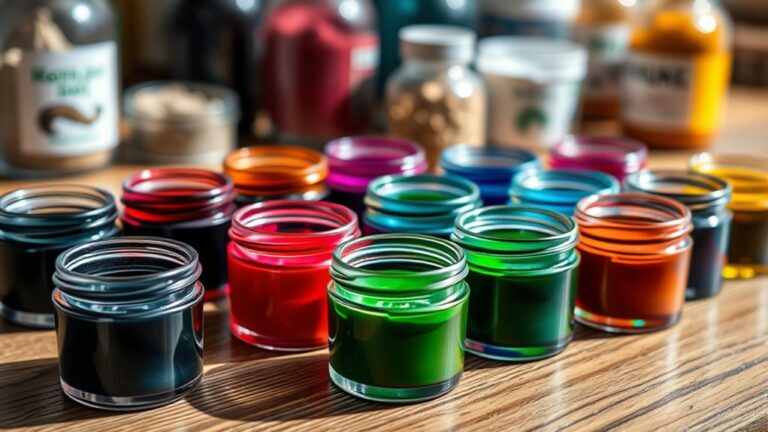
Add a few drops of your chosen alcohol-based dye or ink to the alcohol. The ratio usually depends on how intense you want the color—more dye means stronger color, less means lighter shades.
Adjust the dye amount to control color intensity—more drops for vibrant hues, fewer for subtle shades.
Use a dropper or pipette to control the amounts precisely. Next, gently stir the mixture with a small stick or swirl the container to blend the dye and alcohol thoroughly.
Avoid shaking vigorously, as that can cause bubbles. Once the color looks even, your alcohol ink is ready.
Store and Use Your Alcohol Ink
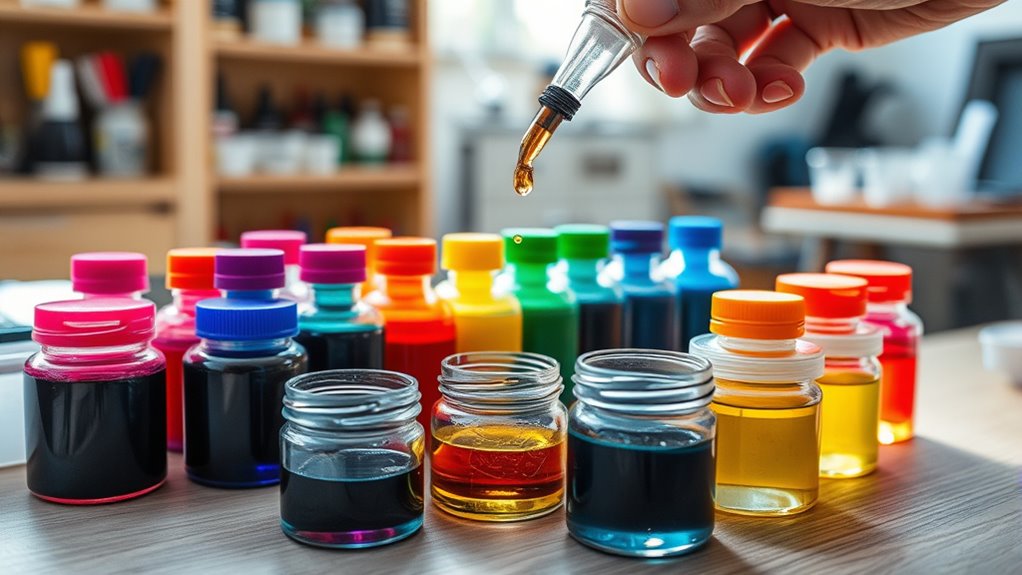
Once your alcohol ink reaches the desired color and consistency, proper storage guarantees it stays vibrant and ready for use. Store your ink in airtight, dark glass bottles or dropper containers to prevent evaporation and light damage.
Keep the bottles tightly sealed and place them in a cool, dry area away from direct sunlight. Before using, shake the bottle well to remix any settled pigments.
When applying your alcohol ink, work on non-porous surfaces like Yupo paper or ceramic tiles for best results. Use gloves and work in a well-ventilated space to avoid skin contact and inhaling fumes.
Clean your tools immediately after use with isopropyl alcohol to maintain their condition. With these steps, your homemade alcohol ink will stay fresh and perform beautifully every time.
Frequently Asked Questions
Can Alcohol Ink Be Used on Fabric or Only Non-Porous Surfaces?
You can use alcohol ink on fabric, but it works best on non-porous surfaces.
On fabric, it may spread unpredictably and require special fixatives to set the color properly. This helps prevent fading or bleeding over time.
Is Alcohol Ink Toxic or Safe to Use Around Children and Pets?
Alcohol ink isn’t safe around children or pets because it contains alcohol and pigments that can be toxic if ingested or inhaled in large amounts.
Always use it in a well-ventilated area and keep it out of reach.
Better to be safe than sorry when you’re working with these materials around little ones or furry friends!
How Long Does Alcohol Ink Typically Last Once Applied to a Surface?
Alcohol ink typically lasts 5-10 years on non-porous surfaces like glass or metal. You’ll love that its vibrant colors stay bright, especially when sealed, making your artwork pop beautifully for a long time.
It’s pretty amazing how well the colors hold up. Just remember, sealing your piece really helps keep that brightness intact over the years.
Can I Use Food Coloring Instead of Alcohol Ink Dyes?
You can use food coloring, but it won’t behave like alcohol ink. It tends to be less vibrant, dries slower, and doesn’t spread or blend well on non-porous surfaces.
If you want the best results, it’s better to stick with alcohol ink dyes. They’re designed to work perfectly for those kinds of projects.
What Are Some Common Art Projects to Try With Alcohol Ink?
You can create vibrant greeting cards, decorate coasters, make abstract wall art, or personalize glassware with alcohol inks. They’re perfect for experimenting with blending and layering colors to achieve stunning effects.
Have fun exploring!
Conclusion
Now that you’ve made your own alcohol ink, you’re ready to create vibrant, fluid art that flows like a river of color. Remember, mixing your ingredients carefully guarantees the best results, and proper storage keeps your ink fresh and ready.
With just these simple steps, you’ve opened up endless creative possibilities. So grab your brushes and let your imagination run wild—your homemade alcohol ink is your new artistic superpower!
Making alcohol ink at home is easier than you think, and it offers a fun, budget-friendly way to explore fluid art. Whether you’re painting, crafting, or experimenting, your DIY alcohol ink lets you customize colors and effects. Keep practicing, and you’ll discover all the amazing ways this versatile ink can enhance your artwork!