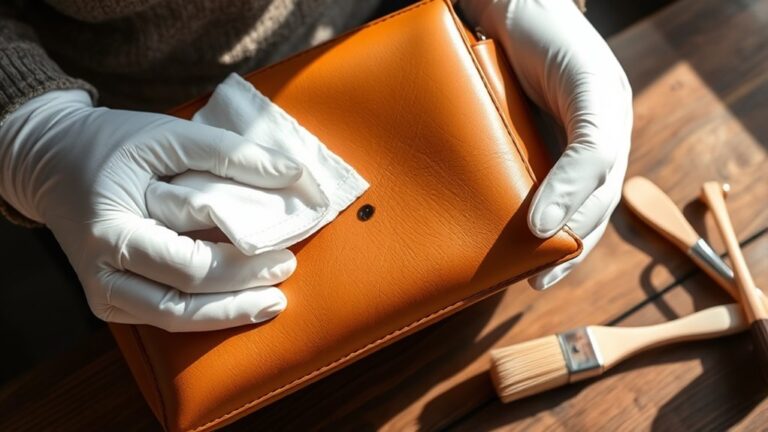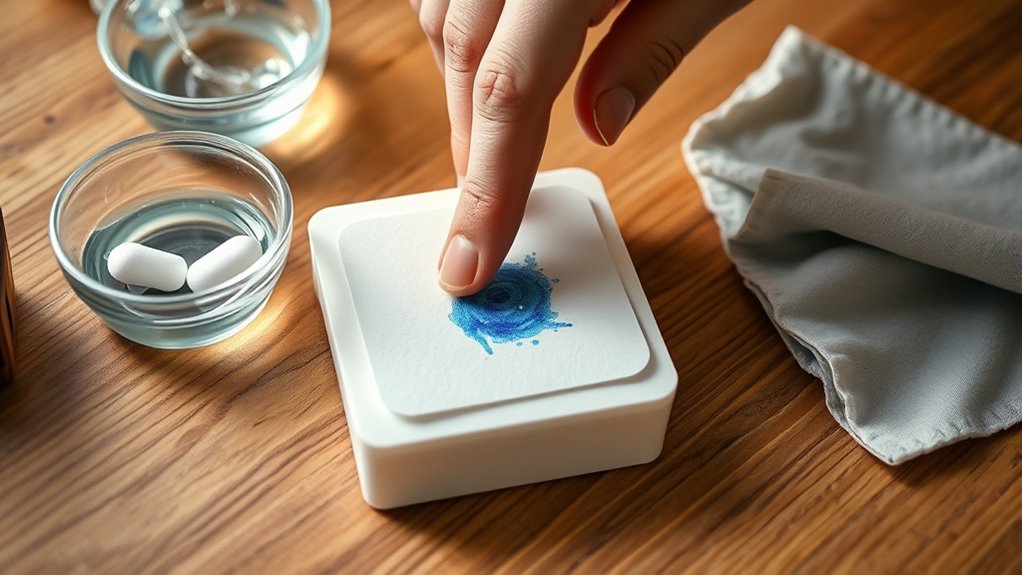
How to Clean Ink Stamps Step by Step
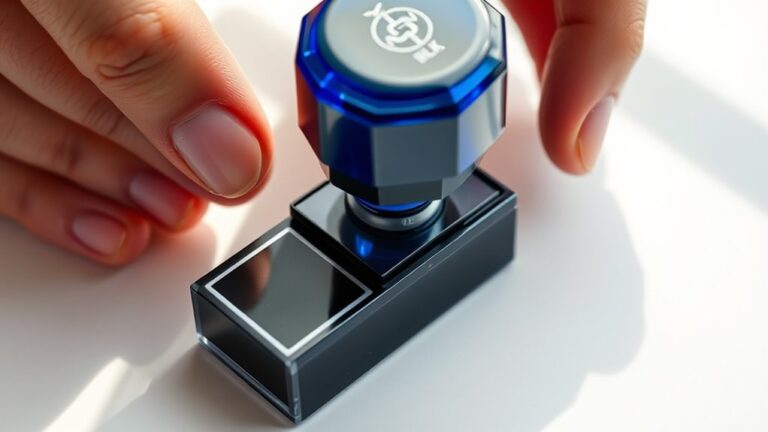
Start by gathering gentle soap, warm water, a soft brush, and lint-free cloths. These basic supplies will help you clean your ink stamps effectively without causing damage.
Next, identify the ink type on your stamp. Water-based inks clean easily with mild soap and a quick rinse. But if you’re dealing with permanent inks, you might need rubbing alcohol to get the job done.
Gently scrub your stamp to lift the ink without soaking it. Be careful not to damage the stamp surface.
Once cleaned, pat it dry with a lint-free cloth and let it air dry completely in the shade to avoid any damage.
Conditioning your stamp afterward keeps it flexible and extends its life. If you want to master cleaning various ink types and prolong your stamps’ life, keep exploring these techniques. It’s a simple way to keep your stamps looking great and working perfectly!
Key Takeaways
– Gather gentle soap, a soft brush, lint-free cloths, warm water, and baby wipes for safe stamp cleaning.
These items will help you clean your ink stamps without causing damage.
– Identify the ink type first—whether it’s water, solvent, pigment, dye, or oil-based.
Knowing this helps you pick the right cleaning method for your stamps.
– For water-based ink stamps, use mild soap and a soft brush to clean them gently.
Rinse briefly with water and make sure to air dry them promptly to keep them in good shape.
– To remove permanent ink, try rubbing alcohol or nail polish remover.
Scrub gently, rinse well, and blot the stamps dry carefully.
– Always pat your stamps dry and then let them air dry in the shade.
Avoid using heat, and consider applying a conditioner to keep your stamps flexible and in great condition.
Gather Your Cleaning Supplies
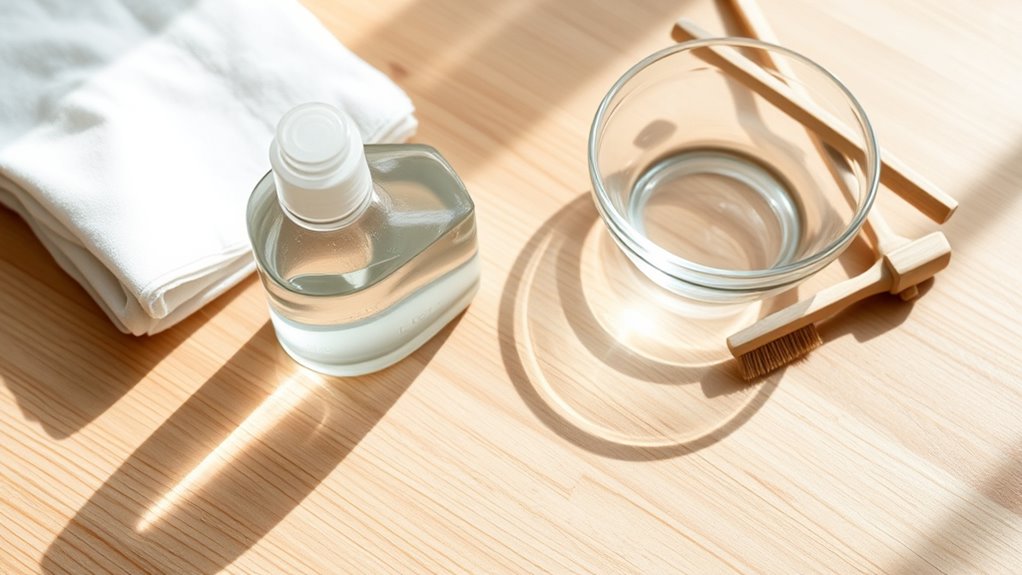
Before you begin cleaning your ink stamps, gather all the necessary supplies to make the process smooth and efficient. You’ll need a few basics: a gentle soap or stamp cleaner, a soft-bristled brush or old toothbrush, and some clean, lint-free cloths or paper towels.
Have a small bowl of warm water ready to rinse your stamps without soaking them too long. If you prefer, keep some baby wipes handy for quick cleanups.
Avoid harsh chemicals or abrasive materials that could damage your stamps. Having everything within reach prevents interruptions and helps you clean each stamp thoroughly.
Organizing your workspace with good lighting will also make spotting ink residue easier. Once your supplies are ready, you’ll be set to clean your stamps safely and effectively.
Identify the Type of Ink on Your Stamp
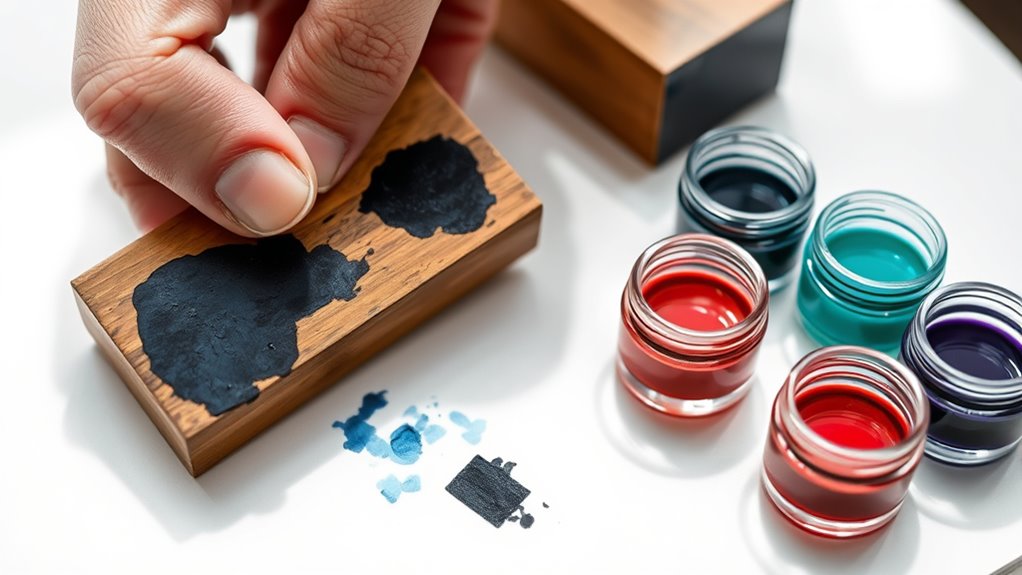
With your cleaning supplies ready, the next step is to identify the type of ink on your stamp. Knowing whether your ink is water-based, solvent-based, or pigment-based helps you choose the right cleaning method.
Check the ink’s texture, drying time, and whether it smudges with water. Use this quick reference to help:
| Ink Type | Drying Time | Water Reaction |
|---|---|---|
| Water-Based | Fast | Smudges easily |
| Solvent-Based | Medium-Fast | Resistant, no smudge |
| Pigment-Based | Slow | Slight smudge |
| Dye-Based | Fast | Blurs with water |
| Oil-Based | Slow | No reaction |
Clean Water-Based Ink Stamps
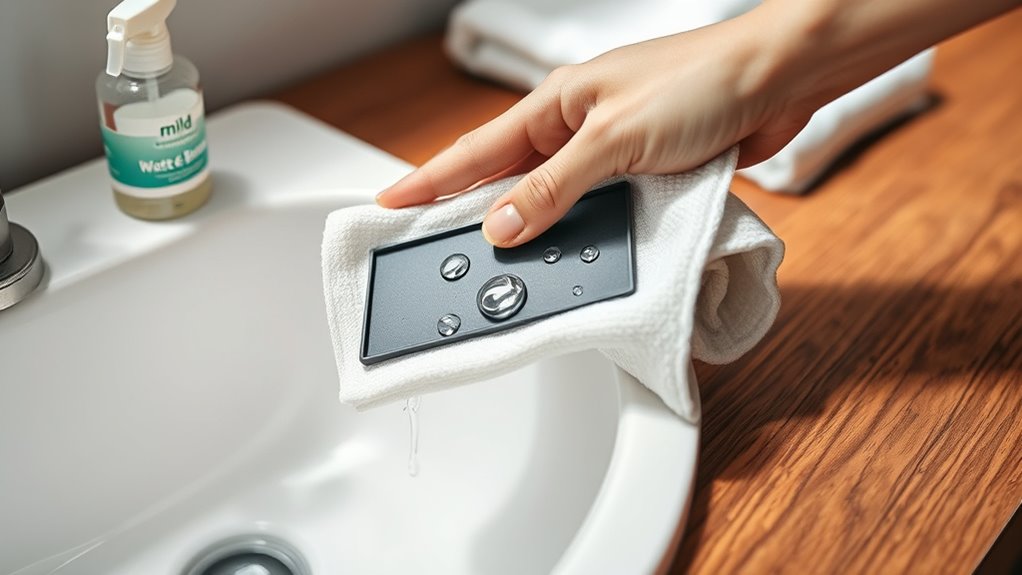
How do you effectively clean water-based ink stamps without damaging them? Start by gently pressing the stamp onto a damp, lint-free cloth or paper towel to lift the excess ink. Avoid soaking the stamp, as too much water can loosen the adhesive or damage the foam.
Next, use a mild soap mixed with water and a soft toothbrush or sponge to carefully scrub the stamp’s surface. Rinse the stamp under cool running water briefly to remove soap residue.
Pat it dry with a clean towel and let it air dry completely before storing. Cleaning water-based ink stamps right after use prevents ink from drying and becoming harder to remove. This way, you keep your stamps in great condition for future projects.
Remove Permanent Ink From Stamps
Removing permanent ink from stamps can be tricky, but you can tackle it effectively by acting quickly and using the right materials.
Start by gently wiping the stamp with a cotton ball soaked in rubbing alcohol or nail polish remover; these solvents break down permanent ink well. Avoid soaking the stamp to prevent damage.
Gently wipe stamps with a cotton ball soaked in rubbing alcohol or nail polish remover to break down permanent ink.
Use a soft toothbrush or cotton swab to scrub stubborn ink spots gently. If alcohol doesn’t work, try a commercial stamp cleaner designed for permanent ink.
Always test the cleaner on a small area first to ensure it won’t harm your stamp. After removing the ink, rinse the stamp lightly with water, then blot it dry with a clean cloth.
Acting fast and using appropriate solvents will help you restore your stamp successfully. It’s all about being gentle and patient with the process.
Dry and Condition Your Stamps
Once you’ve cleaned your stamps, it’s super important to dry them well. This helps prevent damage and keeps them looking great. Gently pat the surface with a lint-free cloth or paper towel to soak up any extra moisture.
Try not to rub, though—that can mess up the stamp’s design or material. Then, just let your stamps air dry completely in a spot that’s well-ventilated. Make sure it’s away from direct sunlight or any heat sources since those can cause warping or cracking.
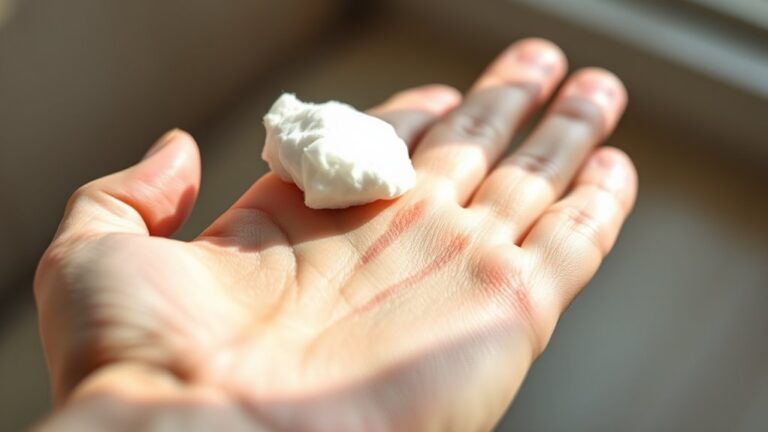
After they’re dry, it’s a good idea to condition your stamps. You can do this by applying a small amount of stamp conditioner or a mild, non-oily moisturizer made for rubber or polymer. This helps keep the material flexible and stops it from drying out.
Use a soft cloth to spread the conditioner evenly, and give it some time to soak in before you put your stamps away. Taking these steps will really help your stamps last longer and keep your impressions nice and crisp.
Tips for Maintaining Clean Ink Stamps
To keep your ink stamps in top shape, you’ll want to stick to a regular cleaning routine that prevents buildup.
Storing them properly, away from dust and direct sunlight, also helps maintain their quality.
These simple habits make your stamps last longer and perform better every time.
Regular Cleaning Routine
Although ink stamps are designed for repeated use, keeping them clean requires a consistent routine. To maintain your stamps, wipe them gently with a damp cloth or stamp cleaner after every few uses.
Avoid letting ink dry on the surface, as it can cause smudging and damage the stamp’s details. Every week, give your stamps a thorough cleaning using mild soap and warm water, then pat them dry carefully.
Always check for residue buildup, especially around fine lines, and remove it promptly. By sticking to this simple routine, you’ll preserve your stamp’s quality and ensure clear, crisp impressions every time you use it.
Regular care prevents costly replacements and keeps your stamping projects looking professional. It’s a small effort that really pays off!
Proper Storage Methods
Keeping your ink stamps clean goes hand in hand with storing them properly. When you store stamps in a dry, cool place away from direct sunlight, you prevent the ink from drying out or smudging.
Use airtight containers or stamp cases to protect them from dust and debris. Always store stamps with the rubber side facing up or flat to avoid distortion.
| Storage Tip | Benefit |
|---|---|
| Cool, dry environment | Prevents ink from drying or fading |
| Airtight containers | Keeps dust and dirt away |
| Rubber side up | Maintains stamp shape |
Frequently Asked Questions
Can I Use Household Cleaners on My Ink Stamps?
You shouldn’t use household cleaners on ink stamps because they can damage the rubber or foam.
Instead, use a gentle stamp cleaner or mild soap and water. This way, you keep your stamps in good shape without ruining them.
How Often Should I Clean My Ink Stamps?
You should clean your ink stamps after every 10-15 uses to maintain crisp impressions. Regular cleaning prevents ink buildup, which 75% of stamp users say improves their stamping quality and extends the stamp’s lifespan.
Keeping your stamps clean really does make a difference. It helps you get that sharp, clear stamp every time. Plus, it keeps your stamps lasting longer, which is always a win!
What if My Stamp Has Multiple Ink Colors?
If your stamp has multiple ink colors, clean each color area carefully with a damp cloth or stamp cleaner, avoiding color mixing.
You might need to clean more frequently to keep colors vibrant and prevent smudging. Just take your time and be gentle with each color.
Can Cleaning Damage My Stamp’s Design?
No, cleaning won’t damage your stamp’s design if you use gentle soap, lukewarm water, and a soft cloth.
You’ll preserve details, maintain quality, and extend your stamp’s life by treating it with care.
How Do I Store Stamps to Prevent Ink Buildup?
You should store your stamps in a cool, dry place, away from direct sunlight. Keep them in airtight containers or stamp cases to prevent dust and ink buildup.
Also, make sure to clean them after each use. This helps maintain their quality and keeps the ink from building up over time.
Conclusion
Congrats, you’re officially a stamp-cleaning ninja! Who knew scrubbing ink could be this thrilling? With your trusty water, magic remover, and a sprinkle of patience, those stamps will look fresher than your morning coffee.
Remember, neglecting your stamps might turn them into abstract art—unless that’s your thing. So, keep them dry, conditioned, and ready to impress.
Properly cleaning ink stamps not only extends their life but also ensures every impression is crisp and clear. Regular maintenance with the right cleaning steps helps avoid smudges and preserves the quality of your stamping projects. Now go forth and stamp like the clean, crafty champion you are!