How to Remove Ink From Skin Step by Step
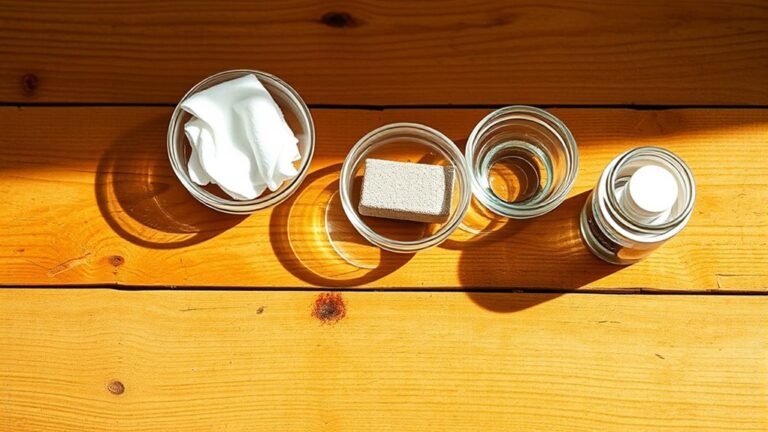
To remove ink from your skin effectively, you’ll want to gather a few simple items first: rubbing alcohol, cotton balls, mild soap, warm water, and some natural oils like coconut oil. These are common household products that work wonders for getting rid of stubborn ink stains without harming your skin.
Before you start, it’s a good idea to test the cleaning agent on a small patch of your skin. This step helps you avoid any irritation or allergic reactions. Safety first, right?
Begin by washing the stained area with mild soap and warm water. This helps to remove any surface ink.
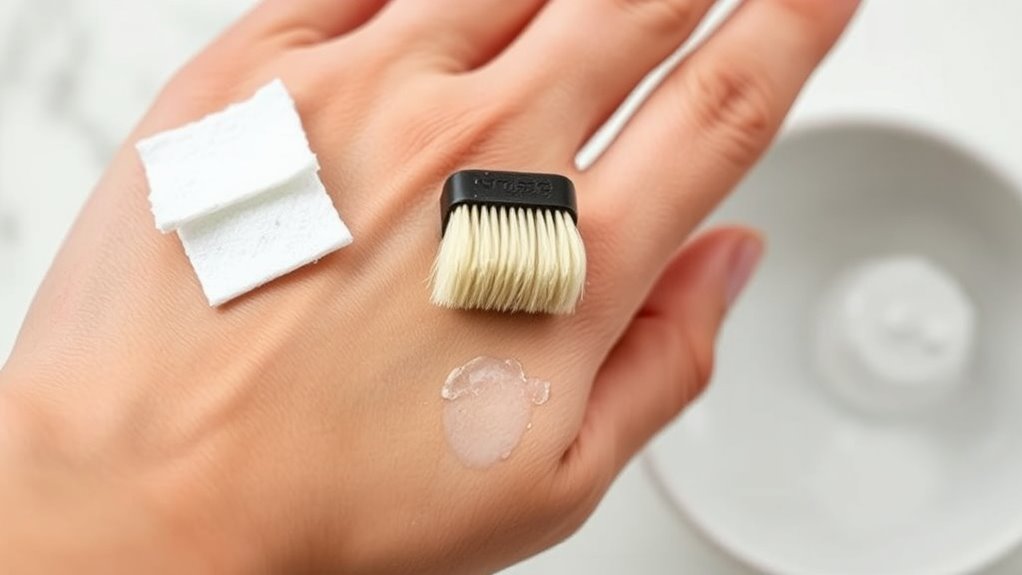
If the ink is still there, gently apply rubbing alcohol or hand sanitizer using a cotton ball. These are especially useful for tougher stains.
If you have sensitive skin, don’t worry. You can make a gentle paste by mixing baking soda with coconut oil. Apply this to the ink and rub softly.
Once the ink is gone, moisturize your skin with aloe vera to soothe and hydrate. Your skin will thank you!
Keep reading to discover more detailed tips and tricks for ink removal and skin care.
Key Takeaways
- Test a small skin area with rubbing alcohol or hand sanitizer first. This helps make sure you don’t get any irritation before you apply it all over.
- Wet the inked skin with warm water, then add some mild soap. Gently rub in circular motions to help loosen the ink.
- For stubborn ink stains, try using rubbing alcohol or hand sanitizer on a cotton ball. Rub gently, then rinse and dry the area.
- Another method is to make a natural paste with equal parts baking soda and coconut oil. Apply it and gently scrub to break down the ink residue.
- After you’ve removed the ink, don’t forget to moisturize. Use aloe vera or shea butter to soothe your skin and keep it from getting dry.
Gather Your Supplies
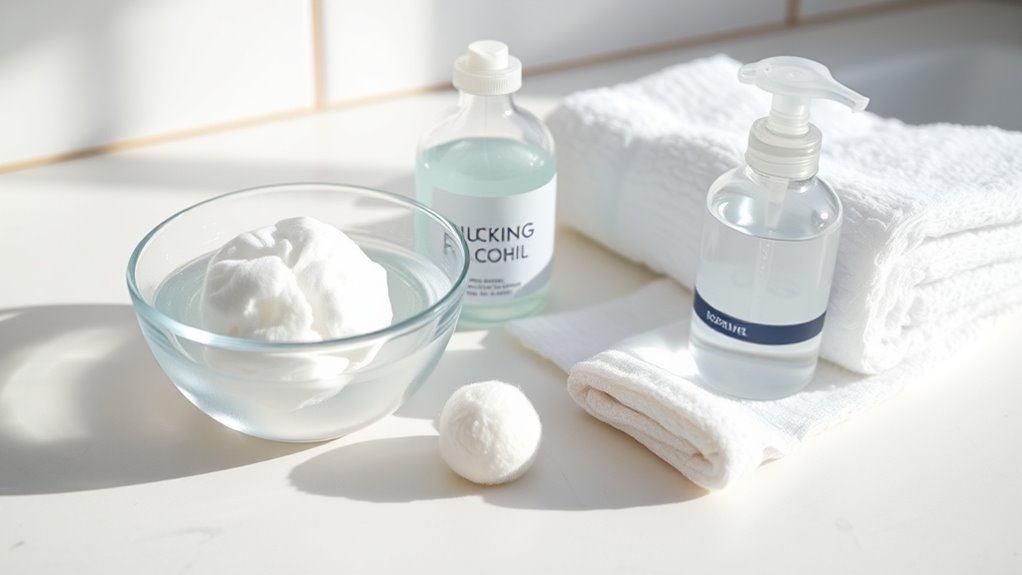
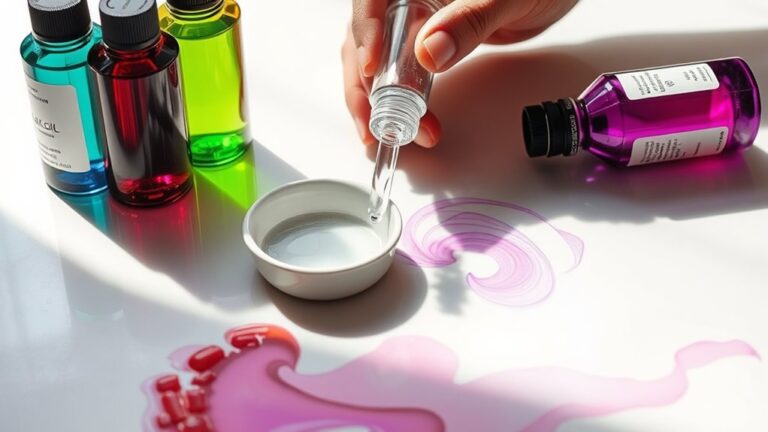
Before you begin removing ink from your skin, gather all the necessary supplies to make the process quick and effective. You’ll need some rubbing alcohol or hand sanitizer, known for breaking down ink.
Gather rubbing alcohol or hand sanitizer before removing ink to make the process quick and effective.
Cotton balls or soft cloths will help you apply the solution gently. If you prefer a natural option, gather olive oil or coconut oil instead—they work well for sensitive skin.
You’ll also want mild soap and warm water for rinsing afterward. Have a towel handy to pat your skin dry once you’re done.
Optional but helpful are baby wipes for quick cleanups. By assembling these items beforehand, you’ll avoid interruptions and can focus on removing the ink thoroughly and comfortably.
Getting everything ready saves time and eases the process. It’s always better to be prepared!
Test for Skin Sensitivity
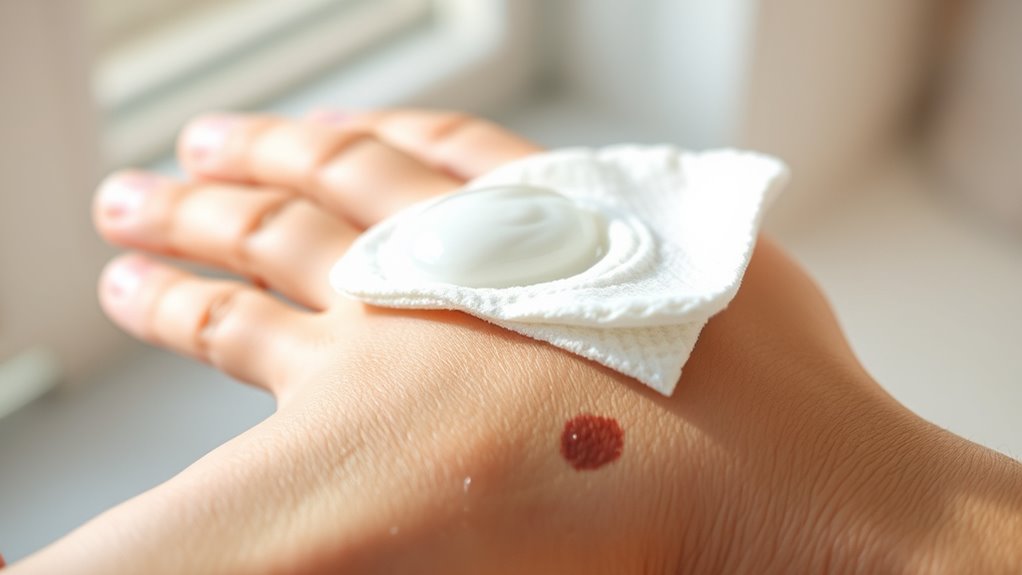
Once you have your supplies ready, check how your skin reacts to the cleaning agents. Apply a small amount of the product on a discreet area, like the inside of your wrist or elbow.
Wait for about 10 to 15 minutes to see if any redness, itching, or irritation develops. If your skin reacts negatively, avoid using that agent on larger areas to prevent discomfort or allergic reactions.
Testing helps you choose the safest method for your skin type. If there’s no reaction, you can proceed with confidence.
Use Soap and Warm Water
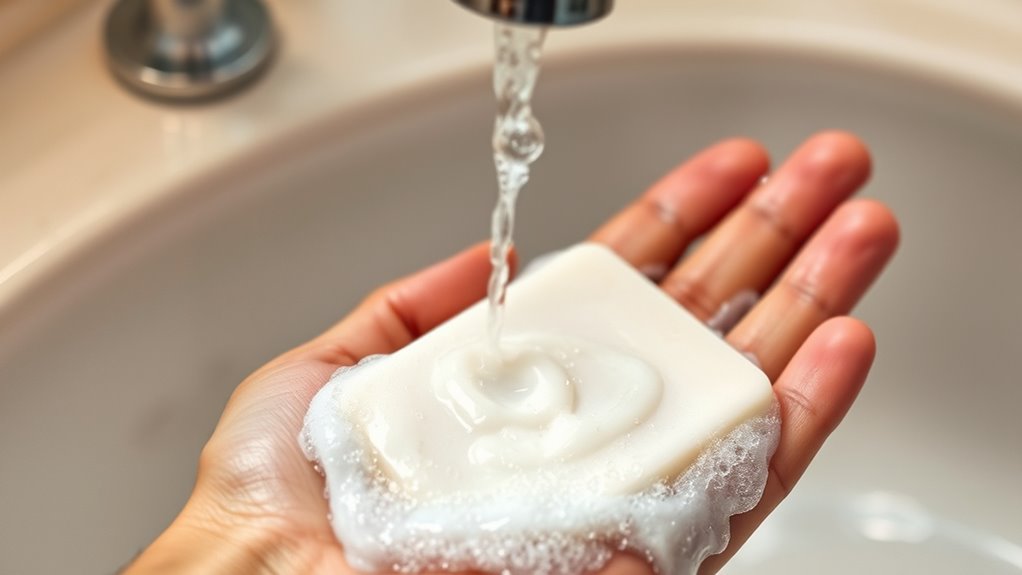
Although ink can be stubborn, using soap and warm water is often the simplest and safest way to start removing it from your skin. Begin by wetting the inked area with warm water, which helps soften the ink.
Next, apply a generous amount of mild soap and gently rub the skin in circular motions. Try not to scrub too hard though, to avoid irritating your skin.
Rinse thoroughly with warm water and check if the ink has faded. If some ink remains, you can repeat the process a few times.
Just make sure to give your skin breaks between washes to prevent dryness. This method works best for fresh or light ink stains and is gentle enough for sensitive skin.
Apply Rubbing Alcohol or Hand Sanitizer
If soap and water don’t fully remove the ink, you can try using rubbing alcohol or hand sanitizer. These contain alcohol, which breaks down the ink’s oils, making it easier to wipe away.
Apply a small amount to a cotton ball or directly onto your skin, then gently rub the stained area. Just be careful not to scrub too hard to avoid skin irritation. Afterward, rinse with warm water and dry.
Here’s a quick comparison:
| Product | Best For |
|---|---|
| Rubbing Alcohol | Stronger ink stains, quick action |
| Hand Sanitizer | Sensitive skin, convenient use |
| Both | Effective for most ink types |
Use whichever you have on hand, but always moisturize afterward to keep your skin healthy. It’ll help prevent dryness and keep your skin feeling good!
Try Natural Remedies Like Baking Soda and Coconut Oil
When you want a gentle yet effective way to remove ink from your skin, natural remedies like baking soda and coconut oil can come to the rescue. Mix equal parts baking soda and coconut oil to create a paste.
For a gentle and natural ink remover, mix equal parts baking soda and coconut oil into a paste.
Apply this mixture to the ink-stained area and gently rub it in using circular motions. Baking soda acts as a mild abrasive to lift the ink, while coconut oil helps break down the ink’s oils and moisturizes your skin.
After rubbing for about a minute, rinse the area with warm water and pat dry. If the ink doesn’t fully come off, just repeat the process once more.
This method is safe for sensitive skin and avoids harsh chemicals, making it a great option for a natural ink removal solution. Give it a try—it’s simple and works pretty well!
Moisturize and Soothe Your Skin After Cleaning
After removing ink, you’ll want to moisturize with ingredients like aloe vera or shea butter to keep your skin hydrated.
If you notice irritation, try gentle soothing techniques like cool compresses to calm the area.
Knowing when to apply creams can help prevent dryness and speed up healing. It’s all about giving your skin the care it needs to bounce back quickly.
Best Moisturizing Ingredients
Choosing the right moisturizing ingredients can help restore your skin’s softness and calm irritation caused by ink removal. Look for products containing aloe vera, which hydrates and soothes your skin effectively.
Shea butter is another excellent option; it locks in moisture and supports skin healing. You’ll also benefit from glycerin, a humectant that attracts water to your skin, keeping it hydrated longer.
Jojoba oil mimics your skin’s natural oils, providing lightweight nourishment without clogging pores. For extra care, vitamin E oil can protect your skin from oxidative stress while aiding repair.
When selecting moisturizers, opt for fragrance-free and gentle formulas to avoid further irritation. Applying these ingredients right after cleaning up ink guarantees your skin stays soft and healthy.
Soothing Techniques for Irritation
Moisturizing your skin with the right ingredients sets the stage for effective soothing techniques that reduce irritation after ink removal. Once you’ve cleaned the ink, gently pat your skin dry and apply a soothing moisturizer containing aloe vera or chamomile. These ingredients calm redness and inflammation.
You can also use a cool compress for a few minutes to help alleviate any lingering discomfort. Just be sure to avoid rubbing or scratching the area, as that can make irritation worse.
If your skin feels tight or itchy, try applying a thin layer of natural oils like coconut or jojoba. They lock in moisture and soothe the skin.
When to Use Creams
Although your skin might feel fine immediately after cleaning ink, applying creams can provide essential hydration and soothe any subtle irritation you might not notice right away. Use creams right after you’ve thoroughly washed off the ink to lock in moisture and create a protective barrier.
Choose fragrance-free, gentle moisturizers with ingredients like aloe vera or vitamin E to calm the skin without causing further irritation. If your skin feels tight, dry, or itchy, don’t wait—apply a cream promptly.
Even if you don’t see redness or discomfort, moisturizing helps restore your skin’s natural balance. Avoid heavy or greasy creams that can clog pores.
Frequently Asked Questions
Can Ink Stains Cause Allergic Reactions on Sensitive Skin?
Yes, ink stains can cause allergic reactions if you have sensitive skin. You might experience redness, itching, or irritation.
It’s best to wash the area promptly and avoid harsh chemicals that could worsen the reaction. Taking care early on can really help ease the symptoms.
How Long Does Ink Typically Stay on the Skin Without Removal?
Ink on your skin is like a shadow at sunset—it usually lingers for days to a week if you don’t wash it off.
You’ll want to clean it quickly before it settles in too deep.
Are Certain Ink Types More Harmful to Skin Than Others?
Yes, you should avoid permanent marker and industrial inks since they often contain harmful chemicals. These types of inks can be really tough on your skin.
Water-based or cosmetic inks are safer for your skin, but always wash off ink promptly to prevent irritation or allergic reactions. It’s just a good habit to keep your skin healthy!
Can Repeated Ink Removal Damage the Skin’s Natural Barrier?
Yes, repeated ink removal can damage your skin’s natural barrier. Constant scrubbing or using harsh chemicals strips away oils and moisture, leading to dryness, irritation, and increased sensitivity.
It’s really important to be gentle with your skin during the process. And don’t forget to moisturize afterward to help protect and repair your skin.
Is It Safe to Remove Ink From Children’s Skin Using These Methods?
Like tiptoeing through a minefield, you need to be gentle removing ink from children’s skin. Use mild soap and water, avoid harsh chemicals, and always test a small area first to keep their skin safe and happy.
It’s really important not to rush. Kids’ skin is sensitive, so taking your time and being careful makes all the difference. Plus, if you’re unsure, asking a pediatrician is always a smart move.
Conclusion
Now that you’ve gently erased that stubborn ink stain, your skin feels as refreshed as a morning breeze after a rainstorm. Remember, treating your skin with care is like tending a delicate flower—patience and kindness bring the best results.
Keep your supplies handy, and next time ink tries to leave its mark, you’ll be ready to brush it away effortlessly. This way, your skin stays smooth and ink-free, like a blank canvas waiting for a new story.
Removing ink from skin doesn’t have to be a hassle. With the right approach and a little patience, you can say goodbye to those pesky stains quickly and safely. So, whenever you find yourself wondering how to remove ink from skin, just follow these steps, and you’ll have clean, fresh skin in no time!