How to Remove Ink Stains From Leather Step by Step
First, identify your leather type to choose the right cleaner. This step is super important because using the wrong product can damage your leather.
Gather soft cloths, cotton swabs, lukewarm water, and a leather cleaner or rubbing alcohol.
Before you start, test your solution on an inconspicuous spot to avoid damage.
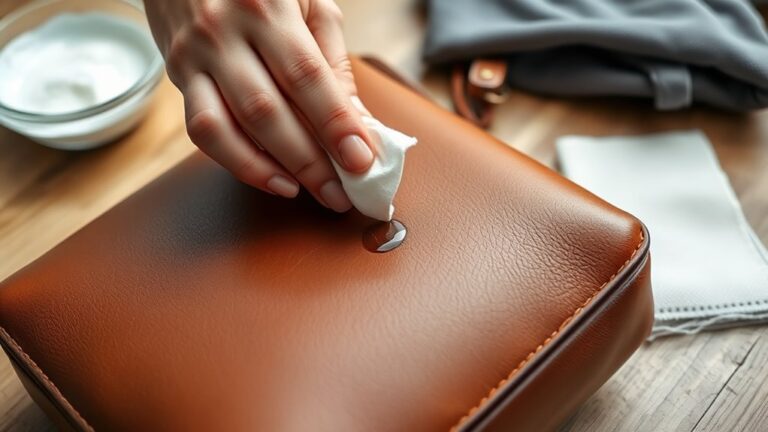
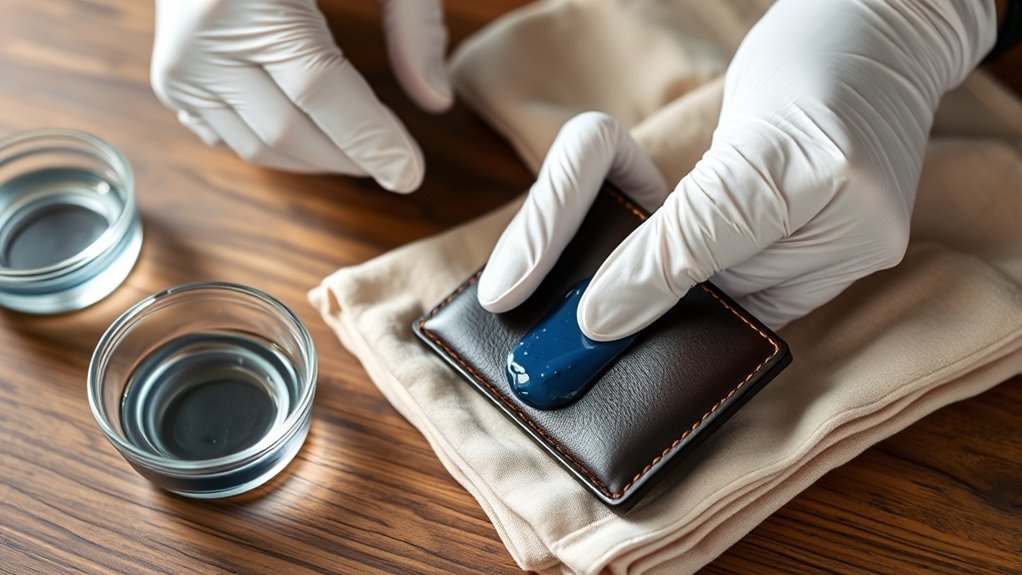
Gently dab the ink stain with a cotton swab dipped in the cleaner.
Work slowly to prevent the ink from spreading further.
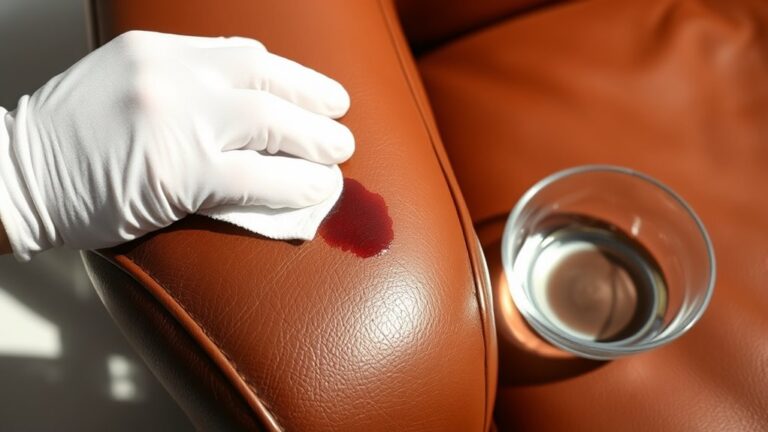
Blot carefully and then wipe with a damp cloth to lift the stain.
Once the leather is dry, apply a leather conditioner to restore softness and keep it looking great.
Keep going to discover more detailed steps for best results.
Key Takeaways
- Identify the leather type by checking texture and performing a water test to choose the appropriate cleaning method.
- Gently dab the ink stain with a cotton swab dipped in leather cleaner or rubbing alcohol, but be careful not to spread the ink around.
- Blot the stain with a clean, dry cloth and then wipe it with a damp cloth. After that, let the leather air dry away from heat or direct sunlight.
- Once dry, apply leather conditioner and let it soak in. Make sure to keep it away from direct heat or sunlight while it’s absorbing.
- Finally, buff the leather gently with a soft cloth. This will help restore its shine and keep it soft.
Identifying the Type of Leather
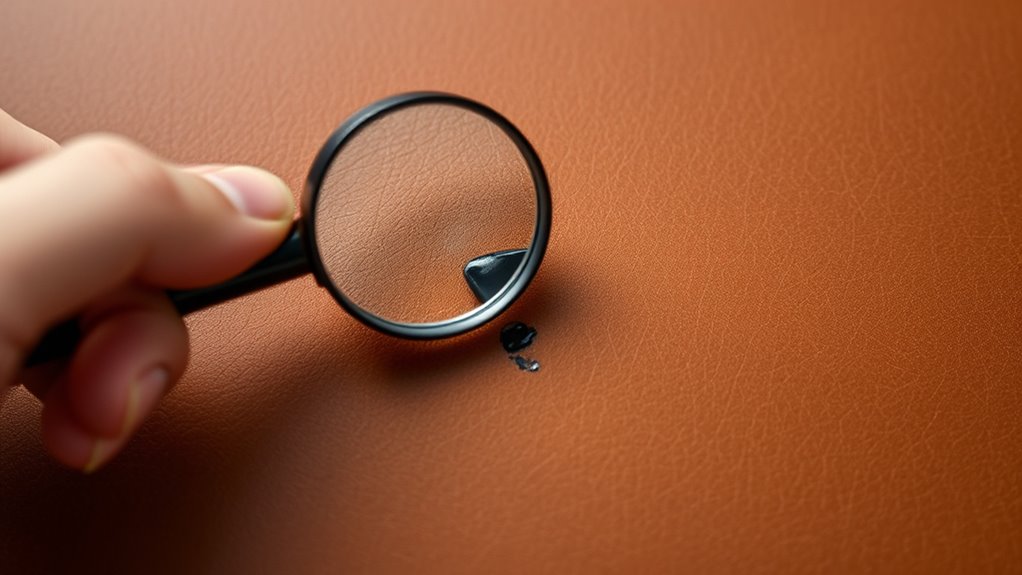
Before you tackle an ink stain, you need to identify the type of leather you’re dealing with. Different leathers react differently to cleaning methods, so knowing your leather is essential.
Start by checking the product label or any tags if you have them. If not, look closely: smooth, polished surfaces usually indicate finished leather, while suede and nubuck have a fuzzy texture.
You can also perform a simple water test by dabbing a drop on a hidden spot—if it absorbs quickly, it’s likely unfinished leather; if it beads up, it’s finished.
Identifying your leather type helps you choose the right cleaning approach and avoid damage. Taking this step guarantees effective stain removal without ruining your leather item.
Gathering Necessary Cleaning Supplies
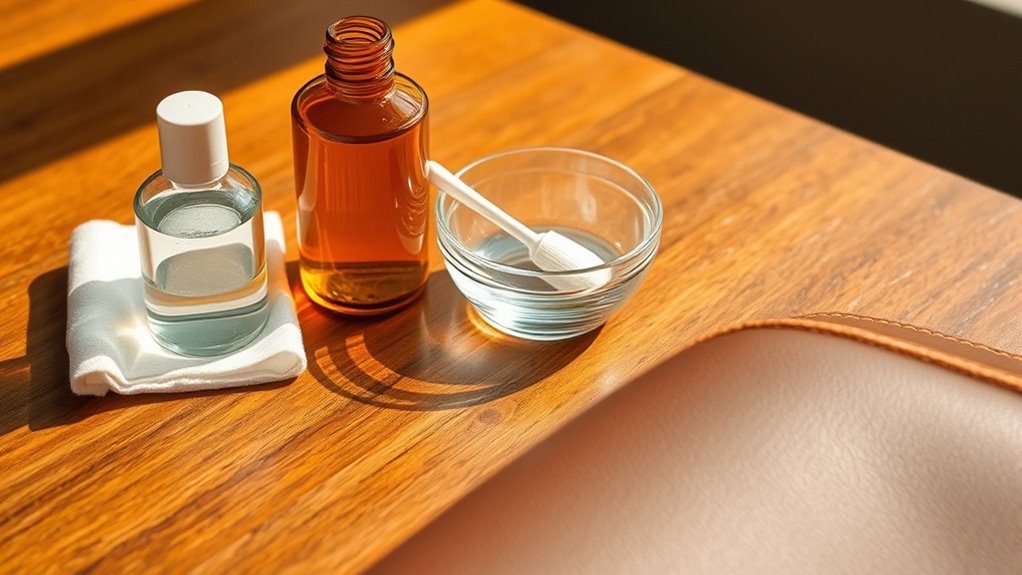
Once you know your leather type, gather the right cleaning supplies to tackle the ink stain effectively. You’ll need a soft, clean cloth or microfiber towel to avoid scratching the leather surface. Have some cotton swabs ready for precise application.
Choose a gentle leather cleaner or rubbing alcohol, depending on the stain’s severity and leather type. Keep a small bowl of lukewarm water nearby to dampen cloths if needed. Avoid harsh chemicals that can damage leather.
Additionally, grab a leather conditioner to restore moisture after cleaning. Make sure you have good lighting to see the stain clearly. Having these supplies organized before you start will make the process smoother and help you remove the ink stain without harming your leather item.
Testing the Cleaning Solution on a Hidden Area
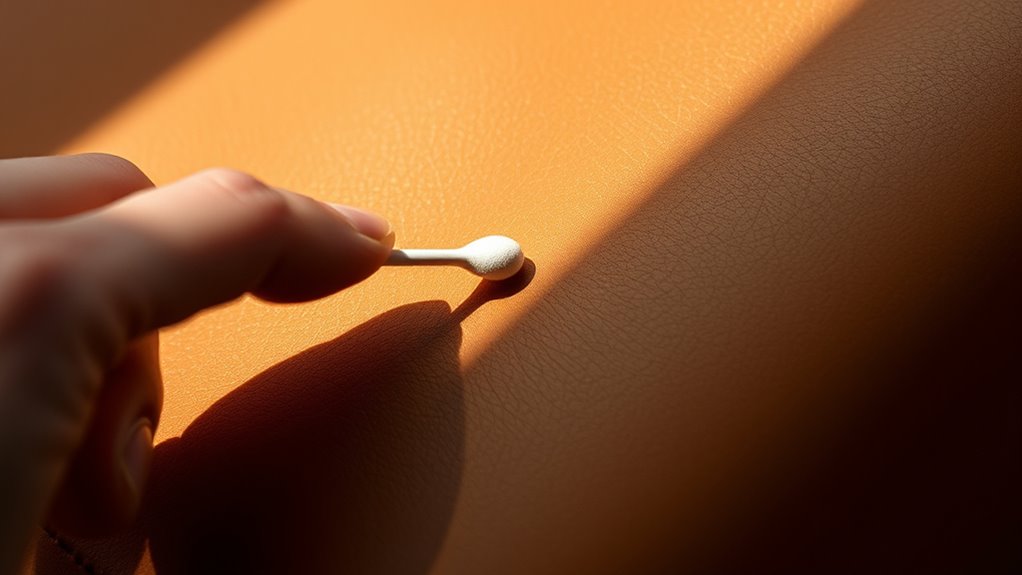
Before applying any cleaner, pick a hidden spot on your leather to test it first. Put a small amount of the solution there and wait a few minutes.
Watch closely for any discoloration or damage before moving on. It’s always better to be safe than sorry!
Select Inconspicuous Spot
To guarantee your cleaning solution won’t damage your leather, you need to test it on a hidden spot first. Look for an inconspicuous area, like the inside seam, underside of a flap, or back of the item.
These spots won’t be visible during regular use, so any discoloration or damage won’t affect the overall look. Dab a small amount of the solution with a cotton swab or soft cloth, then wait a few minutes to see if the leather’s color or texture changes.
If you notice any fading, cracking, or sticky residue, stop immediately and try a gentler cleaner. Picking the right spot helps you preserve your leather’s appearance while safely removing ink stains without causing unintended harm.
Apply Small Solution Amount
Although you’ve selected a hidden spot, you should still apply only a small amount of your chosen cleaning solution to avoid oversaturation. Dab gently with a cotton swab or soft cloth, focusing on a tiny area.
This prevents damage and ensures the leather reacts well. Here’s a quick guide:
| Step | Action | Tip |
|---|---|---|
| 1 | Dip cotton swab lightly | Avoid soaking the swab |
| 2 | Apply solution to spot | Use minimal pressure |
| 3 | Wait 1-2 minutes | Observe leather texture |
| 4 | Blot excess with dry cloth | Don’t rub vigorously |
This careful approach helps you test safely without risking visible damage or discoloration. Just take it slow, and you’ll be all set!
Observe for Discoloration
Once you’ve applied the cleaning solution, watch closely for any discoloration or changes in the leather’s texture. This test spot should be in an inconspicuous area, like the inside seam or under a flap, so any unexpected damage won’t be noticeable.
Allow the solution to sit for at least 10 minutes to see how the leather reacts. If you notice any fading, darkening, stiffness, or roughness, stop immediately and try a different product or method.
If the leather looks and feels the same as before, it’s safe to proceed with treating the ink stain on the visible area. Taking this precaution helps prevent permanent damage and guarantees your leather stays in the best condition possible throughout the cleaning process.
Applying the Ink Removal Method
Before you begin, make sure you’ve gathered all the necessary materials and tested the ink removal solution on a small, hidden area of the leather.
Once you’re confident it won’t damage the surface, go ahead and apply the ink removal method carefully. Follow these steps:
- Dip a cotton swab or soft cloth lightly into the solution.
- Gently dab the ink stain, focusing on the edges first to prevent spreading.
- Work gradually, allowing the solution to break down the ink without saturating the leather.
Gently Blotting and Wiping the Stain
After applying the ink removal solution, you’ll want to gently blot the stain using a clean, dry cloth to lift the ink without rubbing it deeper into the leather. Press the cloth softly against the stained area, absorbing the ink as it transfers.
Avoid scrubbing or wiping forcefully, as this can spread the stain or damage the leather’s surface. If the cloth becomes saturated with ink, switch to a fresh one to continue blotting effectively.
Repeat this process patiently, allowing the solution to work while you carefully lift as much ink as possible. Once you notice no more ink transferring, lightly wipe the area with a damp cloth to remove any residue from the cleaning solution before letting the leather dry naturally.
Conditioning the Leather After Cleaning
After removing the ink stain, you’ll want to choose a conditioner suited for your leather type to restore its moisture and flexibility. Apply the conditioner evenly using a soft cloth, making sure not to over-saturate the surface.
Once applied, allow the leather to dry naturally before gently buffing it to bring back its natural shine. This way, your leather will look great and feel soft again.
Choosing the Right Conditioner
Once you’ve successfully removed the ink stain, you’ll want to restore your leather’s natural moisture and flexibility by choosing the right conditioner. Picking the proper product ensures your leather stays soft, supple, and protected from future damage.
Here’s what to consider:
- Leather Type Compatibility – Use a conditioner designed specifically for your leather type, whether it’s full-grain, top-grain, or bonded leather. This helps you avoid any adverse reactions.
- Natural Ingredients – Opt for conditioners with natural oils like mink oil or lanolin. They nourish your leather without harsh chemicals that can dry it out.
- Non-Greasy Formula – Select a conditioner that absorbs quickly and doesn’t leave a sticky or oily residue. This keeps your leather looking and feeling great.
Choosing the right conditioner sets a solid foundation for keeping your leather in great shape. It’s worth taking the time to pick one that suits your needs perfectly.
Application Techniques
Though cleaning removes the ink, conditioning your leather properly is essential to maintain its softness and durability. Start by applying a small amount of conditioner to a soft, lint-free cloth.
Gently rub the conditioner into the leather using circular motions, focusing on the cleaned area but covering the entire surface evenly. Avoid over-saturating the leather, as too much product can cause damage or discoloration.
Let the conditioner absorb fully; this usually takes about 10-15 minutes. If needed, apply a second light layer to ensure thorough nourishment.
Regularly conditioning your leather after stain removal helps restore moisture, preventing cracking and keeping it supple. Always test the conditioner on a hidden spot before full application to avoid unexpected reactions.
Drying and Buffing Tips
While the conditioner soaks in, let your leather air dry naturally in a well-ventilated area. Make sure it’s away from direct heat or sunlight to prevent drying out or warping.
Once dry, gently buff the leather to restore its natural shine and softness. Use a soft, clean cloth to avoid scratching the surface. Follow these tips for the best results:
- Use circular motions when buffing to evenly distribute oils and bring out the leather’s luster.
- Avoid using abrasive materials that can damage the leather’s finish.
- If the leather feels dry after buffing, apply a thin layer of conditioner and repeat the drying process.
These steps will help maintain your leather’s beauty and durability after ink stain removal. Just take your time, and your leather will thank you!
Frequently Asked Questions
Can Ink Stains on Leather Be Prevented?
Yes, you can prevent ink stains on leather by keeping pens capped and away, using protective sprays, and avoiding placing leather items near ink sources.
Taking these steps helps you keep your leather clean and stain-free. It’s pretty simple once you get into the habit!
How Long Should I Wait Before Cleaning Fresh Ink Stains?
You should clean fresh ink stains on leather as soon as possible to prevent them from setting.
Waiting more than a few minutes makes removal harder, so act quickly and gently blot the stain right away.
Are There Any Commercial Products Specifically for Ink Removal on Leather?
Yes, you can find commercial ink removers specifically designed for leather, like leather-safe stain removers or cleaning wipes.
Just make sure to test on a small area first to avoid damage or discoloration. It’s always better to be safe than sorry!
Can Ink Stains Permanently Damage the Leather Texture?
Yes, ink stains can permanently damage leather texture if not treated quickly.
You’ll want to act fast and use gentle methods to avoid worsening the stain or causing the leather to dry out and crack.
It’s all about being careful and timely with your cleaning. That way, you can keep your leather looking great for longer!
Is Professional Leather Cleaning Recommended for Severe Ink Stains?
About 70% of leather owners find severe ink stains tricky to remove, so yes, you should definitely get professional leather cleaning for tough stains.
They have the right tools to restore your leather safely and effectively.
It’s often best not to try DIY methods on severe ink marks because you might accidentally make things worse.
Professionals know exactly how to handle these situations, saving your leather from damage.
Conclusion
Removing ink from leather is like untangling a knot—patience and the right tools make all the difference. Remember when you carefully unraveled that stubborn knot in your favorite necklace? Treat your leather the same way: gently test, apply, and blot.
With each step, you’re restoring its beauty, just like smoothing out that chain. Follow these steps, and your leather will look as good as new, ready to shine without a trace of ink.
When dealing with ink stains on leather, always start by testing your cleaning method on a small, hidden area. This helps ensure you don’t damage the leather. Then, carefully apply your chosen cleaner and gently blot the stain instead of rubbing it.
By patiently following these steps, you can effectively remove ink stains from leather while preserving its natural look and texture. Remember, the key is to treat your leather with care and patience to keep it looking beautiful for years to come.