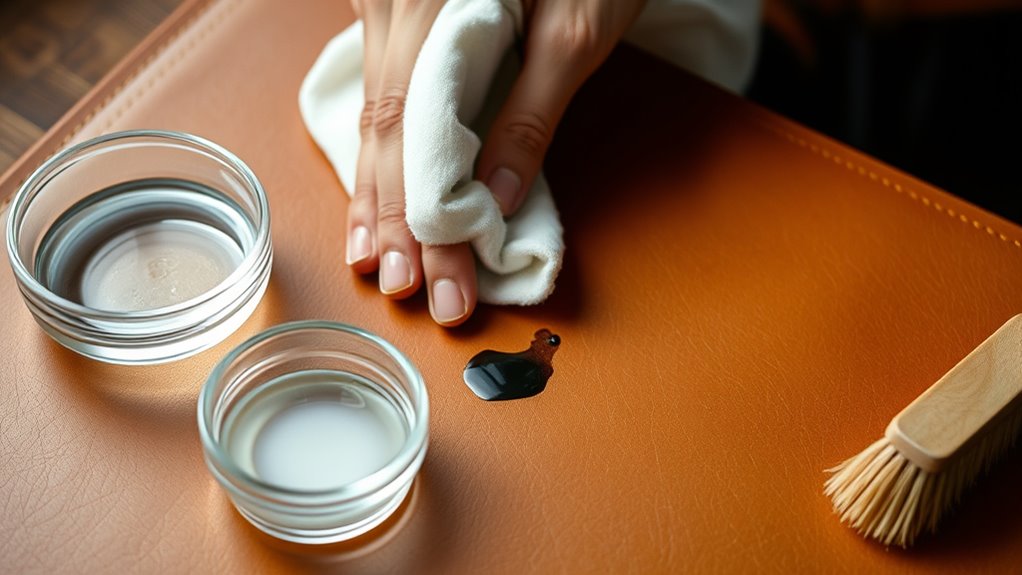
How to Get Rid of Ink on Leather Step by Step
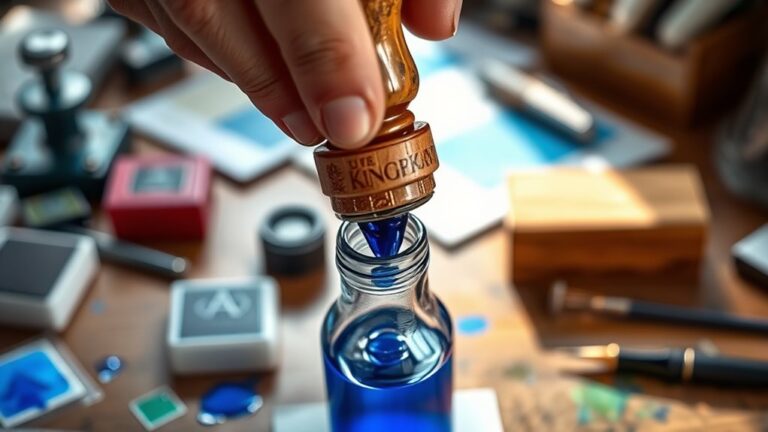
To get rid of ink on leather, first identify your leather type and the ink’s nature. This is important because different leathers react differently to cleaning products.
Next, gather soft cloths, cotton swabs, mild soap or leather cleaner, and conditioner.
Before you jump in, test your cleaner on a hidden spot to avoid any damage.
Then, gently dab the stain with a diluted cleaning solution.
Avoid harsh chemicals or rubbing, as these can harm the leather.
Once the ink starts to fade, pat the area dry carefully.
Finally, apply a leather conditioner to restore moisture and keep your leather looking its best.
Keep following for detailed tips on effectively caring for your leather and tackling stubborn stains!
Key Takeaways
- Identify the leather type and ink kind to choose an appropriate cleaning method and avoid damage.
- Gather a microfiber cloth, cotton swabs, mild leather cleaner or soap, water, and leather conditioner before starting.
- Test the cleaning solution on a hidden leather spot to check for color or texture changes.
- Lightly dab the ink stain with a diluted mild soap solution using a soft cloth without rubbing to lift the ink.
- After cleaning, apply leather conditioner to restore moisture and flexibility, then air dry away from heat or sunlight.
Assess the Type of Leather and Ink Stain
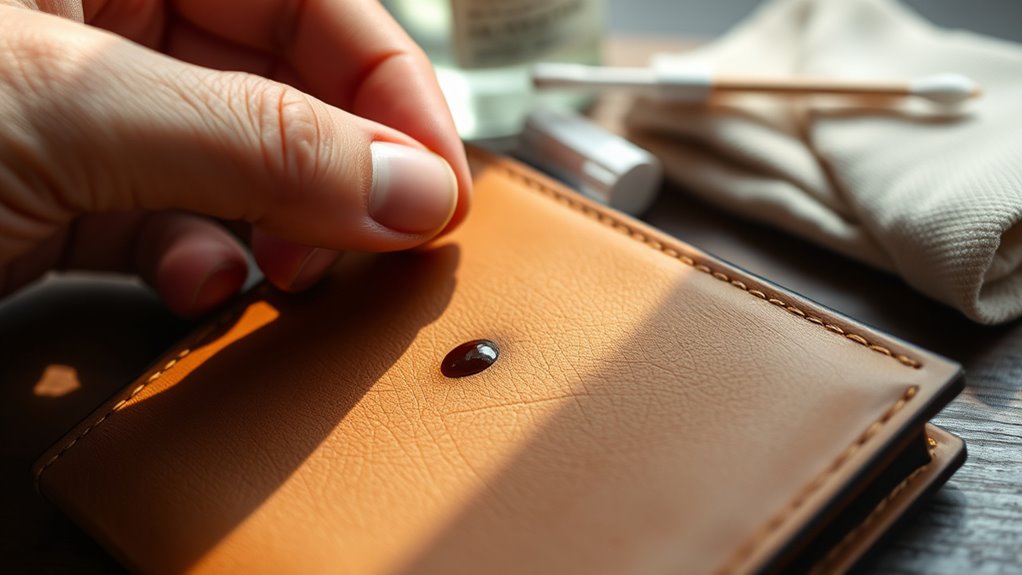
Before you tackle the ink stain, you need to identify both the type of leather and the ink involved. Different leathers react differently to cleaning methods; for example, smooth leather can handle gentle scrubbing, while suede or nubuck requires more delicate care.
Look closely at your leather item to determine its finish. Next, consider the ink type. Is it ballpoint pen ink, permanent marker, or printer ink?
Examine your leather’s finish and identify the ink type—ballpoint, permanent marker, or printer ink—for proper stain removal.
Ballpoint ink usually sits on the surface, making it easier to remove. Permanent markers penetrate deeper, demanding caution. Printer ink might spread if treated incorrectly.
Knowing these details helps you choose the safest and most effective cleaning approach. Skipping this step could worsen the stain or damage the leather, so take a moment to assess carefully before proceeding.
Gather Necessary Cleaning Supplies
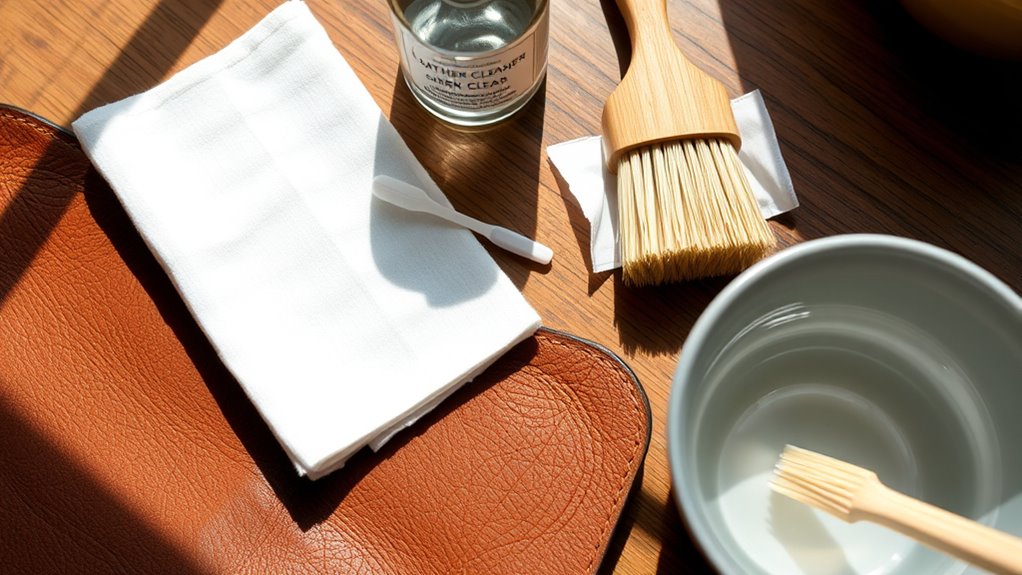
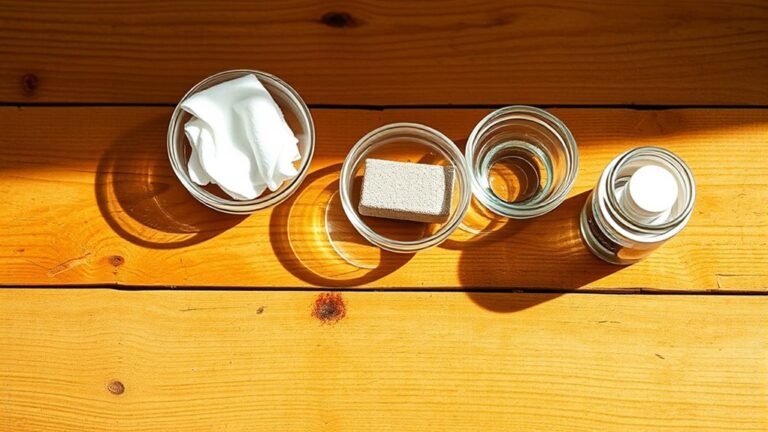
While choosing the right cleaning supplies, you’ll want to gather items that are gentle yet effective on leather. Start with a soft, clean microfiber cloth to avoid scratching the surface.
Next, grab some cotton swabs for precise application. Use a mild leather cleaner or a mixture of warm water and gentle soap—avoid harsh chemicals like alcohol or bleach that can damage leather.
Have a small bowl ready to mix your solution. Additionally, keep a dry towel nearby to blot excess moisture quickly.
For stubborn ink stains, you might need a leather conditioner to restore softness after cleaning. Gathering these supplies before you begin guarantees a smooth, careful cleaning process without risking harm to your leather item.
Test Cleaning Method on a Hidden Area
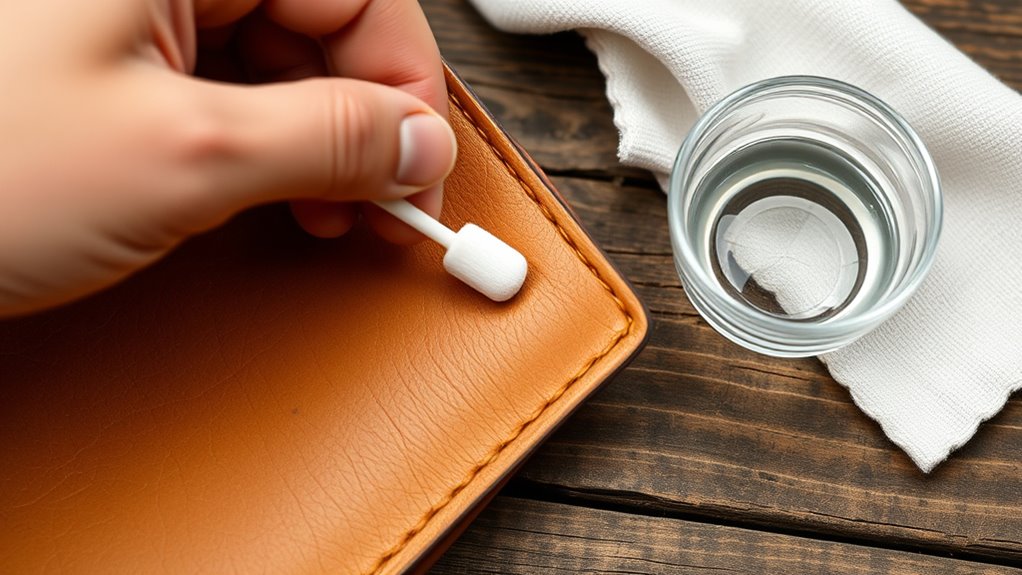
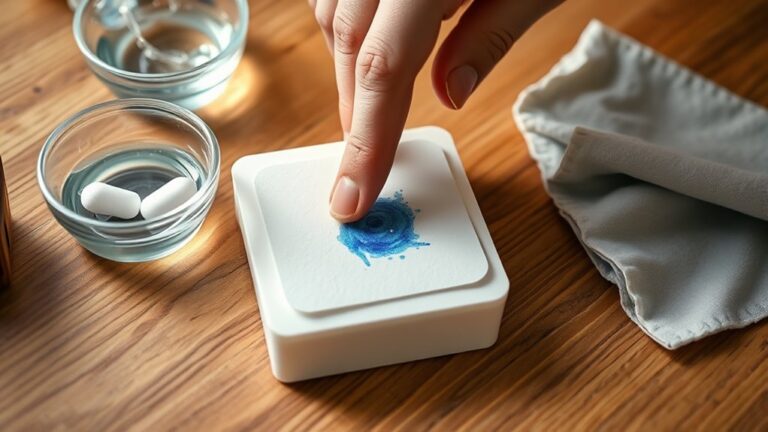
Before applying any cleaner, pick a hidden spot on your leather to test it first. This way, you can see how the material reacts without risking visible damage.
Keep an eye out for any discoloration or texture changes before proceeding. It’s a simple step, but it really helps to avoid any surprises later on.
Choose Discreet Spot
Since leather is delicate and reacts differently to cleaning agents, you’ll want to pick a discreet spot to test your method first. Look for an area that’s hidden from regular view, like the inside seam, under a flap, or the back of the item.
This way, if the cleaner causes any discoloration or damage, it won’t be noticeable. Make sure the spot has the same texture and type of leather as the stained area for an accurate test.
Apply a small amount of your chosen cleaning solution gently and wait a few minutes. This careful approach helps you avoid ruining the visible parts of your leather item while ensuring the cleaning method is safe to use.
Always prioritize subtlety when choosing your test spot. It’s better to be cautious than to risk ruining your favorite leather piece!
Observe Material Reaction
After applying the cleaning solution to the hidden spot, watch closely for any changes in color, texture, or softness. If the leather darkens, lightens, or becomes stiff, it means the solution might damage the material. Don’t proceed if you notice any discoloration or roughness.
Instead, try a different cleaning product or dilute the current one further. Also, observe how long it takes for the leather to dry after application; excessive dryness can cause cracking.
If everything looks normal after about 10 minutes, you’re safe to continue cleaning the visible ink stain. Always remember, testing on a discreet area helps prevent ruining your leather item, so take your time to ensure the method works well with your specific leather type before treating the stained area.
Apply a Gentle Cleaning Solution
When ink stains leather, you’ll want to treat the area carefully to avoid damage. Start by selecting a gentle cleaning solution that won’t strip the leather’s natural oils.
Diluted mild soap or a specialized leather cleaner works best. Use a soft cloth to apply the solution sparingly.
Here’s a quick reference for gentle cleaning solutions:
| Solution Type | Dilution Ratio | Recommended Use |
|---|---|---|
| Mild Soap | 1 part soap: 8 parts water | Light ink stains |
| Leather Cleaner | As per label | Moderate to heavy stains |
| Rubbing Alcohol | 1 part alcohol: 4 parts water | Spot test only |
Just remember, always test any solution on a hidden spot first to make sure it won’t harm your leather. Better safe than sorry!
Gently Remove the Ink Stain
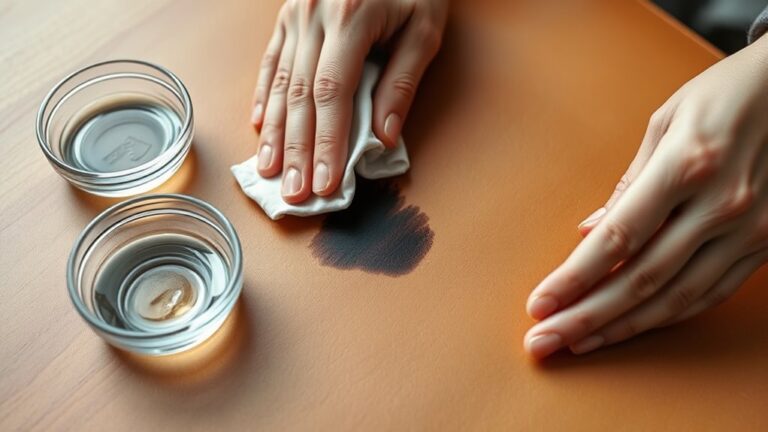
Although ink can be stubborn, you can gently remove the stain by carefully dabbing the affected area with a soft cloth dampened in your chosen cleaning solution. Avoid rubbing, as this can spread the ink or damage the leather’s surface.
Use light, pressing motions to lift the ink without saturating the leather. Change to a clean section of the cloth frequently to prevent reapplying ink back onto the leather.
If the stain persists, repeat the process, but don’t overdo it—excess moisture can harm the leather. Pat the area dry with a dry, soft cloth once the ink begins to lift.
Taking your time and working gently ensures you protect the leather while effectively reducing the ink stain. Just be patient, and you’ll see good results!
Condition and Protect the Leather
Since cleaning can strip the natural oils from leather, you should condition it to restore moisture and flexibility. Choose a leather conditioner suited for your item, apply a small amount to a soft cloth, and gently rub it in circular motions. This helps prevent cracking and keeps the leather soft.
After conditioning, let the leather air dry away from direct heat or sunlight. To protect your leather from future stains and damage, consider using a leather protector spray. Apply it evenly and allow it to dry completely before using the item.
Regularly conditioning and protecting your leather extends its lifespan and maintains its appearance, making your efforts to remove the ink stain worthwhile. It’s definitely worth keeping up with this routine!
Frequently Asked Questions
Can Ink Stains on Leather Be Removed Using Household Items?
Yes, you can remove ink stains on leather using household items like rubbing alcohol or vinegar.
Just dab gently with a cloth, avoid soaking, and always test a small area first to prevent damage.
It’s pretty simple, but taking it slow helps keep your leather looking great!
How Long Should I Wait Before Cleaning Fresh Ink on Leather?
You shouldn’t wait long—act within minutes. Imagine the ink seeping deeper each second. Grabbing a clean cloth quickly can prevent permanent stains.
The faster you start, the better your chances of saving your leather’s smooth look. Don’t let it set in!
Is It Safe to Use Alcohol-Based Cleaners on All Leather Types?
You shouldn’t use alcohol-based cleaners on all leather types because they can dry out or damage some finishes.
Always test on a hidden area first, and use gentler products on delicate or finished leather to stay safe.
It’s better to be cautious since leather can be pretty sensitive. So, when in doubt, go easy and protect your leather items!
What Should I Do if the Ink Stain Is Old and Set In?
When ink’s settled like a stubborn shadow, you’ll need patience and gentle persistence. Dab a leather cleaner, then softly rub with a microfiber cloth.
If it lingers, consider professional help to avoid damage. Better safe than sorry, right? Sometimes those old stains just won’t quit on their own!
Can Professional Leather Cleaning Services Guarantee Ink Stain Removal?
Professional leather cleaning services can’t always guarantee complete ink stain removal, but they have specialized tools and expertise to improve results considerably.
You should expect the best effort but no absolute promise, especially with old stains.
Conclusion
Now that you’ve carefully treated the ink stain, pause and imagine the leather’s surface—smooth, untouched, as if the mishap never happened. But don’t rush; the real magic lies in conditioning and protecting it, sealing your hard work beneath a soft, protective layer.
With each gentle rub, you’re not just cleaning—you’re restoring life and beauty. Conditioning the leather not only nourishes it but also prevents future stains and wear. Ready to see your leather shine like new again?
The transformation is just a few final steps away. By properly caring for your leather after removing ink, you ensure it stays supple and gorgeous for years to come. So, take your time with these last steps—your leather deserves it!