How to Get Ink Out of Wood With a Step-By-Step Guide
To get ink out of wood, start by identifying your wood type and the kind of ink stain you’re dealing with. This helps avoid any damage during cleaning. Next, gently wipe away any dust or debris from the surface.
Now, test a small hidden area with rubbing alcohol or a vinegar-olive oil mix. Dab the stain carefully—don’t rub, as that can spread the ink or damage the wood.
If the stain is stubborn, you might need to use fine sandpaper or a commercial cleaner that’s safe for wood.
Always remember to test any cleaner on a hidden spot first. Protect the surrounding area to avoid accidental damage. Follow these smart steps, and you’ll be amazed at how well you can restore your wood.
Ready for more tips on effective cleaning and stain prevention? Stick around and discover even more helpful advice!
Key Takeaways
- Identify the type of wood and how bad the ink stain is before you pick a removal method. This helps avoid damaging the surface.
- Always test cleaning solutions, like rubbing alcohol or a vinegar-olive oil mix, on a hidden spot first. You want to be sure it won’t harm the wood.
- Gently dab the ink stains with a soft cloth and mild cleaners. Try not to rub too hard since that can mess up the finish.
- If the stains are stubborn, you might need to use fine sandpaper or a commercial ink remover. Just be careful, follow safety instructions, and test it out before going all in.
- Once you’re done cleaning, reapply a protective finish to the wood. This helps stop future ink from soaking in and keeps the wood durable.
Assessing the Type of Wood and Ink
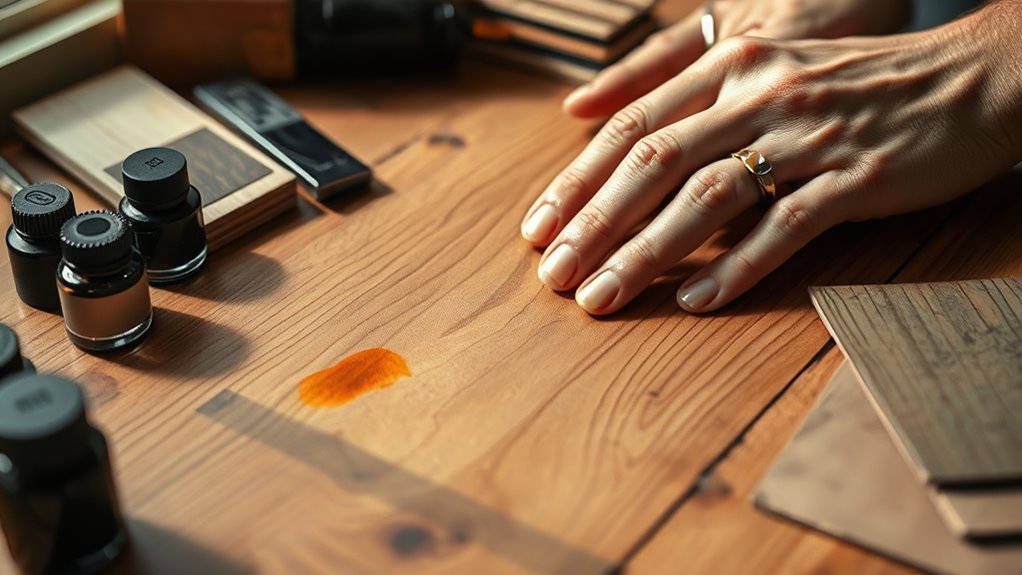
Before you begin removing ink from wood, you need to identify both the type of wood and the kind of ink involved. Different woods react uniquely to cleaning methods, so recognizing whether your wood is soft like pine or hard like oak helps you avoid damage.
Next, figure out the ink type—ballpoint, permanent marker, or printer ink. Ballpoint ink usually looks oily, while permanent markers stain deeply.
Printer ink tends to be water-based and might lift more easily. Knowing the ink type lets you pick the right cleaning agent and technique.
Also, consider if the wood is finished or unfinished; finishes protect wood and can affect how deep the ink has penetrated. Taking these steps ensures you approach cleaning effectively without causing harm.
Preparing the Wood Surface for Cleaning
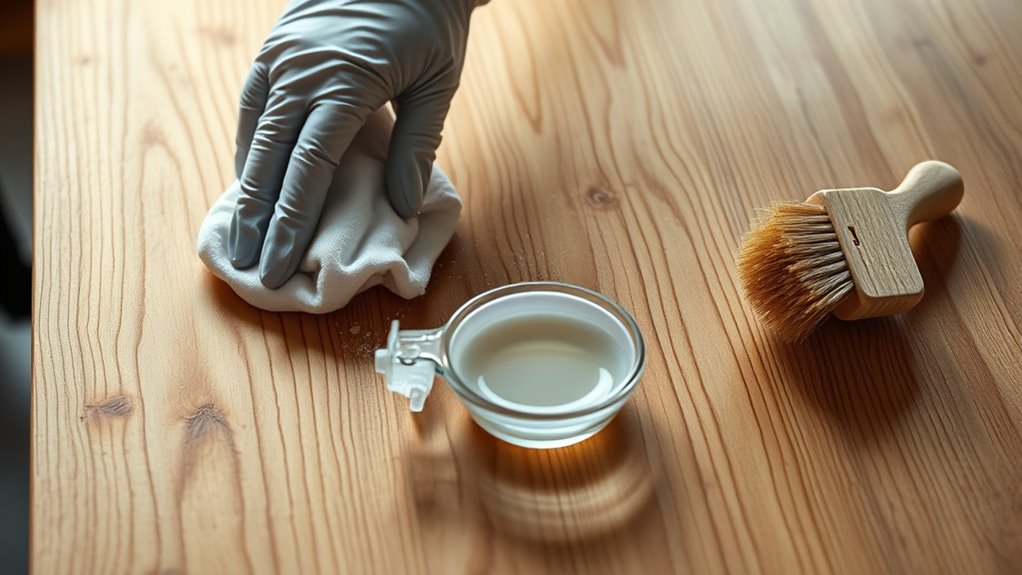
Once you know the type of wood and ink you’re dealing with, you can get the wood surface ready for cleaning. Start by removing any dust or debris with a soft cloth to avoid scratching the wood during treatment.
Next, test a small, hidden area with your chosen cleaning solution to make sure it won’t damage the finish or discolor the wood. If the wood is unfinished or porous, think about lightly sanding the stained area with fine-grit sandpaper. This helps open the grain slightly, which lets cleaning agents work better.
Always wipe away sanding dust before you move on. Also, protect the surrounding areas with painter’s tape to avoid any accidental damage. By preparing the surface carefully, you’re setting the stage for effective ink removal without harming your wood’s appearance.
Using Household Items to Remove Ink Stains
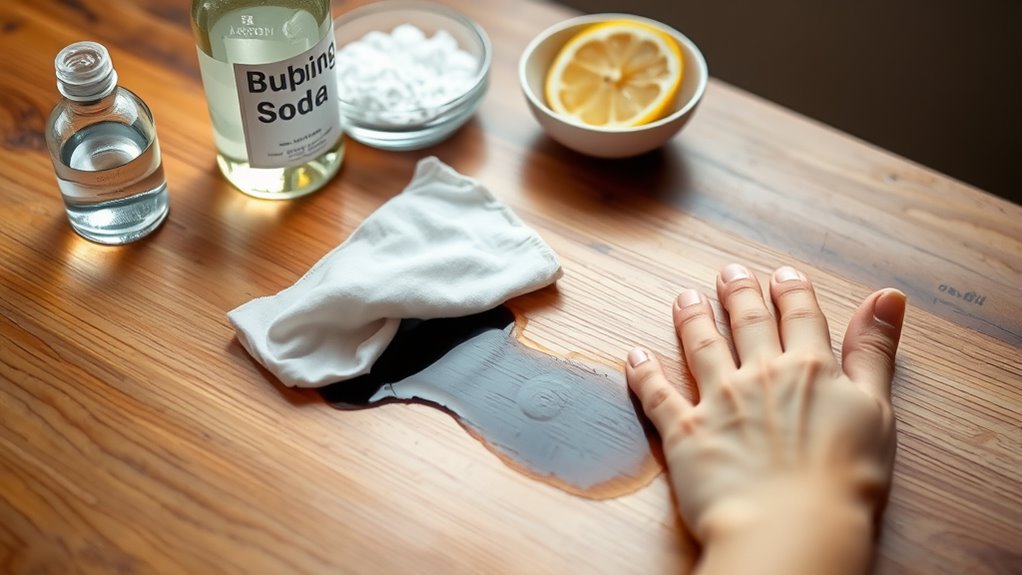
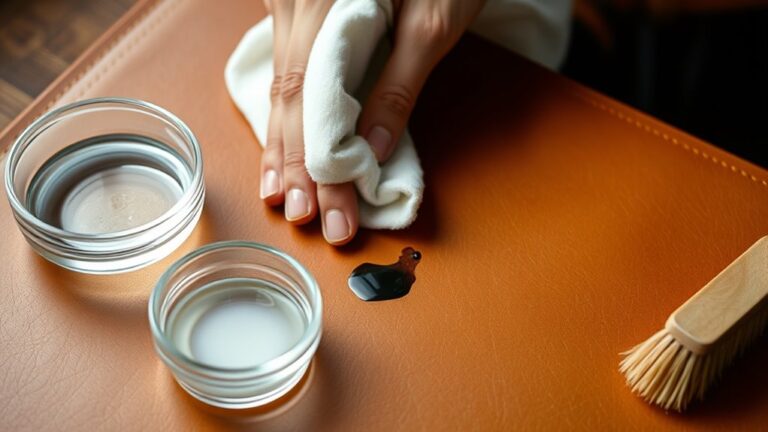
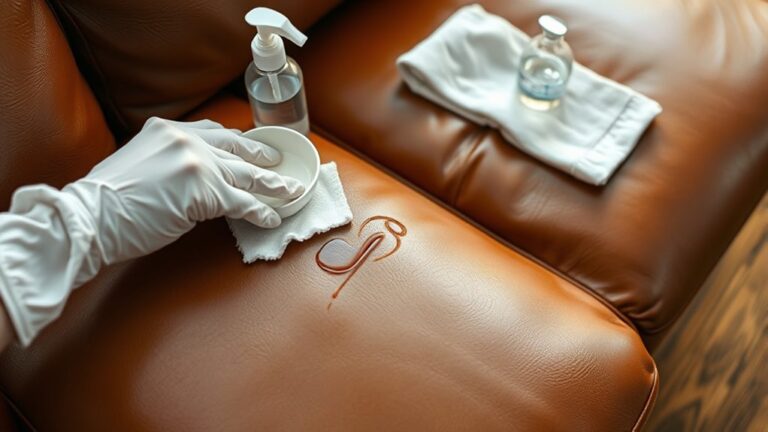
Although specialized products exist, you can often tackle ink stains on wood using common household items. Start with rubbing alcohol or hand sanitizer—apply a small amount to a clean cloth and gently dab the stain.
Don’t rub harshly to avoid damaging the wood finish. If alcohol isn’t available, try white vinegar mixed with a bit of olive oil; this combo helps lift ink without drying out the wood.
Another option is baking soda paste (baking soda plus water), which can gently scrub away ink marks. Always test your chosen method on an inconspicuous spot first to ensure it won’t harm the wood.
After treating the stain, wipe the area with a damp cloth and dry it thoroughly to prevent moisture damage. Easy, right? Just take your time with it!
Applying Commercial Wood Cleaners Safely
You’ll want to pick a wood cleaner that’s safe for your specific finish to avoid damage. Apply the cleaner carefully, following the instructions to protect your wood and yourself.
After cleaning, don’t forget to treat the wood properly to keep it looking its best. It’s all about keeping that wood in great shape for the long run!
Choosing Safe Wood Cleaners
Selecting the right wood cleaner is essential when removing ink stains without damaging the surface. You want products that are effective yet gentle, avoiding harsh chemicals that can strip or discolor the wood.
Look for cleaners labeled safe for finished or untreated wood, depending on your furniture. It really makes a difference in keeping your wood looking great.
Here’s a quick comparison to help you choose:
| Cleaner Type | Suitable Wood Types | Notes |
|---|---|---|
| Mild Soap Solution | Finished and sealed wood | Gentle, safe for most surfaces |
| Isopropyl Alcohol | Hardwoods, sealed surfaces | Use sparingly to avoid damage |
| Commercial Wood Cleaner | Varies by product | Check label for wood compatibility |
| Baking Soda Paste | All wood types | Non-toxic, use with caution |
| Vinegar Solution | Sealed wood only | Can dull finish if overused |
Always test on a small area first to verify safety. Better safe than sorry!
Proper Application Techniques
When applying commercial wood cleaners, take care to follow the instructions closely to safeguard your wood’s finish. Start by testing the cleaner on a small, hidden area to check for any adverse reactions.
Use a soft cloth or sponge to apply the cleaner gently, avoiding harsh scrubbing that can damage the wood. Work in small sections, applying the cleaner evenly and wiping away excess promptly.
Always wear gloves to protect your skin and ensure the room is well-ventilated to avoid inhaling fumes. Avoid soaking the wood; instead, use minimal cleaner to prevent moisture damage.
After application, rinse the area with a damp cloth if the instructions recommend it, then dry immediately with a clean towel to preserve the wood’s integrity. Easy enough, right? Just take it slow and steady!
Post-Cleaning Wood Care
Although cleaning removes the bulk of ink stains, proper post-cleaning care guarantees your wood stays protected and looking its best. When applying commercial wood cleaners, you’ll want to follow safety guidelines to avoid damage or discoloration.
First, always test the cleaner on a small, hidden area to ensure it won’t harm the finish. Second, use a soft cloth or sponge to apply the product gently, avoiding harsh scrubbing that can scratch the surface.
Third, make sure you work in a well-ventilated space to protect yourself from fumes and let the wood dry thoroughly afterward. By following these steps, you’ll maintain your wood’s natural beauty and prevent future staining or damage effectively.
Techniques for Stubborn Ink Stains
When ink just won’t budge, you’ll need stronger techniques like chemical stain removers or gentle abrasion. You can carefully apply these methods to break down stubborn ink without damaging the wood.
Let’s explore how to use these options safely and effectively. It’s all about being gentle but thorough, so you don’t end up making the stain—or the wood—worse.
Chemical Stain Removers
Since stubborn ink stains often resist simple cleaning methods, you’ll need chemical stain removers to tackle them effectively. These removers break down ink molecules, making them easier to lift from wood surfaces.
Before applying, always test on a hidden area to prevent damage. It’s better to be safe than sorry, right?
Here are three common chemical stain removers you can try:
- Rubbing Alcohol (Isopropyl Alcohol): Apply with a cotton ball, gently blotting the stain.
- Hydrogen Peroxide: Use a small amount on a cloth for lightening tough ink spots.
- Commercial Ink Removers: Follow the product instructions carefully for best results.
Always wear gloves and work in a well-ventilated area. After treatment, wipe the wood clean and dry it thoroughly to avoid moisture damage.
Taking these precautions will help keep your wood looking great while getting rid of those pesky stains!
Abrasive Cleaning Methods
Even if chemical stain removers don’t fully erase stubborn ink marks, you can turn to abrasive cleaning methods to lift them from wood. These techniques use physical friction to remove the ink layer but require care to avoid damaging the wood surface.
Start with fine-grit sandpaper for delicate areas, moving to coarser grits only if needed. You can also try a gentle scrubbing pad or a nylon brush. Always test a small spot first.
| Method | Best For |
|---|---|
| Fine-grit sandpaper | Light stains, delicate finishes |
| Coarse sandpaper | Deep, set-in ink stains |
| Scrubbing pad | Surface-level ink |
| Nylon brush | Textured wood surfaces |
| Steel wool | Heavy-duty ink removal |
Use these methods cautiously to restore your wood’s natural look. It’s all about being gentle and patient!
Preventative Measures to Protect Wood From Future Ink Damage
Although accidents happen, you can take simple steps to shield your wood surfaces from ink stains before they occur. Protecting wood starts with being proactive and mindful of your environment.
Here are three effective preventative measures you can use:
- Apply a Protective Finish: Use a clear sealant or varnish to create a barrier that prevents ink from soaking into the wood grain.
- Use Coasters and Mats: Place these under pens, markers, and other ink sources to catch spills before they reach the wood.
- Keep Ink Away from Wood: Designate specific areas for writing or using ink to minimize the risk of accidental spills on your wooden furniture.
Frequently Asked Questions
Can Ink Stains Damage the Wood’s Structural Integrity?
No, ink stains won’t damage your wood’s structural integrity. They mainly affect the surface appearance.
You can clean or refinish the wood to restore its look without worrying about weakening the wood itself. It’s really more about aesthetics than anything structural.
Are Ink Stains on Antique Wood Worth Professional Restoration?
Yes, you should consider professional restoration for ink stains on antique wood since they can preserve value and prevent damage.
You’ll get expert care that maintains the wood’s integrity and historical significance. It’s definitely worth it to keep your piece looking its best!
How Long Does It Take for Ink to Fully Disappear After Cleaning?
You’ll often see ink fade in hours, yet it can take days; sometimes it vanishes quickly, sometimes it lingers stubbornly.
You’ll need patience, repeat treatments, and gentle care for the stain to fully disappear.
Is It Safe to Use Ink Removal Methods on Painted Wood?
You shouldn’t use harsh ink removal methods on painted wood because they can damage the paint.
Instead, test a small, hidden area first and use gentle cleaners to protect the finish while removing the ink safely.
It’s always better to be cautious. That way, you avoid ruining your paint job while getting rid of the ink.
Can Ink Stains Cause Allergic Reactions or Health Issues?
Ink stains themselves rarely cause allergic reactions, but the chemicals in some inks can irritate your skin or respiratory system.
If you’re sensitive or have prolonged exposure, it’s best to handle stains carefully and use protective gloves. Better safe than sorry, right?
Conclusion
Now that you’ve tackled those stubborn ink stains like a cleaning superhero, your wood looks so flawless it could star in a showroom! With these simple steps, you’ve basically performed magic—turning ink disasters into distant memories.
Just remember, a little care and quick action can save your wood from future ink catastrophes. Keep these tips handy, and you’ll never have to fear ink spills ruining your beautiful wood surfaces again!
By following this step-by-step guide on how to get ink out of wood, you’ve protected your furniture and preserved its natural beauty. Acting fast and using the right techniques makes all the difference when dealing with ink stains on wood. So, the next time ink threatens your wooden surfaces, you’ll know exactly what to do to keep them looking pristine and stain-free.