How Do You Make Alcohol Ink in 10 Easy Steps
To make alcohol ink in 10 easy steps, start by gathering 91% isopropyl alcohol along with your chosen dyes or pigments. Setting up a clean, well-ventilated workspace is key to working safely and efficiently. This simple DIY project lets you create vibrant, custom alcohol inks perfect for crafting and art.
Pour alcohol into a small bottle, then add your colorant drop by drop. Mix gently to avoid creating bubbles, which can affect the ink’s consistency. Don’t worry if the color looks too light at first—you can always adjust it.
Test the ink on scrap paper to see how it looks. If you want a richer color, add more pigment. If it’s too thick, add a little more alcohol to thin it out.
Store your finished ink in sealed containers away from light to keep it fresh.
Remember to follow safety tips to protect yourself and your workspace. Keep going, and you’ll master every detail of making your own alcohol ink in no time!
Key Takeaways
- Gather 91%+ isopropyl alcohol, colorants (dyes or pigments), droppers, gloves, and a well-ventilated workspace before starting.
- Pour isopropyl alcohol into a container, add colorant drop by drop, and stir gently to blend without bubbles.
- Test the mixture on scrap material to adjust color intensity by adding more pigment or diluting with alcohol.
- Store finished alcohol ink in airtight bottles, label with color and date, and keep in a cool, dark place.
- Work safely using gloves, avoid open flames, ventilate the area, and clean spills immediately with rubbing alcohol.
Gather Your Supplies
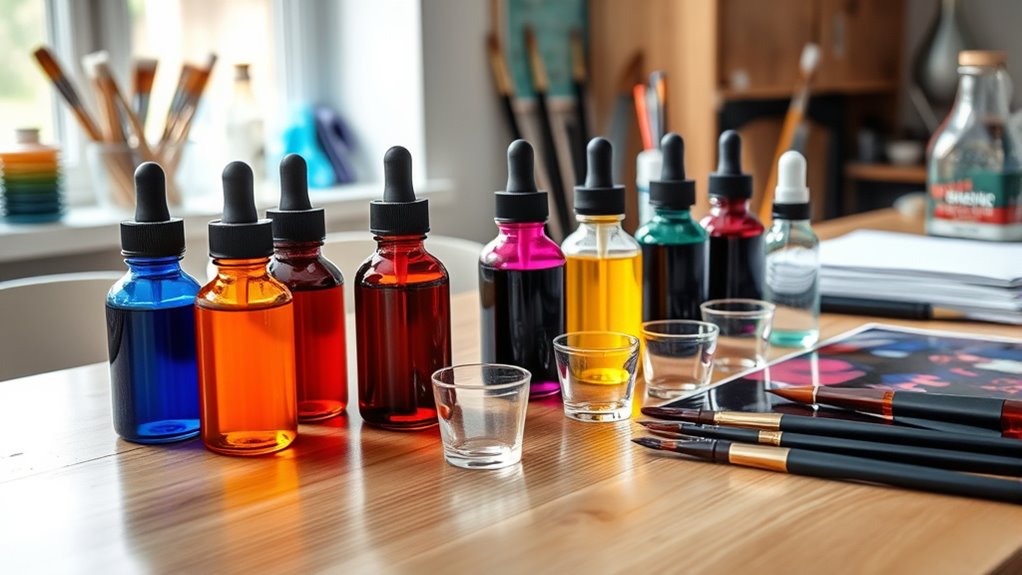
Before you begin, make sure you have all the necessary supplies on hand. You’ll need some isopropyl alcohol, preferably 91% or higher, to guarantee proper ink consistency.
Gather 91%+ isopropyl alcohol before starting to ensure your alcohol ink mixes perfectly.
Grab a few small glass or plastic bottles with dropper caps to mix and store your ink. You’ll want some empty containers for blending colors, plus gloves to protect your hands from staining.
Have a few pipettes or droppers ready for precise measurements. It’s helpful to have disposable mixing tools, like small sticks or cotton swabs, to blend colors easily.
Finally, keep some paper towels nearby for quick cleanups and a well-ventilated workspace to avoid inhaling fumes. Once you’ve gathered these essentials, you’ll be set to start making your own vibrant alcohol inks.
Choose Your Alcohol Base
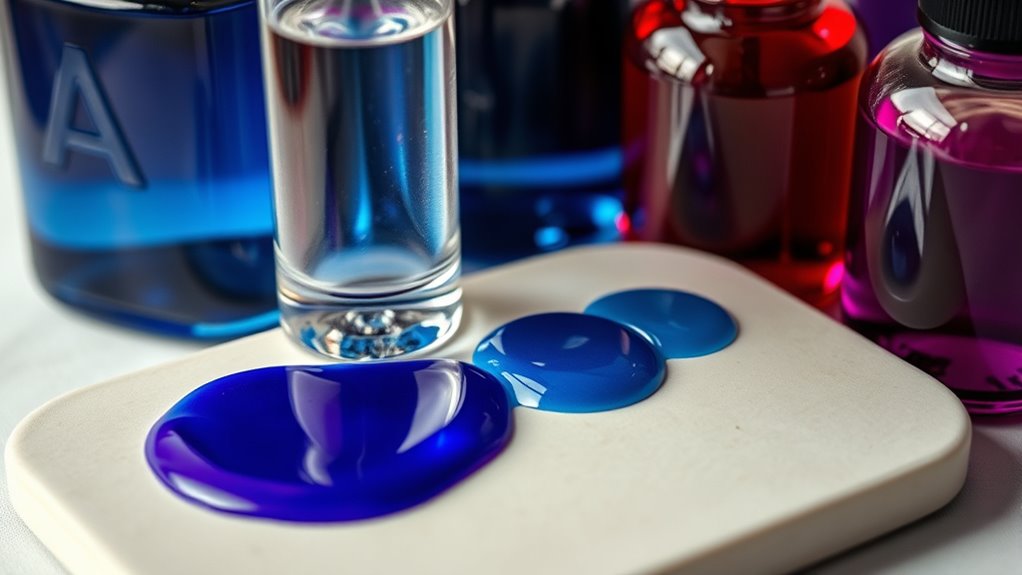
Selecting the right alcohol base is essential for creating vibrant and consistent alcohol ink. You’ll want to choose between isopropyl alcohol and ethanol, each offering unique benefits.
Isopropyl alcohol is widely available and affordable, while ethanol tends to dry faster and produce brighter colors. The concentration of alcohol also matters; higher percentages evaporate quicker, affecting drying time and blending.
| Alcohol Type | Evaporation Rate | Effect on Ink |
|---|---|---|
| Isopropyl Alcohol 70% | Moderate | Slower drying, softer blends |
| Isopropyl Alcohol 91% | Fast | Faster drying, sharper edges |
| Ethanol 95% | Very Fast | Quick drying, vibrant hues |
Select Your Colorants
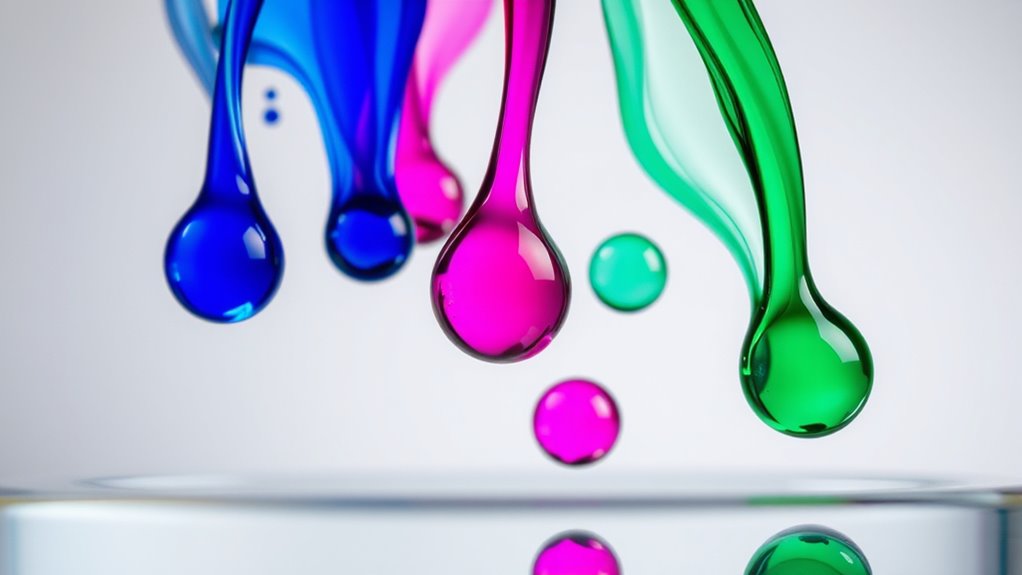
You’ll find a variety of colorants to bring your alcohol ink to life, ranging from dyes to pigments. Dyes dissolve completely in alcohol, offering vibrant, transparent colors perfect for fluid effects.
Pigments, on the other hand, are fine particles that provide opacity and texture but require thorough mixing to avoid settling. When selecting colorants, consider the intensity and finish you want.
Transparent hues work well for layering, while pigments add depth and richness. You can even mix dyes and pigments to create unique shades.
Make sure to choose colorants specifically compatible with alcohol to prevent clumping or fading. Testing small batches helps you understand how your chosen colorants behave, ensuring your final ink matches your artistic vision.
Prepare Your Workspace
Before you start, clear and protect your workspace to avoid any unwanted stains or spills. Lay down some newspaper or a plastic sheet for easy cleanup.
Then, gather all your essential supplies so everything is within reach as you work. This way, you won’t have to stop midway to look for something. Makes the whole process smoother, right?
Clear and Protect Area
Although making alcohol ink is a fun and creative process, it’s essential to clear and protect your workspace to avoid stains and spills. Start by removing any items that could get damaged or clutter your area.
Lay down a disposable plastic tablecloth or a silicone mat to catch any accidental drips. You might also want to use paper towels or old newspapers underneath for extra absorbency.
Make sure the surface is flat and stable to prevent bottles from tipping over. Keep a small trash bin nearby for used wipes or paper towels.
Finally, guarantee good ventilation since some alcohol inks emit strong fumes. Taking these steps will help keep your area clean and make your creative process more enjoyable and stress-free.
Gather Essential Supplies
Since a well-prepared workspace sets the stage for success, gathering all essential supplies beforehand saves time and keeps your process smooth. You’ll want everything within reach to avoid interruptions and maintain focus.
Here’s a quick checklist of what you’ll need:
| Essential Supplies | Purpose |
|---|---|
| Isopropyl Alcohol | Base for ink mixture |
| Alcohol Ink Pigments | Provides vibrant colors |
| Droppers or Pipettes | Controls ink application |
Additionally, have gloves, protective sheets, and ventilation ready. Organizing these tools neatly helps you work efficiently and keeps your area clean.
With your supplies ready, you’re all set for the creative process ahead!
Mix Alcohol and Colorant
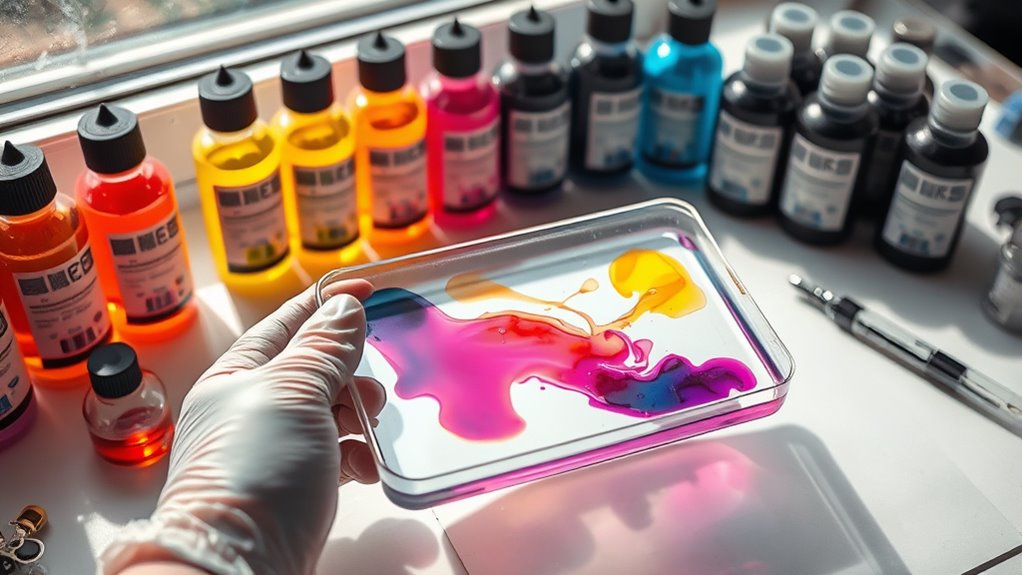
Start by pouring a small amount of alcohol into a mixing container, then add your chosen colorant drop by drop. This method gives you control over the intensity of your ink, allowing you to create exactly the shade you want.
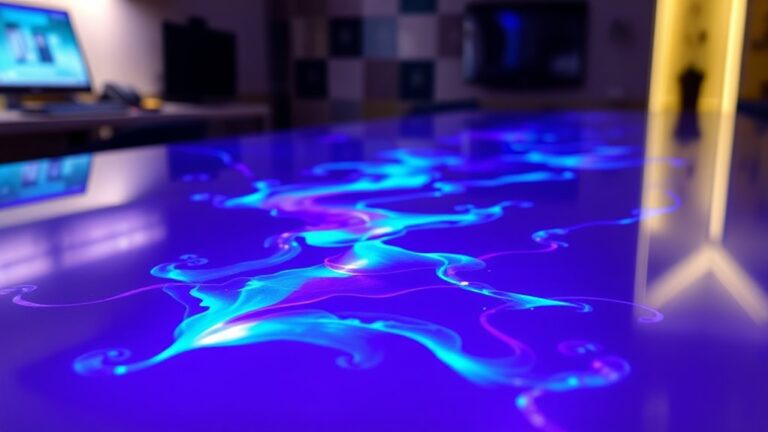
As you mix, you’ll see the color bloom and swirl, sparking your creativity. Keep these tips in mind:
- Use high-proof isopropyl alcohol for best results.
- Add colorants slowly to avoid overpowering the alcohol.
- Stir gently to blend without creating bubbles.
- Test your mixture on a scrap surface before committing.
Mixing carefully guarantees vibrant, smooth alcohol ink that’s ready for your artistic projects. Enjoy watching your colors come alive!
Add Blending Solution
Now that you’ve mixed your colorant and alcohol, it’s time to add blending solution to enhance flow and create smooth shifts.
You’ll want to apply it carefully, either by dropping or brushing, to control how your ink spreads.
This step makes your colors blend seamlessly and adds depth to your artwork.
Purpose of Blending Solution
Although you might be eager to transition into creating your alcohol ink, adding a blending solution plays a crucial role in achieving smooth color transitions and enhancing flow. The blending solution thins the ink, helping colors merge effortlessly without harsh lines.
It also extends drying time, giving you more control to manipulate your art. Without it, your ink might dry too quickly or appear patchy.
Here’s why you’ll love using blending solution:
- Creates seamless gradients that captivate the eye
- Boosts fluidity, making your artwork feel alive
- Prevents colors from becoming dull or muddy
- Gives you the freedom to experiment and express
Incorporating blending solution transforms your ink from ordinary to extraordinary. It really makes all the difference!
Application Techniques
When you add blending solution to your alcohol ink, you unseal new possibilities for creating dynamic, flowing designs. Start by dropping a small amount of blending solution onto your inked surface.
Watch as the colors lighten and spread, allowing you to manipulate edges and soften gradations. You can use a brush, cotton swab, or even a straw to move the ink around, creating marbled or watercolor effects.
For finer control, apply the solution sparingly to prevent over-dilution. Experiment with layering: add ink first, then blending solution to push colors apart or blend them seamlessly.
Test Your Ink on Paper
Before you finalize your alcohol ink, you’ll want to test it on paper to see how the colors blend and dry. This step helps you understand the ink’s true behavior and guarantees your final project looks just right.
Grab a scrap piece of glossy or Yupo paper, as these surfaces work best for alcohol inks. Trust me, testing first saves you a lot of headaches later.
As you test, pay attention to how the ink spreads and merges with other colors. Also, notice the drying time and whether it leaves any unwanted streaks.
Check out the vibrancy of the color after it dries. And keep an eye out for any unexpected reactions like blotching or fading—it’s good to know what to expect before you start your main piece.
Adjust Color Intensity
Once you’ve seen how your ink behaves on paper, you can start adjusting the color intensity to match your vision. If the color looks too light, add more pigment or let it dry and apply another layer.
For lighter shades, dilute with isopropyl alcohol. Experiment with these adjustments to get the perfect balance.
Here’s a quick guide to help you adjust color intensity:
| Adjustment Type | How to Do It |
|---|---|
| Darker Color | Add more pigment or layers |
| Lighter Color | Dilute with isopropyl alcohol |
| More Saturation | Use concentrated pigment |
| Less Saturation | Mix in more alcohol or blending solution |
Keep testing until you achieve the intensity that suits your project perfectly. Just keep playing around with it until you find what works best!
Store Your Alcohol Ink Properly
You are trained on data up to October 2023. To keep your alcohol ink vibrant and ready for your next project, storing it properly is essential.
You want to preserve its quality and prevent evaporation or contamination. So, here’s how to do it right:
Store bottles tightly sealed to avoid drying out. Keep inks in a cool, dark place away from direct sunlight.
If you transfer ink, use small, airtight containers to prevent spills. Also, label your bottles clearly with color names and mixing dates.
Tips for Safe Handling and Cleanup
Proper storage keeps your alcohol inks fresh, but handling them safely during use is just as important. Always work in a well-ventilated area to avoid inhaling fumes.
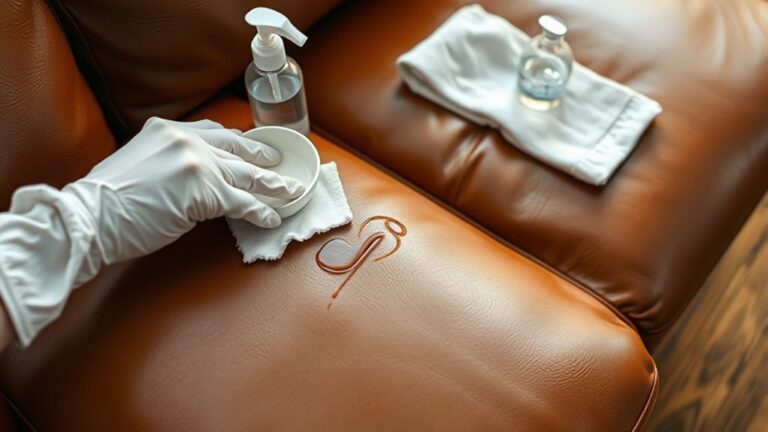
Wear gloves to protect your skin, and keep inks away from open flames since they’re flammable. After finishing your project, clean spills immediately with rubbing alcohol and dispose of used materials safely.
| Action | Emotion Felt |
|---|---|
| Wearing gloves | Confident |
| Cleaning spills | Responsible |
| Storing inks | Peace of mind |
Frequently Asked Questions
Can Alcohol Ink Be Used on Fabrics?
Yes, you can use alcohol ink on fabrics, but it works best on synthetic fibers like polyester.
You’ll want to test a small area first, since the colors might bleed or fade depending on the fabric type and treatment.
How Long Does Alcohol Ink Last Once Applied?
You probably wish alcohol ink lasted forever, right? Well, once applied, it can last years if sealed properly.
Without sealing, it might fade or smear in weeks. So, protect your masterpiece, or enjoy its fleeting charm!
Is Alcohol Ink Waterproof After Drying?
No, alcohol ink isn’t waterproof after drying. It can smudge or bleed if it gets wet.
Can You Make Alcohol Ink Without Rubbing Alcohol?
You can’t make traditional alcohol ink without rubbing alcohol because it’s the solvent that dissolves the dye and evaporates quickly.
Without it, your ink won’t have the right consistency or drying properties you want for art. So, rubbing alcohol is pretty essential for the classic alcohol ink look and feel.
What Are Common Mistakes to Avoid With Alcohol Ink Art?
Like rushing a cake, trying to speed alcohol ink drying ruins your art. Don’t overwork the ink, avoid using too much blending solution, and keep your workspace ventilated to prevent smudges and guarantee vibrant colors.
It’s tempting to keep fiddling with your piece, but overworking the ink can muddy your colors. Also, too much blending solution can make the ink spread uncontrollably.
And hey, don’t forget good ventilation—it helps the ink dry properly and keeps your colors popping. Taking your time really pays off!
Conclusion
Making alcohol ink might seem like a simple craft, but it’s also a delicate balance between chemistry and creativity. As you mix colors and alcohol, you’re not just blending substances—you’re blending control with spontaneity.
While the process requires precision, the unpredictable results bring vibrant surprises. So, embrace both order and chaos in your workspace. That’s where true art happens, turning basic ingredients into stunning, fluid masterpieces you can call your own.
If you want to learn how to make alcohol ink in 10 easy steps, remember that patience and experimentation are key. This craft lets you explore color mixing and fluid dynamics, creating unique pieces every time. Whether you’re a beginner or seasoned artist, mastering alcohol ink can open up a world of vibrant, expressive possibilities. So grab your supplies, follow the simple steps, and watch as your creativity flows beautifully with every drop.