How to Refill Ink in a Self-Inking Stamp in 3 Easy Steps
To refill ink in your self-inking stamp, start by preparing a clean workspace and checking your stamp’s ink pad carefully. It’s important to use the right type of ink for your stamp to avoid damage.
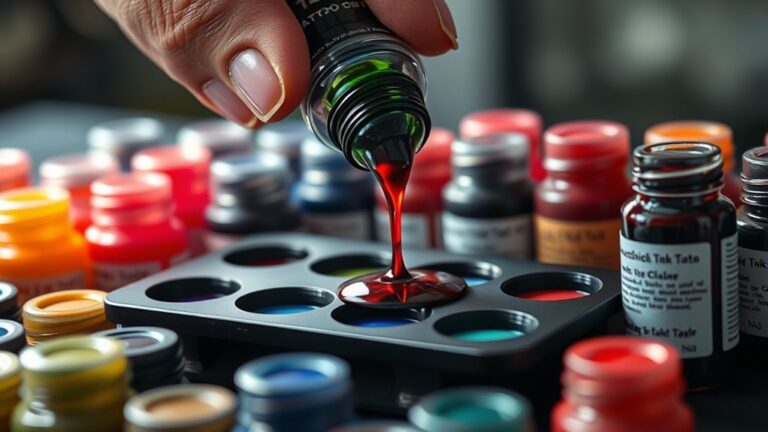
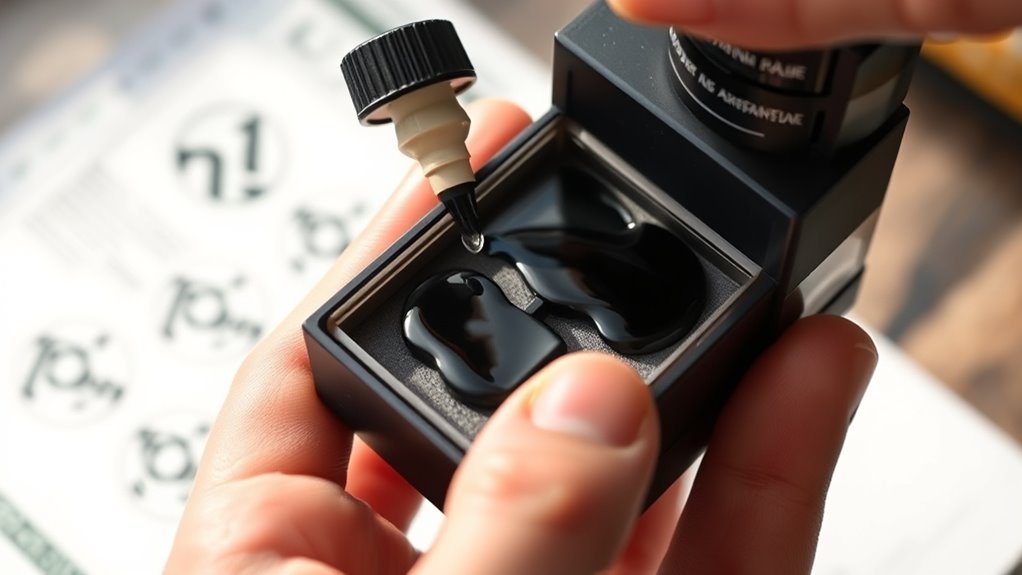
Next, add a few drops of ink evenly onto the pad. Be careful not to soak it too much. Spread the ink gently to ensure even coverage across the pad.
Finally, test the stamp on scrap paper. If the impression isn’t crisp enough, add a little more ink and try again.
Follow these easy steps, and if you want sharper results or tips on maintaining your stamp, there’s plenty more to discover.
Key Takeaways
- Open the stamp to access the ink pad by unlocking or removing the pad holder.
- Apply a few drops of ink evenly onto the pad without over-saturating.
- Let the ink absorb for a minute, then test the stamp on scrap paper for clarity.
- Add more ink in small amounts if the stamp impression is faint or uneven.
- Once satisfied, reassemble the stamp and store it properly to maintain ink quality.
Easy, right? Just take it step by step, and your stamp will be ready to go in no time!
Prepare Your Stamp and Workspace
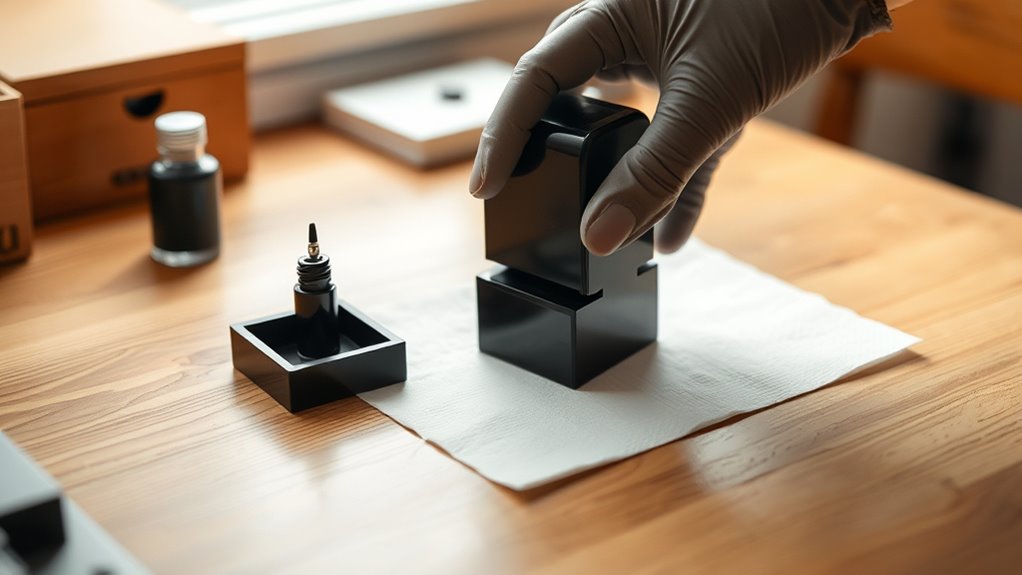
Where should you begin when refilling your self-inking stamp? Start by clearing a clean, flat workspace to avoid ink spills and stains. Lay down some paper towels or an old cloth to protect the surface.
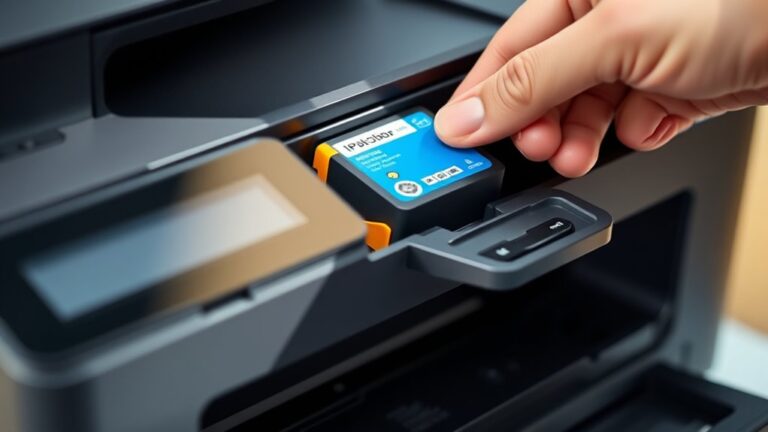
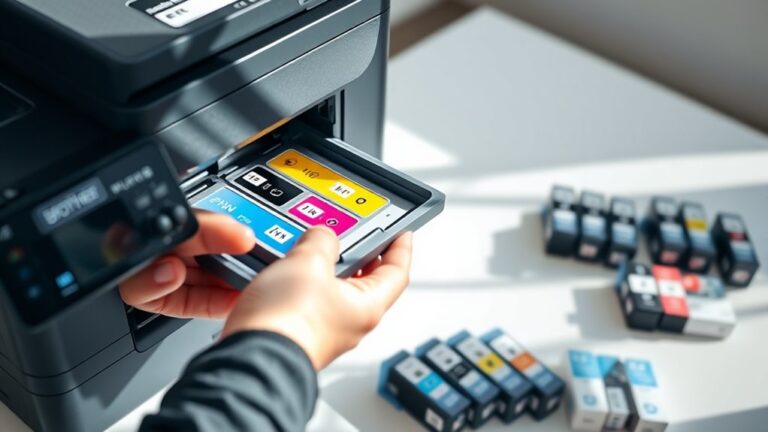
Next, gather all necessary materials—your stamp, the correct ink refill, and a small tool like a flathead screwdriver if needed. Before opening the stamp, wash your hands to prevent smudges.
Carefully examine the stamp to identify the ink pad location; this varies by model. If your stamp has a locking mechanism, engage it to keep the stamp face exposed.
Preparing your stamp and workspace thoroughly ensures a smooth, mess-free refilling process and helps maintain the stamp’s functionality over time. It’s worth taking these small steps to make everything easier!
Apply the Ink to the Stamp Pad
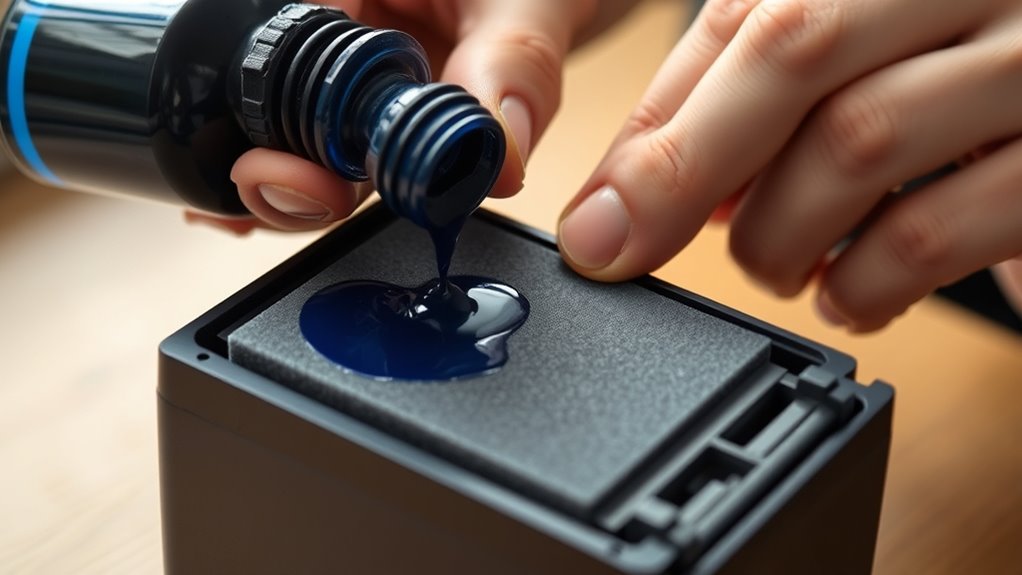
Once your workspace is set and your stamp is ready, you can begin applying ink to the stamp pad. Start by holding the ink bottle close to the pad without touching it directly.
Prepare your workspace, ready your stamp, and gently apply ink without direct contact to ensure even coverage.
Gently squeeze a few drops of ink evenly across the surface, focusing on spreading it lightly rather than soaking the pad. Avoid overfilling to prevent ink from pooling or leaking out.
If needed, use a clean tool or your finger to distribute the ink, ensuring consistent coverage. Let the ink absorb for a minute or two before pressing the stamp down.
This careful application helps maintain the stamp’s crisp impressions and extends the pad’s life. Remember, a little ink goes a long way when refilling your self-inking stamp.
Test and Adjust the Ink Coverage
After applying ink to the stamp pad, you’ll want to test its coverage by pressing the stamp onto a piece of scrap paper. Check the impression for evenness and clarity.
If the image appears faint or patchy, it means the pad needs more ink. Add a few drops evenly, then press and test again.
Avoid over-saturating, as too much ink can cause smudging or blotching. Repeat this process until the stamp produces a clean, consistent print.
Remember, patience is key—small adjustments yield better results than heavy ink applications. Once you’re satisfied with the coverage, allow a minute for the ink to settle before using the stamp on your important documents.
This ensures crisp and professional-looking impressions every time.
Frequently Asked Questions
How Often Should I Refill the Ink in My Self-Inking Stamp?
You should refill your self-inking stamp’s ink whenever the impressions become faint or uneven. Typically, this happens after several hundred uses, but it depends on how frequently you stamp and the ink quality you use.
If you notice the print getting lighter or blotchy, it’s a good sign to add more ink. Don’t wait too long, or your stamp might not leave a clear mark anymore.
Can I Use Any Type of Ink for My Self-Inking Stamp?
You shouldn’t use just any ink; stick to ink designed for self-inking stamps. Using the wrong type can damage the pad or cause smudging.
Always check your stamp’s instructions for the recommended ink type. It’s better to be safe than sorry!
What Should I Do if My Stamp Pad Is Damaged?
If your stamp pad is damaged, replace it promptly—like a worn sail on a ship, it won’t carry you far.
Don’t risk blurred impressions; get a fresh pad to keep your stamp clear and reliable.
Is It Safe to Use Colored Inks in Self-Inking Stamps?
Yes, you can use colored inks in self-inking stamps, but make sure the ink is designed for your stamp type.
Avoid thick or pigment-based inks, as they can clog or damage the mechanism over time.
It’s always a good idea to check what kind of ink works best with your specific stamp to keep it in good shape.
How Do I Store My Self-Inking Stamp to Prevent Drying Out?
You should store your self-inking stamp horizontally with the stamp face down or flat to keep the ink pad moist. Keep it in a cool, dry place, and always replace the cap or cover when not in use.
This helps prevent the ink from drying out too quickly. Just make sure you don’t leave it exposed to air for long periods. That way, your stamp stays ready to use whenever you need it!
Conclusion
Refilling your self-inking stamp is so easy, you’ll wonder why you ever stressed about running out of ink! With just a few simple steps, you can bring your stamp back to life faster than a superhero in a cape.
No more blurry imprints or wasted paper—just crisp, clear stamps every time. So grab that ink, follow the steps, and become the stamping legend you were always meant to be!
By learning how to refill ink in a self-inking stamp, you save money and reduce waste. Plus, it ensures your stamps always look professional and sharp. So don’t hesitate—refill your stamp today and enjoy flawless, consistent stamping with every use!