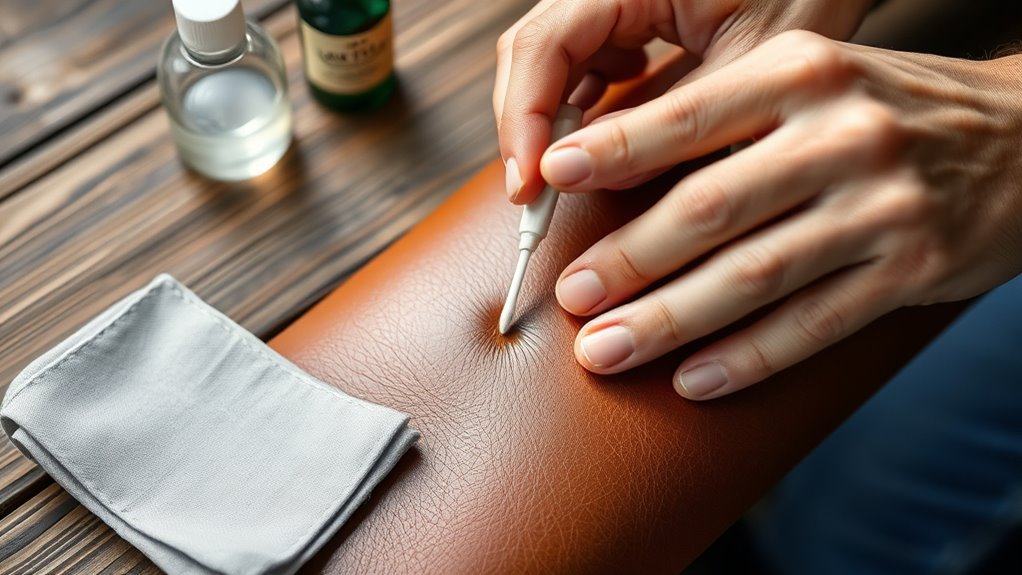
How to Get Ink off Leather With a Step-By-Step Guide
To get ink off leather, it’s important to first identify both the type of ink and the leather finish. This step matters because it affects which cleaning method will work best without damaging your leather.
Next, gather your supplies: mild soap or a leather cleaner, a soft cloth, and cotton swabs. Before you dive in, test your cleaning solution on a hidden spot. This way, you avoid any surprises or damage to your leather’s appearance.
For fresh ink stains, gently dab the area with a dampened cotton swab. After that, wipe it clean and dry the spot carefully.
If the stain is older or more stubborn, you might need to use rubbing alcohol—but be cautious and apply it carefully.
Once you’ve removed the ink, conditioning your leather afterward helps keep it soft and supple.
Keep reading for detailed, step-by-step tips on each part of the process so your leather looks great again.
Key Takeaways
- Identify the ink type and leather finish to choose the safest cleaning approach.
- Prepare mild soap, leather cleaner, soft cloths, cotton swabs, and distilled water.
- Test cleaning solutions on a hidden leather area to avoid discoloration or damage.
- Gently dab fresh ink stains with a damp cotton swab and the tested cleaner without soaking.
- For older stains, carefully apply rubbing alcohol or leather cleaner, blot excess moisture, and condition leather after cleaning.
Identifying the Type of Ink and Leather
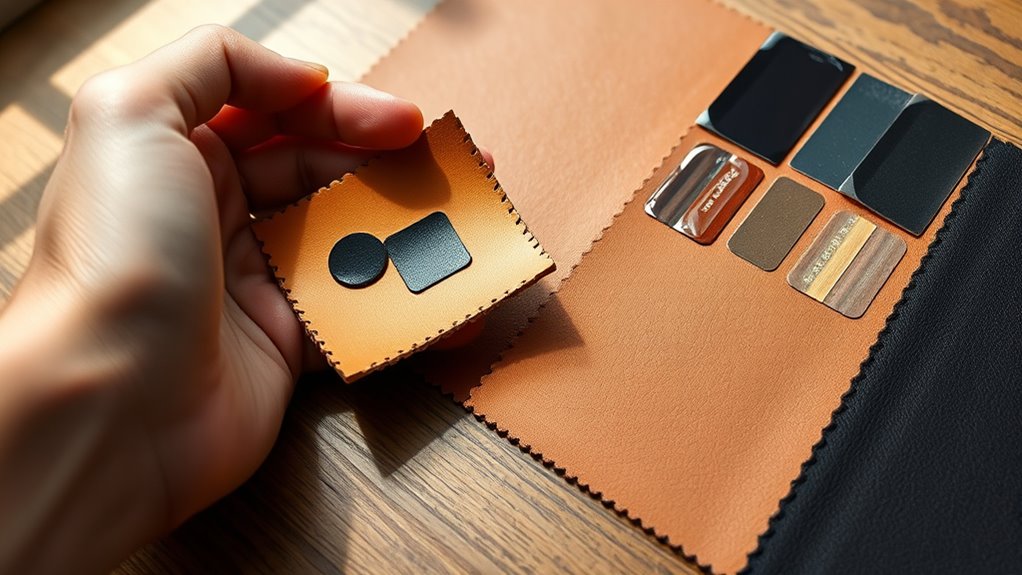
Before you begin removing ink from leather, you need to identify both the type of ink and the leather you’re dealing with. Different inks—like permanent marker, ballpoint, or gel pen—react differently to cleaning methods. Knowing the ink type helps you choose the safest, most effective removal technique.
Next, check your leather’s finish. Is it smooth, suede, or nubuck? Smooth leather usually handles gentle cleaners better, while suede is more delicate and requires special care to avoid damage.
If you’re unsure about the leather type, look for tags, consult the product information, or test a hidden spot. By understanding both ink and leather types, you’ll avoid worsening the stain or harming the material, setting yourself up for a successful cleaning process.
Preparing Your Cleaning Materials
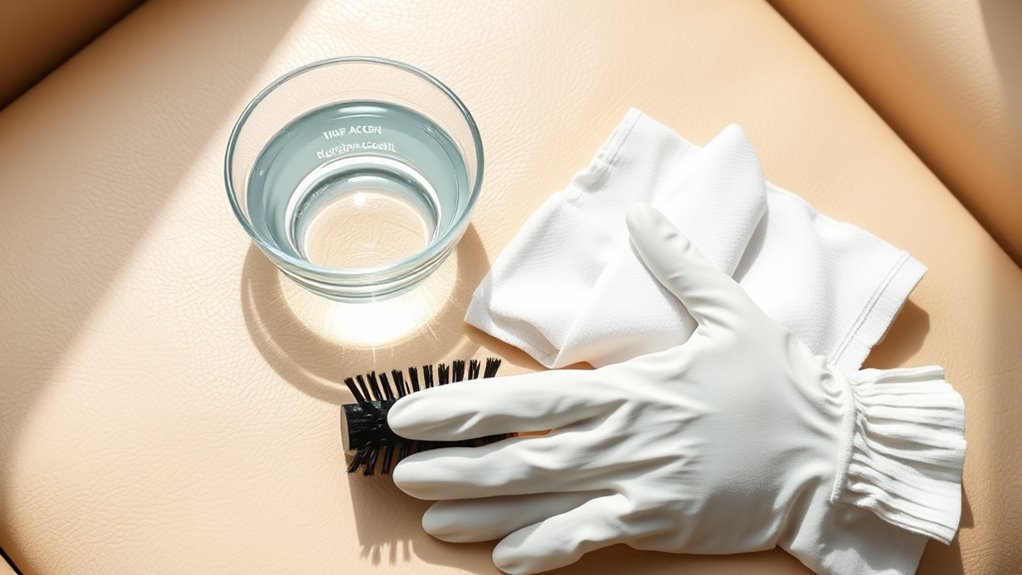
Once you know the type of ink and leather you’re working with, gather the right cleaning supplies to tackle the stain safely. You’ll need a few basics: a soft, clean cloth, mild soap or leather cleaner, and some distilled water. Avoid harsh chemicals that can damage leather.
Have cotton swabs or cotton balls on hand for precise application. Consider getting a leather conditioner to restore moisture after cleaning. If you plan to use rubbing alcohol or a specialized ink remover, keep those ready but use them sparingly.
Prepare a small bowl for mixing solutions if needed. Organize everything within reach, so you can work efficiently and avoid prolonged contact with the stain. Proper preparation helps you clean effectively without harming your leather item.
Testing Cleaning Solutions on a Hidden Area
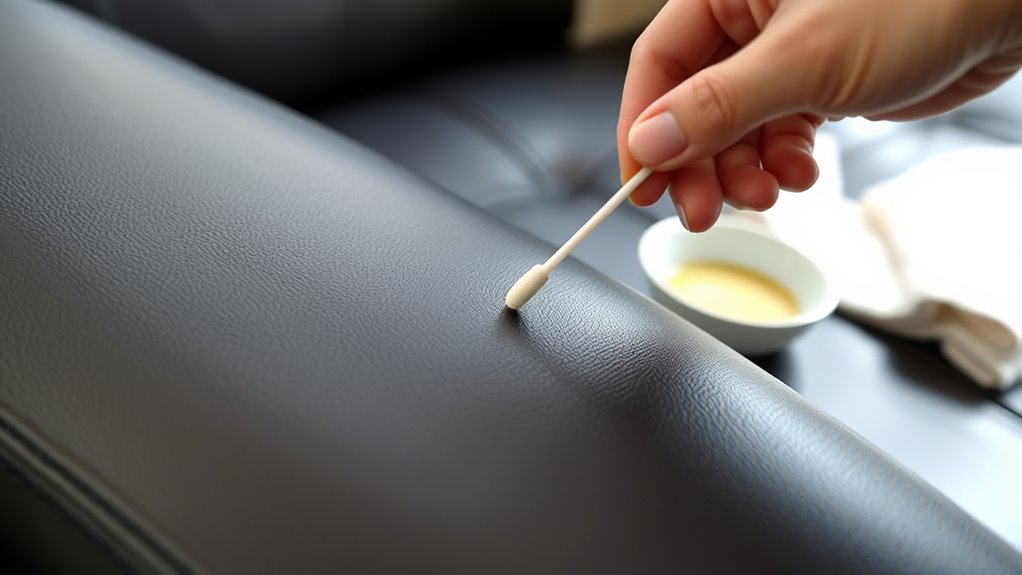
Although it may seem tedious, testing cleaning solutions on a hidden area is essential to prevent damage or discoloration to your leather.
Before applying any product to the visible surface, choose a discreet spot like the inside seam or underside of the leather item. Apply a small amount of the cleaner with a cotton swab or soft cloth, then wait 10 to 15 minutes to see how the leather reacts.
Test cleaning products on a hidden leather spot first, waiting 10–15 minutes to check for any reactions.
Look for changes in color, texture, or softness. If the leather shows no negative effects, you can proceed confidently with the cleaning.
If you notice any damage, avoid using that solution and try a gentler alternative. This simple precaution saves your leather from irreversible harm during the ink removal process.
Removing Fresh Ink Stains From Leather
After confirming your cleaning solution won’t harm the leather, you can tackle fresh ink stains right away. Start by gently blotting the stain with a clean, dry cloth to absorb excess ink without rubbing it deeper.
Next, dampen a cotton swab with your tested cleaning solution—rubbing alcohol or a mild leather cleaner works well—and lightly dab the stain. Avoid soaking the leather; just apply enough to lift the ink.
Continue dabbing until the stain fades, switching to a clean swab as needed. Once the ink is gone, wipe the area with a slightly damp cloth to remove residue.
Finally, dry the leather naturally and apply a leather conditioner to restore moisture and prevent drying out. Acting quickly makes removal easier and protects your leather’s finish.
Tackling Older or Set-In Ink Marks
When ink has set into leather, it becomes tougher to remove, but you can still improve its appearance with patience and the right approach. Start by testing any cleaning method on a hidden spot to avoid damage.
Use gentle techniques and avoid harsh chemicals that can dry out the leather. Here’s how to tackle those stubborn marks:
- Apply a small amount of leather cleaner or rubbing alcohol on a cotton swab.
- Gently dab the ink stain without rubbing aggressively.
- Use a soft cloth to blot excess moisture immediately.
- Repeat the process cautiously, allowing the leather to dry between attempts.
- Condition the leather afterward to restore moisture and flexibility.
With persistence and care, you can considerably fade older ink stains without harming your leather. It just takes a bit of patience and gentle handling.
Caring for Leather After Ink Removal
Once you’ve removed the ink, it’s important to moisturize your leather to keep it supple and prevent cracking. You’ll also want to take steps to protect it from future stains by using a suitable leather conditioner or protector.
Doing this helps your leather stay looking great and last longer. Finally, store your leather items in a cool, dry place to maintain their quality over time. This way, you’ll keep your leather in tip-top shape for years to come.
Moisturizing Leather Properly
Although removing ink from leather is essential, you’ll need to restore its moisture to keep it supple and prevent cracking. After cleaning, leather can become dry and brittle, so moisturizing is a key step in maintaining its look and durability.
Use a leather conditioner suitable for your item’s type and apply it evenly with a soft cloth. Let it absorb naturally without over-saturating.
Keep these tips in mind when moisturizing leather:
- Choose a conditioner that matches your leather’s finish.
- Test the product on a hidden spot first.
- Apply in thin layers to avoid buildup.
- Massage gently to enhance absorption.
- Allow the leather to dry fully before use.
Proper moisturizing helps your leather stay soft and extend its lifespan. It’s definitely worth the extra care!
Preventing Future Stains
To keep your leather looking its best after removing ink stains, you’ll want to take proactive steps to prevent future marks. Regular cleaning, using a protective spray, and avoiding contact with pens or markers can save you time and frustration.
Here’s a quick guide to help you care for your leather:
| Action | Why It Helps | Frequency |
|---|---|---|
| Clean gently | Removes dirt and oils | Weekly |
| Use leather conditioner | Maintains moisture | Monthly |
| Apply protective spray | Creates a stain barrier | Every 3 months |
| Avoid ink contact | Prevents new stains | Always |
| Store properly | Keeps leather safe | After use |
Following these simple steps will keep your leather stain-free and looking fresh longer. It’s easier than you think, and your leather will thank you!
Storing Leather Items
How you store your leather items after removing ink stains plays an essential role in keeping them in great condition. Proper storage prevents new damage and helps maintain the leather’s natural texture and color.
To protect your leather, make sure you store items in a cool, dry place away from direct sunlight. This helps avoid fading and drying out.
Also, use breathable fabric bags instead of plastic. This allows air circulation and prevents mildew.
Keep leather items flat or hang them properly to retain their shape. That way, you avoid creases.
Try not to stack heavy objects on top of your leather pieces. This prevents permanent dents or deformation.
And don’t forget to regularly check stored leather for signs of mold or dryness. Condition it as needed to keep it looking fresh.
Following these tips really helps extend the lifespan of your leather items.
Frequently Asked Questions
Can Ink Stains Damage Leather Permanently?
Yes, ink stains can damage leather permanently if you don’t act quickly. You’ll want to treat the stain as soon as possible because ink can soak in and cause lasting discoloration or weakening of the leather’s surface.
Is It Safe to Use Rubbing Alcohol on All Leather Types?
Don’t throw the baby out with the bathwater—rubbing alcohol isn’t safe for all leather types.
You should test it on a hidden spot first, since it can dry or discolor delicate leathers.
That kind of damage is definitely something you won’t want to deal with.
How Long Should I Wait Before Treating an Ink Stain?
You should treat an ink stain as soon as you notice it. The quicker you act, the better your chances of removing it without damage.
Don’t wait—prompt treatment is key to saving your leather. Seriously, the sooner you get on it, the easier it’ll be to fix.
Can Professional Leather Cleaners Remove Ink Stains Better?
Ink stains can feel like permanent scars, but yes, professional leather cleaners can remove them better.
They’ve got specialized tools and solutions that you probably don’t, so trusting them can save your leather’s beauty and your peace of mind.
Will Ink Removal Affect the Leather’s Color or Texture?
Yes, ink removal can affect your leather’s color or texture if you’re not careful. Always test a small, hidden area first and use gentle, leather-safe cleaners to minimize any damage or discoloration during the process.
It’s really all about being cautious. Taking these steps helps keep your leather looking great while getting rid of that pesky ink.
Conclusion
So, who knew that your beautiful leather could turn into an unintentional ink canvas? But don’t worry—you’ve got the know-how to rescue it now. Just remember, ink and leather aren’t best friends, so treat stains quickly and gently.
If only life’s messes were this easy to clean up! With a little patience and care, your leather will look like new again, proving that even the stubbornest stains don’t stand a chance against you.
Removing ink from leather might seem tricky, but with the right steps, it’s totally doable. Whether it’s a pen mishap or an accidental splash, acting fast and using appropriate cleaning methods will save your leather goods.
So, follow this step-by-step guide to get ink off leather effectively and keep your items looking fresh. Remember, gentle cleaning and prompt action are key to preserving the leather’s quality while tackling those pesky ink stains.