How to Get Pen Ink Off Wood in 5 Easy Steps
To get pen ink off wood in five easy steps, start by identifying the ink type and your wood’s finish. This helps you avoid any damage while cleaning.
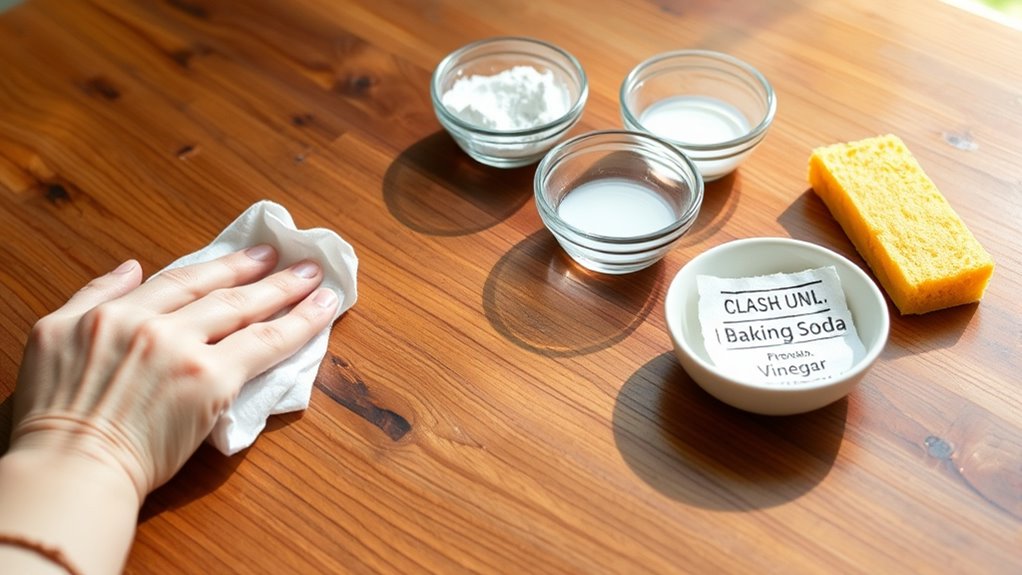
Next, gather some mild soap, rubbing alcohol, soft cloths, and cotton swabs to tackle the stain effectively.
Always test your chosen cleaner on a hidden spot first to make sure it’s safe for your wood.
Then, gently rub the stain with soapy water. If the ink is stubborn, dab a little rubbing alcohol on it, but be sure to dry it immediately to prevent any harm.
Finally, bring back the wood’s shine by applying a wood polish or conditioner.
Keep going to discover more detailed tips and tricks that make removing pen ink from wood simple and safe!
Key Takeaways
- Identify the ink type and wood finish to choose the safest cleaning method.
- Test any cleaning solution on a hidden wood area to avoid damage.
- Gently clean the ink with a soft cloth dipped in warm soapy water.
- Use rubbing alcohol or baking soda paste sparingly for stubborn ink spots.
- Dry the wood immediately and apply polish or wax to restore and protect the surface.
Assess the Type of Ink and Wood Finish
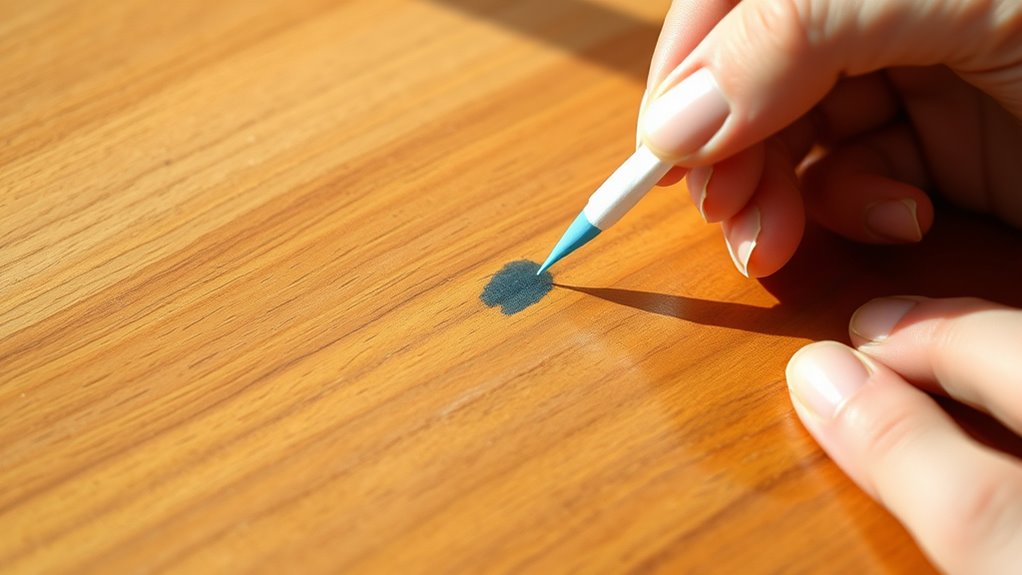
Before you begin removing pen ink from wood, you need to identify both the type of ink and the wood’s finish. Different inks—ballpoint, gel, or permanent marker—react differently to cleaning methods.
Ballpoint ink is oil-based and may require gentle solvents, while gel ink is water-based and often easier to lift. Permanent marker ink tends to be more stubborn, needing stronger treatments.
Next, check the wood’s finish. Is it sealed with varnish, lacquer, or polyurethane? Sealed surfaces are more resistant to damage but can be sensitive to harsh chemicals.
Unfinished or waxed wood absorbs ink more deeply, demanding careful, minimal moisture use. Knowing these details helps you choose the safest, most effective cleaning approach, preventing further damage while maximizing ink removal success.
Gather the Necessary Cleaning Supplies
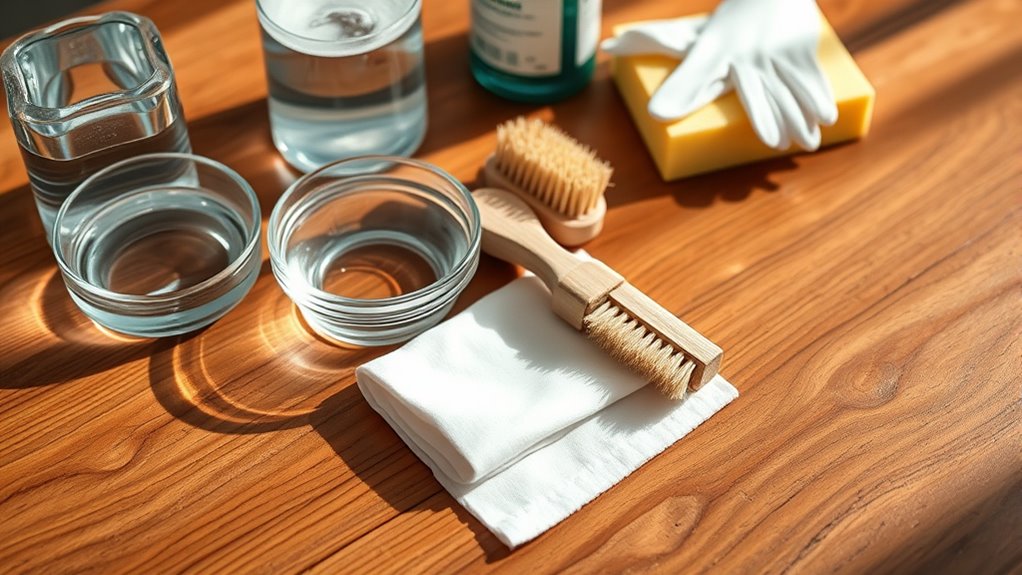
Since the type of ink and wood finish influence your cleaning method, you’ll need to gather specific supplies that suit both. Start with mild options like a soft cloth, warm water, and gentle dish soap.
If the ink is stubborn, you might need rubbing alcohol or a commercial ink remover designed for wood. Keep cotton swabs handy for detailed areas and a soft-bristled toothbrush for textured surfaces.
Have a clean towel ready to dry the wood after cleaning. Avoid harsh chemicals or abrasive tools that can damage the finish.
Ultimately, consider gloves to protect your hands and a small bowl to mix solutions. Having the right supplies ensures you’re prepared to tackle the ink effectively without harming your wood surface.
Test a Small, Hidden Area First
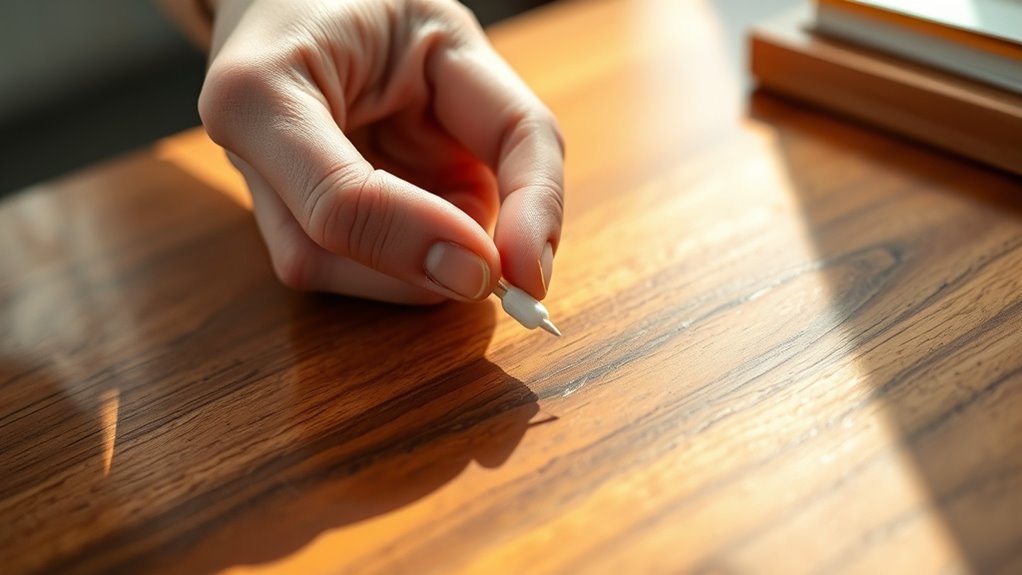
A crucial step in removing pen ink from wood is to test your chosen cleaning solution on a small, hidden area first. This precaution helps you avoid damaging or discoloring the wood’s finish.
Choose a discreet spot, like the underside of a table or inside a drawer, where any adverse effects won’t be noticeable. Apply a small amount of the cleaner and wait a few minutes to observe any changes in color or texture.
If the wood shows no signs of damage, you can confidently proceed with treating the ink stain on the visible area. Skipping this step risks ruining your wood surface, so always test first to ensure your cleaning method is safe and effective.
Apply Gentle Cleaning Methods to Remove Ink
Once you’ve confirmed your cleaning solution won’t harm the wood, start with gentle methods to lift the ink stain. Dampen a soft cloth with warm water mixed with mild dish soap.
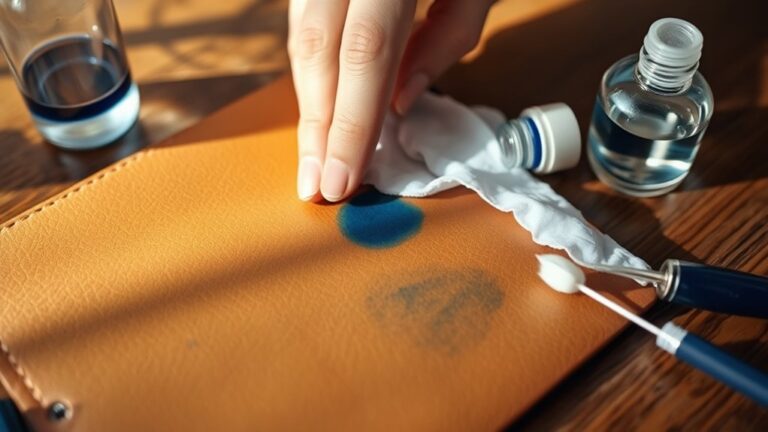
Gently rub the stained area in circular motions, avoiding harsh scrubbing that could damage the finish. If water alone doesn’t work, try a cotton swab dipped in rubbing alcohol—apply it sparingly and test it on a hidden spot first.
Blot the ink gently, don’t rub aggressively. For stubborn marks, a paste made from baking soda and water can be applied carefully with a soft cloth, then wiped off after a minute.
Always dry the area immediately with a clean, dry cloth to prevent moisture damage. Patience and gentle care will help remove ink without harming your wood surface.
Restore and Protect the Wood Surface
After removing the ink stain, you’ll want to restore the wood’s natural luster and protect it from future damage. Start by gently wiping the area with a soft cloth dampened with a wood-safe cleaner or a mixture of mild soap and water. This removes any residue left from the cleaning process.
Next, apply a quality wood polish or conditioner to nourish the wood and bring back its shine. Use a microfiber cloth to buff the surface in the direction of the grain.
To protect the wood long-term, consider applying a thin layer of furniture wax or a sealant designed for wood surfaces. This will create a barrier against moisture and stains, keeping your wood looking great for years to come.
Frequently Asked Questions
Can Permanent Marker Ink Be Removed Using These Methods?
You can often remove permanent marker ink using these methods, but it might be tougher than regular pen ink.
Try rubbing alcohol or a magic eraser gently, and test a small area first to avoid damaging the wood finish.
It’s always a good idea to be cautious since permanent ink can be stubborn. Just take your time and see what works best for your surface.
How Quickly Should Ink Stains Be Treated for Best Results?
You should treat ink stains as soon as possible—time’s of the essence here. The longer you wait, the harder it gets to remove.
Acting quickly gives you the best shot at a clean, spotless surface. So, don’t wait around!
Are There Any Wood Finishes That Resist Ink Stains Better?
Yes, you’ll find finishes like polyurethane and lacquer resist ink stains better than oil or wax.
They create a protective layer that prevents ink from soaking in, making cleanup easier if you spill anything. So, if you’re worried about ink stains, these finishes are a smart choice.
Can Ink Removal Damage Antique or Delicate Wood Furniture?
Yes, ink removal can damage antique or delicate wood if you use harsh chemicals or abrasive methods.
You should test a small area first and opt for gentle, wood-safe products to protect the finish and wood integrity.
It’s always better to be cautious, especially with valuable or fragile pieces. Taking your time helps ensure you don’t accidentally ruin the wood.
Is It Safe to Use Rubbing Alcohol on All Wood Types?
About 70% of wood finishes can be damaged by harsh chemicals. So, you shouldn’t use rubbing alcohol on all wood types—it can strip finishes or discolor delicate surfaces.
Always test a small area first to stay safe. That way, you can avoid any unwanted surprises before treating the whole piece.
Conclusion
Now that you’ve tackled that stubborn ink stain, your wood surface should shine like a fresh morning sunrise. With a little patience and the right touch, you’ve brushed away the blotchiness, revealing the natural beauty beneath.
Remember, caring for your wood is like tending a garden—it takes gentle hands and attention. Keep these steps close, and you’ll always restore your wood to its glowing, flawless charm with ease.
Getting pen ink off wood isn’t as tricky as it seems. Just follow these five easy steps, and your wooden furniture or floors will look as good as new. A little effort goes a long way in preserving the beauty and longevity of your wood surfaces. So next time you spot an ink mark, you’ll know exactly how to remove pen ink from wood safely and effectively.