How Do You Get Ink Out of Plastic Step by Step
To get ink out of plastic, first identify the ink and plastic type. This helps you choose the best cleaning method without damaging the surface. Gather mild dish soap, isopropyl alcohol, cotton balls, and a soft cloth before you start.
Begin by testing your cleaner on a hidden spot to avoid any damage or discoloration. Once you’re sure it’s safe, apply the solution gently, scrubbing in circular motions. Avoid using harsh tools that might scratch the plastic.
After scrubbing, rinse the area with lukewarm water to remove any residue. Dry the plastic completely with a soft cloth to prevent water spots.
If the ink stains are stubborn and still visible, simply repeat the process carefully. Keep going, and you’ll discover more tips for safe and effective ink removal.
Key Takeaways
- Identify the ink and plastic type, then test the cleaning method on a small hidden area to avoid damage.
- Remove loose dirt, then apply mild dish soap with warm water for initial cleaning using a soft cloth.
- Use isopropyl alcohol or acetone cautiously on a cotton swab, letting it sit 5-10 minutes before gentle scrubbing.
- Rinse thoroughly with lukewarm water and dry completely with a soft, lint-free cloth to prevent residue and streaks.
- Repeat the process if ink remains, avoiding harsh chemicals and abrasive tools to preserve the plastic’s finish.
Identify the Type of Ink and Plastic
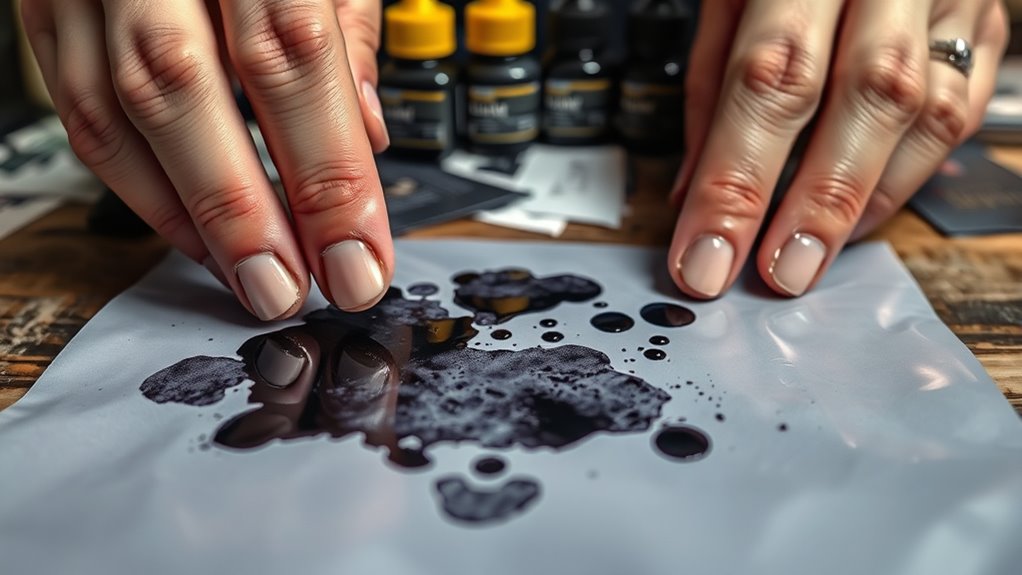
Before you begin removing ink from plastic, you need to identify both the type of ink and the plastic involved. Knowing the ink type—whether it’s permanent marker, ballpoint pen, or printer ink—helps you choose the right removal method.
Identify the ink and plastic type first to select the best and safest ink removal method.
For instance, permanent marker might require stronger solvents, while ballpoint ink often responds to gentler cleaners.
Next, check the plastic type. Look for recycling codes or labels indicating if it’s polyethylene, polypropylene, or another variety.
Some plastics react poorly to harsh chemicals and could discolor or warp. If you’re unsure about the plastic, test your cleaning method on a small, hidden area first.
Recognizing these two factors ensures you treat the stain effectively without damaging the plastic surface, saving you time and preventing unnecessary damage.
Gather Necessary Cleaning Supplies
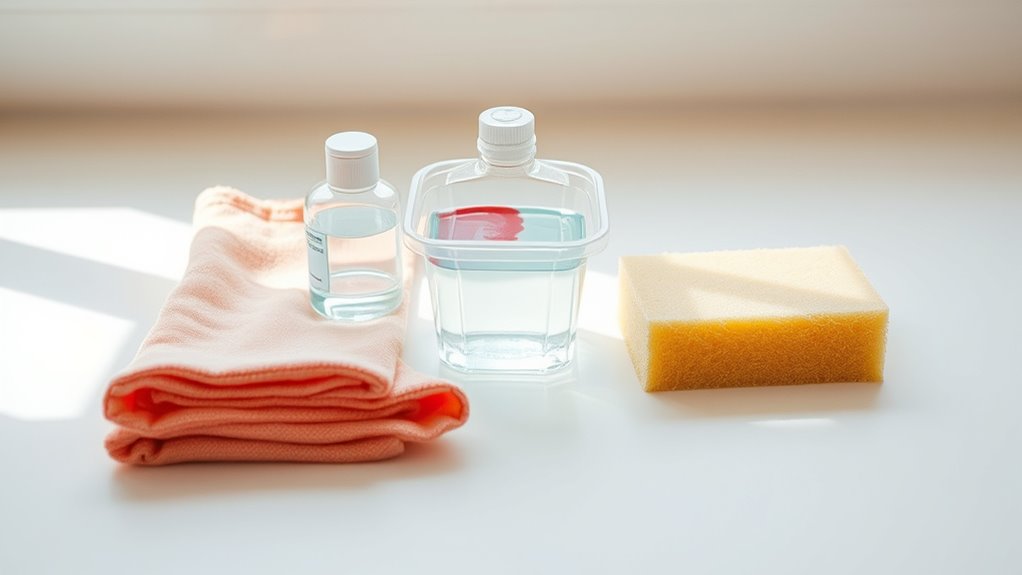
Once you know the type of ink and plastic you’re dealing with, the next step is to gather the right cleaning supplies. Start with mild dish soap and warm water, which work well for most stains.
You’ll also want isopropyl alcohol or rubbing alcohol, effective against many ink types. Keep cotton balls or soft cloths handy for applying solutions without scratching the plastic.
For tougher stains, a magic eraser or a small amount of acetone can help. But use acetone cautiously since it can damage certain plastics.
Gloves protect your hands, and having paper towels or a clean rag nearby makes cleanup easier. Finally, make sure you have good ventilation if you’re using stronger chemicals.
Having these supplies ready sets you up to remove ink safely and efficiently.
Test Cleaning Method on a Small Area
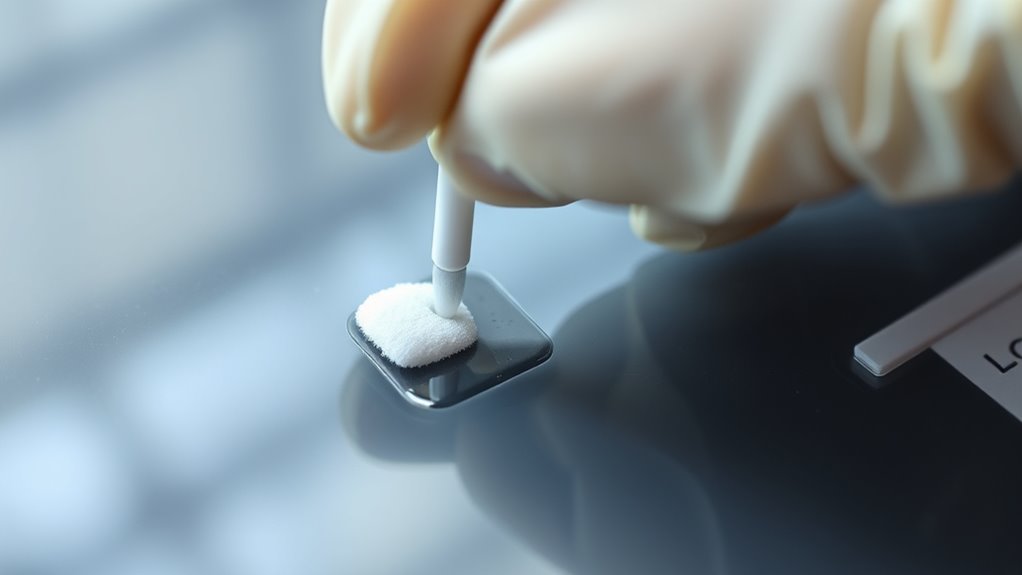
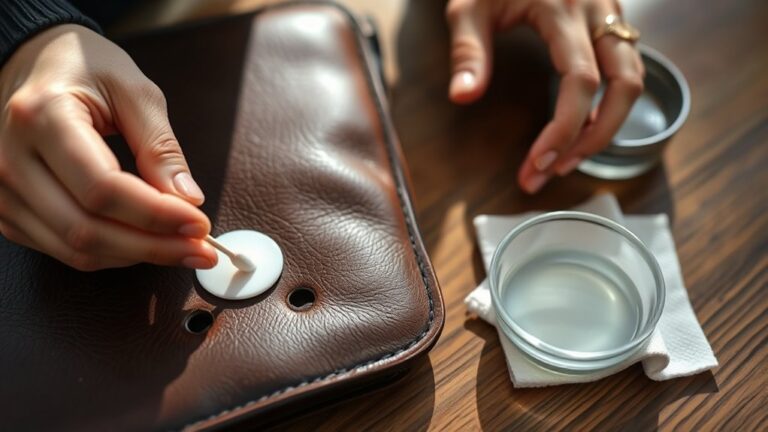
Before you start cleaning, pick a hidden spot on the plastic to test your method. Apply the cleaner sparingly and watch how the material reacts over a few minutes.
This helps you avoid damage and guarantees the cleaner works effectively. Better safe than sorry, right?
Choose Hidden Spot
Start by selecting a small, hidden spot on the plastic to test your cleaning method. This could be the underside of a container, inside a seam, or an area that won’t be easily noticed.
Testing here prevents any visible damage or discoloration on the main surface. You want to make sure the cleaning product you plan to use won’t harm or dull the plastic.
Apply a tiny amount in this area and wait a few minutes to observe any reactions. Look for changes like fading, warping, or sticky residue.
If the spot remains unaffected, you’re safe to proceed with cleaning the more visible ink stains. Choosing a hidden spot first helps avoid ruining your item and ensures your method is effective.
Apply Cleaner Sparingly
After confirming your cleaner won’t damage the plastic, apply it sparingly to the ink stain. Use a cotton swab, soft cloth, or a small sponge to gently dab the cleaner onto the affected area.
Avoid pouring or spraying excessive amounts, as too much liquid can spread the ink or seep into seams and cause damage. Applying the cleaner in small amounts lets you control the process and prevents unnecessary wear on the plastic surface.
Focus only on the ink stain, carefully targeting the spot without rubbing harshly. This approach helps preserve the plastic’s finish while effectively loosening the ink.
Observe Reaction Time
While you let the cleaner sit on the stain, watch closely for any changes in the plastic’s color or texture. This step is vital because some cleaning agents might discolor or damage the plastic if left too long.
Check the spot every minute to see if the ink is lifting or if the plastic shows signs of harm, like fading or becoming brittle. If you notice any adverse reaction, rinse the area immediately with water to prevent further damage.
If no changes occur after a few minutes, it’s safe to proceed with cleaning the entire stain. Testing on a small, hidden area first ensures you don’t ruin the whole item.
Patience here helps you avoid costly mistakes and keeps your plastic looking its best.
Apply Cleaning Solution to the Ink Stain
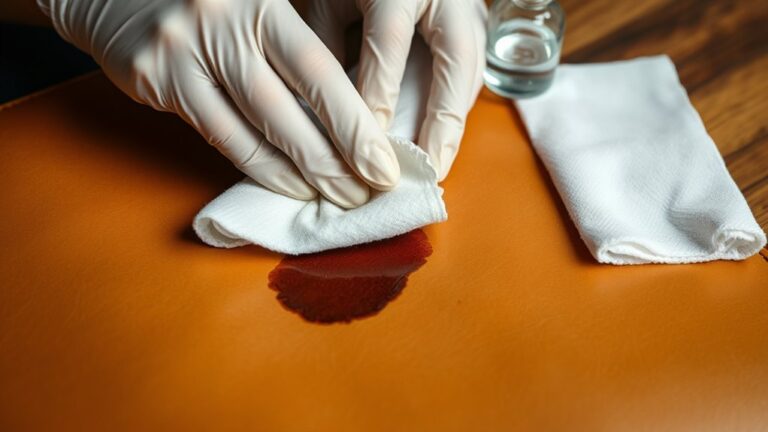
Choose a cleaning solution that’s safe for plastic and effective against ink. Apply it evenly to the stain, making sure to cover the entire area.
Then, let it sit for a few minutes to break down the ink before wiping it away. This helps loosen the ink, making it easier to clean off.
Choosing the Right Cleaner
How do you pick the best cleaner to tackle ink stains on plastic? You want something effective but gentle enough not to damage the surface.
Think about the type of ink and how sensitive the plastic is. Some cleaners work better on permanent ink, while others are great for ballpoint stains. Always test a small area first to avoid any discoloration or damage.
| Cleaner Type | Best For |
|---|---|
| Isopropyl Alcohol | Ballpoint ink, quick stains |
| Baking Soda Paste | Mild stains, sensitive plastic |
| Nail Polish Remover | Permanent ink, tough stains |
| Commercial Plastic Cleaner | General use, safe on most plastics |
Pick a cleaner that matches your stain’s severity and the plastic type. That way, you’ll get the best results without any hassle.
Applying Solution Evenly
Evenly applying the cleaning solution guarantees the ink stain loosens uniformly without harming the plastic surface. To do this effectively, first, pour a small amount of your chosen cleaner onto a clean cloth or cotton ball rather than directly on the plastic.
Then, gently dab the ink stain, spreading the solution evenly across the entire affected area. Avoid soaking the plastic, as excess liquid might cause damage.
Finally, use light, circular motions to ensure the cleaner penetrates the ink without scratching or wearing down the surface.
Follow these steps carefully:
- Apply a moderate amount of cleaner to your applicator.
- Distribute the solution evenly, covering the whole stain.
- Use gentle, circular strokes to maximize contact without damage.
Letting Cleaner Sit
Once you’ve applied the cleaning solution to the ink stain, you’ll want to let it sit for several minutes to break down the ink effectively. This resting period allows the solution to penetrate the plastic’s surface and loosen the ink particles.
Avoid rubbing or wiping immediately, as this can spread the stain or push it deeper. Instead, give the cleaner time to work—typically 5 to 10 minutes is enough, but check the product instructions if you have them.
If the stain is stubborn, you might leave it a bit longer, but don’t let the solution dry completely. After the wait, you’ll be ready to gently wipe away the ink, often revealing a much cleaner surface with minimal effort.
Patience here really makes all the difference.
Gently Scrub the Ink Off the Plastic Surface
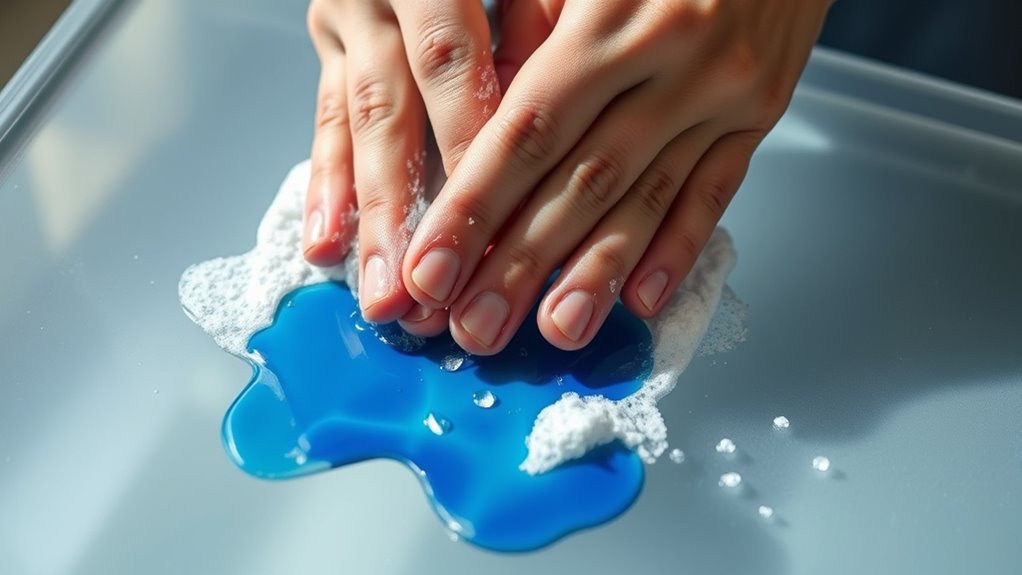
Although ink can cling stubbornly to plastic, you can remove it effectively by gently scrubbing the surface. Start by using a soft cloth or a soft-bristled toothbrush to avoid scratching the plastic.
Follow these steps: dip your cloth or brush into the cleaning solution you prepared earlier. Then, apply gentle pressure as you scrub the inked area in small circular motions.
Dip your cloth in cleaning solution and gently scrub ink with small circular motions for best results.
Make sure to frequently check your progress to avoid over-scrubbing or damaging the plastic. Be patient and persistent; sometimes it takes a few rounds of scrubbing to lift stubborn ink stains.
Just avoid harsh scrubbing tools or abrasive pads, since they can leave scratches. Remember, gentle scrubbing preserves the plastic’s finish while effectively loosening the ink for removal.
Rinse and Dry the Plastic Completely
After you’ve gently scrubbed away the ink, rinse the plastic thoroughly with clean water to remove any remaining residue. Use lukewarm water for best results, as hot water might warp some plastics.
Make sure you rinse all surfaces, paying close attention to crevices where ink could hide. Once rinsed, dry the plastic completely using a soft, lint-free cloth to avoid streaks or water spots.
Air drying works too, but you want to be sure no moisture remains. Otherwise, it might attract dirt or cause damage.
Frequently Asked Questions
Can Ink Stains on Plastic Cause Long-Term Damage?
Ink stains on plastic usually don’t cause long-term damage, but if left too long, they might become harder to remove and slightly discolor the surface.
You should clean them promptly to avoid permanent marks. It’s best not to wait too long before tackling those stains!
Is It Safe to Use Alcohol-Based Cleaners on All Plastics?
You shouldn’t use alcohol-based cleaners on all plastics because they can cause discoloration or damage.
It’s a good idea to test a small, hidden area first to make sure it’s safe.
That way, you avoid ruining your plastic item when you clean the whole surface.
How Quickly Should I Treat Ink Stains on Plastic?
Ink stains on plastic are like shadows at dusk—you’ve got to act fast before they settle.
You should treat the stain immediately or within minutes to prevent it from setting. Otherwise, it becomes much harder to remove later on.
Can Ink Removal Methods Harm the Color or Finish of Plastic?
Yes, some ink removal methods can damage plastic’s color or finish. You should test any cleaner on a small, hidden area first.
Also, avoid harsh chemicals or abrasive scrubbing. This helps protect your plastic from harm.
Are There Eco-Friendly Alternatives for Removing Ink From Plastic?
Why chase shadows when sunlight works? You can use natural remedies like lemon juice, baking soda paste, or vinegar to remove ink from plastic.
They’re gentle, eco-friendly, and won’t harm your planet or your plastic’s finish.
Give these simple options a try next time—you might be surprised how well they work!
Conclusion
So, now that you’ve bravely battled that rebellious ink stain on your plastic, you’re basically a cleaning warrior. Who knew a little pen mishap could turn you into a detective, chemist, and scrubbing champion all at once?
Next time, maybe just avoid the ink battlefield altogether—but if not, you’ve got the secret sauce. Just remember, if the plastic survives, you do too.
Congrats, you’ve officially earned your “Ink-Outlaw Exterminator” badge! Getting ink out of plastic isn’t always easy, but with the right steps, it’s totally doable. Whether you use rubbing alcohol, baking soda, or a magic eraser, persistence is key. So, keep these tips handy and never let ink stains win the battle again!