How to Remove Ballpoint Pen Ink From Leather Step by Step
First, identify your leather type and check if the ballpoint pen ink stain is fresh or old. This step is super important because different leathers react differently to cleaning methods.
Gather some mild soap, soft cloths, and lukewarm water to get started.
Before you dive in, test your cleaner on a hidden spot to make sure it won’t damage the leather.
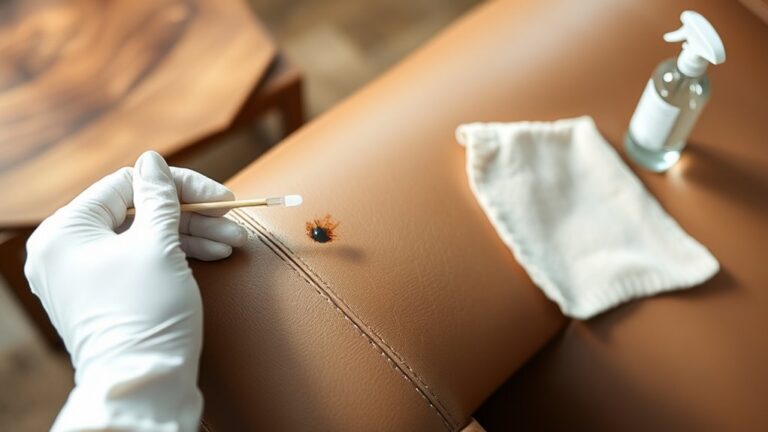
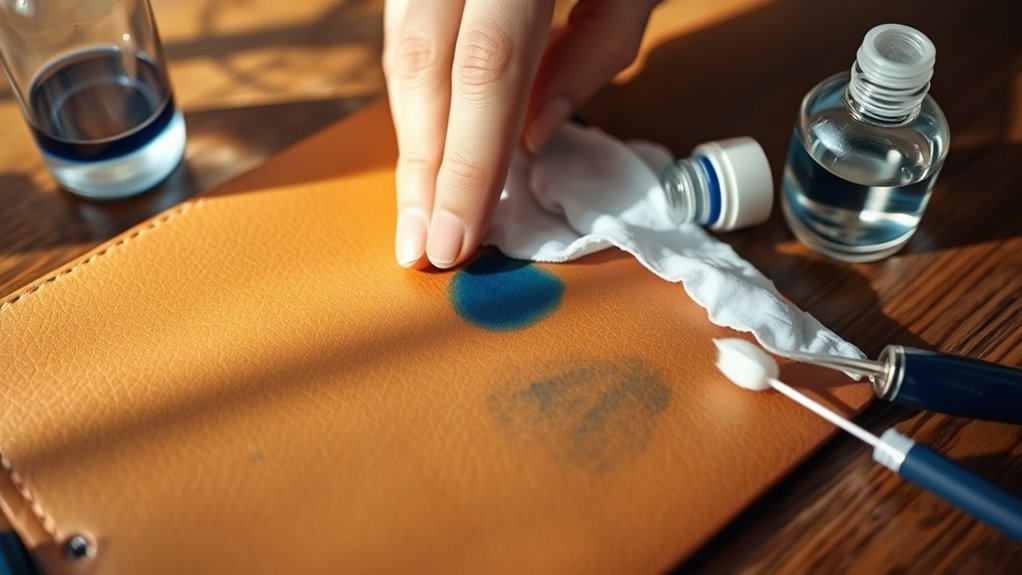
Gently dab the ink stain with the cleaning solution, working from the edges inward to avoid spreading the ink around.
Blot carefully with a clean cloth until the stain starts to fade.
Once the ink is gone, apply a leather conditioner to restore moisture and keep your leather soft and supple.
Follow these simple steps, and you’ll be ready to tackle even tougher ink spots with confidence!
Key Takeaways
- Identify the leather type and assess if the ink stain is fresh or set to choose the best removal method.
- Gather soft cloths, mild leather cleaner, lukewarm water, and leather conditioner before starting.
- Test the cleaner on a hidden leather spot to ensure no color or texture damage occurs.
- Gently dab the ink stain with a soft cloth soaked in cleaner, working from outside inward without saturating.
- Blot the area lightly to lift ink, then apply leather conditioner to restore moisture and protect the leather.
Assess the Type of Leather and Ink Stain
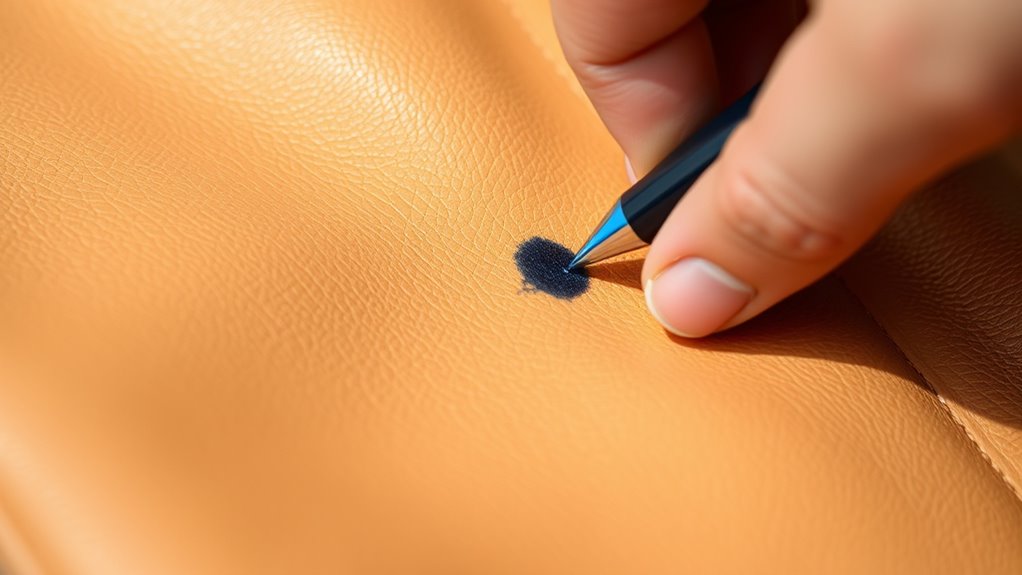
Before you begin cleaning, identify the type of leather and the nature of the ink stain. Is your leather smooth, suede, or nubuck? Each reacts differently to cleaning methods.
Smooth leather usually handles mild cleaning better, while suede and nubuck require extra care to avoid damage. Next, examine the ink stain itself. Is it fresh or old? Fresh ink is easier to remove, so you’ll want to act quickly.
Also, determine how large the stain is and whether it has soaked deep into the leather fibers or just sits on the surface. This assessment helps you choose the right approach and avoid worsening the stain.
Taking this step seriously sets you up for successful ink removal without ruining your leather item.
Gather the Necessary Cleaning Supplies
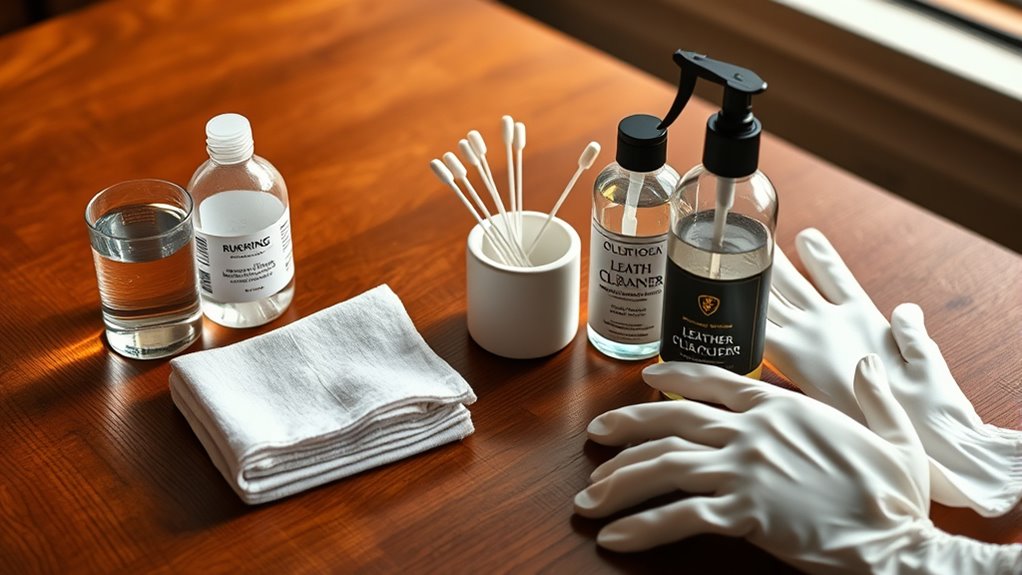
Before you start cleaning, make sure you have the right supplies on hand, like a soft cloth, mild soap, and rubbing alcohol.
It’s important to choose products that won’t damage your leather, so avoid harsh chemicals. Having everything ready will make the removal process smoother and safer for your leather item.
Essential Cleaning Materials
Although removing ballpoint pen ink from leather can be tricky, having the right cleaning materials makes the process much easier.
Before you start, make sure you have everything prepared to avoid interruptions and guarantee the best results. Here’s what you’ll need:
- Soft, clean cloths or cotton pads: These help you gently blot and wipe without damaging the leather surface.
- Mild soap or leather cleaner: Essential for breaking down ink stains while protecting the leather’s finish.
- A small bowl of lukewarm water: Useful for diluting cleaners and rinsing cloths as you work.
Gathering these materials ahead of time will set you up for success. Plus, it helps protect your leather from further damage during cleaning.
Choosing Safe Products
When you choose cleaning products, make sure they’re specifically designed for leather to avoid causing stains or dryness. Avoid harsh chemicals like bleach or ammonia, as they can damage the leather’s surface.
Opt for mild leather cleaners or gentle soap solutions labeled safe for leather. Additionally, grab a soft microfiber cloth or cotton swabs for precise application and to prevent scratches.
Having a leather conditioner on hand is also smart to restore moisture after cleaning. Test any product on a small, hidden area first to ensure it won’t discolor or harm the leather.
Test Cleaning Solution on a Hidden Area
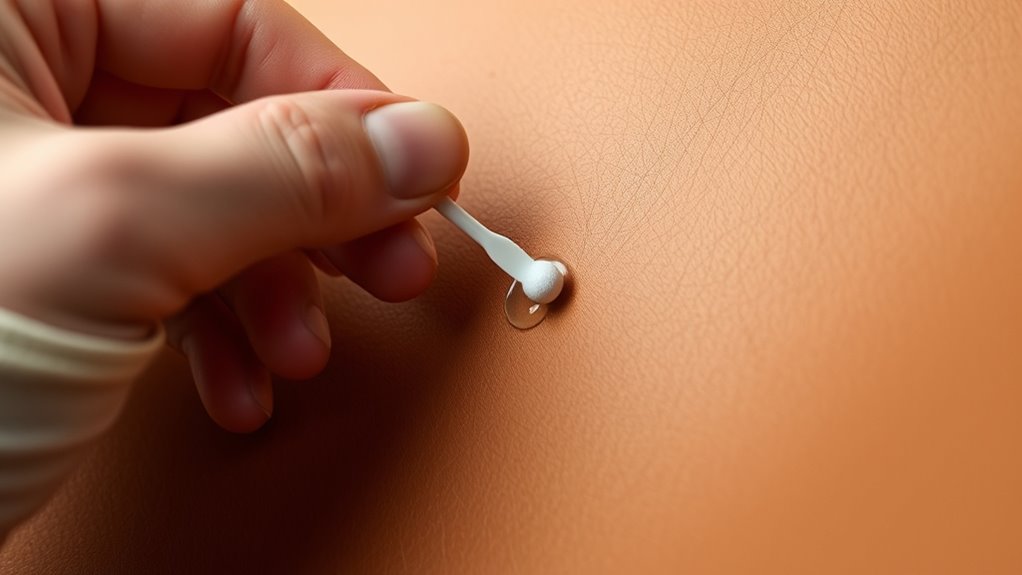
Before you apply any cleaner, pick a hidden spot on the leather to test it. Watch closely for any color changes or damage after a few minutes.
This step helps guarantee your cleaning won’t ruin the leather’s appearance. It’s a simple precaution that really pays off!
Choose Inconspicuous Spot
Since leather can react unpredictably to cleaning solutions, you should always test your chosen product on a hidden spot first. This step helps prevent visible damage or discoloration on your leather item.
When selecting the perfect inconspicuous area, consider these factors:
- Choose a spot that’s out of direct view, like under a flap or inside a seam.
- Pick an area with similar texture and color to the stain site for a true test.
- Avoid places where cleaning residue might linger or cause discomfort, such as parts that touch your skin frequently.
Observe Color Reaction
After selecting a hidden spot on your leather, apply a small amount of the cleaning solution to that area. Watch closely for any immediate changes in color or texture.
If the leather darkens, lightens, or shows signs of damage, stop immediately and choose a gentler cleaner. Let the spot dry completely, as some reactions only appear when the leather is dry.
If the color remains stable and the texture feels normal, it’s safe to proceed with full cleaning. This simple test helps prevent discoloration or damage to your leather item.
Always remember, observing how your leather reacts guarantees you protect its appearance while effectively removing ink stains. Don’t skip this pivotal step before tackling the visible stain.
Apply the Cleaning Solution Gently to the Ink Stain
When you apply the cleaning solution, make sure to do so gently to avoid damaging the leather. Use a soft cloth or cotton swab to target the ink stain precisely without spreading it further.
Remember, harsh rubbing can scratch or discolor the leather, so patience is key. Follow these tips for best results:
- Dab the solution lightly onto the stain, allowing it to soak in gradually.
- Avoid saturating the leather; a small amount is usually sufficient.
- Work from the outside of the stain toward the center to prevent spreading.
Taking your time and being gentle guarantees the leather remains intact while the ink loosens. This sets you up perfectly for the next cleaning step.
Wipe and Blot the Area With a Clean Cloth
Although the ink may seem stubborn, you can effectively lift it by wiping and blotting the area with a clean cloth. Start by gently dabbing the stain, absorbing the ink without rubbing, which could spread it or damage the leather.
Use a soft, white cloth to avoid transferring any dyes. Blot in a consistent motion, switching to a clean section of the cloth as it absorbs ink.
Avoid pressing too hard; a light touch works best to draw the ink out. Repeat the process several times if needed, but always be patient to protect the leather’s surface.
If the cloth becomes saturated, replace it to prevent reapplying the ink back onto the leather. This step is vital for minimizing the stain before moving on.
Condition the Leather After Cleaning
Since cleaning can strip natural oils from leather, you should condition it to restore moisture and flexibility. Conditioning helps prevent cracking and keeps the leather looking rich and supple.
Cleaning removes leather’s natural oils, so conditioning restores moisture, flexibility, and prevents cracking for a supple finish.
After ensuring the ink is fully removed and the surface is dry, apply a leather conditioner evenly using a soft cloth. Don’t rush the process—let the conditioner absorb fully for the best results. Here’s how to do it:
- Use a conditioner designed specifically for leather to avoid damage.
- Apply a thin, even layer, focusing on the treated area and blending outward.
- Allow the leather to absorb the conditioner naturally, then buff gently with a clean cloth.
Frequently Asked Questions
Can Ballpoint Pen Ink Damage Leather Permanently?
Yes, ballpoint pen ink can permanently damage leather if it soaks in deeply.
You’ll want to act quickly and carefully to clean it, or the stain might become impossible to remove over time.
How Long Should I Wait Before Cleaning Fresh Ink Stains?
You should start cleaning fresh ink stains on leather as soon as possible, ideally within minutes. The quicker you act, the easier it is to prevent permanent damage or deep staining.
Don’t let it set! Getting on it right away really makes all the difference.
Are There Any Homemade Cleaning Solutions Safe for Leather?
Think of mild dish soap and water as a gentle rain washing away dirt. You can mix a few drops with water, dampen a cloth, and gently clean leather without damage.
Avoid harsh chemicals, they bite like thorns. They can ruin the leather’s finish and cause more harm than good. So, stick to gentle solutions for the best care.
Can I Use Alcohol-Based Products on Colored Leather?
You can use alcohol-based products on colored leather, but you should test a small, hidden area first.
Alcohol might lighten or damage the color, so proceed carefully and avoid soaking the leather to prevent harm.
Is It Safe to Use a Hairdryer to Dry Cleaned Leather?
Don’t blast your leather with a hairdryer’s hot breath—it’s like a desert sun baking your skin.
Instead, let it air dry gently; you’ll keep your leather soft, supple, and looking its best without damage.
Conclusion
Just like a skilled artist restores a cherished painting, you can bring your leather back to life by carefully removing that stubborn ink stain. Remember, patience and gentle care are your greatest allies in this process.
By evaluating, testing, and conditioning thoughtfully, you’ll preserve the leather’s natural beauty and durability. So, don’t rush—treat your leather with the respect it deserves, and it’ll reward you with timeless elegance.
Removing ballpoint pen ink from leather isn’t always easy, but with the right steps, you can protect your leather and keep it looking great for years. Taking your time to gently clean and condition the leather will help maintain its softness and prevent damage. In the end, your careful attention will ensure that your leather items stay beautiful and durable, making the effort well worth it.