How to Do Remove Pen Ink From Leather Step by Step
To remove pen ink from leather, it’s important to first figure out what kind of leather you have and what type of ink you’re dealing with. This helps you pick the right cleaner that won’t damage your leather. Gather some mild soap or a specialized leather cleaner, cotton swabs, and a soft cloth before you start.
Next, always test your cleaning method on a hidden spot. This way, you can avoid any unexpected damage. When you’re ready, gently apply the cleaner with a cotton swab, dabbing the ink carefully without soaking the leather.
After that, use a soft cloth to lift the stain off the leather surface. Once the ink is gone, don’t forget to condition the leather to bring back its moisture and keep it looking great.
Keep reading to find more detailed and safe techniques for dealing with pen ink stains on leather!
Key Takeaways
- Identify leather and ink types, then test a small hidden area with cleaner to avoid damage. This step is really important to make sure you don’t ruin your leather item.
- Use a soft white cloth, mild soap or leather cleaner, and lukewarm water for gentle cleaning. These materials will help protect your leather while you work on the stain.
- Apply cleaning solution sparingly on the ink stain with a cotton swab or soft brush. You don’t want to soak the leather, just treat the spot carefully.
- Gently dab or rub the stain in small circles, flipping the cloth side to avoid reapplying ink. Take your time here; patience really pays off.
- After ink removal, condition the leather with a suitable product to restore moisture and prevent cracking. This step keeps your leather looking great and lasting longer.
Assessing the Type of Leather and Ink
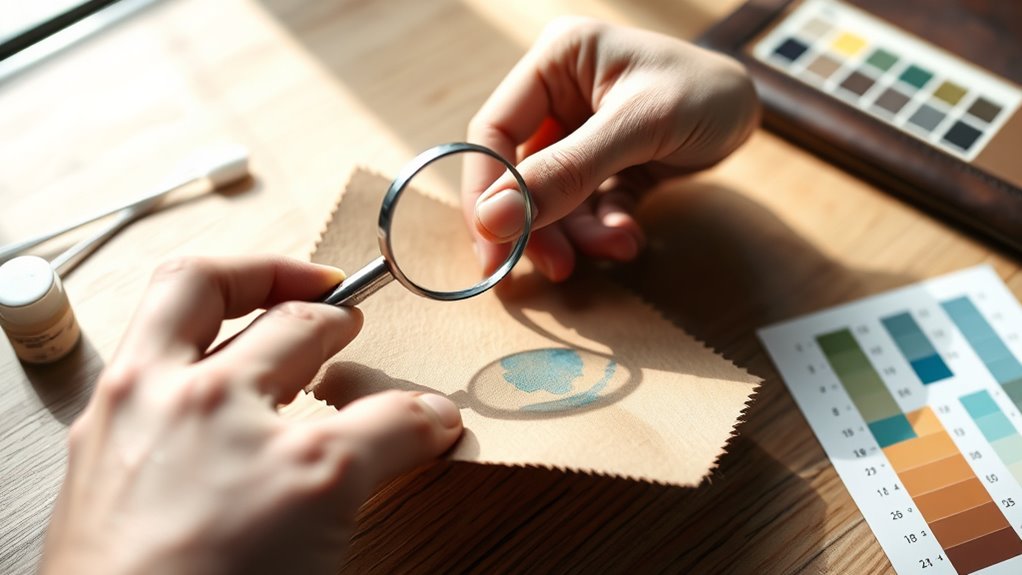
Before you begin removing pen ink from leather, you need to identify both the type of leather and the ink involved. Different leathers—like aniline, semi-aniline, or pigmented—react differently to cleaning methods.
Aniline leather is delicate and absorbs liquids quickly, so you must be extra cautious. Pigmented leather has a protective coating, making it more resistant to stains and easier to clean.
Next, consider the ink type. Ballpoint ink is oil-based and usually tougher to remove, while gel ink tends to be water-based and may come off more easily.
Knowing what you’re dealing with helps you choose the safest, most effective cleaning approach. Take a close look and test a small, hidden area if necessary to avoid damaging your leather item during ink removal.
Gathering the Necessary Cleaning Supplies
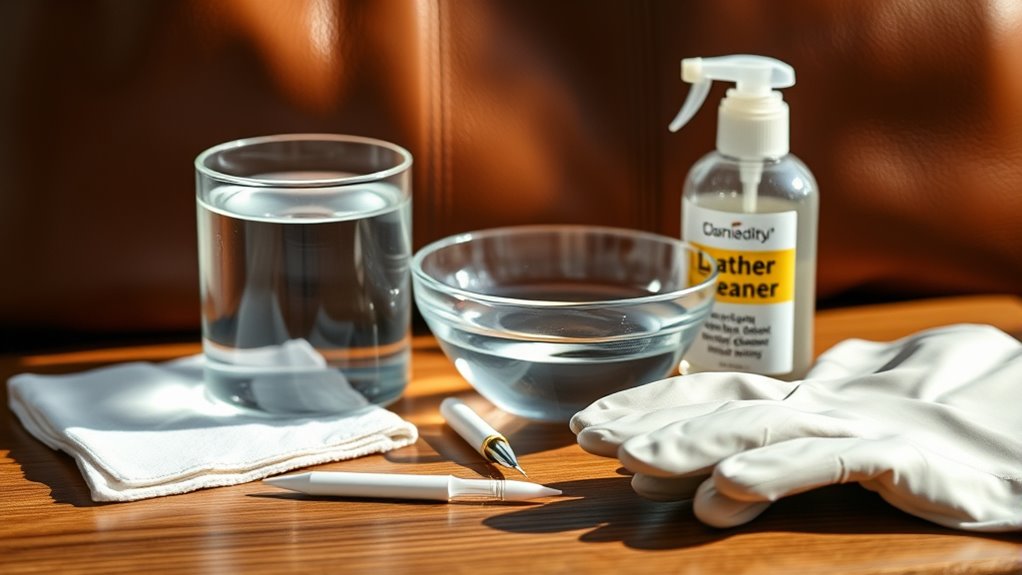
Understanding the type of leather and ink you’re dealing with guides you in selecting the right cleaning supplies. Start by gathering a soft, white cloth or cotton balls to avoid transferring color.
Knowing your leather and ink type helps you choose the safest cleaning materials.
You’ll need mild soap or a leather cleaner specifically designed for your leather type. Rubbing alcohol or a small amount of non-acetone nail polish remover can help with stubborn ink stains, but use them cautiously.
Have a bowl of lukewarm water ready for diluting cleaners and rinsing. A soft-bristled toothbrush or cotton swabs are useful for precise application and gentle scrubbing.
Finally, keep a leather conditioner on hand to restore moisture after cleaning. Having these supplies ready ensures you can tackle the ink stain effectively without damaging your leather item.
Testing the Cleaning Method on a Hidden Area
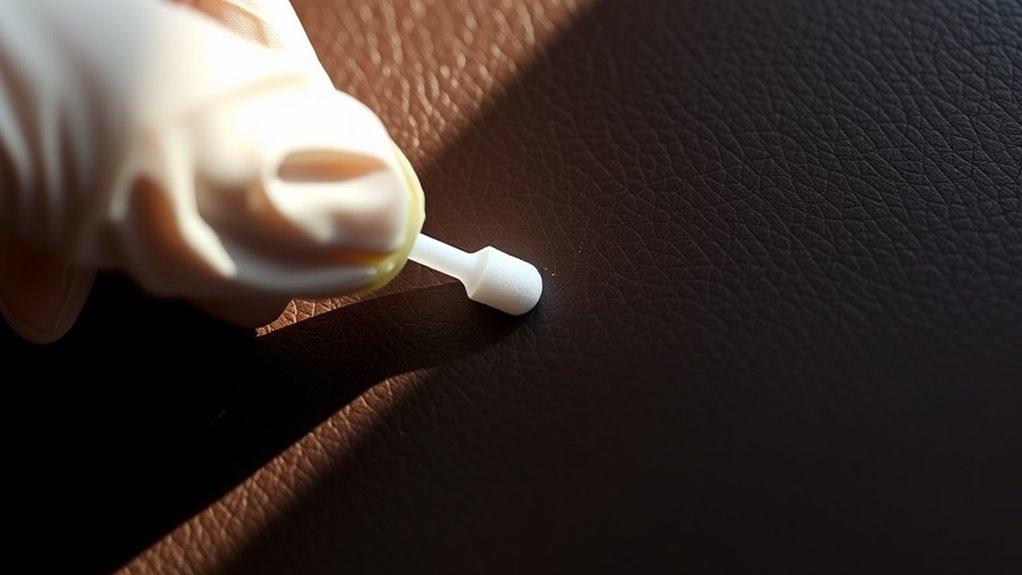
Since leather can react differently to cleaning agents, you should always test your chosen method on a hidden spot first. This helps prevent damage or discoloration before you tackle the ink stain.
Find a discreet area like the inside seam or under a flap. Apply a small amount of the cleaner and wait 10-15 minutes. Check for any changes in color, texture, or smell.
| Step | Action |
|---|---|
| 1. Select Spot | Choose a hidden leather area |
| 2. Apply Cleaner | Dab a small amount of cleaner |
| 3. Wait and Observe | Wait 10-15 minutes |
| 4. Assess Result | Look for discoloration or damage |
If you notice any adverse effects, try a milder cleaner or consult a professional. Better safe than sorry, right?
Applying a Gentle Cleaning Solution to the Ink Stain
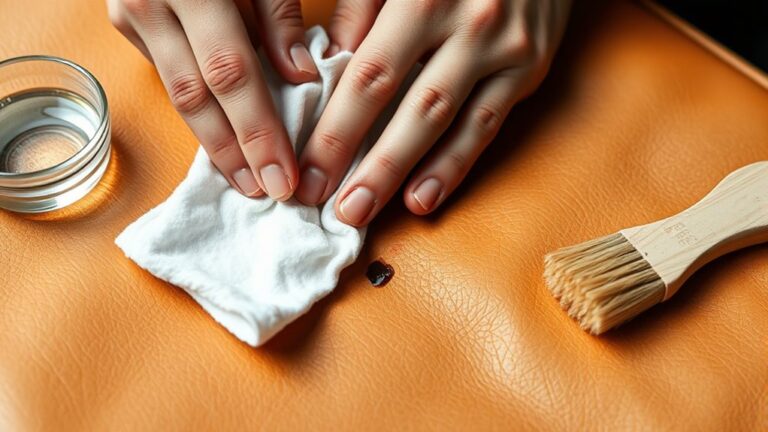
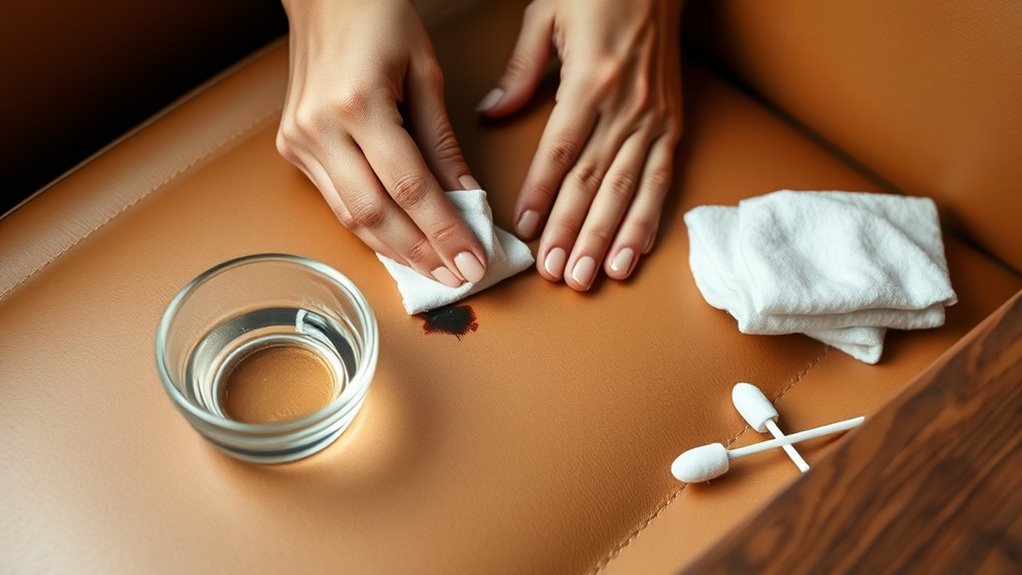
Once you’ve confirmed your cleaning solution won’t harm the leather, you can carefully apply it to the ink stain. Use a cotton swab or a soft brush to target the specific area without spreading the ink further.
Apply the solution sparingly to avoid saturating the leather, which can cause damage. Remember: focus on the inked spot, not the surrounding leather.
Use gentle pressure to prevent abrasion. Avoid soaking the leather to maintain its integrity.
Taking these steps ensures the cleaning solution works effectively without compromising the leather’s texture or color. By applying it carefully, you set the stage for safe ink removal while preserving your leather item’s quality and appearance.
Using a Soft Cloth to Gently Remove the Ink
After applying the cleaning solution, you’ll want to use a soft cloth to gently lift the ink from the leather’s surface. Choose a clean, lint-free cloth—microfiber works best.
Lightly dab or softly rub the stained area in small circular motions. Be careful not to press too hard or spread the ink further. Avoid scrubbing, which can damage the leather’s texture.
Gently dab in small circles—avoid pressing hard or scrubbing to protect your leather’s delicate texture.
As the ink starts to loosen, flip the cloth to a clean side to prevent reapplying the stain. Keep at it patiently, repeating as needed.
If the ink sticks around, just reapply a small amount of cleaning solution and gently work that cloth again. Remember, gentle persistence is the key here—to protect your leather while effectively removing the ink.
Conditioning the Leather After Cleaning
Although the ink is removed, your leather still needs conditioning to restore moisture and prevent cracking. Conditioning replenishes oils stripped away during cleaning, keeping the leather supple and extending its lifespan.
To properly condition your leather, choose a conditioner suitable for your leather type to avoid damage or discoloration. Apply the conditioner sparingly with a soft cloth, using circular motions for even absorption.
Let the leather absorb the conditioner fully before buffing it gently to restore shine. Skipping this step can leave the leather dry and brittle, causing it to crack over time.
Frequently Asked Questions
Can Ink Stains on Leather Be Completely Removed Without Professional Help?
Yes, you can often remove ink stains from leather yourself using gentle methods like rubbing alcohol or leather cleaner. Just test a small area first, work carefully, and avoid harsh scrubbing to prevent damage.
It’s a bit of a delicate process, but with patience, you can get good results. Just remember, go slow and don’t rush it!
How Long Should I Wait Before Cleaning Fresh Ink Stains on Leather?
You should clean fresh ink stains on leather as soon as possible, ideally within minutes. The longer you wait, the harder the ink sets, making removal more difficult and increasing the risk of permanent damage.
Are There Any Leather Types That Are More Resistant to Ink Stains?
Yes, you’ll find that full-grain and top-grain leather are more resistant to ink stains compared to suede or nubuck. Their tighter surface helps prevent ink from soaking in, making cleaning easier when stains occur.
Can Repeated Cleaning Damage the Leather’s Finish or Color?
Yes, repeated cleaning can damage leather’s finish or color. You should avoid harsh chemicals and excessive scrubbing.
Always test a small area first and use gentle, leather-safe products to protect your leather’s appearance and longevity. This way, you keep your leather looking great for a long time!
What Should I Avoid Using on Leather to Prevent Ink Damage?
Don’t go rubbing harsh chemicals like bleach or acetone on your leather—because who wouldn’t want a ruined jacket?
Avoid alcohol, ammonia, and abrasive cleaners too, or you’ll end up with more damage than ink stains.
Conclusion
Remember, “a stitch in time saves nine”—tackling ink stains on your leather promptly makes all the difference. By evaluating your leather type, testing cleaning solutions, and gently removing the ink with care, you’ll protect your item’s beauty.
Don’t forget to condition the leather afterward to keep it soft and supple. This step is key to maintaining the leather’s natural feel and appearance.
With patience and the right steps, you can restore your leather’s look and keep it looking great for years to come. Removing pen ink from leather isn’t as tricky as it seems when you follow a careful, step-by-step approach. Just remember to act quickly, use gentle products, and always test on a small area first. That way, your leather stays beautiful and ink-free!