How Do You Clean Ink From Leather Step by Step
To clean ink from leather, you first need to identify the type of leather and the ink involved. This step is important because different leather types react differently to cleaning methods.
Next, gather your supplies: soft cloths, a mild detergent, and some cotton swabs.
Before you dive in, test your cleaning solution on a hidden spot. This helps avoid any damage or discoloration.
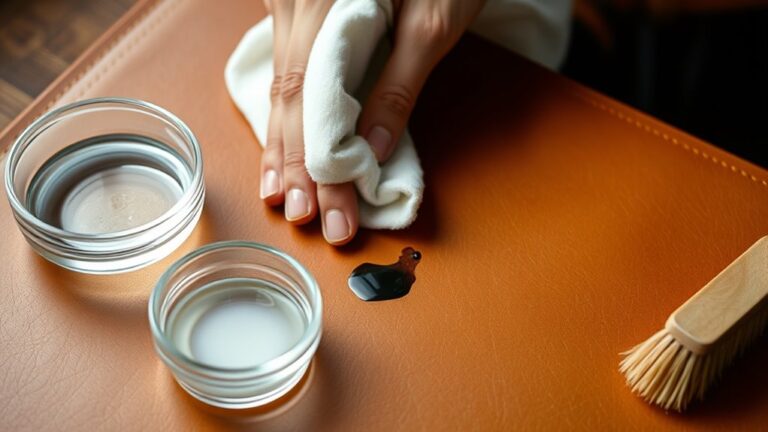
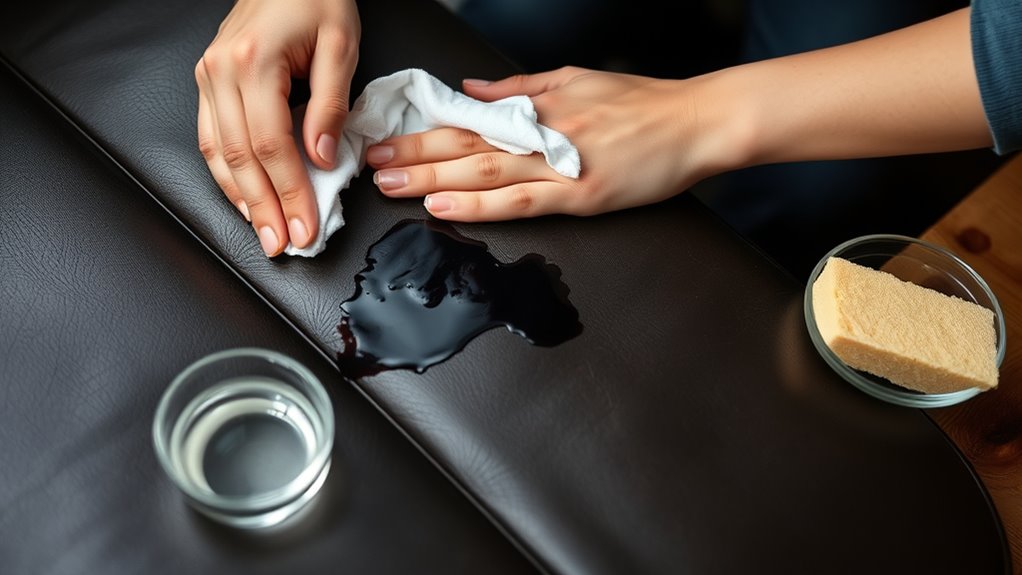
When you’re ready, gently blot the ink stain with a damp cloth dipped in a mild soap mixture. Remember, don’t rub the stain, as that can spread the ink or push it deeper into the leather.
Once the ink starts to lift, let the leather air dry completely.
After drying, apply a leather conditioner to restore moisture and keep the leather soft and protected.
Want to avoid common mistakes and keep your leather looking great? Stick around for more useful advice!
Key Takeaways
- Identify the leather and ink types to choose the safest cleaning method and gather soft cloths, cotton swabs, and mild cleaning solutions.
- Test your cleaning solution on a hidden leather spot to check for discoloration or damage before applying it to the stain.
- Gently blot the ink stain with a soft, damp cloth using a mild soap or leather cleaner, avoiding rubbing to prevent spreading or damage.
- Allow the leather to air dry naturally away from heat or sunlight before applying any conditioner.
- Condition the leather with a suitable product after drying to restore moisture and protect it from future stains.
Identify the Type of Leather and Ink
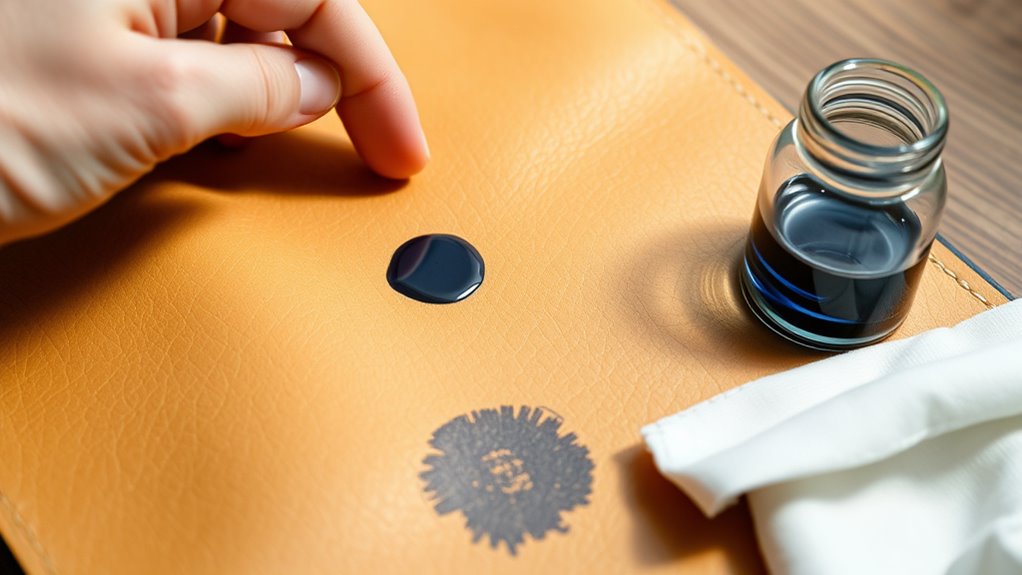
Before you begin removing ink, you need to identify the type of leather and the ink involved. Different leathers react differently to cleaning methods, so knowing whether your item is aniline, semi-aniline, or protected leather helps you choose the safest approach.
Identify your leather type first to ensure safe and effective ink removal methods.
Aniline leather is porous and delicate, requiring gentle care, while protected leather can withstand stronger treatments. Next, figure out the ink type. Is it ballpoint, gel, or permanent marker?
Ballpoint ink often responds better to mild cleaning solutions, whereas permanent marker might need specialized products. Also, check if the ink is fresh or dried, as fresh stains are easier to remove.
Taking these steps before cleaning prevents damage and increases your chances of successfully removing the ink without harming the leather’s finish.
Gather Necessary Cleaning Supplies
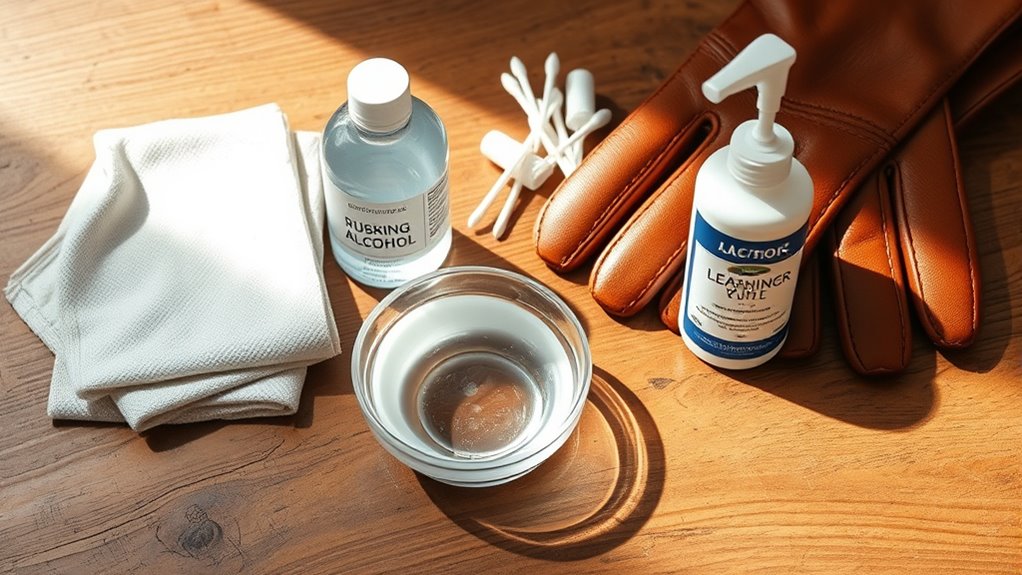
Before you start cleaning, make sure you have the right tools on hand. You’ll need safe cleaning solutions that won’t damage your leather and some protective gear to keep yourself safe.
Gathering these essentials will make the process smoother and more effective. Trust me, being prepared saves you a lot of hassle later on!
Essential Cleaning Tools
You’ll need a handful of essential tools to effectively clean ink from leather without causing damage. Start with soft, lint-free cloths—microfiber works best—to gently blot and wipe the leather.
Have cotton swabs on hand to target small ink spots with precision. A soft-bristled brush can help lift dirt without scratching the surface.
Use disposable gloves to protect your hands and avoid transferring oils to the leather. A small bowl or container is useful for mixing any cleaning agents you’ll use later.
Additionally, keep a clean towel nearby to dry the area after cleaning. Avoid abrasive tools or anything rough that could scratch or discolor the leather.
Having these essentials ready guarantees you can act quickly and carefully when tackling ink stains. It just makes the whole process easier and safer for your leather items.
Safe Cleaning Solutions
How can you choose cleaning solutions that won’t harm your leather? Start by selecting gentle, pH-balanced products specifically designed for leather care.
Avoid harsh chemicals like bleach or ammonia, which can damage the finish and dry out the material.
Mild soap, such as saddle soap or a few drops of dish detergent diluted in water, works well for light stains. Isopropyl alcohol, used sparingly and tested on a hidden spot, can help with stubborn ink but must be handled carefully.
You’ll also want to gather cotton swabs, soft cloths, and a small bowl for mixing solutions. Having these safe cleaning supplies ready guarantees you tackle ink stains effectively without risking permanent harm to your leather item.
Protective Gear Needed
Since ink stains require careful handling, gathering the right protective gear is essential to prevent damage to both your leather and yourself. You’ll want to protect your hands from harsh chemicals and avoid spreading ink further.
Before you start cleaning, make sure you have these items ready:
- Nitrile gloves – to protect your skin from solvents and stains.
- Soft microfiber cloths – gentle on leather and effective for blotting.
- Cotton swabs – perfect for precise application of cleaning solutions.
- A well-ventilated workspace or mask – to avoid inhaling fumes from cleaning agents.
Having these supplies on hand ensures you tackle the ink stain safely and effectively without risking harm to your leather or your health. It’s always better to be prepared, right?
Test Cleaning Method on a Hidden Area
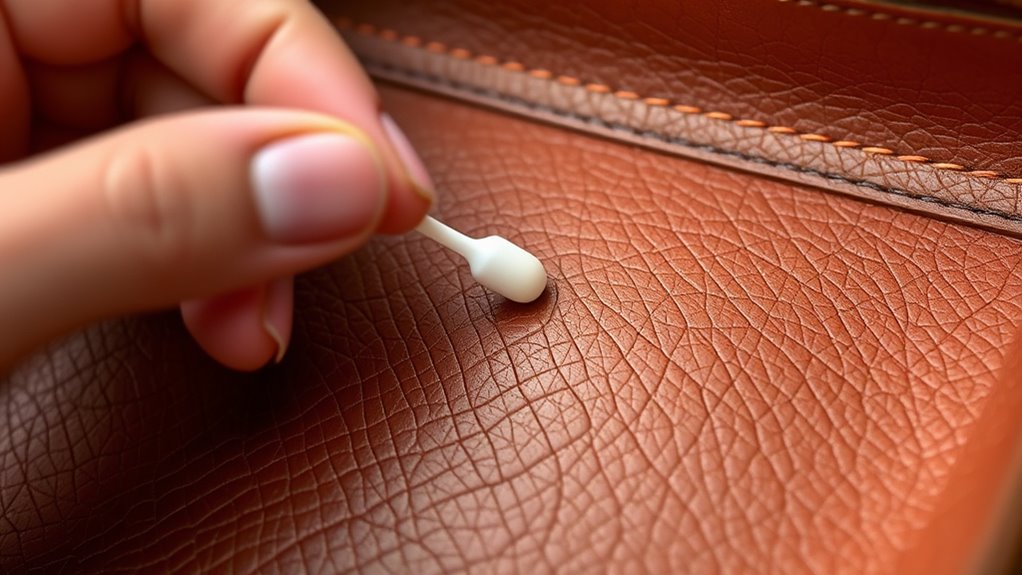
Before applying any cleaning solution to the ink stain, test it on a hidden area of the leather to verify it won’t cause damage or discoloration. Choose a spot that’s not easily visible, like the inside seam or underside of the leather item.
Always test cleaners on a hidden leather spot to prevent damage before treating ink stains.
Apply a small amount of the cleaning solution and wait a few minutes. Then, observe the area closely for any changes in color, texture, or finish.
If the leather becomes discolored, sticky, or rough, do not proceed with that cleaner. Instead, try a different product or method.
This step helps you avoid ruining the entire surface while making sure your chosen cleaner is safe. Testing first gives you confidence and protects your leather from unintended harm during the ink removal process.
Apply a Gentle Cleaning Solution
Start by choosing a mild detergent to prevent damaging the leather. Always test your cleaning solution on a hidden spot to make certain it won’t cause discoloration.
Then, gently apply it using a soft cloth to lift the ink without rubbing harshly. This way, you keep the leather safe while cleaning.
Choose Mild Detergents
When tackling ink stains on leather, you’ll want to use mild detergents that won’t damage the material’s delicate surface. Harsh chemicals can strip leather’s natural oils, causing it to dry out or discolor.
Instead, pick gentle cleaning solutions designed for sensitive fabrics or leather. Here’s what to look for:
- Mild liquid soap, like castile or baby shampoo
- Leather-specific cleaners labeled “pH balanced”
- A small amount of dish soap diluted in water
- Avoid bleach, alcohol, or ammonia-based products
Using these mild detergents helps preserve leather’s texture and finish while effectively lifting ink stains. Remember, the goal is to clean without causing further harm, so always stick to gentle options that respect leather’s unique needs.
Test Solution First
How can you be sure a cleaning solution won’t harm your leather? Before applying it to the ink stain, always test the solution on a hidden area, like the underside or inside seam.
Dab a small amount and wait a few minutes to check for any discoloration, texture change, or damage. If the leather looks unchanged and feels soft, it’s safe to proceed.
This step prevents irreversible harm and maintains your leather’s integrity. Remember, even mild detergents can react differently depending on the leather type.
Testing first saves you from costly mistakes and preserves your item’s appearance. Once you’re confident the solution is gentle, you’re ready to tackle the ink stain carefully.
Apply With Soft Cloth
Before applying any cleaning solution directly to the ink stain, you’ll want to use a soft cloth to gently dab the area. This helps avoid spreading the ink further and protects the leather’s surface.
Once you’ve tested your solution and it’s safe, follow these steps to apply it carefully:
- Fold a clean, soft cloth into a small square.
- Lightly dampen the cloth with the gentle cleaning solution.
- Gently blot the ink stain, avoiding harsh rubbing.
- Repeat the blotting process, using a fresh part of the cloth each time.
This way, you can tackle the stain carefully without making things worse. Just take it slow and be gentle!
Remove Ink Stains Using Soft Cloths
Since ink can quickly set into leather, you’ll want to act fast by gently blotting the stain with a soft cloth. Avoid rubbing, as this spreads the ink and damages the leather’s surface.
Act quickly to blot ink stains on leather gently—rubbing only spreads the ink and harms the surface.
Instead, use a clean, dry microfiber or cotton cloth to carefully dab at the stain, absorbing as much ink as possible. If the stain is stubborn, slightly dampen the cloth with lukewarm water and continue blotting gently.
Change to a fresh area of the cloth frequently to prevent reapplying ink. Patience is key—keep blotting rather than scrubbing.
Once the majority of the ink is lifted, allow the leather to air dry naturally. This method helps minimize damage while effectively removing fresh ink stains from your leather item.
Condition and Protect the Leather After Cleaning
After removing the ink stain, you’ll want to condition the leather to restore its moisture and flexibility. This step helps prevent cracking and keeps your leather looking fresh.
Here’s how to do it effectively:
- Choose a leather conditioner suitable for your leather type.
- Apply a small amount to a soft cloth and gently rub it into the leather using circular motions.
- Let the conditioner absorb for about 15-20 minutes.
- Buff the leather lightly with a clean cloth to remove any excess and enhance its shine.
Once conditioned, consider applying a leather protector spray to shield against future stains and damage. Regular conditioning keeps your leather supple and extends its life.
It’s pretty simple, and doing this regularly will really pay off in the long run!
Frequently Asked Questions
Can Ink Stains on Leather Be Removed Without Professional Help?
Yes, you can remove ink stains from leather yourself. Act quickly, use gentle cleaners like rubbing alcohol or leather cleaner.
Make sure to test on a hidden spot first. Then, gently blot the stain without rubbing to avoid damage.
How Long Does It Take for Ink Stains to Set on Leather?
You know what they say, “Time waits for no one.”
Ink stains on leather can start setting in as quickly as 15 minutes. So, you should act fast to prevent permanent damage and clean it up promptly.
Seriously, the sooner you tackle it, the better your chances of saving your leather. Don’t let that ink sit!
Are There Any Natural Remedies for Removing Ink From Leather?
Yes, you can use natural remedies like rubbing alcohol or lemon juice on a cotton swab to gently dab the ink stain. Always test on a small area first to avoid damaging your leather’s finish.
It’s a good idea to go slow and be gentle. Leather can be sensitive, so patience really helps when removing ink. Just dab lightly and see how it reacts before doing more.
Will Ink Removal Damage Leather’s Color or Texture Permanently?
Ink removal can be a tightrope walk—you might risk fading or roughening leather’s delicate skin if you’re too harsh.
But if you treat it gently and test first, you won’t leave permanent scars behind.
How Often Should Leather Be Conditioned After Ink Removal?
You should condition your leather immediately after ink removal, then every 3 to 6 months to keep it supple and protected.
If the leather feels dry or stiff, go ahead and condition it more frequently. It’s all about keeping that leather soft and looking great!
Conclusion
Cleaning ink from leather is like restoring a cherished storybook—each careful step helps preserve its character and beauty. By knowing your leather, testing gently, and treating stains with patience, you’re not just removing marks; you’re renewing its soul.
Afterward, conditioning acts like a protective shield, ensuring your leather’s journey continues strong and vibrant. With every clean, you’re safeguarding memories, turning a simple chore into an act of care and preservation.
When you clean ink from leather, it’s important to approach the process thoughtfully. Start by identifying the type of leather and spot-test any cleaner to avoid damage. Then, use gentle methods to lift the ink, avoiding harsh chemicals that might harm the surface. Finally, applying a leather conditioner helps restore moisture and flexibility, keeping the leather supple.
In short, cleaning ink from leather isn’t just about removing stains—it’s about preserving the material’s beauty and longevity. By following these steps, you maintain your leather’s rich appearance and protect it from future damage, ensuring it stays vibrant for years to come.