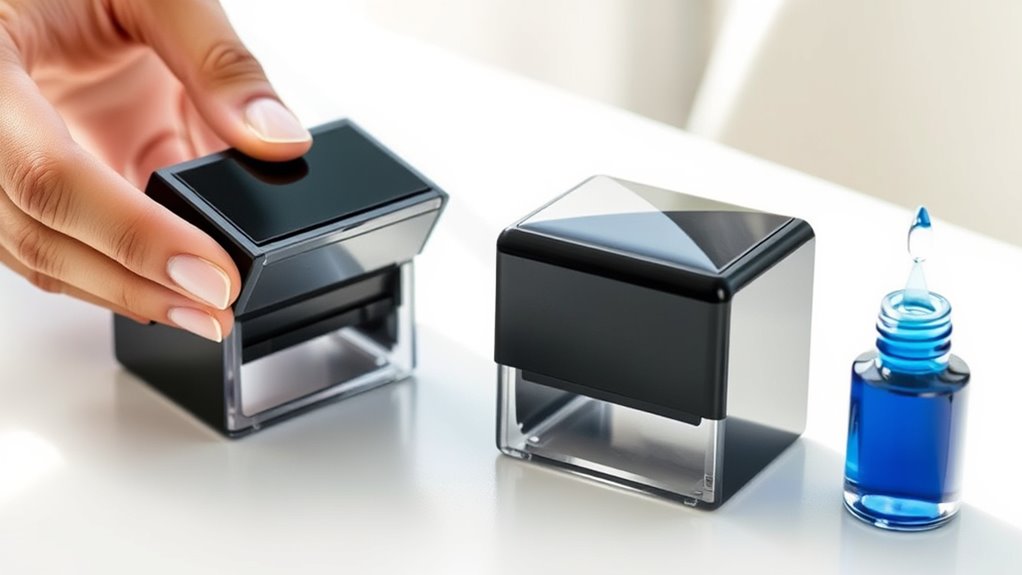
How to Reink a Self-Inking Stamp in 7 Easy Steps
To reink your self-inking stamp, first gather all the necessary supplies: ink, gloves, and paper towels. Having everything ready will make the process smoother and less messy.
Next, carefully remove the stamp pad by gently releasing its clips and sliding it out. This step is important to avoid damaging your stamp.
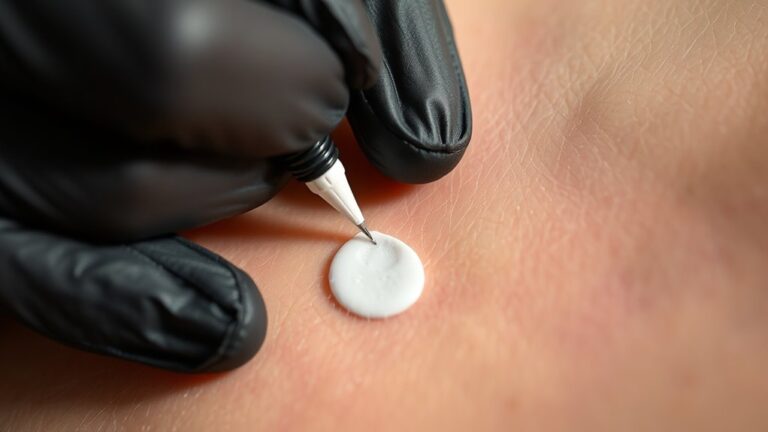
Prepare the ink that is compatible with your stamp. Using a dropper, add a few drops evenly onto the pad to ensure proper coverage. Don’t overdo it—too much ink can cause smudging.
Once the pad is reinked, reinsert it securely back into the stamp.
Try testing the stamp on scrap paper to check if the ink distribution is even. If it’s too light, add a bit more ink.
Finally, clean any excess ink around the edges with a paper towel. Store your self-inking stamp properly to keep it in good condition. Keep going to discover tips for flawless impressions!
Key Takeaways
- Remove the stamp pad by pressing the stamp head and releasing the tabs or clips gently.
- Use ink compatible with your stamp type and a dropper for precise application.
- Apply a few drops of ink evenly across the stamp pad without overloading it.
- Reinsert the pad securely into the stamp casing after refilling.
- Test the stamp on scrap paper and add more ink if impressions are faint or uneven.
Gather Your Supplies
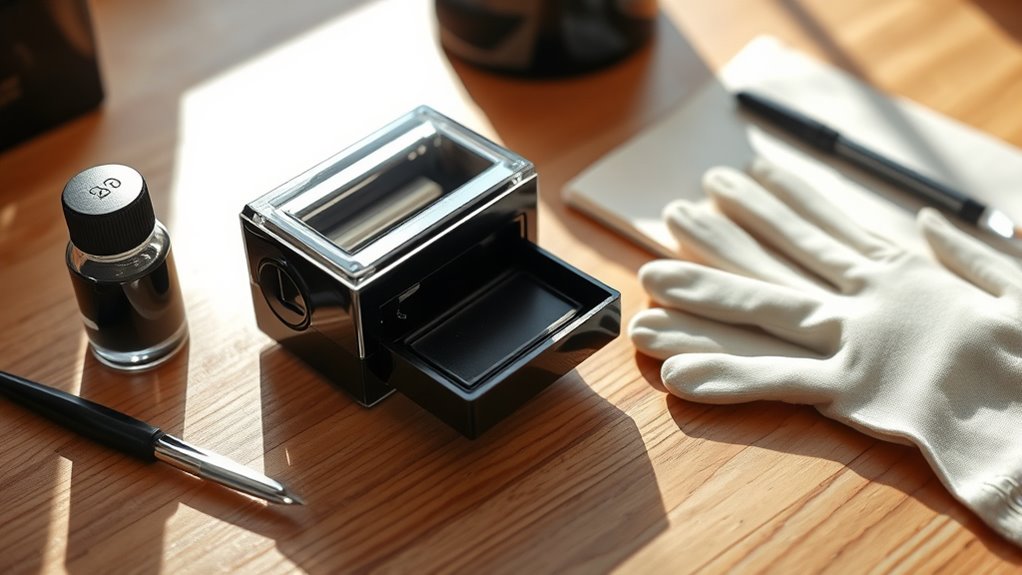
Before you begin reinking your self-inking stamp, make sure you have all the necessary supplies on hand. You’ll need the correct ink designed for your stamp type—usually water-based or pigment ink.
Ensure you have the right ink and supplies ready before reinking your self-inking stamp for best results.
Having a small dropper or a fine-tipped bottle helps apply ink precisely without making a mess. Keep some paper towels or a clean cloth nearby to wipe any spills quickly.
It’s also helpful to have gloves if you want to avoid staining your fingers. Finally, prepare a clean, flat workspace with good lighting to work comfortably and avoid accidents.
Gathering these supplies upfront ensures the reinking process goes smoothly and efficiently. This way, you save time and frustration when revitalizing your stamp’s impression.
Remove the Stamp Pad
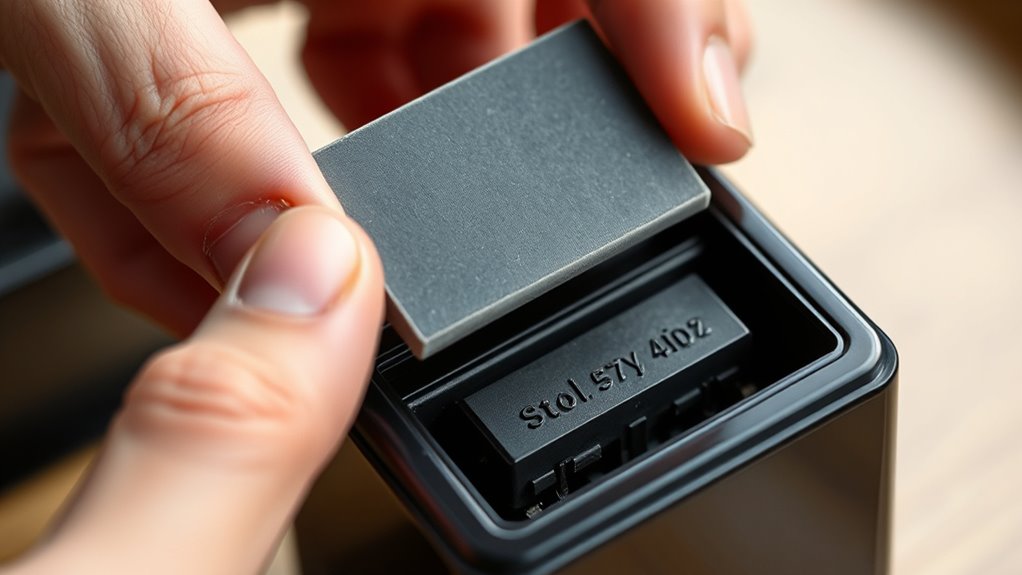
Once you have your supplies ready, locate the stamp pad within your self-inking stamp. Most self-inking stamps have a small rectangular or square pad housed inside the casing.
To access it, press down slightly on the stamp head until it locks in place, exposing the pad. Look for small tabs or clips on either side of the pad.
Gently push or pull these tabs to release the pad from the stamp’s frame. Be careful not to use excessive force, as the pad and mechanism can be delicate.
Once freed, carefully slide the pad out of the stamp. Set it on a clean surface, ready for reinking.
Removing the pad properly guarantees an even refill and extends your stamp’s lifespan. Easy, right? Just take it slow, and you’ll have your stamp working like new in no time!
Prepare the Ink for Refilling
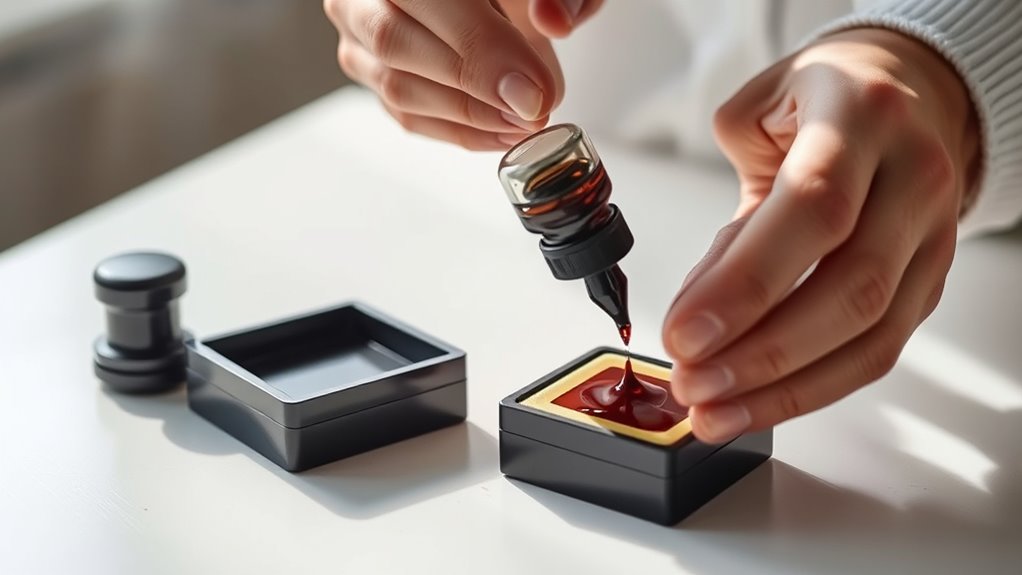
Before you start refilling, make sure you choose the right ink designed for your stamp type. Gather all the necessary supplies like a dropper, gloves, and a clean workspace.
Being prepared will make the process smoother and prevent any messes. It’s always better to have everything ready before you dive in.
Choose the Right Ink
Although it might seem straightforward, choosing the right ink for your self-inking stamp is essential to guarantee a clear, long-lasting impression. You’ll want to pick ink specifically designed for self-inking stamps to avoid damaging the stamp pad or mechanism.
Water-based inks are common and work well on paper, offering vibrant colors and quick drying times. However, if you stamp on non-porous surfaces like plastic or metal, consider solvent-based or pigment inks for better adhesion and durability.
Also, check that the ink color matches your preference and the stamp’s purpose. Using incompatible or low-quality ink can cause smudging, fading, or clogging. Take a moment to verify the ink’s compatibility with your stamp brand for the best results every time.
Gather Necessary Supplies
Picking the right ink sets you up for a successful refill, but you’ll need a few supplies to get started. Gather the ink bottle compatible with your stamp, a pair of disposable gloves to keep things clean, and some paper towels for any spills.
You might also want a small dropper or syringe to control the ink flow precisely. Have a clean workspace ready, preferably covered with old newspaper or cloth to protect surfaces.
If your stamp has a removable ink pad, prepare a flat container to hold it while you work. Keeping these supplies within reach will help you refill your self-inking stamp smoothly and avoid messes.
Once you have everything ready, you can move on to the next step confidently. Easy, right?
Apply Ink to the Stamp Pad
Make certain you use the right ink designed for your self-inking stamp to avoid damage. Apply the ink slowly and evenly across the pad to ensure consistent stamping.
Don’t rush—taking your time helps keep the ink distribution balanced. It really makes a difference in how your stamp looks every time.
Choosing the Right Ink
When you’re ready to apply ink to the stamp pad, selecting the right type of ink is crucial for clear, long-lasting impressions. You want ink compatible with your stamp material and suitable for the surface you’ll stamp on.
Using the wrong ink can cause fading, smudging, or damage to your stamp. So, it pays to choose carefully.
Here’s a quick guide to help you pick:
| Ink Type | Best For |
|---|---|
| Water-based | Paper, general office use |
| Oil-based | Plastic, metal surfaces |
| Solvent-based | Non-porous surfaces |
| Pigment-based | Vibrant, archival quality |
| Fast-drying | Quick stamping jobs |
Just pick ink that matches your needs to keep your stamp working perfectly every time.
Even Ink Distribution
Although applying ink might seem straightforward, ensuring even distribution on your self-inking stamp pad is key to crisp, consistent impressions.
Start by placing a few drops of ink evenly across the pad’s surface. Avoid pouring too much ink in one spot, as this can cause blotches.
Use a small brush or cotton swab to gently spread the ink if needed, making sure every area is lightly coated. After application, press the stamp a few times on scrap paper to help the ink absorb and distribute evenly.
If you notice any uneven areas, add a touch more ink and repeat the process. Properly distributing the ink prevents smudges and keeps your stamp looking sharp with every use.
Reinsert the Stamp Pad
To reinsert the stamp pad, align it carefully with the slot inside your self-inking stamp. Make sure it’s facing the right direction so the inked side will press against the stamp surface.
Follow these steps:
1. Hold the stamp pad firmly and slide it gently into the slot.
2. Push it in until you feel or hear a click, confirming it’s securely in place.
Don’t force the pad, though. You want to avoid damaging the mechanism.
3. Check that the pad moves smoothly with the stamp’s pressing action.
Test Your Stamp
Once you’ve reinserted the stamp pad, you should test your stamp to guarantee the ink transfers evenly and clearly. Press the stamp firmly onto a piece of scrap paper and lift it straight up to avoid smudging.
After reinserting the stamp pad, press firmly on scrap paper and lift straight up to ensure even ink transfer.
Check the impression for any gaps or faint areas. If the ink looks uneven, press down a few more times to help distribute the ink across the pad.
For very light impressions, you might need to add a few more drops of ink to the pad, wait a moment, and test again. Keep testing until the stamp produces a crisp, consistent image.
This step ensures your stamp is ready for use and prevents any issues when stamping important documents or materials.
Clean Up and Store Your Stamp
After ensuring your stamp works perfectly, you should clean up any excess ink on the pad or stamp surface to prevent messes. Use a damp cloth or a few paper towels to gently wipe away stray ink.
Once it’s clean, you’re ready to store your stamp properly. Here’s how you do it:
- Remove the stamp from your work area to avoid accidental inking.
- Store it in a cool, dry place away from direct sunlight to preserve ink quality.
- Keep the stamp in a closed container or plastic bag to prevent dust buildup.
- Avoid pressing the stamp down when not in use to maintain the pad’s shape and ink retention.
Simple steps, but they make a big difference in keeping your stamp in great shape!
Frequently Asked Questions
How Long Does the Ink Take to Dry on Paper?
The ink usually takes about 10 to 30 seconds to dry on paper, depending on the type of ink and paper you’re using.
You’ll want to avoid smudging by giving it enough time to set properly. Just be patient and let it dry fully before touching it.
Can I Use Any Type of Ink for Reinking?
You’ll want to avoid the wild card approach—use only ink designed for self-inking stamps. Other inks might cause smudging or damage.
Stick to recommended ink to keep your stamp working smoothly and looking sharp. It’s definitely worth it to keep things running without a hitch!
How Often Should I Reink My Self-Inking Stamp?
You should reink your self-inking stamp whenever the impressions start fading or becoming uneven. Typically, this happens after several hundred uses, but it varies based on ink type and how often you stamp.
Will Reinking Affect the Stamp’s Print Quality?
Don’t worry—reinking won’t ruin your stamp’s print quality if you do it right.
You’ll actually improve clarity and sharpness by using the correct ink and applying it evenly.
Just avoid over-saturating the pad.
Is It Safe to Use Alcohol-Based Inks in Self-Inking Stamps?
No, you shouldn’t use alcohol-based inks in self-inking stamps because they can damage the foam pad and cause fading.
Stick to water-based or pigment inks designed specifically for these stamps to keep them working well.
It’s better to play it safe and use the right kind of ink to avoid any issues down the road.
Conclusion
Now that your stamp pad’s fresh with ink, imagine the crisp, clear impressions you’ll create—each mark as sharp as the first day you bought it. With just a little care and these simple steps, your self-inking stamp stays ready, leaving bold, perfect prints every time.
Keep your workspace tidy and store your supplies neatly. This way, you’ll enjoy smooth, effortless stamping every time you reach for your stamp.
You’ve got this—your self-inking stamp is ready to impress! Regularly reinking your self-inking stamp ensures consistent, vibrant impressions and extends the life of your stamp pad. By following these easy steps, you maintain the quality and efficiency of your stamping, making your projects look professional and polished. So, keep your self-inking stamp well-inked and working flawlessly—your crisp, bold prints are just a few simple steps away!