How Will You Get Ink Out of Leather Step by Step
First, identify your leather type and the ink stain to choose the right cleaning method. Knowing whether your leather is aniline, semi-aniline, or protected will help you pick the safest way to remove ink without causing damage.
Gather soft cloths, cotton swabs, and a mild leather cleaner or 70% isopropyl alcohol. These items are essential for gently tackling the ink stain without ruining your leather.
Test your cleaner on a hidden spot, like inside a seam. Wait 10-15 minutes to see if there’s any discoloration or damage before proceeding.
Then, gently blot the ink stain with a cotton swab dipped in cleaner. Be careful not to rub, as that can spread the ink or harm the leather’s surface.
Once the stain is removed, apply leather conditioner to restore moisture and keep your leather soft and supple.
Keep following for detailed tips to protect your leather further and maintain its natural beauty over time.
Key Takeaways
- Identify leather type and ink type to choose a safe, effective cleaning method. Always test on a hidden area first.
- Gather soft cloths, cotton swabs, mild soap or leather cleaner, and 70% or less isopropyl alcohol for ink removal.
- Protect your workspace with good lighting, ventilation, and surface coverings before starting the cleaning process.
- Gently apply cleaner or alcohol with a cotton swab. Blot ink stains without rubbing harshly to avoid damage.
- After removing the ink, apply leather conditioner to restore moisture and maintain leather quality. It’s important for keeping your leather looking great.
Assess the Type of Leather and Ink Stain
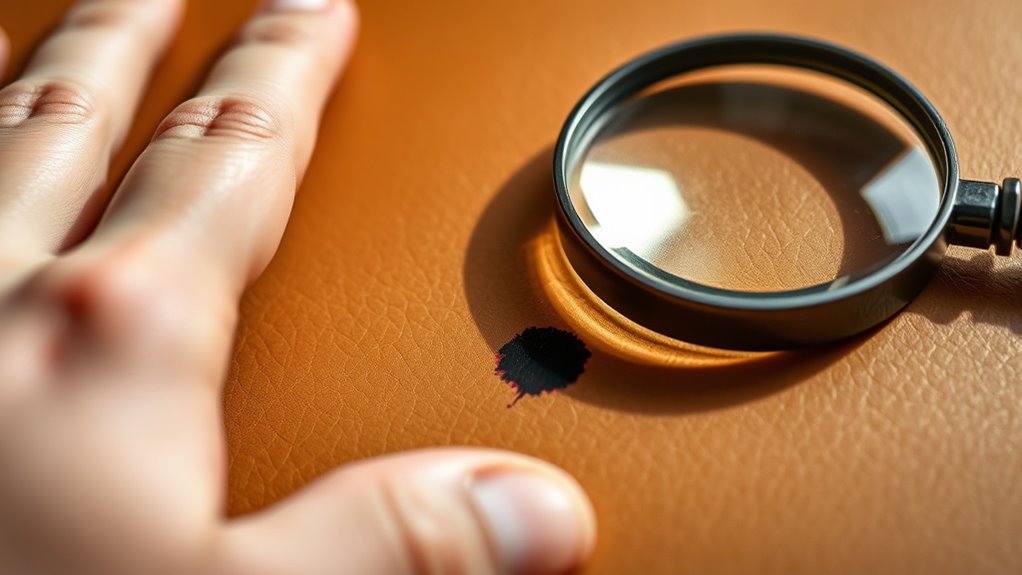
Before you begin removing ink from leather, you need to identify both the type of leather and the kind of ink stain you’re dealing with.
Is your leather smooth, suede, or nubuck? Smooth leather usually handles cleaning better, while suede and nubuck require more delicate care to avoid damage.
Next, look at the ink stain itself. Is it from a ballpoint pen, marker, or printer ink? Ballpoint ink tends to sit on the surface, making it easier to treat, whereas permanent marker or printer ink can deeply penetrate the leather fibers.
Knowing these details helps you choose the right cleaning method and prevents unintended damage. Take a moment to test a small, hidden area if possible, ensuring your approach suits your specific leather and stain type.
Gather Necessary Cleaning Supplies
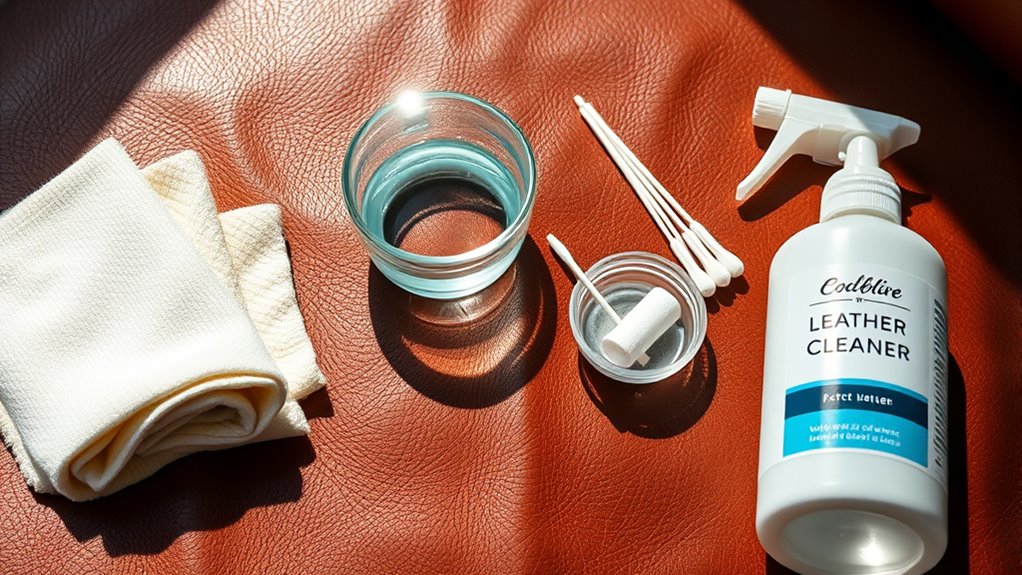
Before you start removing the ink, gather all the essential cleaning tools like soft cloths and cotton swabs. Make sure to pick cleaning products that are safe for your leather type to avoid damage.
Set up your workspace in a well-lit, ventilated area to make the process easier and more effective. This way, you’ll have everything ready and in good condition before you begin.
Essential Cleaning Tools
To effectively remove ink from leather, you’ll need a few essential cleaning tools on hand. Start with soft, white cotton cloths or microfiber towels—they won’t scratch or damage the leather surface.
Have cotton swabs ready for precision cleaning in tight spots. A small bowl or container will help you mix any cleaning solutions safely.
Use a soft-bristled brush to gently agitate stubborn spots without harming the leather’s finish. It’s also helpful to have gloves to protect your skin from cleaning agents.
Finally, keep paper towels nearby for blotting excess liquid quickly. Having these tools ready ensures you can tackle ink stains efficiently while preserving your leather’s quality and appearance.
Choosing Safe Cleaning Products
With your cleaning tools ready, the next step is picking products that won’t damage your leather. Since leather is sensitive, you need to choose gentle and safe cleaners to avoid discoloration or drying out the material.
Here’s what to look for:
- Leather cleaner or mild soap: Use a cleaner specifically designed for leather or a mild, pH-balanced soap to avoid harsh chemicals.
- Isopropyl alcohol (70% or less): This can be effective for ink stains, but use it sparingly and always test it first to be safe.
- Cotton swabs and soft cloths: These help you apply products gently without scratching the leather.
- Leather conditioner: After cleaning, use this to restore moisture and keep your leather nice and supple.
Avoid bleach, ammonia, or acetone—they can seriously ruin your leather’s finish. So, choose your products carefully to safely and effectively remove ink.
Preparing Your Workspace
Although removing ink from leather can be tricky, setting up a clean, well-organized workspace will make the process much easier. First, gather all necessary cleaning supplies in one spot. You’ll need a soft cloth, cotton swabs, mild soap, leather cleaner, rubbing alcohol or vinegar, and a small bowl of water.
Keep a clean towel nearby to blot excess moisture. Make sure your workspace has good lighting so you can spot any remaining ink stains easily. Protect the area with old newspapers or a plastic sheet to avoid damage from any spills.
Having everything within reach prevents interruptions and helps you work efficiently. Taking these simple steps ensures you’re ready to tackle the ink stain carefully and effectively without causing harm to your leather.
Test Cleaning Method on a Hidden Area
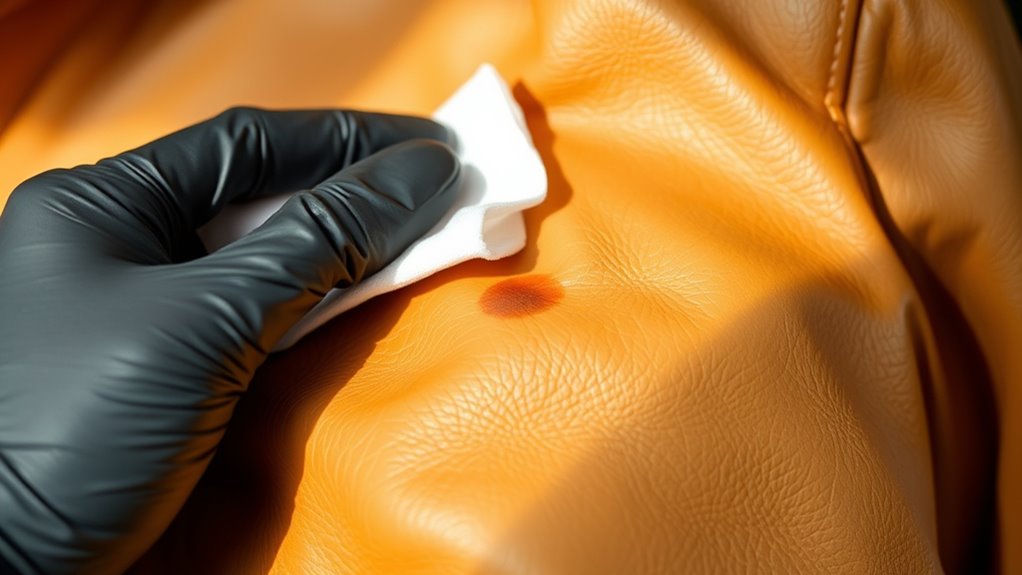
Before you apply any cleaning solution to the visible parts of your leather, you should test it on a hidden area first. This guarantees the solution won’t damage or discolor the leather.
Follow these steps:
- Choose a discreet spot, like the inside seam or underside of the leather.
- Apply a small amount of the cleaning solution using a cotton swab or soft cloth.
- Wait 10-15 minutes to observe any changes in color, texture, or finish.
- If the leather looks normal with no damage, you can confidently proceed to clean the visible ink stain.
Testing first protects your leather from unexpected reactions and helps you avoid costly mistakes. So, always be cautious and patient before treating the main stain.
Apply Rubbing Alcohol or Leather Cleaner
Once you’ve confirmed the cleaning solution won’t harm your leather, apply rubbing alcohol or a specialized leather cleaner directly to the ink stain. Use a cotton swab or a soft cloth to dab the solution gently onto the affected area.
Avoid pouring the liquid directly onto the leather to prevent oversaturation. Focus on the stained spot, making sure the cleaner penetrates the ink without spreading it.
If you choose rubbing alcohol, use it sparingly since it can dry out the leather if overused. For leather cleaners, follow the product’s instructions carefully.
Let the solution sit for a minute or two to break down the ink. This step prepares the stain for removal while minimizing damage to your leather’s surface.
Gently Blot and Wipe the Ink Stain
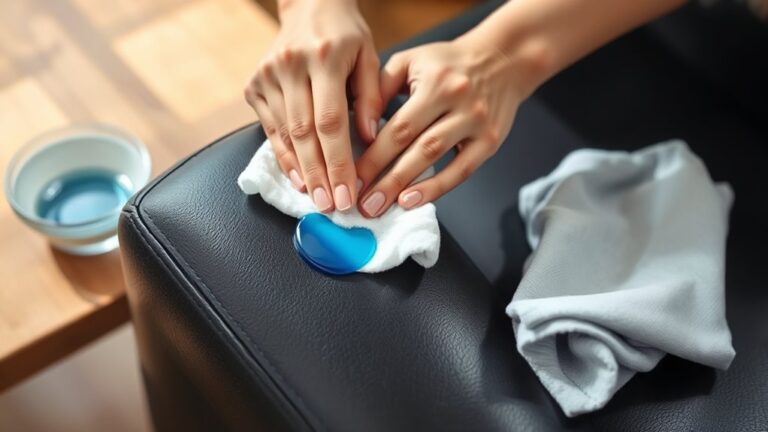
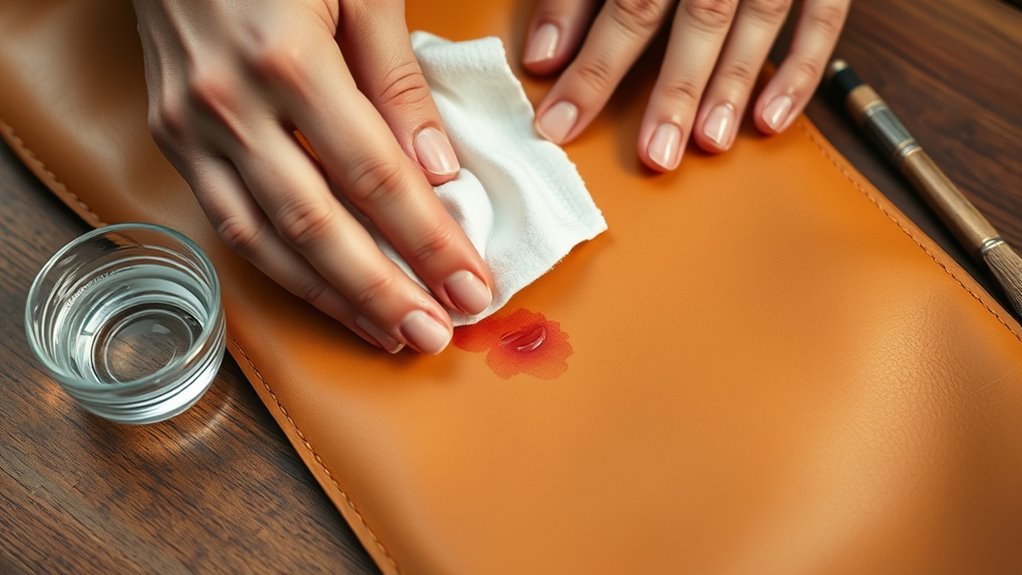
After letting the rubbing alcohol or leather cleaner sit, you’ll want to start gently blotting the ink stain. Avoid rubbing harshly, as this can spread the ink or damage the leather.
Instead, follow these steps carefully:
- Use a clean, soft cloth or cotton ball to gently blot the stained area.
- Apply light pressure and lift the ink without rubbing it deeper into the leather.
- Frequently switch to a clean part of the cloth to avoid reapplying ink.
- Repeat blotting gently until the ink starts to lift and fade from the surface.
Patience is key here; work slowly to avoid harming the leather texture while effectively removing the ink stain.
Take your time, and you’ll see the stain start to disappear without messing up your leather.
Condition the Leather After Cleaning
Although you’ve removed the ink stain, your leather needs conditioning to restore moisture and prevent cracking. Start by selecting a leather conditioner suitable for your leather type.
Apply a small amount onto a soft, clean cloth, then gently rub it into the leather using circular motions. Don’t over-saturate; a thin, even layer works best. Allow the conditioner to absorb fully, usually for about 15 to 30 minutes.
This step replenishes oils lost during cleaning and keeps the leather supple. Once dry, buff the surface lightly with a dry cloth to restore its natural shine.
Conditioning regularly, especially after stain removal, helps maintain leather’s durability and appearance. So, make it part of your care routine!
Frequently Asked Questions
Can Ink Stains on Leather Be Permanently Removed?
You can’t always remove ink stains on leather permanently, but you can substantially reduce their appearance.
Acting quickly and using proper cleaners helps. Though, some stains might leave a faint mark despite your best efforts.
Is It Safe to Use Household Cleaners on Leather?
You shouldn’t use regular household cleaners on leather—they can damage it. Instead, select products made specifically for leather care or test a small hidden area first to verify it won’t discolor or harm the material.
It’s always better to be safe than sorry when dealing with leather. Taking a little extra time to check can save you from ruining your favorite items.
How Long Should I Wait Before Cleaning Fresh Ink?
You shouldn’t wait at all—act fast! Fresh ink dries quickly, so grab a clean cloth and gently blot immediately.
The sooner you start, the better your chances of preventing a stubborn leather stain. Don’t let it sit!
Can Ink Damage Leather if Left Untreated?
Yes, ink can damage leather if you don’t treat it quickly. It can cause stains, discoloration, and weaken the material.
You should act fast to clean it and protect your leather’s appearance and durability. Don’t wait too long, or the ink might set in deeper, making it harder to remove.
Are There Professional Leather Cleaning Services for Ink Stains?
Yes, you’ll find professional leather cleaning services ready to remove ink stains, restore texture, and preserve color.
Trusting experts guarantees your leather looks great, feels soft, and lasts longer without damaging delicate surfaces.
Conclusion
Now that you’ve tackled the ink stain step by step, picture the leather as a smooth canvas—each careful blot and wipe like gentle brushstrokes restoring its original beauty.
Just as a painter steps back to admire their work, you’ll see your leather regain its shine after conditioning. It’s a perfect coincidence: your patience and the right tools come together, turning a messy ink blot into a fresh, clean surface you’re proud to show off.
Removing ink from leather may seem tricky at first, but with the right approach, it’s totally doable. Remember, using gentle techniques and proper leather care products is key to avoid damage.
So, when you want to get ink out of leather, take your time, follow these steps carefully, and you’ll restore your leather’s natural look and feel in no time.