How Ink Is Made in 5 Easy Steps
You start making ink by selecting vibrant, stable pigments and grinding them finely. These pigments are the heart of the ink, giving it that rich, lasting color you want.
Next, you mix these pigments with a binder to hold the color together smoothly.
Then, add solvents and additives to adjust the ink’s flow, drying time, and texture. This step is key to making sure the ink behaves just right when you use it.
After that, you mill the mixture to guarantee even color and remove impurities.
Finally, you fill containers carefully for storage and use. This ensures the ink stays fresh and ready for your next project.
Follow along, and you’ll uncover more details about each step. It’s pretty fascinating how something as simple as ink comes to life!
Key Takeaways
- Select and grind high-quality pigments to ensure vibrant, stable colors and smooth ink texture.
- Mix pigments with binders carefully for even dispersion and strong adhesion.
- Add solvents and additives to adjust consistency, drying time, and ink performance.
- Mill the ink mixture to achieve uniform particle size and smoothness.
- Fill and package the ink in sealed containers to maintain quality and prevent contamination.
Selecting and Preparing Pigments
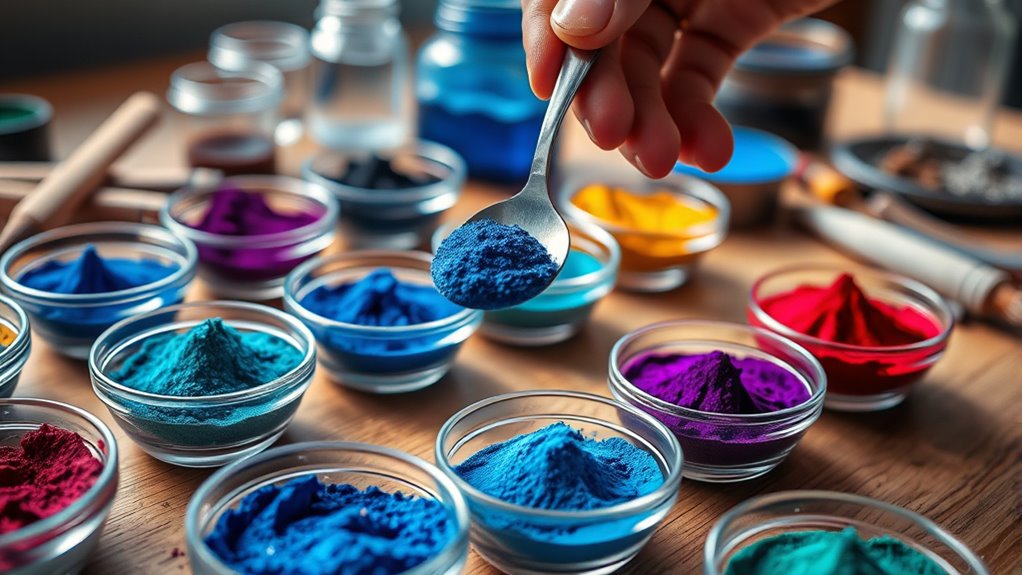
How do manufacturers choose the right pigments for ink? You focus on color vibrancy, lightfastness, and compatibility with the printing process. Pigments must deliver consistent, vivid hues and resist fading over time.
You also consider particle size because it affects the ink’s smoothness and opacity. The chemical stability of pigments is vital to prevent unwanted reactions later.
Once selected, you prepare pigments by grinding them into finely dispersed powders to guarantee even color distribution. This step removes clumps and enhances the pigment’s ability to mix uniformly with other ink components.
Mixing Pigments With a Binder
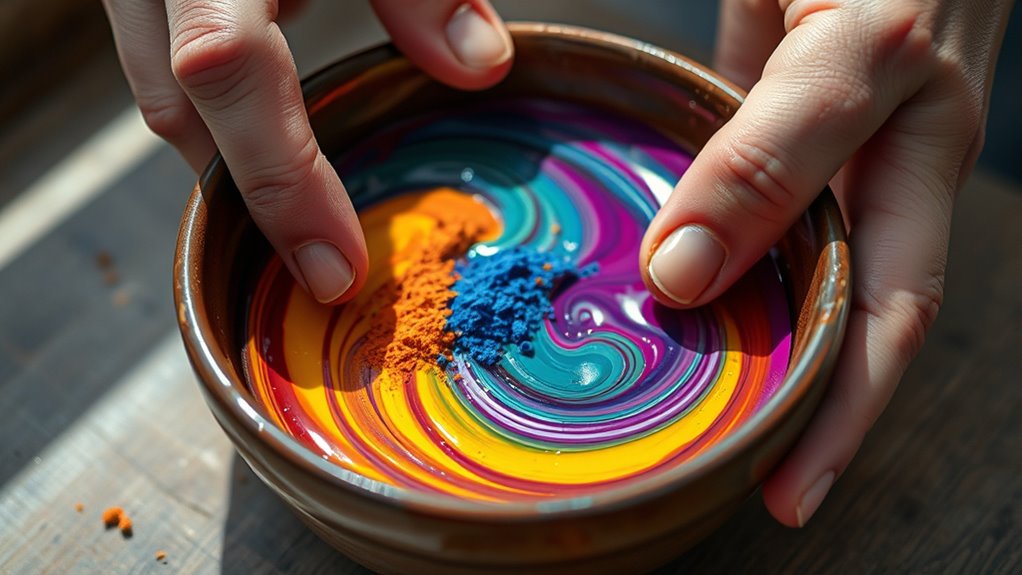
Once you’ve prepared the pigments, you mix them with a binder to create a cohesive ink. The binder holds pigment particles together and guarantees the ink adheres well to surfaces.
Here’s how you do it:
- Measure the binder carefully to match the pigment volume.
- Slowly add the binder to the pigment while stirring continuously.
- Use a mechanical mixer or a mortar and pestle to blend them thoroughly.
- Check the mixture’s consistency; it should be smooth without lumps.
This process guarantees the pigments are evenly dispersed and firmly held, preventing separation or fading. The right binder type depends on the ink’s intended use, affecting drying time and durability.
Mastering this step is vital for producing high-quality ink that performs reliably. It’s all about getting that perfect blend!
Adding Solvents and Additives
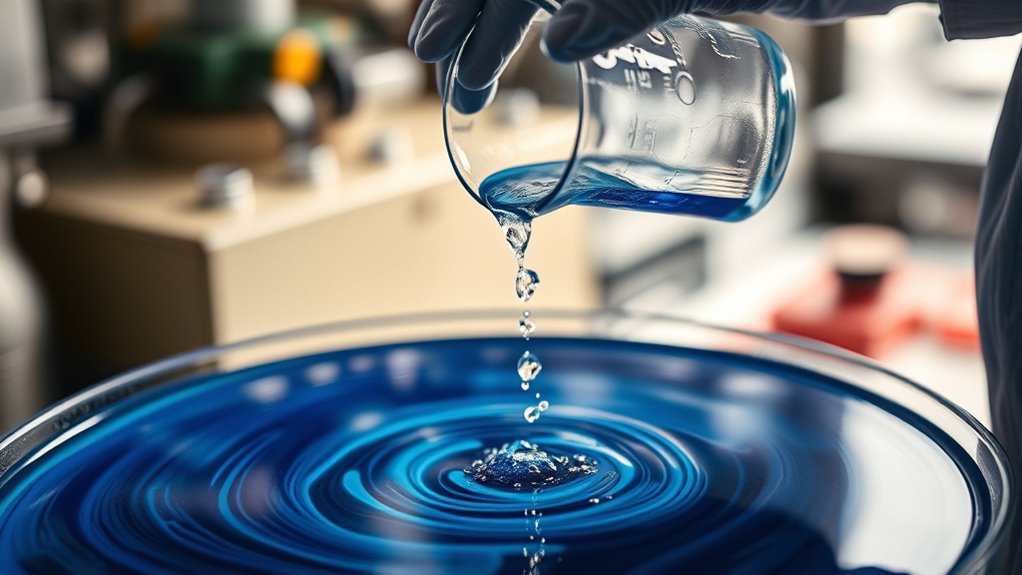
Although the pigments and binder form the core of your ink, adding solvents and additives fine-tunes its texture, drying time, and application properties. You’ll start by pouring in solvents, which adjust the ink’s consistency, making it easier to apply.
These solvents also control how quickly the ink dries, so it won’t smudge or clog your printing tools. Next, you’ll add additives like surfactants to improve flow, stabilizers to prevent pigment clumping, and anti-foaming agents to reduce bubbles during mixing.
Each additive serves a specific purpose, ensuring your ink performs well on different surfaces and printing methods. By carefully measuring and mixing these components, you tailor your ink’s behavior exactly to your needs, setting the stage for smooth application and vivid, lasting results.
Milling and Refining the Ink
Why is milling essential in ink production? Milling breaks down pigment particles to the perfect size, ensuring your ink is smooth and consistent. Without proper milling, your ink could clump or fail to adhere well to surfaces.
During this step, you’ll focus on grinding pigments finely for even color distribution. You’ll also mix pigments thoroughly with solvents and additives. Plus, removing any lumps or impurities that could affect printing quality is key. And of course, achieving the right viscosity so the ink flows smoothly during application.
Refining follows milling to further enhance texture and performance. You’ll use specialized mills, like ball or bead mills, to get the precise consistency needed. This step guarantees your ink delivers vibrant color and reliable application every time.
Filling and Packaging the Ink
How do manufacturers guarantee that the vibrant ink you see in stores stays fresh and ready to use? Once the ink is perfectly blended and refined, it’s time to fill and package it efficiently.
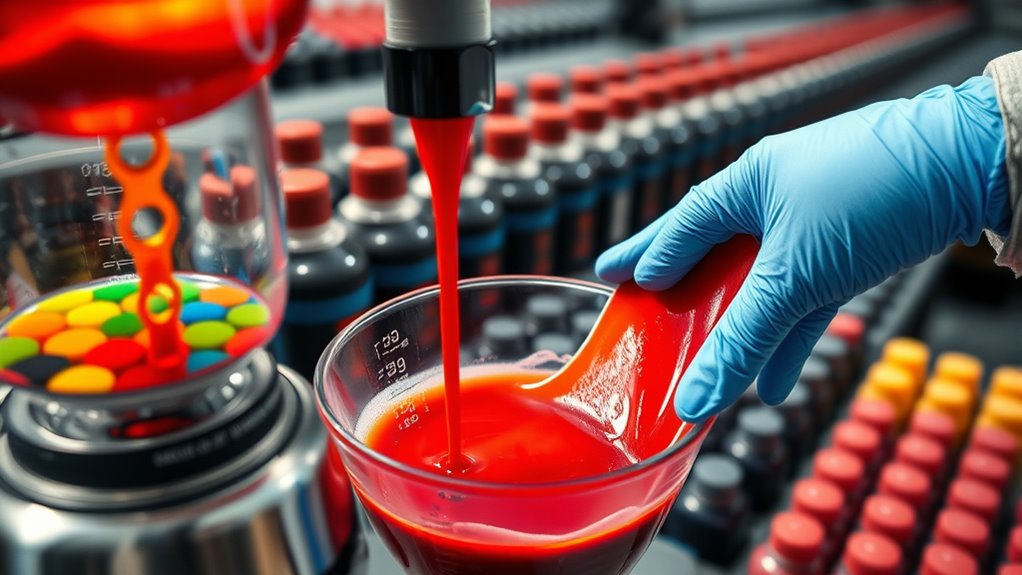
You’ll find automated machines filling bottles, cartridges, or cans with precision to avoid spills and air bubbles that could affect quality. After filling, the containers are sealed tightly to prevent drying out or contamination.
Labels are then applied, providing you with essential information like color type and expiration dates. Finally, the packaged ink is boxed and shipped to retailers.
This streamlined process ensures that when you pick up ink, it’s consistent, reliable, and ready to bring your creative ideas to life.
Frequently Asked Questions
What Are the Most Common Types of Ink Used in Printing?
You’ll most commonly use dye-based and pigment-based inks for printing. Dye inks offer vibrant colors, which makes your prints really pop.
Pigment inks, on the other hand, provide durability and water resistance. So, they’re great if you want your prints to last longer. Both suit different printing needs, so choose based on your project’s requirements.
How Long Does the Ink Manufacturing Process Typically Take?
You won’t believe it takes just a few hours to make ink, considering its complexity.
In reality, the manufacturing process typically takes between 4 to 8 hours, depending on the type and quality you’re aiming for.
Are There Eco-Friendly or Biodegradable Inks Available?
Yes, you can find eco-friendly and biodegradable inks made from natural ingredients like vegetable oils and plant dyes. They reduce environmental impact and work well for sustainable printing.
How Is Ink Tested for Quality and Safety?
You test ink quality and safety by checking its color, drying time, and adhesion. You also run chemical analyses to guarantee non-toxicity.
Plus, you perform durability tests and confirm it meets industry standards before approval for use. This way, you make sure the ink is both safe and reliable.
Can Homemade Ink Be Used for Professional Printing?
You usually can’t use homemade ink for professional printing because it lacks consistency, durability, and color accuracy.
Professionals rely on specially formulated inks to guarantee high-quality, reliable results that homemade versions just don’t provide.
Conclusion
Now that you know how ink is made, you see it’s like baking a cake—you mix, refine, and package carefully to get the perfect result. Each step, from selecting pigments to filling bottles, guarantees the ink flows smoothly and looks vibrant on paper.
The next time you write or draw, you’ll appreciate the craftsmanship behind every drop of ink. This careful process ensures your words and art come alive with color and clarity.
Understanding how ink is made helps you see the importance of quality pigments, precise mixing, and thorough refining. Whether it’s for printing, writing, or drawing, the ink’s smooth flow and vivid colors depend on these steps. So every time you use ink, remember the skill and care that make it possible!