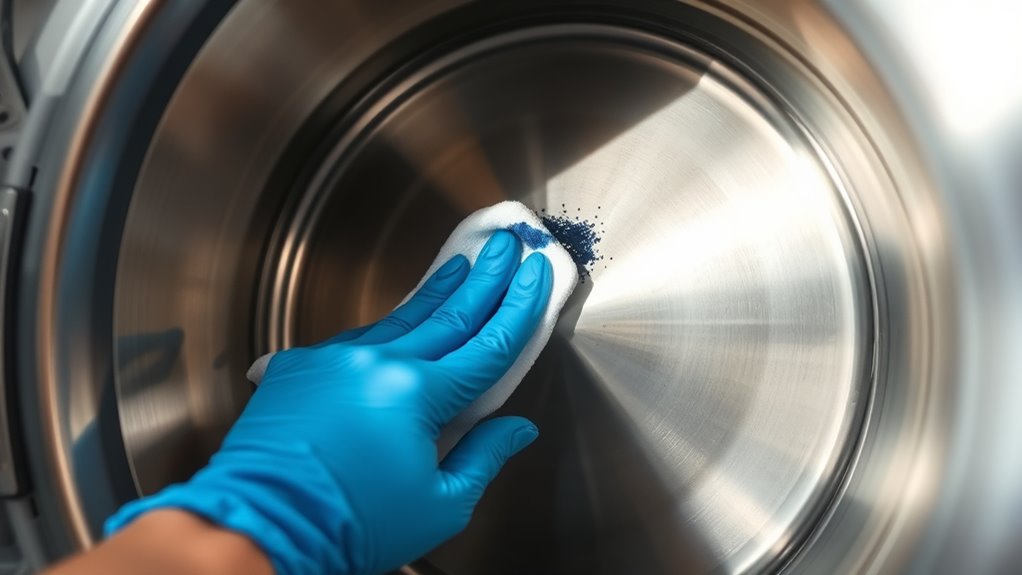
How to Get Ink Out of Your Dryer Drum
To get ink out of your dryer drum, start by identifying the type of ink causing the stain. This helps in choosing the right cleaning method. Gather rubbing alcohol, clean cloths, and gloves before you begin.
Make sure your dryer is completely empty, and protect the surrounding areas to avoid any accidental damage. Next, apply rubbing alcohol to a cloth and gently scrub the ink-stained spots. Be careful to avoid using harsh chemicals that might harm your dryer’s surface.
After scrubbing, wipe the area with a damp cloth to remove any leftover residue. Let the drum air dry completely before using the dryer again.
Remember, always clean ink stains before drying your clothes to prevent the ink from transferring. Keep reading for more helpful tips on handling ink stains effectively in your dryer!
Key Takeaways
– Inspect the dryer drum carefully for visible ink stains before starting the cleaning process.
It’s important to spot all the marks so you don’t miss any spots later.
– Use rubbing alcohol or a commercial ink remover with a soft cloth to gently scrub ink-stained areas.
These solutions work well without causing damage if you’re gentle.
– Apply a baking soda paste on stubborn ink marks, let it sit, then wipe clean with a damp cloth.
This trick can really help when rubbing alcohol doesn’t do the job.
– Avoid harsh chemicals or abrasive tools that may damage the dryer drum surface during cleaning.
You don’t want to make things worse by scratching or corroding the drum.
– Ensure the drum is fully dry and free of residue before using the dryer again to prevent ink transfer.
Give it time to dry, so you don’t end up with ink on your clothes again.
Identifying the Type of Ink Stain
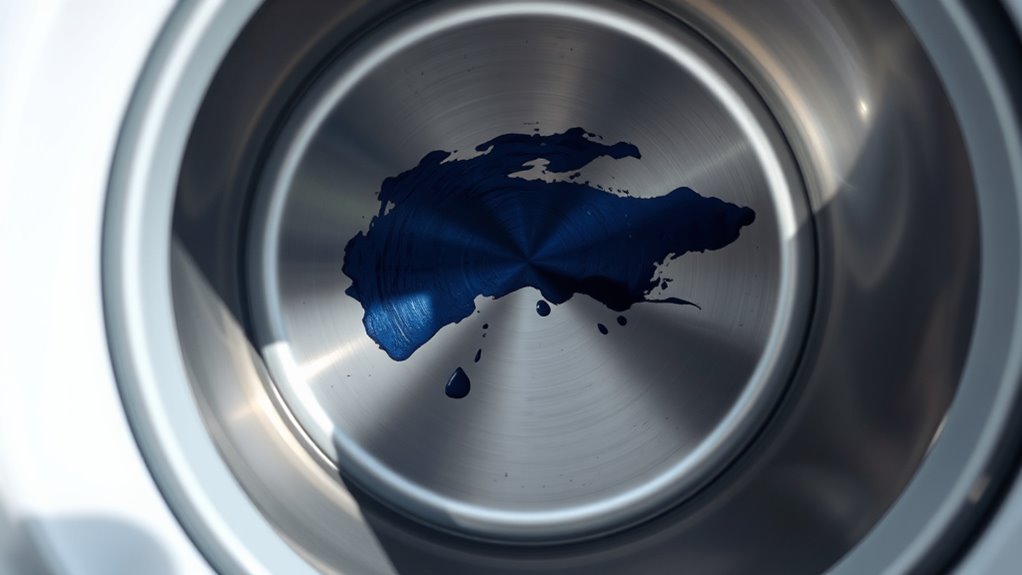
Before you can effectively remove ink from your dryer drum, you need to identify what type of ink caused the stain. Different inks react differently to cleaning methods, so knowing this helps you choose the right approach.
Start by checking the ink’s appearance and source. Ballpoint pen ink is usually oily and dark blue or black, while gel ink tends to be more vibrant and glossy.
Begin by examining the ink’s look and origin; ballpoint ink is oily and dark, gel ink vibrant and glossy.
Permanent marker ink is often darker and resists water, while washable ink from fabric markers is lighter and easier to remove. If you’re unsure, try testing a small, hidden spot with water—washable ink will likely fade.
Identifying the ink type prevents damage to your dryer and ensures you use the most effective stain remover for quick results. It really makes the whole cleaning process smoother and less stressful.
Gathering Supplies for Ink Removal
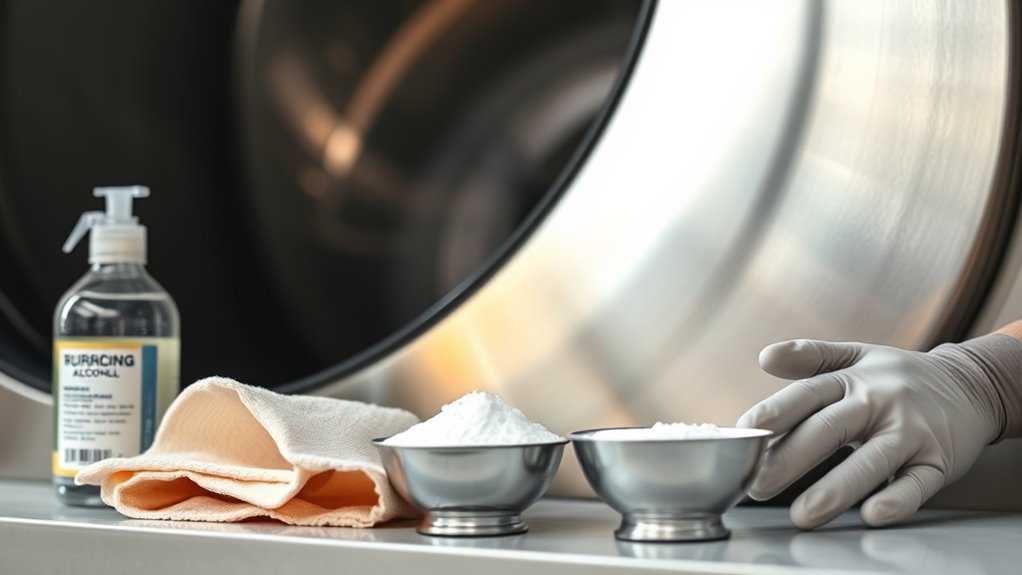
Once you know the type of ink you’re dealing with, gather the right supplies to tackle the stain effectively. You’ll need rubbing alcohol or a commercial ink remover for most ink types. Have cotton balls or clean white cloths handy to apply the solution without spreading the stain.
Gloves are essential to protect your hands from chemicals. Keep paper towels nearby to blot excess ink and moisture. If the stain is stubborn, a soft-bristle toothbrush can help gently scrub without damaging the dryer drum.
Avoid abrasive tools that might scratch the surface. Finally, have some mild dish soap and water ready for rinsing after treatment. Gathering these supplies beforehand guarantees a smooth, efficient cleaning process.
Preparing the Dryer Drum for Cleaning
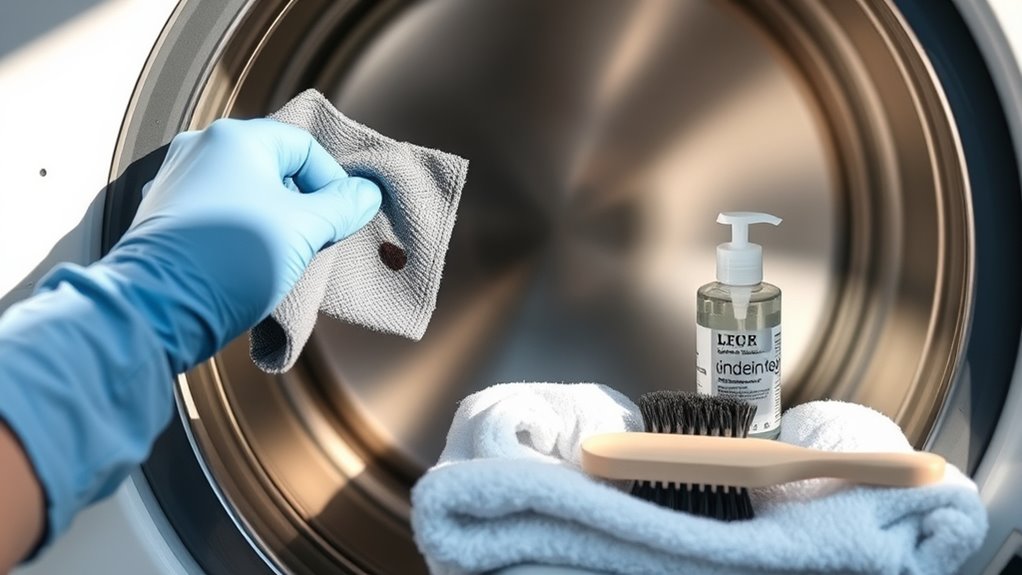
Before you start cleaning, gather all the supplies you’ll need to tackle the ink stain. Make sure your dryer is completely empty to avoid any damage or mess.
It’s also a good idea to protect the area around your dryer to keep surfaces safe from cleaning products. That way, you won’t have to worry about any accidental spills or stains.
Gather Cleaning Supplies
To effectively remove ink from your dryer drum, you’ll need to gather a few essential cleaning supplies that target ink stains without damaging the metal surface. Start with isopropyl alcohol or rubbing alcohol, as it breaks down ink effectively. Grab some cotton balls or soft cloths for gentle application.
You’ll also want a mild dish soap to clean residue afterward. Have a small bowl or container handy to pour the alcohol into for easy dipping. Additionally, keep a soft-bristled toothbrush nearby to scrub stubborn spots gently.
Avoid abrasive scrubbers since they can scratch the drum. Finally, keep a pair of gloves to protect your hands from chemicals. Having these supplies ready makes the cleaning process smoother and safer.
Ensure Dryer Is Empty
After gathering your cleaning supplies, make certain your dryer is completely empty. Check inside the drum for any clothes, lint, or small items that might have been left behind.
Removing everything guarantees you won’t spread ink stains further or damage your belongings. It’s a simple step but super important.
Here’s a quick checklist to confirm your dryer is ready:
| Task | Why It’s Important |
|---|---|
| Remove all clothes | Prevents ink transfer to fabric |
| Clear out lint and debris | Allows better access to stains |
| Check pockets | Avoids accidental ink spills |
Taking these steps prepares you for effective cleaning and protects your belongings. Once your dryer is clear, you can proceed confidently to tackle the ink stain on the drum without any distractions or risks.
Protect Surrounding Surfaces
A clean workspace helps you focus and prevents ink from spreading to unwanted areas. Before you start cleaning, lay down old towels or newspapers around your dryer to catch any drips or splatters.
Protect nearby walls and floors with plastic sheets or drop cloths, especially if you’re using liquids to remove the ink. You might also want to wear gloves and old clothes to avoid staining your skin or garments.
If possible, move any delicate items away from your work area to avoid accidental damage. Taking these precautions guarantees you won’t create more mess while tackling the ink stain, making the cleanup process smoother and safer for both you and your home.
Applying Cleaning Solutions Safely
When you apply cleaning solutions to your dryer drum, you’ll want to wear gloves and make certain the area is well-ventilated to protect your skin and lungs. Avoid mixing chemicals, as this can create harmful fumes.
Use a soft cloth or sponge to apply the solution gently, preventing damage to the drum’s surface. It’s pretty simple, but these steps really help keep things safe and your dryer in good shape.
| Safety Tip | Reason |
|---|---|
| Wear Gloves | Protects skin from irritation |
| Ventilate Area | Prevents inhaling fumes |
| Avoid Chemical Mixing | Reduces risk of toxic reactions |
Removing Ink Residue From the Drum
You’ll want to start by spotting any ink stains on the dryer drum clearly. Once you’ve identified the spots, try effective cleaning methods like rubbing alcohol or a baking soda paste.
These techniques can help remove stubborn ink without damaging your dryer’s surface. Give them a try and see how well they work!
Identifying Ink Stains
How can you tell if your dryer drum has ink stains? First, inspect the drum closely under good lighting. Ink stains usually appear as smudges or streaks that don’t match the drum’s usual finish.
You might notice dark spots, blue or black marks, or even faint outlines resembling pen or marker shapes. Run your fingers gently over the surface—ink stains often feel slightly sticky or rough compared to the smooth drum surface.
If your clothes are coming out with unexpected ink marks or discoloration, that’s another clear sign. Check for any ink transfer on the door seal or rubber gasket, as ink can spread there too.
Identifying these signs early helps you address the problem before it worsens. So, keep an eye out and act quickly if you spot anything suspicious!
Effective Cleaning Methods
Noticing ink stains on your dryer drum means it’s time to tackle the residue before it affects more clothes. Start by unplugging the dryer for safety.
Use a soft cloth dampened with rubbing alcohol or a specialized ink remover to gently scrub the stained areas. Just be careful—avoid harsh scrubbing to prevent scratching the drum.
For stubborn stains, try applying a paste made from baking soda and water. Let it sit for about 10 minutes, then wipe it clean.
After that, wipe the drum with a clean, damp cloth to get rid of any leftover cleaning residue. Leave the dryer door open so it can air dry completely before you use it again.
Keeping an eye on the drum and cleaning it regularly helps stop ink from building up. That way, your clothes stay safe from any unwanted stains.
Preventing Future Ink Stains in Your Dryer
Although removing ink stains can be challenging, taking simple precautions can keep your dryer drum clean. You just need to be mindful of what goes into the dryer and handle ink carefully.
Here are some practical tips to help you avoid ink mishaps:
| Tip | Description |
|---|---|
| Check pockets thoroughly | Always empty all pockets to avoid ink pens inside |
| Use protective laundry bags | Place delicate or ink-prone items in mesh bags |
| Handle ink items separately | Wash and dry ink-stained clothes separately |
Frequently Asked Questions
Can Ink Stains Damage My Dryer’s Heating Element?
Ink stains won’t directly damage your dryer’s heating element. But if ink flakes loosen and clog vents or sensors, it could affect performance.
Is It Safe to Use Bleach Inside the Dryer Drum?
You shouldn’t use bleach inside your dryer drum—it can damage the metal and cause corrosion. Instead, try a mild cleaner or rubbing alcohol on a cloth.
Always guarantee the drum is completely dry before using the dryer again. That way, you keep everything safe and working well.
How Long Does It Take for Ink Stains to Set in Dryers?
Ink stains can set in dryers within minutes of drying, especially at high heat. Once the cycle finishes, the ink bonds to the drum, making it much harder to remove.
Will Professional Cleaning Services Remove Ink From My Dryer?
Yes, professional cleaning services can usually remove ink from your dryer drum. They’ll use specialized solvents and techniques you might not have at home.
This increases the chances of restoring your dryer without damage or lingering stains. So, it’s often worth calling in the pros if you want the best results.
Can Ink Stains Transfer to Clothes During Drying?
Funny enough, yes, ink stains can transfer to clothes during drying.
If your dryer drum has ink marks, those stains might spread. So, you’ll want to clean the drum thoroughly before tossing in laundry to avoid ruining your clothes.
Conclusion
Now that you know how to tackle ink stains in your dryer drum, don’t rush to start cleaning just yet. Pause and think—what if a simple step could save you from stubborn marks or damage?
By carefully identifying the ink type and using the right supplies, you’ll avoid costly mistakes. This approach helps protect your dryer drum from scratches or discoloration.
Ready to restore your dryer to spotless perfection and keep future stains at bay? The secret’s in your hands—take action wisely! With the right method, you can effectively get ink out of your dryer drum and maintain its clean, smooth surface for years to come.