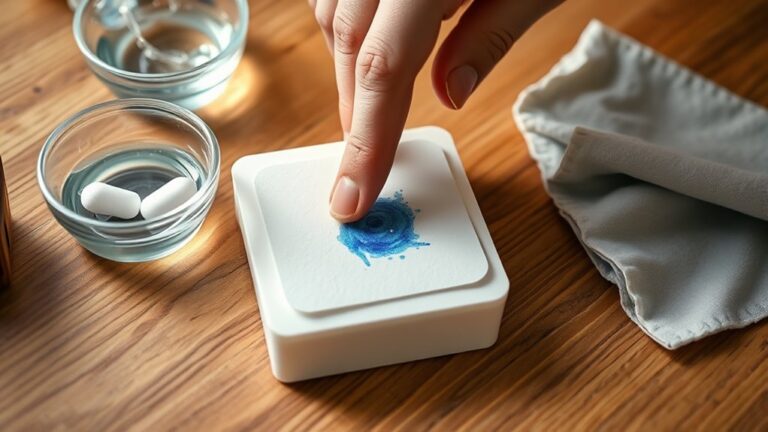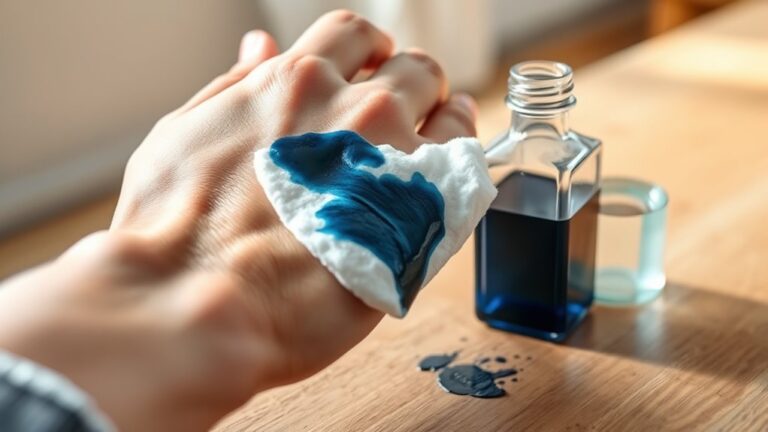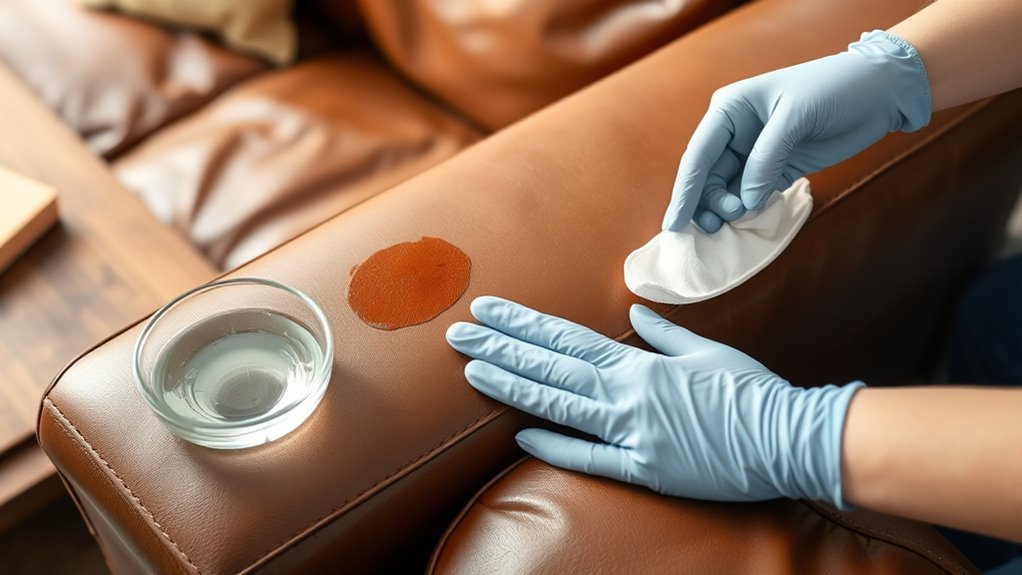
How to Remove Ink From a Leather Sofa Step by Step
To remove ink from your leather sofa, start by identifying the type of leather and how fresh the ink stain is. This helps you choose the right cleaning method without causing damage.
Next, gather some soft cloths, cotton swabs, and a leather-safe cleaner that’s designed to tackle ink stains gently.
Before applying anything, test your cleaner on a hidden spot of the sofa. This step is crucial to make sure it won’t harm the leather’s surface or color.
Once you’re confident, apply the leather-safe ink remover carefully with a cloth or cotton swab. Avoid scrubbing harshly as it can spread the ink or damage the leather.
Dab the ink stain gently, letting the cleaner work without rubbing too hard.
After the stain is gone, don’t forget to condition the leather. Conditioning keeps it soft and supple, preventing cracks and dryness.
Keep reading for more detailed steps and helpful tips to protect your sofa and keep it looking great.
Key Takeaways
- Identify the leather type and ink source to choose a safe and effective cleaning method.
- Test any cleaner or ink remover on a hidden area to check for color or texture changes.
- Use a soft cloth or cotton swab with a leather-safe ink remover, applying gently without scrubbing.
- Blot the ink stain carefully to lift ink without spreading it, using a damp cloth if needed.
- Condition the leather after cleaning to restore moisture and maintain softness.
It’s pretty simple once you know the steps! Just take your time and be gentle with the leather. That way, you keep your sofa looking great.
Assess the Type of Leather and Ink Stain
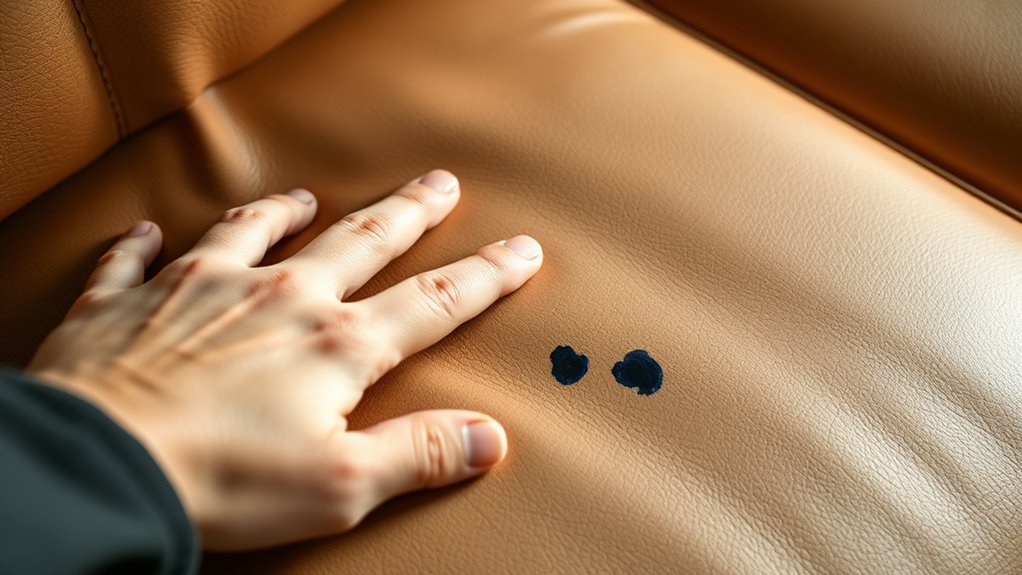
Before you begin cleaning, identify the type of leather your sofa has and the nature of the ink stain. Different leathers react differently to cleaning methods and products.
If your sofa is made of aniline leather, it’s more delicate and porous, so you’ll need to be extra cautious. Semi-aniline and pigmented leathers are more durable and can handle stronger cleaning agents.
Next, determine if the ink stain is fresh or dried. Fresh ink is easier to remove, while dried ink might require more effort and care.
Also, consider what kind of ink caused the stain—ballpoint pen ink behaves differently than permanent marker or printer ink. By evaluating these factors, you’ll avoid damaging your sofa and choose the most effective cleaning approach.
Gather the Necessary Cleaning Supplies
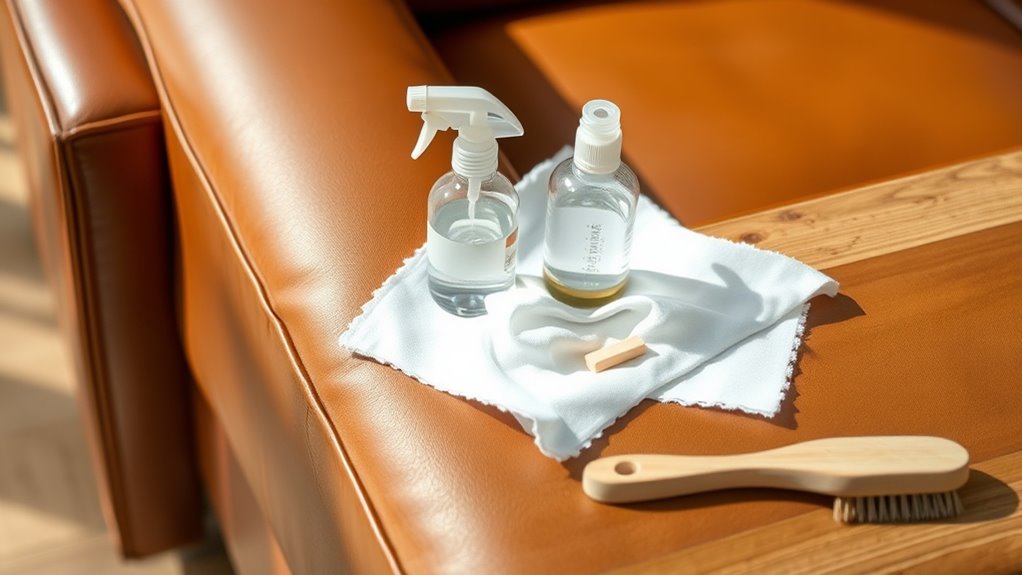
Before you start cleaning, make sure you have the right tools on hand. You’ll want soft cloths, cotton swabs, and a gentle, leather-safe cleaner.
Choosing safe cleaning agents is key to protecting your sofa’s finish while tackling the ink stain. It really makes a big difference in keeping your leather looking great!
Essential Cleaning Tools
What tools do you need to effectively tackle ink stains on your leather sofa? Having the right cleaning tools makes the process smoother and prevents damage.
You’ll want items that gently lift ink without harming the leather’s surface.
Here’s a quick list to keep handy:
| Tool | Purpose |
|---|---|
| Soft white cloth | For blotting and wiping |
| Cotton swabs | To target small, precise spots |
| Soft-bristled brush | To gently loosen dried ink |
Make sure these tools are clean and free of dyes or harsh chemicals. Avoid abrasive materials that could scratch your sofa.
With these essentials, you’re ready to proceed carefully and effectively with ink removal.
Choosing Safe Cleaning Agents
Although ink stains can be stubborn, selecting safe cleaning agents guarantees you won’t damage your leather sofa while tackling the mess. Start by choosing mild, leather-friendly products like a gentle soap or a specialized leather cleaner.
Avoid harsh chemicals such as bleach, ammonia, or alcohol, which can strip the leather’s finish or cause discoloration. Always test any cleaner on a hidden area first to check for adverse reactions.
You can also use natural options like diluted white vinegar or rubbing alcohol applied sparingly with a cotton swab. But only if your leather type can tolerate it.
Having soft cloths and cotton swabs on hand will help you apply these agents carefully. By selecting the right cleaning supplies, you protect your sofa’s appearance while effectively removing ink stains.
Test a Small Hidden Area First
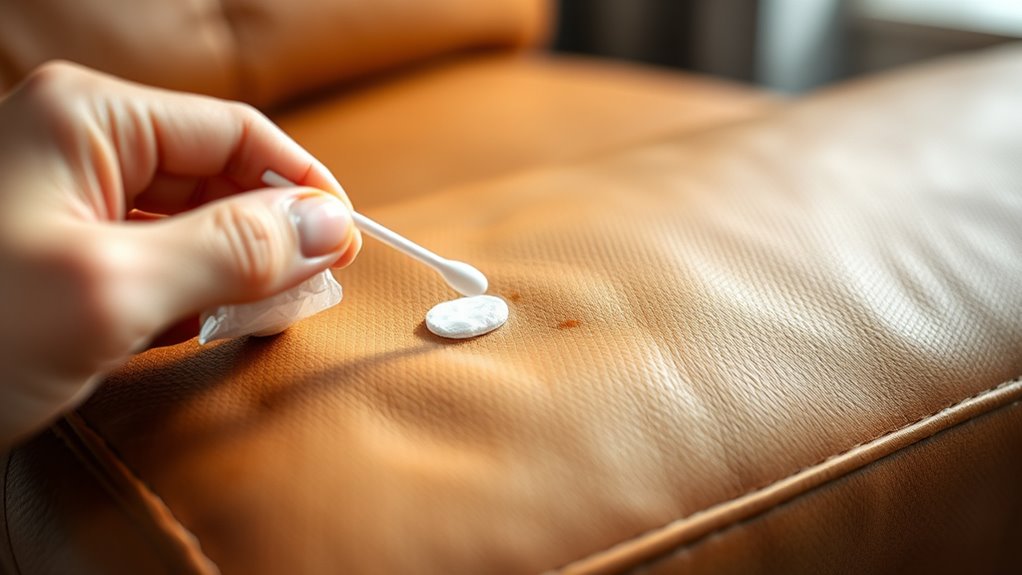
Before you apply any cleaner, pick a small, hidden spot on your leather sofa to test it out. This way, you can see how the leather reacts without risking visible damage.
Keep an eye on the area for any changes in color or texture before proceeding. It’s a simple step that can save you from bigger problems later on.
Choose Discreet Spot
Start by selecting a small, hidden area on your leather sofa to test any cleaning method. This spot should be out of plain sight, like under a cushion or the back side of the armrest.
Choosing a discreet spot helps you check how the leather reacts without risking visible damage. When you apply your cleaning solution there, you’ll see if it causes discoloration, texture changes, or any unwanted effects.
This step is essential because leather varies in finish and treatment, so what works on one part might harm another. By testing in a concealed area first, you protect your sofa’s appearance and ensure your ink removal process is safe and effective before moving on to more noticeable sections.
Observe Leather Reaction
When you apply your chosen cleaning solution to the hidden spot, watch closely for any changes in the leather’s color, texture, or finish. This small test will reveal if the product is safe to use on the visible areas of your sofa.
If you notice discoloration, fading, or a sticky residue, stop immediately and try a different method. Also, check if the leather feels dry or brittle afterward, which indicates potential damage.
Give the spot a few minutes to dry, as some reactions only become apparent after the leather has settled. Testing first safeguards your sofa from irreversible harm and ensures your cleaning efforts won’t backfire.
Only proceed with full treatment once you’re confident the solution won’t ruin your leather’s appearance or feel.
Apply a Leather-Safe Ink Remover
Although you might be tempted to use household cleaners, it is crucial to choose a leather-safe ink remover to protect your sofa’s finish. These specialized products are designed to break down ink without damaging the leather’s natural oils or color.
When applying the remover, follow these tips:
- Test the remover on a hidden spot first to ensure no discoloration occurs.
- Use a soft, clean cloth or cotton swab for precise application.
- Apply the remover sparingly to avoid soaking the leather.
- Let the remover sit for the recommended time stated on the product label.
- Avoid scrubbing aggressively, which can damage the leather’s surface.
Gently Clean the Stained Area
After letting the ink remover sit, you’ll want to carefully clean the stained area to lift the ink without harming the leather. Start by gently dabbing the spot with a clean, soft cloth or cotton ball. Avoid rubbing, as it can spread the ink or damage the leather’s surface.
Use light pressure and work from the outside of the stain inward to prevent it from spreading. If needed, slightly dampen the cloth with distilled water to help remove loosened ink residue. Remember to frequently switch to a clean section of the cloth to avoid reapplying ink back onto the sofa.
Keep going with this process until the ink is visibly reduced. Just be patient; aggressive scrubbing can ruin the leather’s finish, so proceed with care and gentleness throughout.
Condition the Leather After Cleaning
Since cleaning can strip away the natural oils in your leather, you’ll want to condition it promptly to restore moisture and flexibility. Conditioning prevents cracking and keeps your sofa looking fresh.
Choose a leather conditioner suitable for your sofa’s type. Apply it sparingly with a soft cloth, working it gently into the surface in circular motions. Let it absorb fully before using the sofa again.
To condition effectively, remember to:
- Test the conditioner on a hidden spot first
- Use a clean, lint-free cloth
- Avoid over-saturating the leather
- Condition every 3-6 months for maintenance
- Keep the sofa out of direct sunlight during drying
This care routine will extend your leather sofa’s life and maintain its rich appearance.
Frequently Asked Questions
Can Ink Stains on Leather Cause Permanent Damage?
Yes, ink stains on leather can cause permanent damage if you don’t act quickly.
You’ll want to treat the stain promptly to prevent it from setting and ruining the leather’s appearance and texture.
How Long Should I Wait Before Cleaning Fresh Ink Stains?
You should start cleaning fresh ink stains on your leather sofa immediately, ideally within minutes. Acting quickly prevents the ink from setting.
This makes it easier to remove without causing permanent damage to the leather. So, don’t wait too long before you tackle the stain!
Are There Any Household Items Safe for Ink Removal on Leather?
Who doesn’t want a quick fix with things already at home?
You can use rubbing alcohol or hand sanitizer gently, but don’t forget to test a small spot first to avoid damage to your leather sofa’s finish.
Better safe than sorry, right? Just a little test can save you a lot of trouble later!
What Should I Avoid When Cleaning Ink From Leather Sofas?
You shouldn’t use harsh chemicals, alcohol, or abrasive tools on leather, as they can damage the surface. Avoid soaking the leather or scrubbing aggressively, since that can cause discoloration or cracks.
Always test first! It’s better to be safe than sorry when dealing with leather. Just take a small hidden spot and see how it reacts before going all in.
Can Professional Cleaning Services Remove Ink Stains Better?
Yes, professional cleaning services can remove ink stains better because they use specialized products and techniques.
You’ll get expert care without risking damage, ensuring your leather sofa looks clean and well-maintained.
Conclusion
Removing ink from your leather sofa might seem tricky, but with the right steps, it’s simple and effective. You’ll start cautiously, testing small hidden spots, then move confidently with gentle cleaning.
You’ll handle stubborn stains carefully, yet act swiftly to protect your leather. After cleaning, conditioning restores softness and shine, balancing care with restoration.
So, don’t stress—your leather sofa can go from marked to magnificent with patience and the right touch. Remember, using proper cleaning techniques ensures your leather stays beautiful and ink-free without damage. With a little patience and the right products, ink removal from your leather sofa is totally doable!