How Does Alcohol Ink Work?
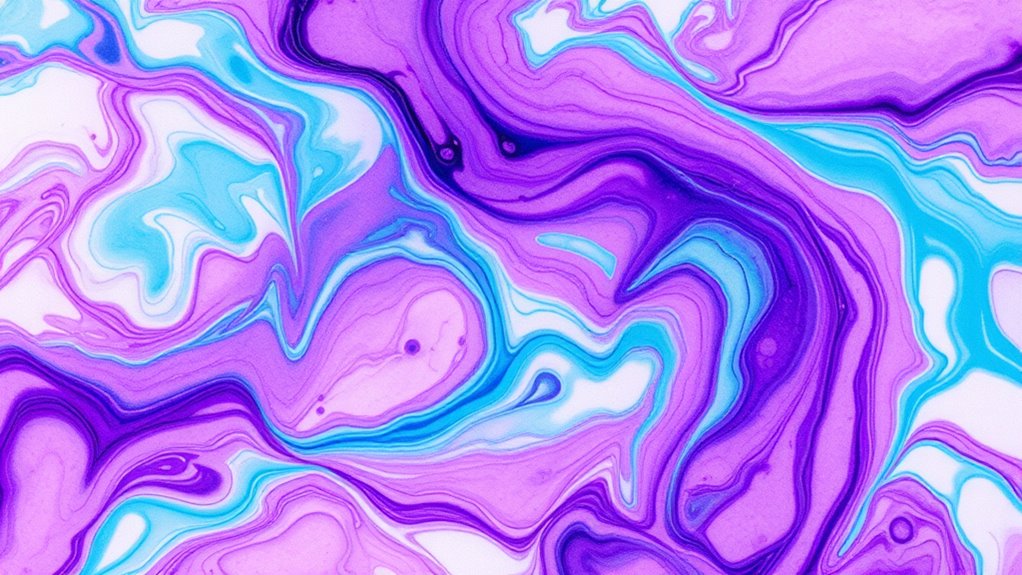
When you use alcohol ink, you’re working with highly pigmented dyes suspended in an alcohol-based solution that dries quickly. This unique combination helps the ink flow smoothly and creates vibrant, dynamic patterns.
It’s especially effective on non-porous surfaces like glass or metal.
The ink behaves differently depending on the texture and absorbency of the surface. This means you can control blending and effects by using heat or airflow.
Curious about how different techniques and surfaces can change your ink’s mesmerizing effects? Keep exploring to discover more and unleash your creativity!
Key Takeaways
- Alcohol ink consists of pigmented dye suspended in fast-evaporating alcohol solvents, producing vibrant, quick-drying colors. The alcohol solvent dilutes ink and alters surface tension, enabling smooth flow and blending on various surfaces.
- Ink behavior varies by surface type: non-porous surfaces allow vibrant, fluid movement; porous surfaces absorb ink, muting colors. This difference really changes how your artwork turns out.
- Rapid alcohol evaporation creates dynamic patterns and controls drying time, influencing layering and texture effects. It’s pretty cool how the ink almost paints itself as it dries.
- Artists manipulate ink flow using blending solutions, heat tools, and airflow to achieve desired textures and color effects. These techniques let them play around and get creative with the final look.
What Is Alcohol Ink Made Of?
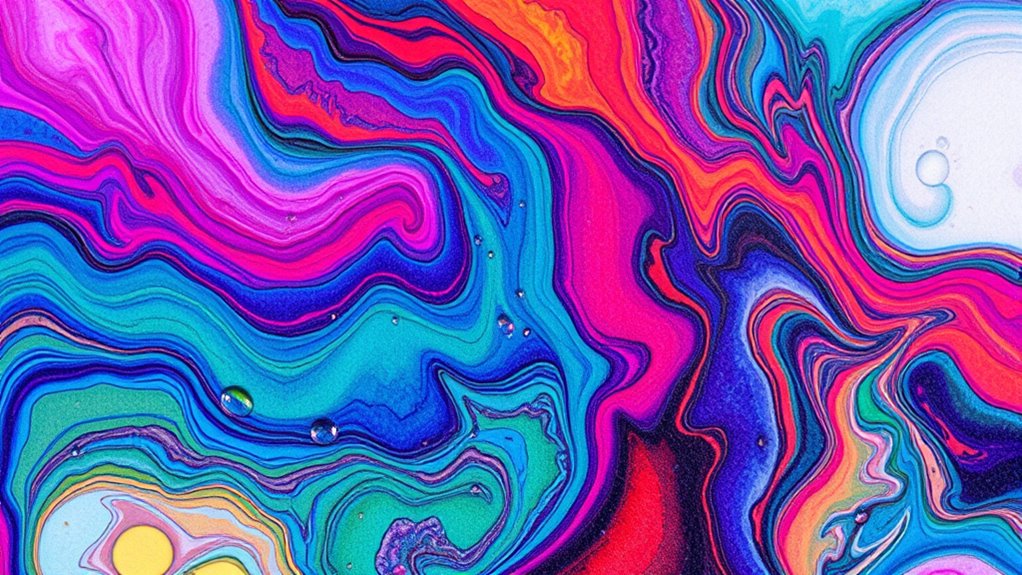
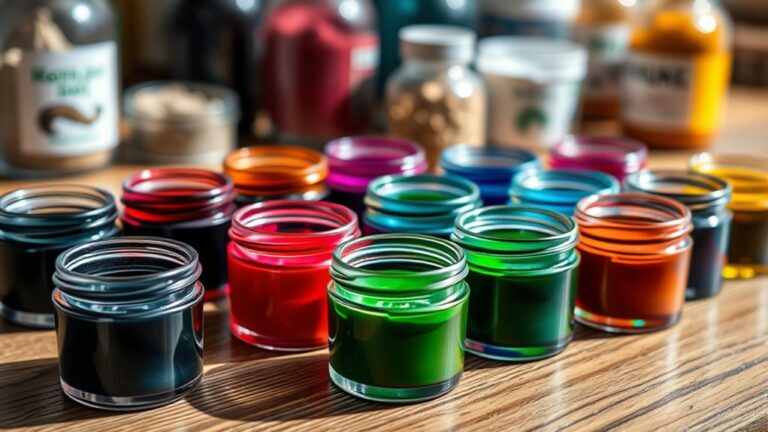
Alcohol ink is made of highly pigmented dye suspended in an alcohol-based solution. When you use it, you’re working with vibrant pigments that dissolve in alcohol, which evaporates quickly.
This quick evaporation lets you layer colors without waiting long, giving you control over your artwork. The solution typically contains isopropyl alcohol or ethyl alcohol, which acts as a solvent to keep the pigments evenly mixed and fluid.
You’ll also find additives that help with flow and drying time, ensuring the ink spreads smoothly on non-porous surfaces. Because of its composition, alcohol ink maintains intense color saturation and dries fast, making it perfect for creating dynamic, fluid effects.
Understanding this helps you appreciate why alcohol ink behaves so uniquely.
How Alcohol Ink Interacts With Surfaces
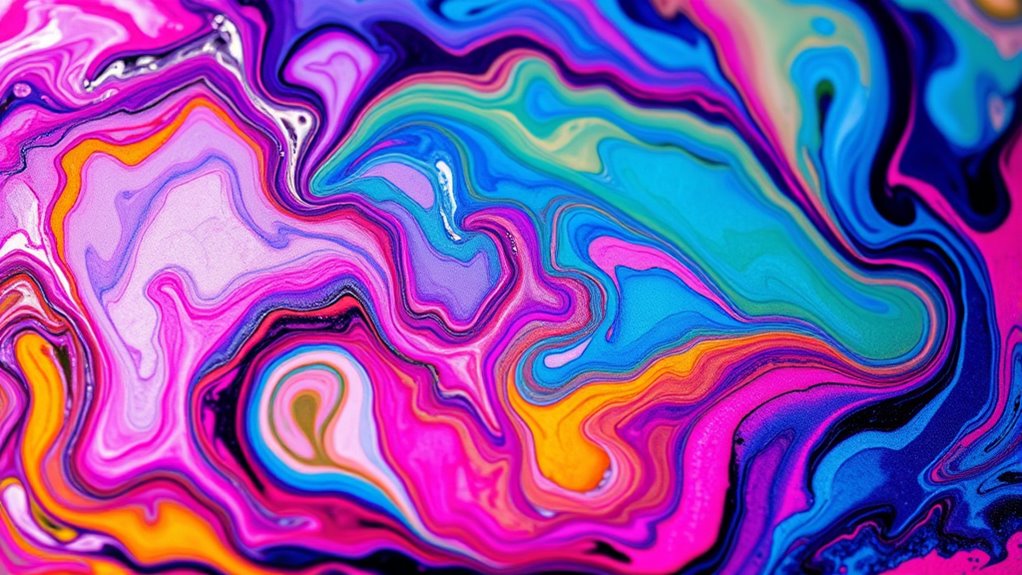
The way ink behaves depends a lot on the surface you’re working with. Alcohol ink reacts differently based on surface texture, absorbency, and finish.
For example, non-porous surfaces like glass allow the ink to glide and blend smoothly. On the other hand, porous surfaces absorb the ink quickly, which affects color intensity.
| Surface Type | Absorbency | Ink Reaction |
|---|---|---|
| Non-porous (glass, metal) | Low | Moves freely, vibrant colors |
| Porous (wood, paper) | High | Absorbs quickly, muted tones |
| Semi-porous (ceramic) | Medium | Moderate blending, some absorption |
| Plastic | Very low | Beads up, limited blending |
Knowing your surface helps you control how your artwork turns out. It’s all about understanding how the ink will behave so you can get the look you want.
The Role of Alcohol in Ink Movement
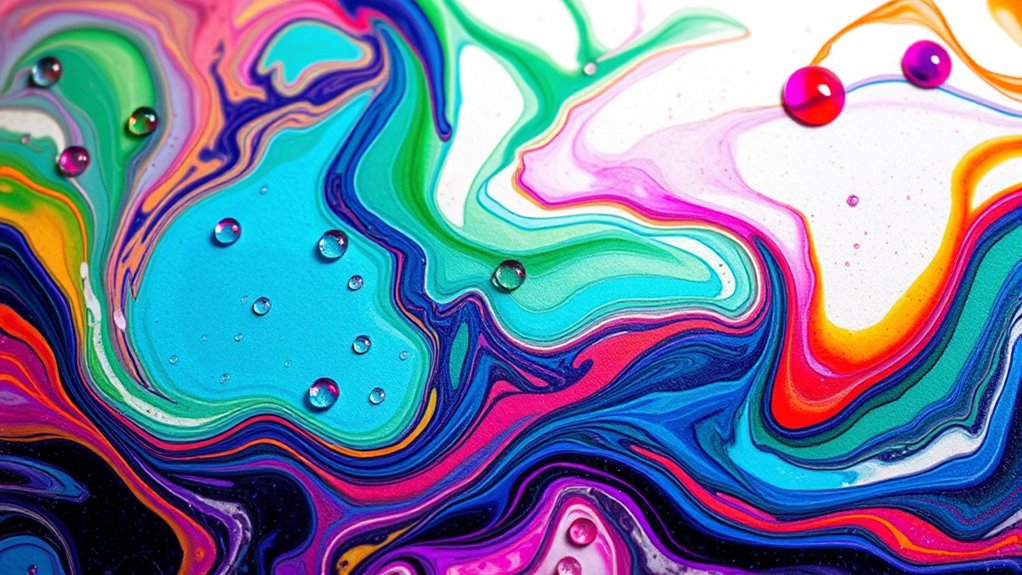
How exactly does alcohol influence the movement of ink on your chosen surface? Alcohol acts as a solvent that quickly evaporates, letting the ink spread and blend before drying.
This rapid evaporation creates dynamic patterns and unpredictable flows. Here’s how alcohol plays a key role:
- Dilution: Alcohol thins the ink, making it easier to spread across non-porous surfaces.
- Evaporation Rate: Fast drying causes ink to settle quickly, freezing patterns in place.
- Surface Interaction: Alcohol changes surface tension, allowing the ink to flow smoothly or form distinct edges.
Techniques to Control Alcohol Ink Flow
You can control alcohol ink flow by diluting it with blending solution, which thins the ink and extends drying time. Using heat tools helps speed up drying and can create interesting textures.
Manipulating airflow with a fan or straw lets you guide the ink’s movement precisely. It’s pretty cool how a little breath or breeze can change the whole look!
Dilution With Blending Solution
Although alcohol ink naturally spreads and blends on its own, using a blending solution lets you have much more control over its flow and intensity. When you apply blending solution, it dilutes the ink, lightening colors and softening edges. This helps you shape your artwork more precisely.
Here’s how you can use it effectively:
- Lighten Colors: Add blending solution to your brush or directly to ink to reduce saturation without losing vibrancy.
- Extend Drying Time: Dilution slows drying, giving you extra moments to manipulate and blend colors seamlessly.
- Create Layers: Use blending solution between layers to maintain transparency and prevent muddiness. This way, you can build depth with ease.
Using Heat Tools
When you apply heat tools like a heat gun or hairdryer, they quickly alter the alcohol ink’s flow by speeding up evaporation and pushing the ink across your surface. This technique helps you create dynamic patterns, blend colors smoothly, or reveal unique textures.
You can control the intensity by adjusting the heat’s distance and duration—closer heat speeds movement and fading, while a gentler breeze lets ink settle naturally. Just be careful not to overheat, as too much heat can cause colors to dry too fast, limiting blending or causing unwanted edges.
Using heat tools also helps dry your artwork faster, allowing you to layer multiple applications efficiently. Mastering heat control gives you more command over your alcohol ink creations and really enhances your artistic expression.
Manipulating With Airflow
Heat tools offer great control over alcohol ink by speeding up drying and guiding movement, but airflow provides a different kind of precision. By directing air, you can shape the ink’s path, create soft gradients, or push colors to blend beautifully.
Here are three effective ways to manipulate alcohol ink with airflow:
- Blowing through a straw: This lets you control the direction and intensity of the ink’s movement with your breath. It’s perfect for delicate details.
- Using a canned air duster: It creates stronger bursts for dramatic spreads and bold effects.
- Employing a small fan: This provides a consistent, gentle airflow, ideal for even blending and drying.
Mastering these airflow techniques gives you more control and expands your creative possibilities with alcohol ink.
Effects of Different Surfaces on Ink Behavior
Different surfaces dramatically influence how alcohol ink behaves, so understanding their properties can help you achieve your desired effects.
Porous surfaces absorb ink quickly, causing colors to spread softly. On the other hand, non-porous surfaces keep the ink vibrant and allow for more manipulation.
Glossy surfaces encourage ink pooling and blending, which creates rich textures.
| Surface Type | Ink Behavior | Best Use |
|---|---|---|
| Porous (e.g., paper) | Quick absorption, soft edges | Gentle blending, muted tones |
| Non-porous (e.g., glass) | Ink sits on top, vibrant colors | Bold designs, layering |
| Glossy (e.g., ceramic) | Ink pools, creates textures | Abstract effects, bold strokes |
Tips for Enhancing Alcohol Ink Artistry
Understanding how various surfaces affect alcohol ink behavior sets a strong foundation for improving your technique.
Knowing how different surfaces influence alcohol ink lays the groundwork for refining your artistic skills.
To enhance your alcohol ink artistry, focus on controlling ink flow and experimenting with tools. Here are three tips to elevate your work:
- Use a blending solution or isopropyl alcohol sparingly to manipulate ink movement and create softer edges or interesting textures.
- Try different tools like brushes, sponges, or air blowers to guide the ink and add unique effects.
- Work in layers, allowing each to dry before adding more ink or details to build depth and complexity.
Frequently Asked Questions
Is Alcohol Ink Safe for Children to Use?
Alcohol ink isn’t safe for children to use unsupervised because it contains alcohol and strong pigments that can irritate skin, eyes, and lungs.
Always supervise kids closely and make certain of proper ventilation when they work with it.
How Do You Properly Store Alcohol Ink?
Don’t let your alcohol inks gather dust—store them upright in a cool, dry place away from direct sunlight.
Make sure the caps are sealed tight to keep the colors vibrant and ready for your next masterpiece. It really helps to keep them fresh and easy to use whenever inspiration strikes!
Can Alcohol Ink Be Used on Fabric?
Yes, you can use alcohol ink on fabric, but it works best on synthetic fabrics like polyester.
You’ll want to test first and fix the ink with heat to make certain it stays vibrant and doesn’t wash out easily.
It’s a cool way to add some unique color to your fabric projects! Just remember to handle it carefully so your design lasts.
What Tools Are Best for Cleaning up Alcohol Ink?
Think of rubbing alcohol and cotton swabs as your magic erasers—they whisk away ink’s footprints.
You’ll also want gloves and paper towels to catch any stray colors, keeping your workspace as pristine as a blank canvas.
How Long Does Alcohol Ink Artwork Typically Last?
Your alcohol ink artwork typically lasts for years if you seal it properly. Without sealing, colors may fade or smudge over time.
Using a UV-resistant varnish helps protect and preserve your vibrant pieces longer. It’s a simple step that really makes a difference!
Conclusion
Now that you know how alcohol ink works, you can really let your creativity run wild. By understanding the role of alcohol and how different surfaces affect ink movement, you’ll have the tools to master your art.
Remember, practice makes perfect, so don’t be afraid to experiment and find what techniques suit you best. With a little patience and flair, you’ll turn your projects from a blank canvas into a vibrant masterpiece in no time.
Alcohol ink art allows you to explore unique textures and vibrant colors that traditional paints can’t match. So grab your inks, try out different surfaces, and watch how your creativity flows. Mastering alcohol ink techniques will open up endless possibilities for your artistic expression!