
How to Do Remove Ballpoint Ink From Leather Step by Step
To remove ballpoint ink from leather, start by gathering mild soap, distilled water, a soft cloth, and leather cleaner. These are your basic tools to tackle the stain without causing damage. Testing your cleaner on a hidden spot first is super important — you don’t want to make things worse!
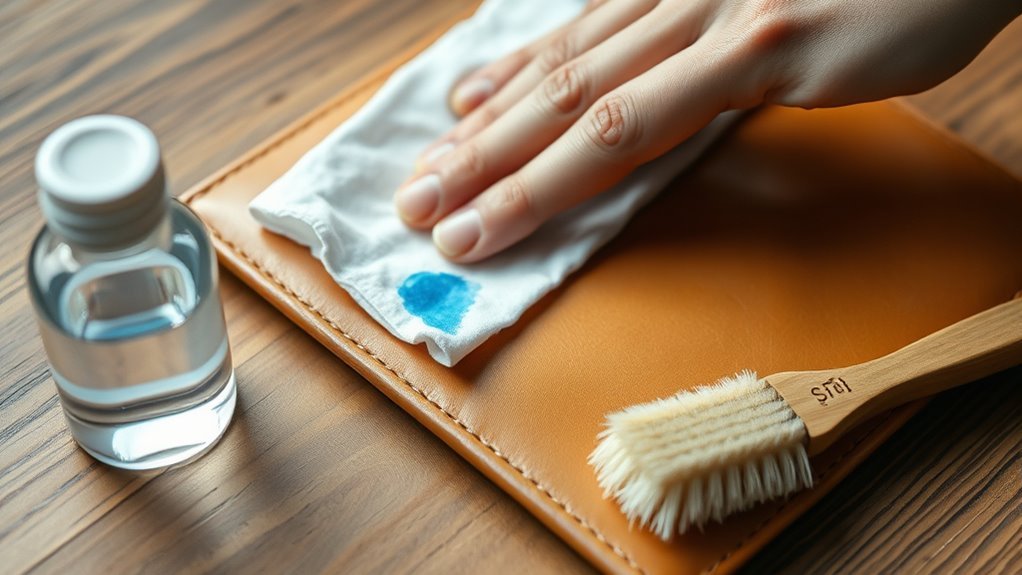
Next, gently blot the ink stain with a soft cloth. Make sure to rotate the cloth to a clean area each time so you lift the ink instead of spreading it around.
After that, carefully apply a mild soap solution or leather cleaner.
Once you’ve treated the stain, wipe away any excess cleaner and let the leather dry naturally. Don’t forget to condition the leather afterward — it helps restore moisture and keeps your leather looking great.
Keep following for more detailed tips to protect your leather!
Key Takeaways
- Gather soft cloths, mild soap, distilled water, rubbing alcohol, and paper towels for gentle cleaning.
- Test cleaning solution on a hidden leather spot and wait 15 minutes to check for damage.
- Gently blot the ink with a soft cloth, avoiding rubbing or spreading the stain.
- Apply mild soap or leather cleaner with a damp cloth, working from outside inward gently.
- Wipe excess cleaner, air dry completely, and avoid soaking the leather during the process.
Gather the Necessary Cleaning Supplies
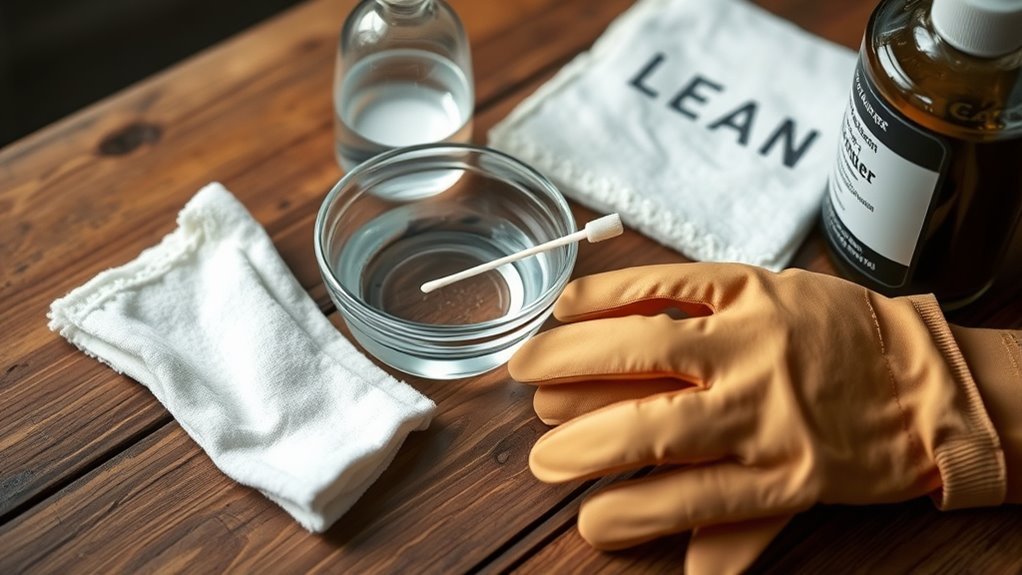
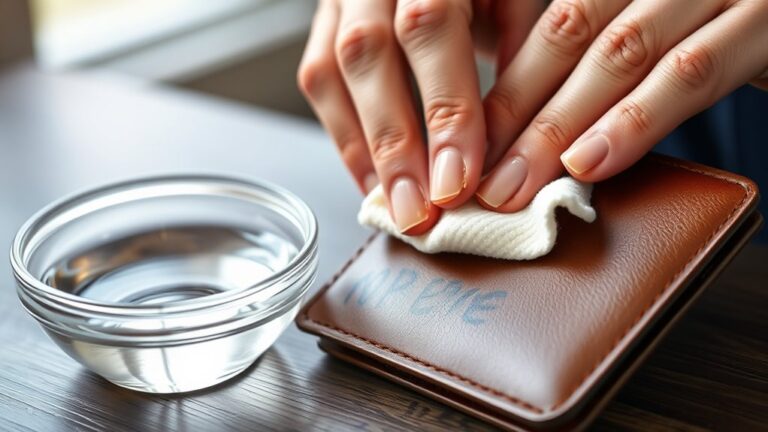
Before you begin removing ink from leather, gather all the necessary cleaning supplies to guarantee a smooth process. You’ll need a soft cloth or cotton balls, mild soap, and distilled water for gentle cleaning. Keep a small bowl handy to mix your cleaning solution.
Have some rubbing alcohol or a leather cleaner specifically designed for ink stains, but use them sparingly. A soft-bristled toothbrush can help with stubborn spots without damaging the leather.
Don’t forget paper towels or a dry cloth to blot excess moisture. Finally, keep leather conditioner nearby to restore moisture after cleaning. Having these items ready ensures you can act quickly and carefully, minimizing the risk of damage while effectively tackling the ink stain on your leather surface.
Test the Cleaning Solution on an Inconspicuous Area
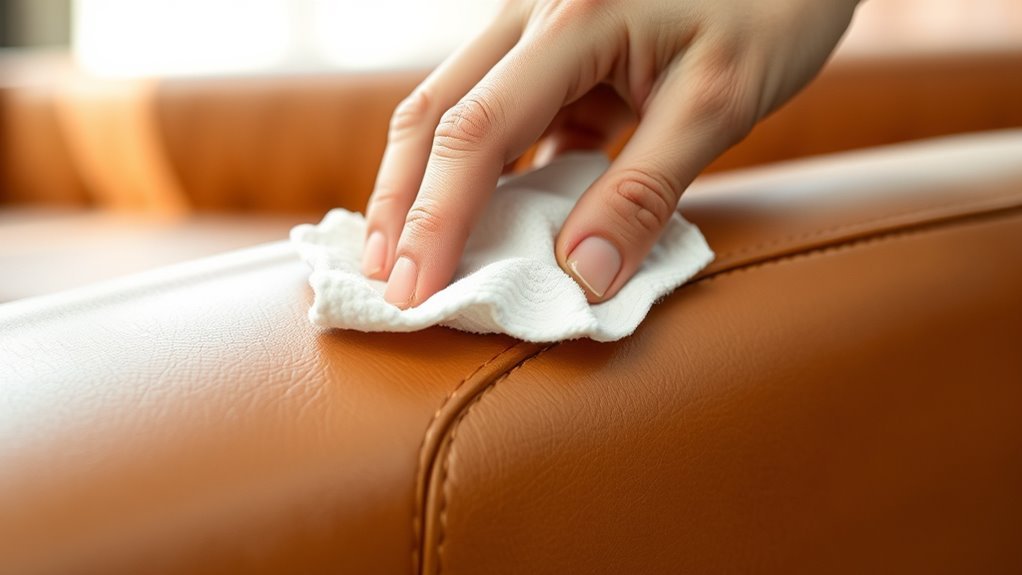
Before applying the cleaning solution to the ink stain, pick a hidden spot on your leather to test it. Apply a small amount and wait a few minutes to see how the leather reacts.
This step helps you avoid unexpected damage or discoloration. Better safe than sorry, right? Just a quick test can save your leather from looking worse!
Choose Hidden Testing Spot
Where should you test your cleaning solution to avoid damaging your leather? Always pick a hidden area, like the inside seam, under a flap, or the back of your leather item. These spots won’t be noticeable if the solution causes any discoloration or damage.
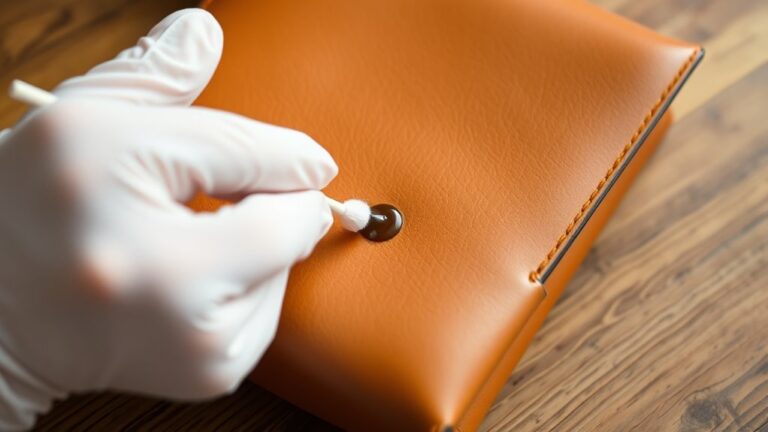
Before applying the cleaner, make sure the area is dry and clean. Use a cotton swab or a soft cloth to apply a small amount of the solution. This lets you see how the leather reacts without risking visible harm.
If the leather shows no change in color, texture, or finish after drying, you’re safe to proceed. Choosing the right testing spot helps protect your leather and ensures your cleaning efforts won’t backfire.
Observe Reaction Timing
After selecting a hidden spot and applying your cleaning solution, watch how the leather responds over time. Don’t rush this step—observe any immediate changes like discoloration, texture shifts, or bubbling.
Some reactions may appear right away, while others take several minutes to become visible. Check the spot periodically for at least 15 minutes to make certain no damage develops.
If the leather shows signs of distress, stop using that solution immediately. This careful observation helps you avoid ruining your leather item during full cleaning.
Once you confirm the solution is safe, you can confidently proceed, knowing you won’t harm the leather’s appearance or feel. Patience here protects your investment and guarantees the best results.
Blot the Ink Stain Gently Using a Soft Cloth
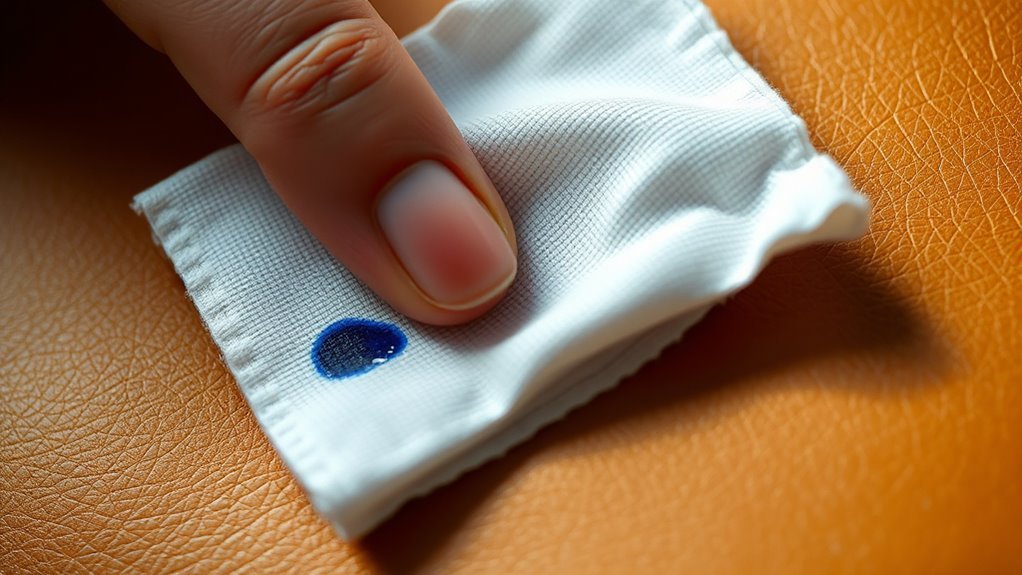
Grab a soft cloth to gently blot the ink stain without rubbing it in. You’ll want to apply just enough pressure to lift the ink without damaging the leather.
Choose Soft Cloth
Although it might be tempting to scrub the ink stain quickly, you should gently blot it using a soft cloth to avoid damaging the leather. When choosing your cloth, pick one that’s soft and absorbent—microfiber or cotton works best.
Avoid rough fabrics like towels or anything with a rough weave, since they can scratch or wear down the leather’s surface. Make sure the cloth is clean and dry before you start blotting.
A soft cloth will absorb the ink without spreading it further, helping you remove the stain more effectively. Keep a few cloths on hand, so you can switch to a fresh one as the ink transfers.
This careful approach preserves the leather’s texture while tackling the stain. It’s all about being gentle and patient here!
Use Gentle Pressure
Once you have your soft cloth ready, apply gentle pressure as you blot the ink stain. Don’t press too hard; you want to lift the ink without pushing it deeper into the leather’s pores.
Dab lightly and steadily, allowing the cloth to absorb the ink gradually. If you feel resistance, ease up to prevent damaging the leather’s surface. Keep rotating to a clean section of the cloth to avoid spreading the stain.
This careful approach helps to remove ink effectively while preserving the leather’s texture and finish. Remember, gentle blotting is key—forceful pressure can make the stain worse or harm the material.
Take your time and work patiently for the best results.
Avoid Rubbing Ink
While it might be tempting to rub the ink stain, you should resist the urge and instead blot gently with a soft cloth to prevent spreading the ink or damaging the leather. Rubbing can push the ink deeper into the pores, making it harder to remove and potentially causing permanent stains.
Use a clean, dry microfiber or cotton cloth and press it lightly against the inked area. Blotting lifts the ink away without abrasion, preserving the leather’s texture and color. If the cloth becomes saturated, switch to a fresh one to avoid reapplying the ink.
Patience is key—repeat the blotting process carefully until the stain starts to fade. This gentle approach protects your leather while effectively tackling the ink spot.
Apply a Leather Cleaner or Mild Soap Solution
Before you tackle stubborn ink stains, try applying a leather cleaner or a mild soap solution to gently lift the ink without damaging the material. Dampen a soft cloth with the cleaner or a mix of mild soap and water.
Gently blot the stained area—don’t rub—working from the outside inward to prevent spreading the ink. Use light pressure and repeat if needed, always checking the leather’s reaction.
Avoid soaking the leather; too much moisture can cause damage. After blotting, wipe away excess cleaner with a clean, damp cloth.
Let the leather air dry completely before deciding if further cleaning is necessary. This method often reduces ink visibility and prepares the surface for any additional treatments you might need.
Use a Leather Conditioner to Restore Moisture
Although the ink stain might be fading, your leather can lose essential moisture during cleaning. To keep it supple and prevent drying or cracking, you need to apply a leather conditioner right after.
Choose a conditioner that’s specifically made for leather to ensure it nourishes without causing damage. Use a soft cloth to apply a small amount evenly, gently rubbing it in circular motions.
This helps replenish oils and restores flexibility. Don’t rush this step—allow the conditioner to absorb fully for the best results.
Conditioning not only improves the leather’s appearance but also extends its lifespan by maintaining softness and resilience. By taking this step, you’ll protect your leather from future wear and keep it looking great long after the ink removal.
Allow the Leather to Dry Naturally
Once you’ve applied the leather conditioner, let the leather dry naturally to preserve its texture and prevent damage. Avoid rushing the drying process, as leather is sensitive to heat and direct sunlight.
Allow leather to dry naturally after conditioning to maintain texture and avoid damage from heat or sunlight.
Here’s what you should keep in mind while letting it dry:
- Place the item in a well-ventilated area away from direct sunlight.
- Keep it away from heaters, fans, or blow dryers to avoid cracking.
Don’t use cloth or towels to speed up drying; let it air dry. Avoid stacking or folding the leather to prevent creasing.
Be patient; drying might take several hours depending on humidity. It’s worth the wait to keep your leather looking great!
Frequently Asked Questions
Can Ballpoint Ink Damage All Types of Leather Permanently?
Yes, ballpoint ink can permanently damage some leather types, especially delicate or untreated ones. You should act quickly to clean it, or the ink may soak in and cause lasting stains you can’t remove.
It’s really important to treat the ink spot as soon as you notice it. Waiting too long gives the ink more time to set in, making it much tougher to get rid of. So, don’t delay!
How Quickly Should You Treat an Ink Stain on Leather?
You should treat an ink stain on leather as quickly as possible, ideally within minutes. The longer you wait, the harder it becomes to remove.
And the stain might set permanently, so act fast and gently. Don’t rush, but don’t delay either!
Are Commercial Ink Removers Safe for Leather Furniture?
Commercial ink removers can be risky for leather furniture. You should test them on a hidden spot first, as some contain harsh chemicals that might damage or discolor your leather.
Always follow product instructions carefully. It’s better to be safe than sorry!
Is It Necessary to Recondition Leather After Every Cleaning?
You don’t have to recondition leather after every cleaning, but it’s a good idea to do so regularly. Conditioning keeps leather soft, prevents cracking, and maintains its appearance, especially after using cleaning products.
Think of it like giving your leather a little extra TLC to stay in great shape. It’s not something you need to do all the time, but making it part of your routine helps keep that fresh, supple look.
Can Ink Stains on Leather Be Completely Removed Without Professional Help?
You might think ink stains on leather are impossible to remove without pros, but you can often do it yourself with gentle cleaning and patience.
Just test a small area first to avoid damage.
It’s all about being careful and taking your time.
Sometimes, a little effort goes a long way!
Conclusion
Removing ballpoint ink from leather might seem tricky, but with the right steps, you can restore your item’s look. Did you know that 90% of leather stains can be treated effectively at home with proper care?
By gathering supplies, testing solutions, gently blotting, and conditioning, you protect your leather and keep it looking great. Just be patient and let it dry naturally—
your leather will thank you with lasting beauty and durability. Following these simple steps ensures your leather stays soft and supple while getting rid of stubborn ballpoint ink stains. Remember, consistent care and gentle cleaning go a long way in maintaining your leather’s quality. So, next time you face a ballpoint ink mishap, stay calm and give these methods a try. Your leather items will look refreshed and vibrant, ready to use again!