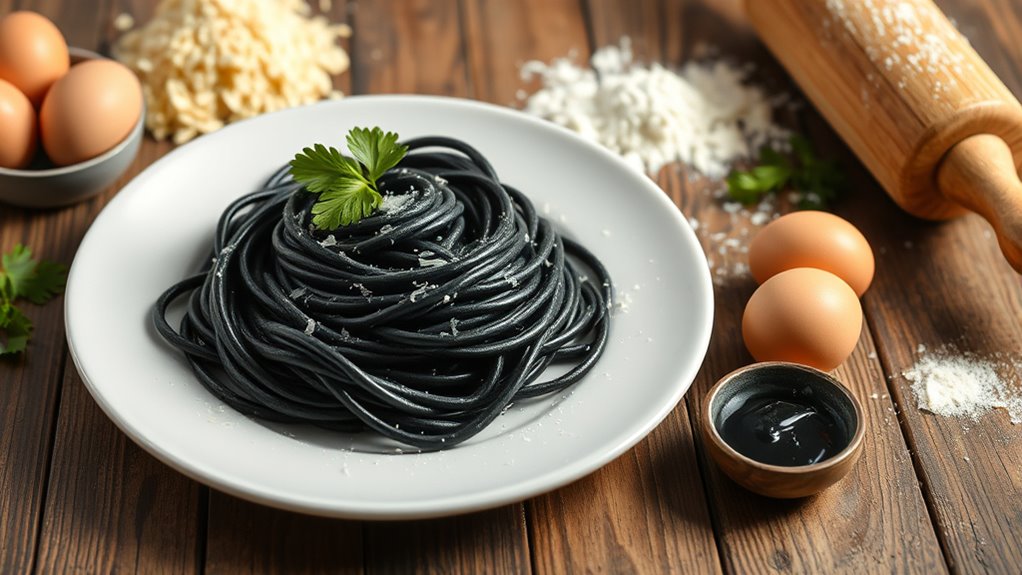
What Is Squid Ink Pasta and How to Make It at Home
Squid ink pasta is a striking black pasta made by mixing high-quality squid ink into your fresh pasta dough, giving it a unique briny, slightly smoky flavor reminiscent of the sea. This bold ingredient not only adds a dramatic color but also infuses the pasta with a rich, oceanic taste that’s hard to forget.
To make it at home, combine flour, eggs, salt, and squid ink, knead until smooth, then cook al dente in salted water. Toss with olive oil or seafood for extra taste.
Keep going to discover how to perfect this impressive Mediterranean dish step-by-step.
Key Takeaways
- Squid ink pasta is a black-colored pasta flavored with squid ink, popular in Mediterranean cuisine for its briny, umami-rich taste. The ink provides a smoky, oceanic flavor, enhancing the pasta’s savory depth and visual appeal.
- To make it, combine high-quality flour, eggs, salt, and fresh or bottled squid ink into a smooth dough. Then, let it rest before rolling it out.
- Cook the pasta al dente in salted water. After that, toss it with some reserved pasta water and a bit more squid ink or olive oil to coat it evenly.
- Serve it immediately with optional garlic or seafood toppings to boost the flavor. And don’t forget to store any leftover ink in an airtight container for future use.
Origins and History of Squid Ink Pasta

Although squid ink pasta might seem like a modern culinary invention, it has deep roots in Mediterranean coastal traditions. If you trace its origins, you’ll find that fishermen and coastal communities in Italy, Spain, and Sicily have used squid ink for centuries to add color and a unique touch to their dishes.
You’ll discover that this ingredient was originally a resourceful way to utilize every part of the squid, reflecting a no-waste approach common in traditional cooking. When you prepare squid ink pasta, you’re tapping into a history that dates back to at least the Renaissance period, where black pasta first appeared in Italian coastal regions.
Unique Flavor Profile of Squid Ink
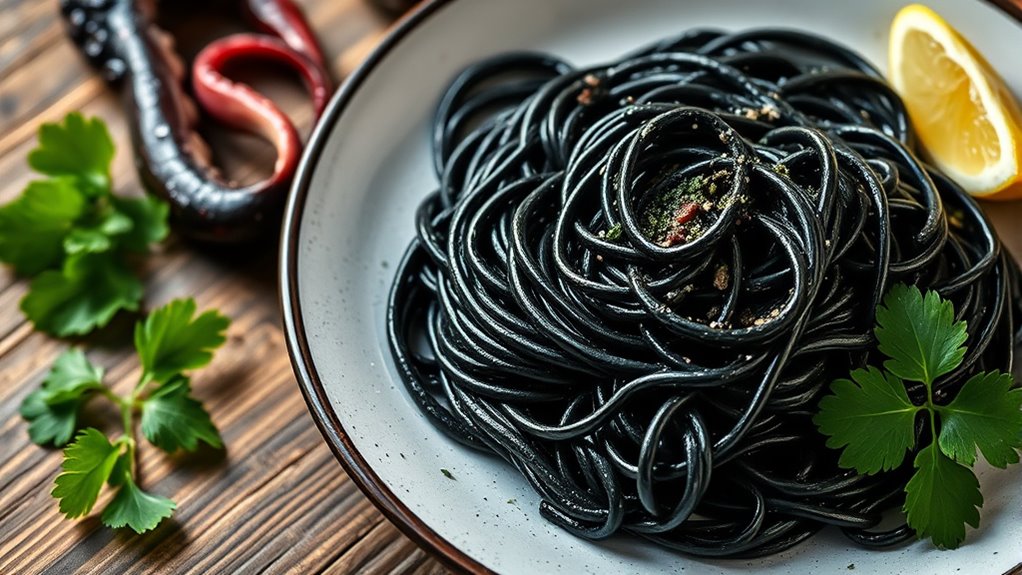
What makes squid ink pasta stand out isn’t just its striking black color but its distinct flavor that adds depth to any dish. When you taste squid ink, you’ll notice a briny, slightly salty essence that echoes the ocean without being overpowering.
It carries a subtle, smoky undertone, which gives your pasta a rich, savory complexity. Unlike typical seafood flavors, squid ink offers a unique umami punch that enhances other ingredients, making your dish more vibrant.
You’ll find its taste both bold and refined, balancing a marine freshness with a hint of earthiness. This combination makes squid ink pasta a perfect choice when you want to elevate your meal with an unexpected, sophisticated flavor profile that’s truly unforgettable.
Essential Ingredients for Making Squid Ink Pasta
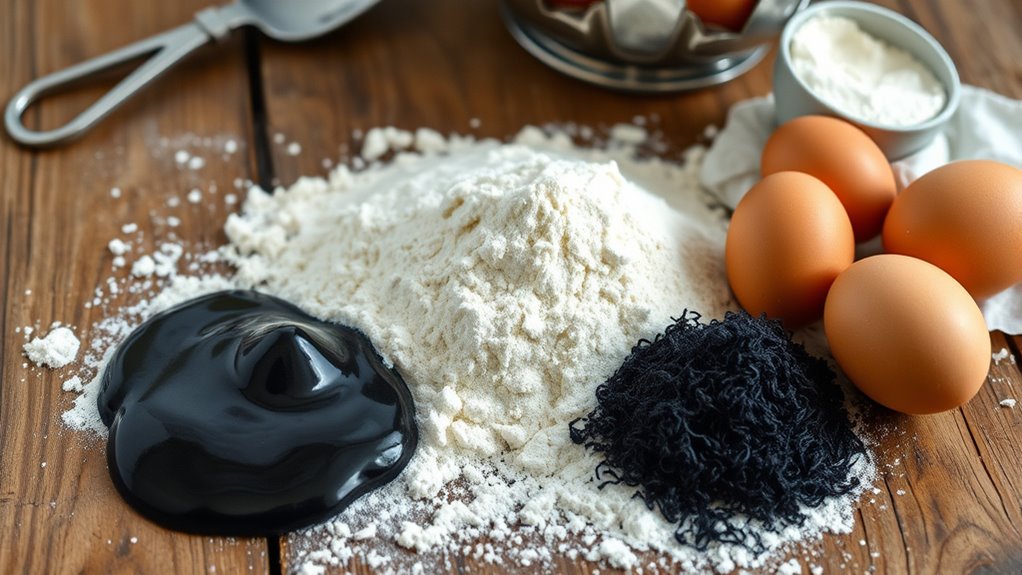
To make authentic squid ink pasta, you’ll need high-quality squid ink that delivers its rich, briny flavor without overpowering the dish.
You’ll also gather the basic pasta dough ingredients—flour, eggs, and a pinch of salt—to create the perfect texture.
Let’s break down how each component plays a vital role in your pasta’s taste and appearance.
Key Ingredient Overview
Creating authentic squid ink pasta starts with gathering a few essential ingredients that bring its distinct flavor and color to life. You’ll find that each component plays a vital role in achieving the perfect balance of taste and texture.
Here are the key ingredients you need:
- All-purpose flour – Forms the base of your pasta dough, providing structure.
- Eggs – Bind the dough and add richness.
- Squid ink – The star ingredient, giving the pasta its signature black hue and subtle briny flavor.
- Salt – Enhances taste and strengthens the dough.
With these ingredients, you’re set to create pasta that’s not only visually stunning but also packed with deep, oceanic flavors.
Ready to dive in? Let’s make some delicious squid ink pasta!
Quality of Squid Ink
Although squid ink might seem like a simple ingredient, its quality dramatically influences the flavor and appearance of your pasta. When selecting squid ink, choose fresh or high-quality bottled ink to guarantee a rich, briny taste and a deep black color.
Avoid inks that look dull or watery, as they can result in bland pasta and faded color. Authentic squid ink offers a subtle oceanic flavor with a slight saltiness, enhancing your dish without overpowering it.
If possible, source ink from reputable suppliers who specialize in seafood products. Remember, the freshness and purity of the ink directly impact the final dish, so don’t compromise.
Using premium squid ink elevates your homemade pasta from ordinary to extraordinary. It’s definitely worth the extra effort!
Pasta Dough Components
When you make squid ink pasta, selecting the right dough components is essential for achieving the perfect texture and flavor balance. The squid ink itself adds a unique briny taste and striking color, but the base dough ingredients set the foundation.
Here are the essentials you need to focus on:
- Flour – Use high-quality all-purpose or Italian 00 flour for a smooth, elastic dough.
- Eggs – Fresh eggs bind the dough and add richness, enhancing the pasta’s texture.
- Squid Ink – Incorporate fresh or bottled squid ink for that signature black hue and subtle ocean flavor.
- Salt – A pinch of salt balances the flavors and strengthens the dough’s structure.
Getting these right ensures your squid ink pasta is flavorful and holds together beautifully during cooking. It’s really all about balancing these ingredients just right!
Step-by-Step Guide to Preparing Squid Ink Pasta Dough
Now that you know the key ingredients, let’s focus on making the dough. You’ll learn how to mix the squid ink with flour and eggs properly.
Then, you’ll knead the dough to the perfect texture. Following these steps carefully will set you up for great pasta every time.
Essential Ingredients Overview
A few key ingredients will bring your squid ink pasta dough to life, blending flavor and color seamlessly. To get started, focus on quality and balance for the perfect dough texture and rich taste.
- All-purpose flour – Provides the structure and elasticity your pasta needs.
- Fresh squid ink – Adds that signature deep black hue and a subtle briny flavor.
- Eggs – Bind the dough and contribute richness and color contrast.
- Salt – Enhances the overall taste without overpowering the delicate squid ink essence.
With these essentials, you’ll create a dough that’s both visually striking and flavorful. This sets a solid foundation for your homemade squid ink pasta.
Mixing and Kneading Techniques
Although mixing and kneading squid ink pasta dough may seem intimidating, you’ll find the process straightforward once you understand the key steps.
Start by combining the flour and squid ink in a bowl. Gradually add beaten eggs and a pinch of salt, mixing with a fork until the dough starts to form.
Transfer the dough to a floured surface and begin kneading. Use the heels of your palms to push the dough away from you, then fold it back over itself.
Repeat this motion for about 10 minutes until the dough feels smooth and elastic. If it’s sticky, dust lightly with flour.
Proper kneading develops gluten, giving your pasta the perfect texture. Once done, wrap the dough in plastic and let it rest before rolling.
Cooking Techniques and Serving Suggestions
When you cook squid ink pasta, timing is essential to preserve its unique flavor and texture. Overcooking can dull its rich taste and make it mushy. Here’s how to get it just right:
Boil salted water and cook the pasta for 2-3 minutes until al dente. Drain quickly and toss with a splash of olive oil to prevent sticking.
Serve immediately, as squid ink pasta is best enjoyed fresh. Garnish with fresh herbs or a sprinkle of parmesan to enhance the presentation without overpowering the pasta’s distinct flavor.
Keep your focus on simplicity to highlight the pasta’s natural briny notes. Enjoy your dish warm, paired with light sides so the squid ink pasta remains the star of your plate.
Tips for Pairing Squid Ink Pasta With Sauces and Seafood
Since squid ink pasta has a bold, briny flavor, you’ll want to choose sauces and seafood that complement rather than overpower it. Light, garlic-infused olive oil or simple tomato-based sauces work beautifully, enhancing the pasta’s natural taste.
Avoid heavy cream sauces that mask its subtle complexity. When picking seafood, opt for tender calamari, shrimp, or scallops, which pair naturally with the ink’s oceanic notes.
Fresh herbs like parsley or basil add brightness without competing with the pasta’s flavor. You can also add a splash of white wine or a squeeze of lemon to elevate the dish’s freshness.
Just keep your seasonings balanced and let the squid ink pasta shine as the star of your seafood creation. Easy, right?
Frequently Asked Questions
Is Squid Ink Pasta Gluten-Free?
No, squid ink pasta usually isn’t gluten-free since it’s made with regular wheat flour.
If you want a gluten-free option, try using gluten-free pasta and mix in squid ink or a squid ink sauce separately for that unique flavor.
Can Squid Ink Pasta Cause Allergic Reactions?
You might think squid ink pasta is safe for everyone, but it can cause allergic reactions, especially if you’re allergic to seafood or shellfish.
How Long Does Homemade Squid Ink Pasta Last in the Fridge?
You can keep homemade squid ink pasta in the fridge for up to 2 days.
Make sure to store it in an airtight container to maintain freshness. This also helps prevent it from drying out or absorbing other odors.
Where Can I Buy Squid Ink for Pasta?
Like finding a needle in a haystack, you can buy squid ink at specialty grocery stores, seafood markets, or online retailers.
Don’t forget to check gourmet food shops—they often carry it, too, for your culinary adventures.
Can I Freeze Squid Ink Pasta Dough?
Yes, you can freeze squid ink pasta dough. Just make sure to wrap it tightly in plastic wrap.
After that, place it in an airtight container or freezer bag. This helps keep it fresh.
When you’re ready to use it, thaw it in the fridge overnight. Then you can roll it out and cook it as usual.
Conclusion
Squid ink pasta isn’t just a striking dish; it’s a culinary adventure you can easily create at home. Did you know that in Italy, over 60% of coastal restaurants feature squid ink pasta on their menus? This shows just how beloved its rich, briny flavor is.
By mastering the dough and pairing it with the right sauces and seafood, you’ll bring a taste of the Mediterranean right to your kitchen. Give it a try—you won’t regret it!
Making squid ink pasta at home lets you enjoy a unique, flavorful meal that’s both impressive and delicious. Whether you’re a seasoned cook or a curious beginner, this pasta adds depth and an unforgettable twist to your dishes. So, why not dive into the world of squid ink pasta today and elevate your homemade meals with this exquisite Italian specialty?