How Is Ink Produced?
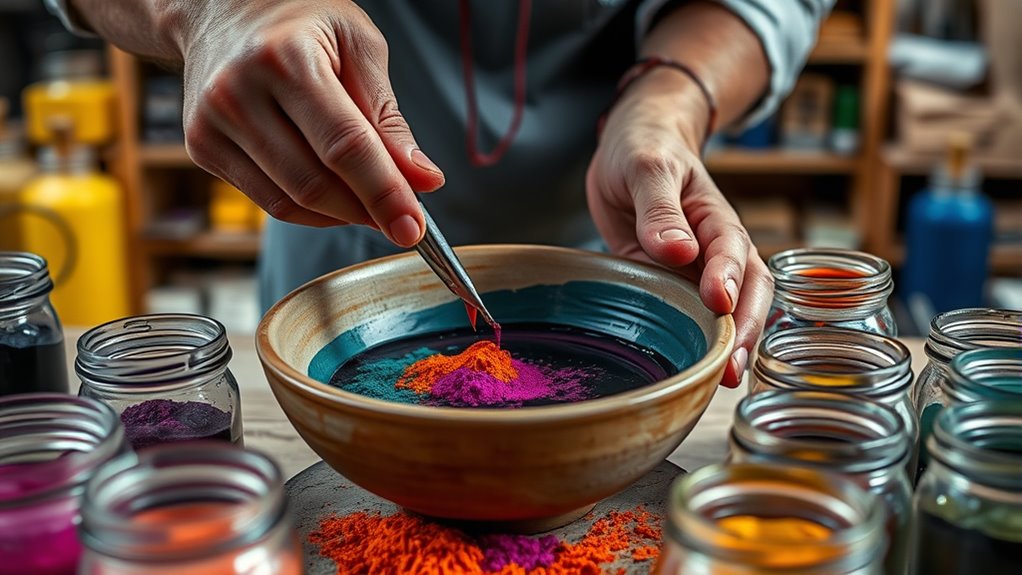
When ink is produced, you first pick pigments or dyes based on the color and durability you want.
Then, you prepare a smooth ink base by mixing these with binders and solvents, sometimes gently heating the blend.
Next, the pigments are finely ground for vibrancy, and additives are added to improve flow, drying, and adhesion.
Finally, the ink undergoes quality tests and is carefully packaged.
If you want to know what makes each step so essential, keep exploring the process.
It’s pretty interesting how every ingredient plays its part to create the perfect ink!
Key Takeaways
- Pigments or dyes are selected based on color, durability, solubility, and environmental safety for the intended ink use.
- Raw materials including binders, solvents, and additives are mixed and gently heated to create a uniform ink base.
- Pigment particles are finely ground to microscopic size to ensure consistent color vibrancy and smooth flow.
- Additives like surfactants, drying agents, and stabilizers are added to improve drying time, adhesion, and pigment dispersion.
- The ink undergoes quality control tests for color, viscosity, and stability before packaging in spill-proof containers with clear labels.
Selecting Pigments and Dyes
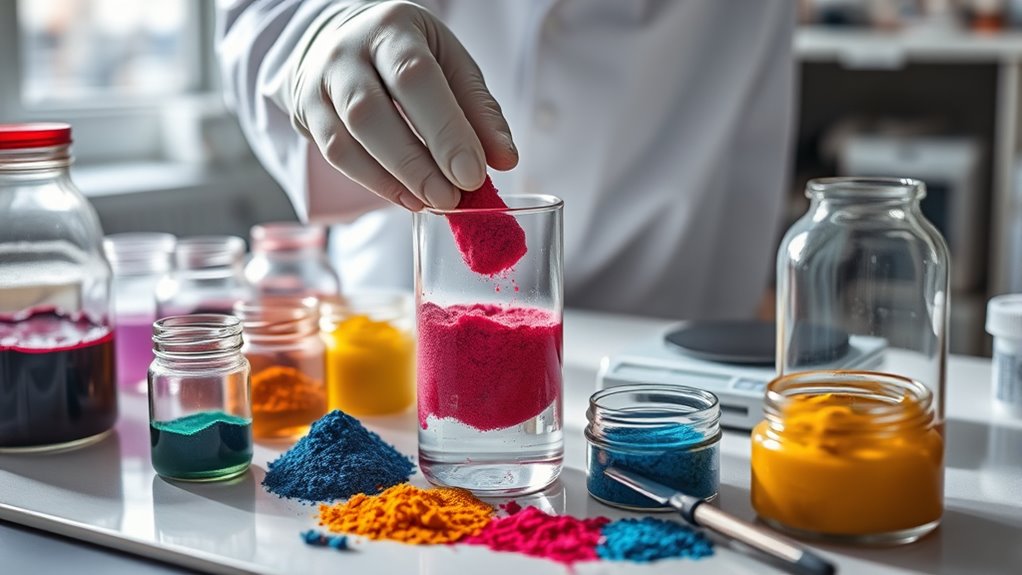
How do you choose the right pigments and dyes for ink production? Start by considering the ink’s purpose and required properties.
Pigments offer durability and opacity, making them ideal for printing and art supplies where longevity matters. Dyes provide vibrant, translucent colors, perfect for applications needing brightness and smooth flow.
You’ll also want to evaluate lightfastness, ensuring colors don’t fade quickly under exposure. Solubility plays a role—dyes dissolve easily, while pigments disperse as fine particles, affecting the ink’s stability and texture.
Safety and environmental impact matter too; some pigments contain heavy metals, so you’ll want non-toxic, eco-friendly options. Ultimately, your choice balances color quality, performance, and compatibility with the printing method.
That way, you ensure the ink meets its intended function efficiently.
Preparing the Ink Base
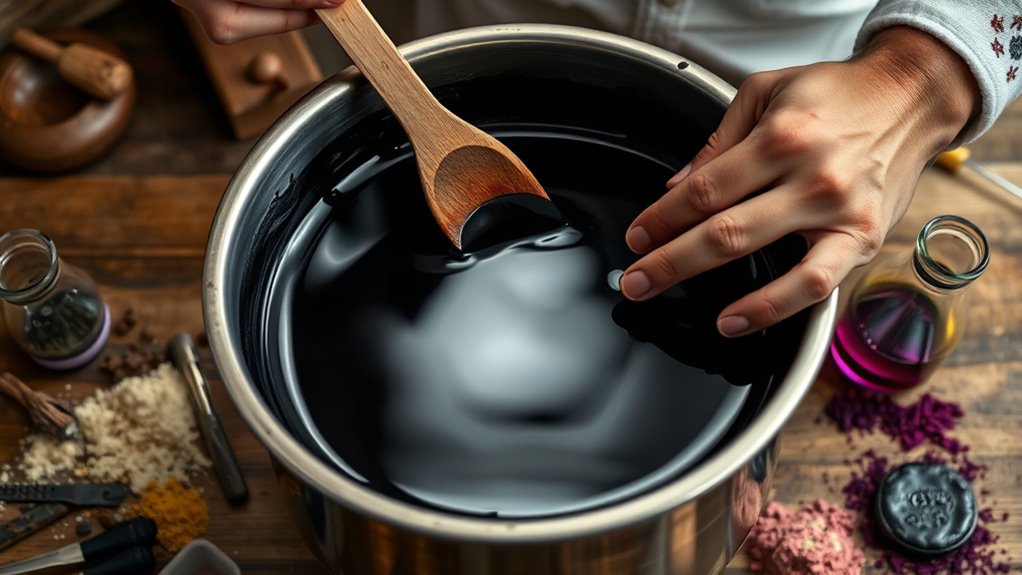
Now that you’ve chosen the right pigments and dyes, it’s time to focus on preparing the ink base. You’ll start by selecting quality raw materials that guarantee consistency and durability.
Then, you’ll mix and heat these components carefully to create a smooth, stable foundation for your ink. This step is crucial because it affects how well your ink performs later on.
Selecting Raw Materials
Choosing the right raw materials forms the foundation of a high-quality ink base. You need to carefully select each component to guarantee your ink performs perfectly.
Your choices influence color vibrancy, drying time, and durability. So, it’s worth taking the time to get it right.
Here are key raw materials you’ll focus on:
- Pigments or dyes for vivid, lasting color
- Binders to hold pigment particles together
- Solvents that control ink flow and drying
- Additives to enhance properties like gloss or stability
- Fillers for texture and consistency
Mixing and Heating Process
Although selecting raw materials sets the foundation, you’ll need to carefully mix and heat them to create a consistent ink base. You start by combining pigments, solvents, and binders in precise proportions.
Using specialized mixers, you blend these ingredients thoroughly to guarantee an even distribution of color and texture. Next, you gently heat the mixture to a specific temperature, which helps dissolve solids and activate chemical reactions.
This heating process improves flow and adhesion properties essential for quality ink. You monitor the temperature closely to avoid overheating, which could degrade the components.
Once mixed and heated, the ink base becomes smooth and uniform, ready for further refinement. This step is vital because it directly affects the ink’s performance and final appearance.
Mixing and Grinding Components
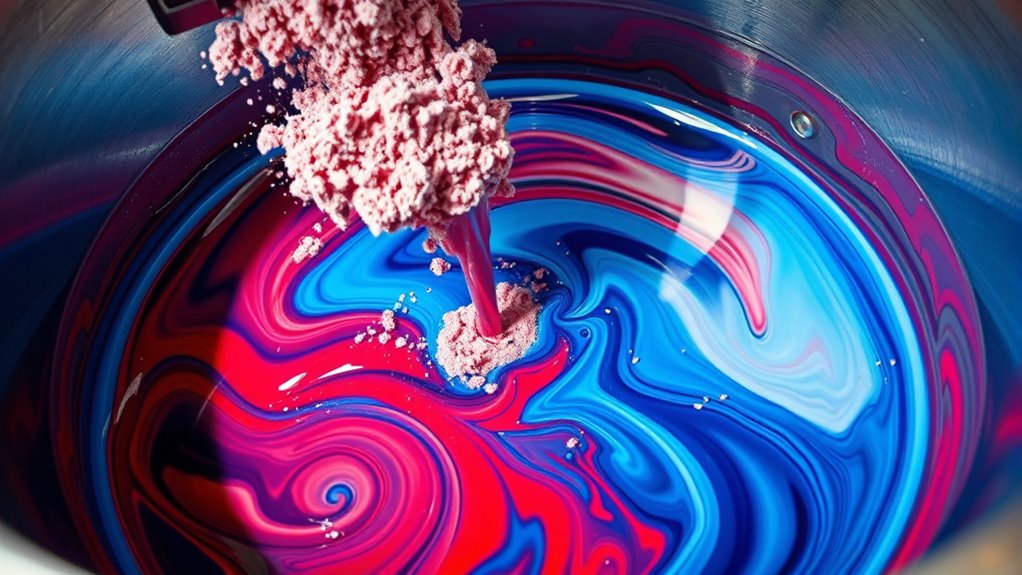
Before you can produce a smooth, consistent ink, you need to carefully mix and grind its components. This step guarantees that pigments or dyes disperse evenly, avoiding clumps that can ruin your final product.
Careful mixing and grinding ensure pigments disperse evenly, preventing clumps and delivering smooth, consistent ink.
You’ll use specialized mills or grinders to break down pigment particles to a microscopic size. This process improves color vibrancy and flow.
As you mix and grind, focus on achieving uniform particle size for a smooth texture and preventing air bubbles that can cause ink defects.
Also, controlling temperature is key to maintaining chemical stability. Make sure to blend thoroughly for consistent color throughout.
Don’t forget to monitor viscosity so it matches your printing requirements.
Mastering this stage guarantees your ink flows perfectly and looks vibrant every time you print.
Adding Additives for Performance
When you add additives to ink, you’re improving its flow, drying time, and durability. Common additives like surfactants, stabilizers, and humectants each play a key role in enhancing ink quality.
Understanding these helps you tailor the ink’s performance to your specific needs. So, knowing what each additive does can really make a difference.
Types of Common Additives
Since ink needs to perform well under various conditions, manufacturers add specific additives to enhance properties like drying time, stability, and adhesion.
You’ll find these common additives make a huge difference:
- Drying agents speed up the drying process, so your prints don’t smudge.
- Surfactants improve flow and prevent ink from clumping or spreading unevenly.
- Stabilizers keep the ink’s pigments dispersed, ensuring consistent color every time.
- Adhesion promoters help ink stick firmly to different surfaces, preventing peeling or fading.
- Anti-foaming agents reduce bubbles during printing, giving you smooth, flawless results.
Impact on Ink Quality
Although additives may seem like minor ingredients, they play an essential role in enhancing ink quality by improving performance factors such as drying speed, color stability, and adhesion. When you add drying agents, the ink sets faster, preventing smudging and boosting production efficiency.
Stabilizers help maintain consistent color over time, so your prints stay vibrant and sharp. You’ll also find that adhesion promoters ensure the ink bonds well to various surfaces, reducing peeling or fading.
Quality Control and Testing
How can you guarantee that every batch of ink meets the highest standards? You rely on rigorous quality control and testing throughout production. This makes certain the ink performs reliably and looks perfect every time it’s used.
You’ll test for:
- Color consistency to maintain vibrancy
- Viscosity to ensure smooth application
- Drying time to prevent smudging
- Adhesion to various surfaces for durability
- Chemical stability to avoid fading over time
Packaging and Distribution
When you package ink, you protect its quality and make it easy for customers to use. You’ll choose containers designed to prevent spills and preserve the ink’s consistency, often using airtight bottles, cartridges, or cans.
Clear labeling is essential. It provides information on color, type, and usage instructions.
Clear labeling ensures customers know the ink’s color, type, and how to use it properly.
After packaging, you coordinate distribution to ensure the ink reaches retailers or end-users promptly. You’ll work with logistics partners to manage storage conditions, avoiding extreme temperatures that could degrade the ink.
Efficient distribution also involves tracking shipments and managing inventory to meet demand without delays.
Frequently Asked Questions
What Are the Environmental Impacts of Ink Production?
You’ll find that ink production can pollute water and air, use toxic chemicals, and consume lots of energy.
Choosing eco-friendly inks and recycling materials helps reduce these harmful environmental impacts effectively.
How Is Ink Disposal Managed Safely?
You can reduce pollution by properly disposing of ink cartridges; over 70% of them end up in landfills.
Many stores offer recycling programs, so don’t toss cartridges in the trash—recycle them safely instead.
It’s a simple step that really helps the environment. Just take a moment to find a local drop-off point or store that participates in recycling.
What Innovations Are Shaping the Future of Ink Manufacturing?
You’ll see innovations like eco-friendly, biodegradable inks, digital printing tech reducing waste, and nanotechnology enhancing color vibrancy.
These advancements make ink manufacturing more sustainable, efficient, and vibrant, shaping a greener, smarter future for prints.
It’s pretty exciting to think about how these changes not only help the environment but also improve the quality of what we print.
The future of ink is looking bright and colorful, don’t you think?
How Do Different Printing Methods Affect Ink Formulation?
Different printing methods demand specific ink formulations to guarantee compatibility, drying speed, and color vibrancy. You’ll need thicker inks for screen printing, quick-drying ones for digital, and solvent-resistant types for flexography to get ideal results.
It’s all about matching the ink to the method. For example, thicker inks help screen printing achieve bold colors without bleeding. Meanwhile, digital printing requires inks that dry fast to keep up with the speed of the machine.
And don’t forget about flexography! It uses solvent-resistant inks to handle the high-speed rollers and various substrates. So, picking the right ink really makes a big difference in the final print quality.
Can Ink Be Made From Natural or Organic Materials?
Yes, you can make ink from natural or organic materials like plant dyes, charcoal, and berries. These ingredients offer eco-friendly alternatives.
Though, they might differ in color intensity and drying time compared to synthetic inks. It’s pretty cool to experiment with them!
Conclusion
Now that you’ve seen how pigments blend with a smooth, glossy base, you can almost feel the rich colors swirling in the mixing vats. As additives slip in like secret ingredients, the ink gains its perfect flow and durability.
With each test and careful check, the ink’s journey is sealed, ready to dance across paper. Next time you see a bold stroke or delicate script, you’ll know the magic behind every drop.
Ink production is truly a fascinating process. From mixing pigments to adding special ingredients for flow and durability, every step matters. So, whenever you pick up a pen or see vibrant printed colors, remember the careful crafting that brings ink to life on paper.