How Is Tattoo Ink Made Step by Step
To make tattoo ink, you start by selecting high-quality, non-toxic pigments and grinding them into a fine powder. These pigments are the core of the ink, giving tattoos their vibrant colors.
Next, you mix the pigments with a chosen carrier like distilled water or glycerin to get the right consistency. This step is crucial because the carrier affects how smoothly the ink flows and how well it settles in the skin.
Then, you sterilize the ink to ensure it’s safe for use. Sterilization helps prevent infections, which is super important for anything that goes under the skin.
After sterilizing, the ink is packaged in airtight containers to keep it fresh and uncontaminated.
Finally, you test the ink for color consistency, sterility, and flow to guarantee quality.
Curious about the details behind each step? Keep exploring what goes into creating safe, vibrant tattoo ink!
Key Takeaways
- Select high-quality, non-toxic pigments and grind them into fine powders for vibrant, consistent colors. This step is crucial to get those bright, lasting hues in your tattoo.
- Mix pigments with carefully chosen carrier solutions like distilled water or glycerin. This helps the ink flow properly and keeps it safe for your skin.
- Sterilize the ink using autoclaving, filtration, or UV light to eliminate microbes. It’s important to do this without messing up the pigment quality.
- Conduct quality tests for color consistency, sterility, viscosity, and pigment stability. These checks make sure the ink is safe and performs well.
- Package ink in sterile, airtight containers to keep it fresh. Also, verify that it works smoothly with tattoo equipment for precise application.
Selecting and Preparing Raw Pigments
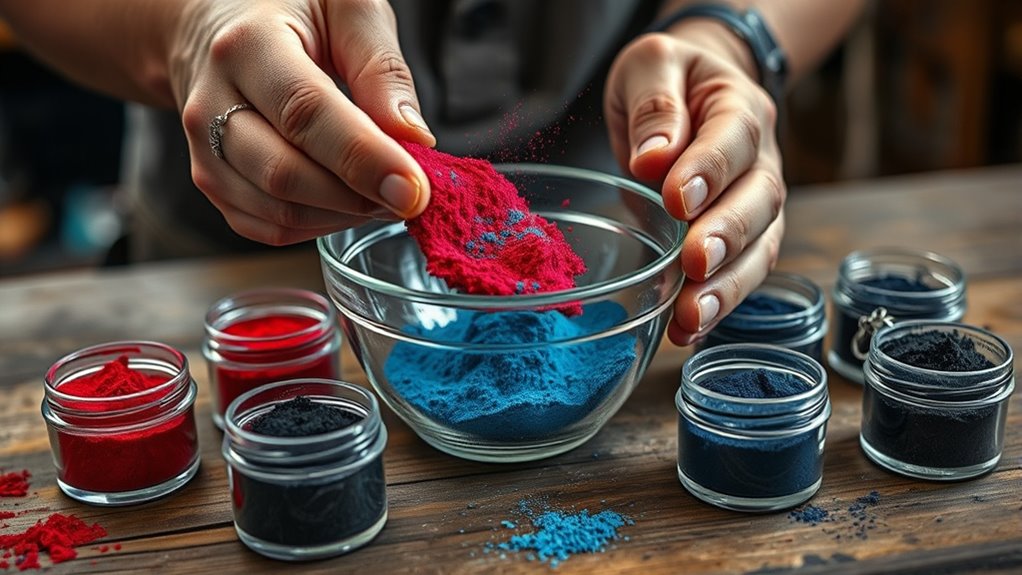
Before you begin mixing tattoo ink, you need to select high-quality raw pigments carefully. These pigments determine the ink’s color, safety, and longevity on the skin. You’ll want to choose pigments that are non-toxic, stable, and FDA-approved for cosmetic use.
Organic and inorganic pigments each have their benefits; organics offer vibrant colors, while inorganics tend to be more durable. Inspect the pigments for purity and consistency to avoid contaminants that could cause reactions. Once selected, you’ll prepare them by measuring precise amounts to guarantee color accuracy.
Keep the pigments dry and stored in airtight containers until you’re ready to mix. This preparation step is vital to guarantee the final ink is safe, vibrant, and reliable for tattooing. So, take your time with this part — it really makes a difference!
Grinding and Mixing Pigments
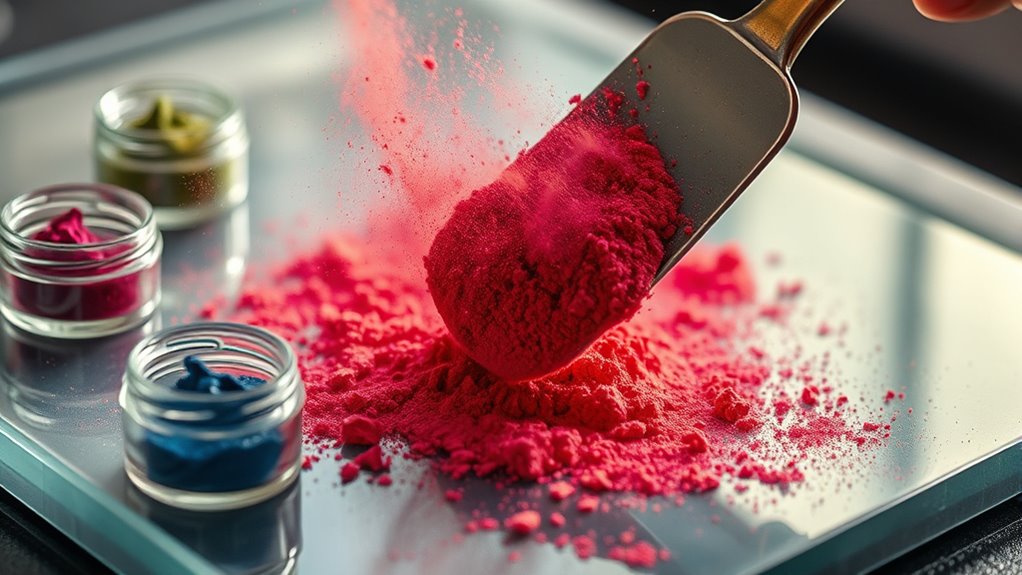
Now that you’ve selected the right pigments, it’s time to grind them into a fine consistency using specific techniques. You’ll then mix these ground pigments with base ingredients to create smooth, vibrant inks.
Understanding this process guarantees your tattoo ink performs safely and effectively. It’s a crucial step that helps ensure the colors look great and last long on the skin.
Pigment Selection Process
Although selecting the right pigments might seem straightforward, grinding and mixing them requires careful attention to achieve the perfect consistency and color vibrancy.
You’ll start by choosing high-quality pigments based on colorfastness and safety. Then, you grind the pigments into a fine powder to ensure smooth application and vibrant results.
Mixing the ground pigments with a carrier fluid balances the ink’s texture and adhesion. This process directly affects the tattoo’s final appearance and longevity.
| Pigment Type | Color Properties | Common Uses |
|---|---|---|
| Organic | Bright, vivid | Reds, yellows |
| Inorganic | Stable, opaque | Blacks, whites |
| Metallic | Shiny, reflective | Specialty colors |
| Fluorescent | Neon, glowing | Highlighting effects |
Grinding Techniques Explained
When you grind pigments for tattoo ink, you make sure they break down into a fine, uniform powder that blends seamlessly with carrier fluids. You start by selecting the right grinding equipment, often using ball mills or mortar and pestles for small batches.
Consistent particle size is key, so you keep the pigments moving until they reach a smooth texture without clumps. You pay close attention to avoiding contamination during the process by cleaning tools thoroughly between batches.
Grinding also helps activate the pigments, improving their color intensity and stability. By controlling the grinding time and pressure, you ensure the pigments maintain their quality and don’t degrade.
This step sets the foundation for producing vibrant, lasting tattoo ink. It’s all about getting that perfect consistency and preserving the pigment’s strength.
Mixing Base Ingredients
Before you combine pigments with carrier fluids, you need to grind and mix the base ingredients carefully to achieve a smooth, consistent blend. This step guarantees your tattoo ink has the right texture and pigment distribution for safe, vibrant results.
Here’s how you do it:
- Measure precise amounts of pigment powders.
- Use a mortar and pestle or mechanical grinder to break down clumps.
- Slowly add a small amount of carrier fluid to test consistency.
- Stir thoroughly until the mixture becomes uniform and free of lumps.
Choosing the Carrier Solution
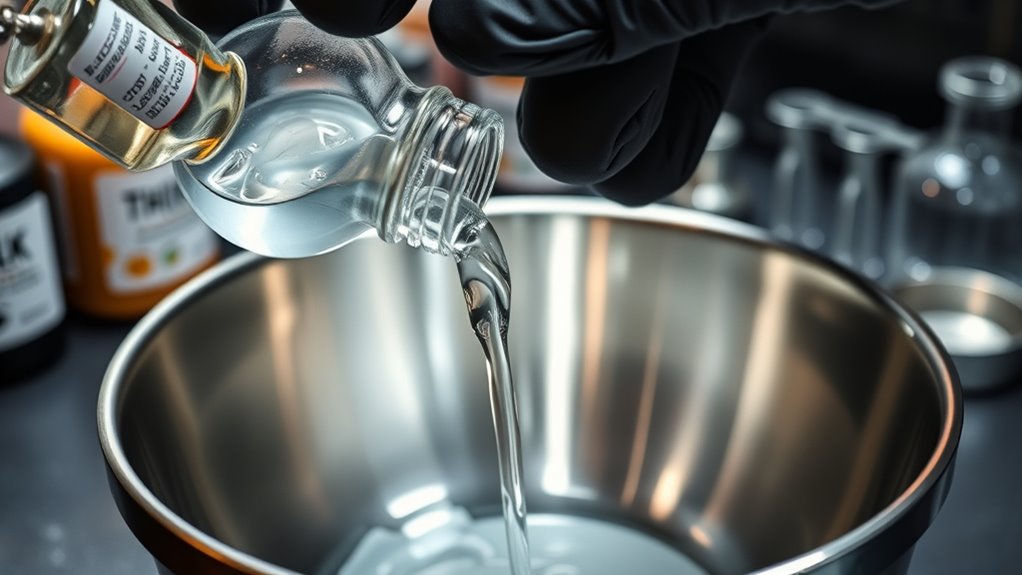
Since carrier solutions play a crucial role in the quality and safety of tattoo ink, you need to select them carefully. The carrier acts as a liquid base that holds the pigment particles together and guarantees smooth application.
It also helps prevent clumping, controls the ink’s consistency, and reduces the risk of infection by inhibiting bacterial growth. Common carriers include distilled water, ethyl alcohol, witch hazel, and glycerin.
Each has unique properties, so you should consider factors like drying time, skin sensitivity, and pigment stability. For example, glycerin adds moisture, while alcohol helps disinfect.
Avoid carriers with harmful additives or allergens. By choosing a high-quality, safe carrier solution, you’ll create ink that flows well, stays vibrant, and remains safe for tattooing.
Combining Pigments With Carrier
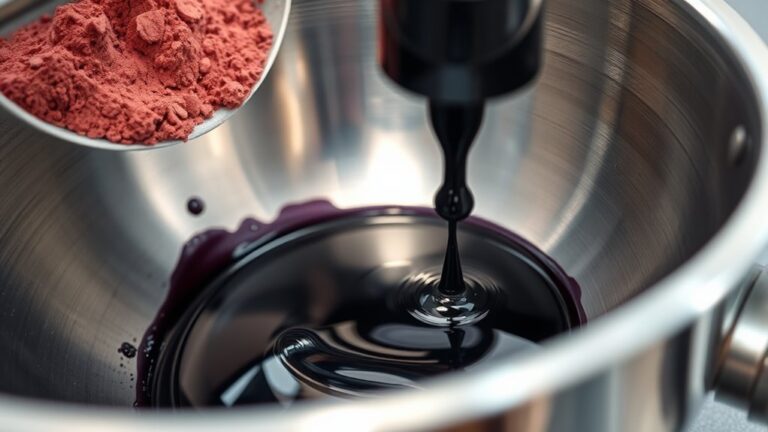
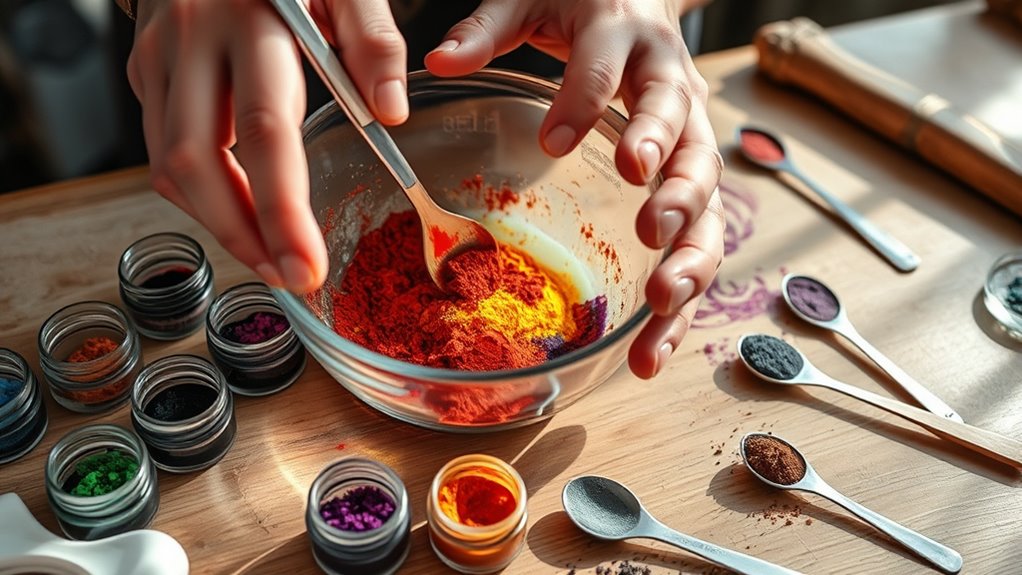
Although selecting the right carrier is essential, combining it correctly with pigments determines the ink’s final texture and color intensity. You’ll start by carefully measuring the pigment powder to match the desired shade.
Choosing the right carrier and mixing it properly with pigments shapes your ink’s texture and color vibrancy.
Next, slowly add the carrier solution to the pigments to prevent clumping. Then, use a mechanical mixer to blend the mixture evenly, ensuring a smooth consistency without lumps.
Finally, test the blend’s viscosity and color saturation, adjusting the pigment or carrier ratios if needed.
- Measure pigments accurately
- Add carrier gradually
- Mix thoroughly with a mechanical mixer
- Test and adjust consistency and color
This process ensures your tattoo ink flows well and holds vibrant color when applied.
Sterilizing the Ink Mixture
You’ll need to sterilize the ink mixture to keep it safe and free from contaminants. Common methods include filtration and heat treatment, each ensuring the ink meets strict safety standards.
Let’s explore how these processes protect both the ink and the person getting tattooed. It’s pretty important stuff to make sure everything stays clean and safe!
Sterilization Methods Overview
When preparing tattoo ink, you must guarantee it’s free from harmful microbes to protect both the artist and the client. Sterilizing the ink mixture involves several key methods to ensure safety without compromising pigment quality.
Here are the main sterilization techniques used:
- Autoclaving – Using high-pressure steam to kill bacteria and spores effectively.
- Filtration – Passing the ink through fine filters to remove contaminants without heat.
- Ultraviolet (UV) Light – Applying UV light to disrupt microbial DNA and sterilize the mixture.
- Chemical Sterilants – Adding approved agents that neutralize microbes while maintaining ink stability.
Each method has pros and cons, so manufacturers often combine techniques to guarantee thorough sterilization while preserving the ink’s integrity. It’s all about finding the right balance to keep the ink safe and high-quality.
Ensuring Ink Safety
To keep tattoo ink safe for use, you need to sterilize the mixture thoroughly. This step eliminates harmful bacteria, fungi, and other contaminants that could cause infections.
You’ll typically use methods like autoclaving, where high-pressure steam sterilizes the ink without altering its chemical properties. Alternatively, some manufacturers filter the ink through sterile membranes to remove microorganisms.
Always verify your equipment and workspace are clean before handling the ink to prevent recontamination. After sterilization, store the ink in airtight, sterile containers to maintain its safety.
Packaging and Quality Testing
Although the ink’s formulation is essential, packaging and quality testing guarantee that what reaches your skin is safe and reliable. Once the ink is mixed and tested, it’s carefully packaged in sterile, airtight containers to prevent contamination and preserve its consistency.
Packaging in sterile, airtight containers ensures tattoo ink remains safe, uncontaminated, and consistent for your skin.
Before you get a tattoo, the ink undergoes rigorous quality testing, including color consistency checks to ensure a uniform shade and pigment distribution. They also run sterility tests to confirm there are no harmful bacteria or fungi.
Viscosity measurements are done to make sure the ink flows correctly during application. Plus, toxicology screenings verify the ink’s ingredients meet safety standards.
This thorough process ensures the tattoo ink is both high-quality and safe for use on your skin. So, you can feel confident that what’s going in your skin has been carefully checked and handled.
Frequently Asked Questions
Are Tattoo Inks Safe for All Skin Types?
Tattoo inks aren’t always safe for all skin types. You might experience allergies or irritation, especially with sensitive skin.
It’s best to do a patch test and consult a professional before getting tattooed. That way, you can avoid any surprises and keep your skin happy!
How Long Does Tattoo Ink Last on the Skin?
Your tattoo’s colors typically stick around for years, but they might gently fade over time.
Sun exposure and skin care play a big role, so you’ll want to protect and moisturize to keep your ink vibrant longer.
Can Tattoo Ink Cause Allergic Reactions?
Yes, tattoo ink can cause allergic reactions, especially if you have sensitive skin or allergies to certain pigments.
It’s a good idea to do a patch test beforehand. Also, make sure to talk with your tattoo artist to minimize any risks before getting inked.
Is Vegan Tattoo Ink Available?
Yes, you can find vegan tattoo ink! It’s made without animal products or byproducts, using plant-based or synthetic ingredients.
Always check labels or ask your artist to guarantee the ink aligns with your vegan values. It’s pretty easy to find once you know what to look for!
How Is Tattoo Ink Removed or Faded?
You can remove or fade tattoo ink using laser treatments that break down ink particles, allowing your body to flush them out.
Multiple sessions might be needed, and some fading can also occur naturally over time. It’s a process that requires patience, but many find the results worth it.
Conclusion
You start with raw pigments, rough and natural, then grind them down to smooth perfection. You mix vibrant colors with clear, sterile carriers—bold meets clean.
Sterilizing guarantees safety, while packaging preserves freshness. Every step balances art with science, chaos with control.
Making tattoo ink isn’t just a process; it’s a delicate dance between creativity and precision, turning simple ingredients into something lasting and beautiful on skin.
When you make tattoo ink, you’re creating more than just color. You’re crafting expression that stays with someone forever. This blend of pigments, carriers, and careful sterilization ensures every drop is safe, vibrant, and ready to become art. It’s a perfect mix of chemistry and creativity, proving that tattoo ink is truly an art form in itself.