How Do I Get Ink Stains Out of My Dryer
To get ink stains out of your dryer, you first need to figure out if the ink is oil-based or water-based. This helps you choose the best cleaning method for the job.
Start by blotting any excess ink gently to avoid spreading it further.
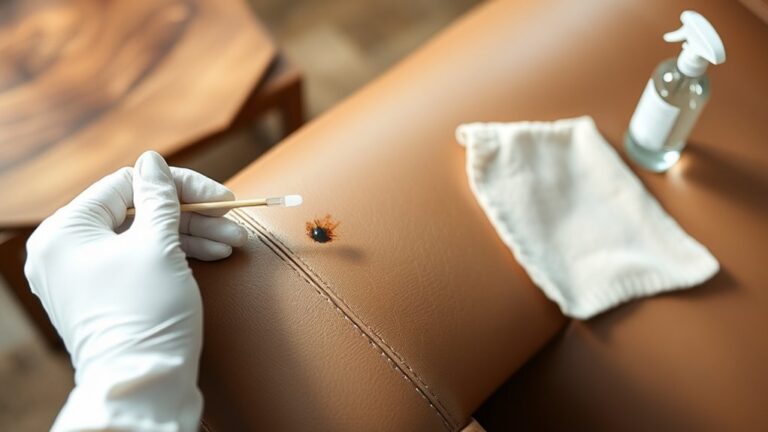
Next, grab some rubbing alcohol and apply it with a cloth, but don’t rub too hard.
If the stain doesn’t come off, try making a baking soda paste or use a damp magic eraser to scrub lightly.
Always test these cleaning methods on a small, hidden area of your dryer first to make sure it won’t damage the surface.
Keep at it, and you’ll find effective ways to restore your dryer to its clean state.
Plus, you can learn some tips to prevent future ink stains from sneaking inside.
Key Takeaways
- Identify if the ink stain is oil-based or water-based to choose the best cleaning method for your dryer surface.
- Blot excess ink with a clean cloth and avoid rubbing to prevent spreading the stain.
- Use a cloth dampened with 70% rubbing alcohol to gently blot and remove the ink stain from the dryer.
- Apply a baking soda paste for stubborn stains, scrubbing gently and letting it sit before wiping clean.
- Use a damp magic eraser with light pressure to safely lift ink stains without damaging the dryer finish.
Identify the Type of Ink Stain
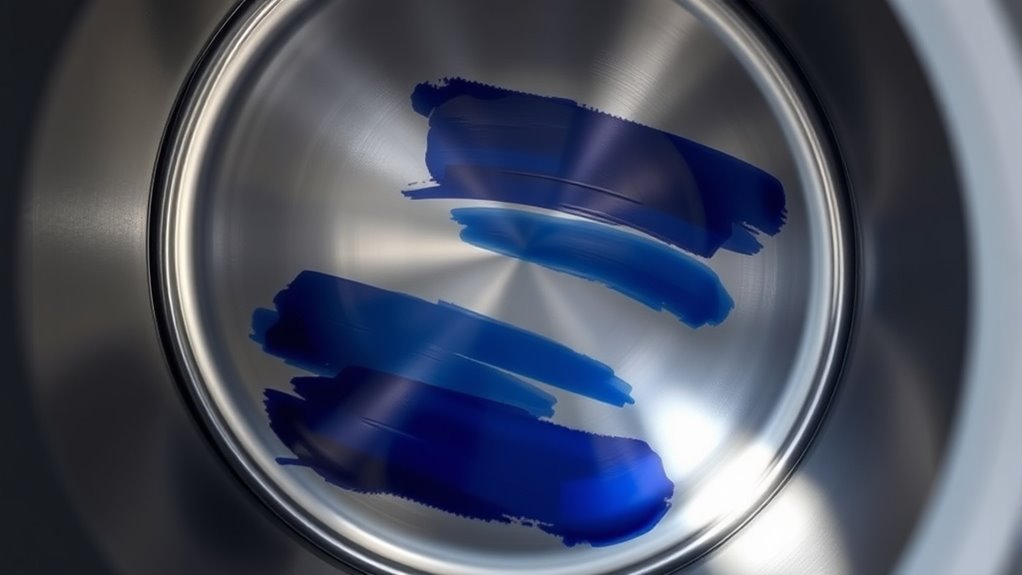
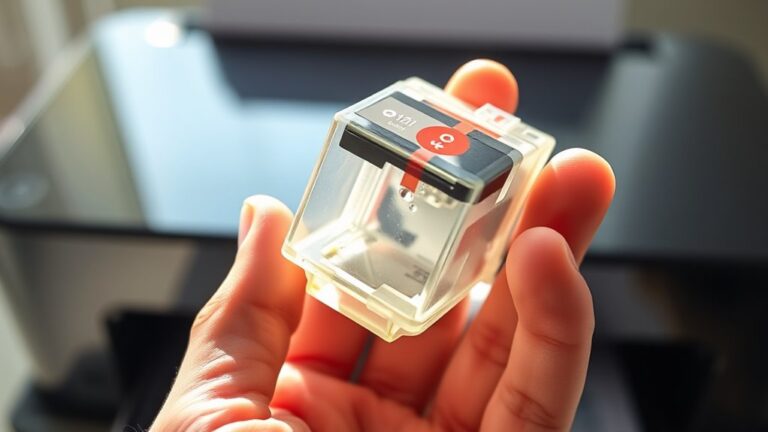
Before you begin treating an ink stain on your dryer, you need to identify the type of ink involved. Different inks react differently to cleaning agents, so knowing whether the stain is from ballpoint pen, marker, or printer ink helps you choose the right approach.
Ballpoint pen ink is oil-based and usually darker, while marker ink varies—permanent markers are tougher to remove than washable ones. Printer ink often has a watery consistency and may spread more easily.
Take a close look at the stain’s texture and color. If it feels greasy or smudges when touched, it’s likely oil-based. On the other hand, if it’s vibrant and sharp, it might be marker ink.
Identifying the ink type first saves you time and prevents damage to your dryer.
Prepare Your Cleaning Materials
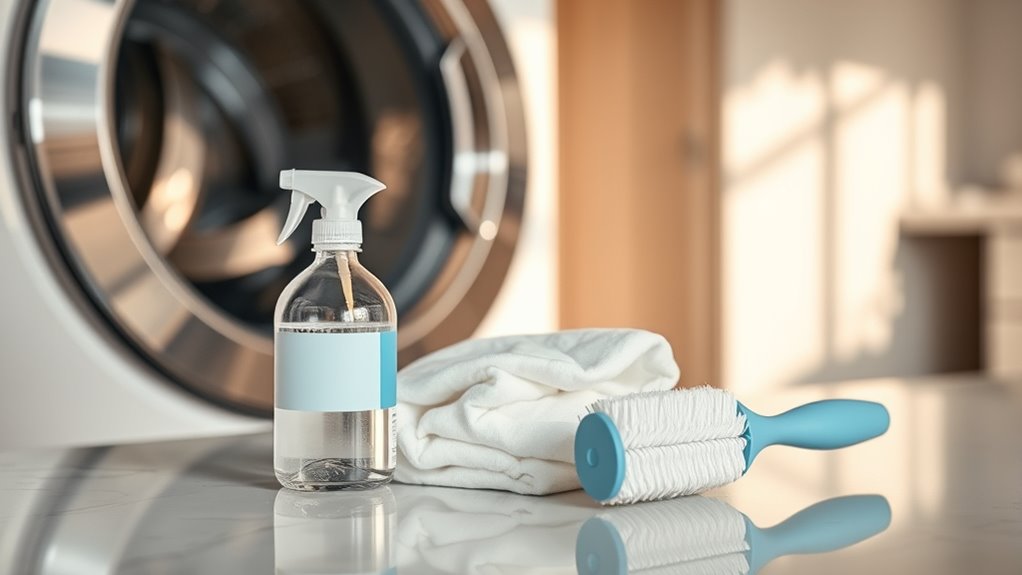
Although tackling ink stains can seem formidable, gathering the right cleaning materials will make the process much smoother. Start by grabbing some paper towels or a clean cloth to blot excess ink.
Have a small bowl of warm water ready to dampen your cloth as needed. You’ll also want a gentle cleaning agent like dish soap to break down the ink.
Keep a soft-bristled brush or an old toothbrush on hand to gently scrub stubborn spots. Prepare some gloves to protect your hands from harsh chemicals or prolonged contact with ink.
Finally, have a plastic scraper or credit card nearby for lifting dried ink without damaging your dryer’s surface. Being prepared with these items will help you tackle the stain efficiently and safely.
Use Rubbing Alcohol to Remove Ink
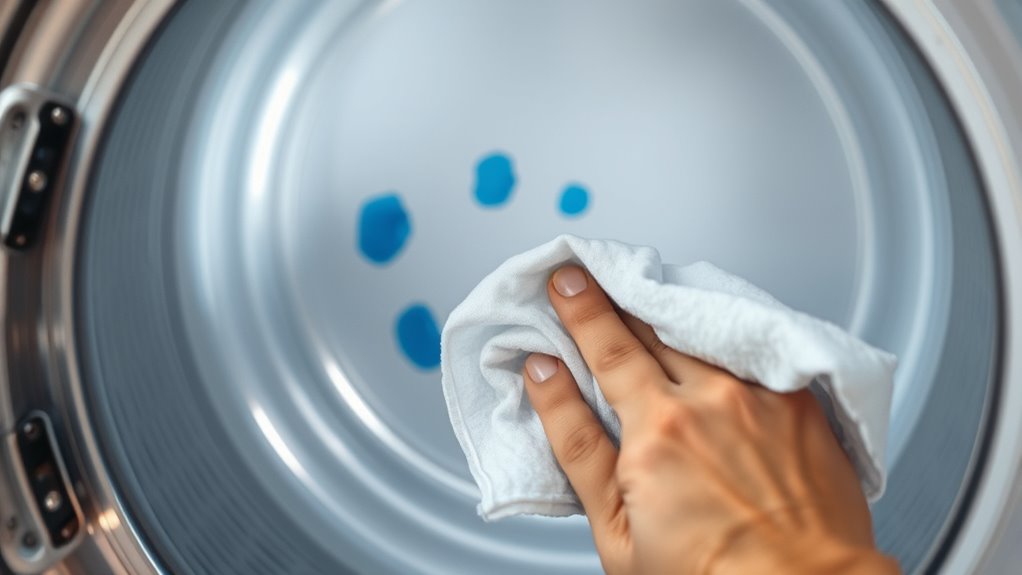
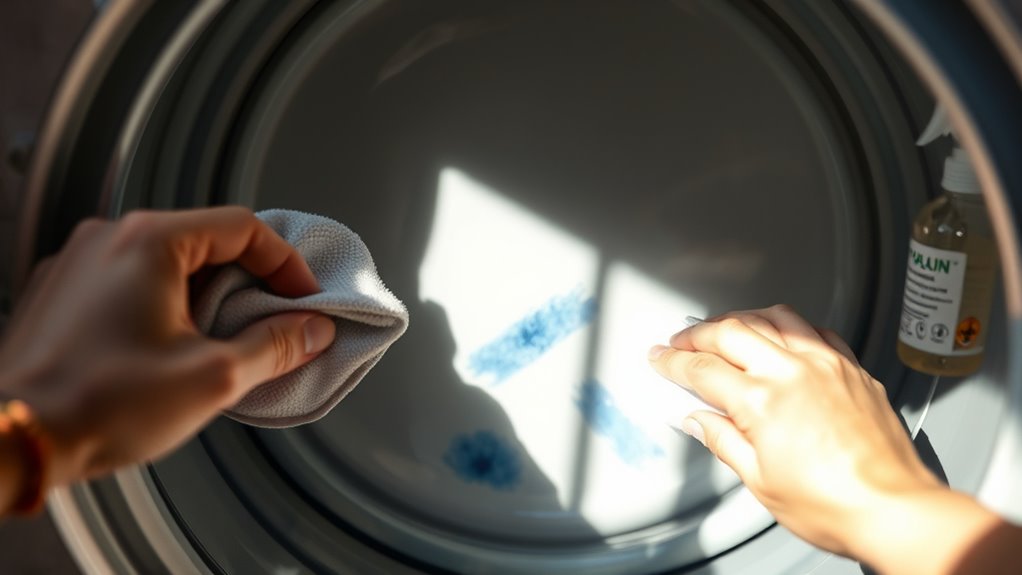
Once you’ve gathered your cleaning supplies, reach for some rubbing alcohol to tackle the ink stain. Rubbing alcohol is great at breaking down ink pigments, which makes it easier to lift the stain from your dryer’s surface.
Start by dampening a clean cloth with rubbing alcohol and gently blot the stained area. Try not to rub harshly—that can just spread the ink around.
After blotting, wipe the spot with a damp cloth to remove any residue. You might need to repeat this a few times until the stain fades away.
Here’s a quick checklist to guide you:
- Use 70% isopropyl rubbing alcohol for best results
- Work in a well-ventilated area
- Test on a small hidden spot first
- Wear gloves to protect your skin
This method is pretty simple and usually works really well, especially on fresh ink stains.
Try Baking Soda Paste for Tough Stains
If rubbing alcohol doesn’t fully remove the ink stain, you can try a baking soda paste for tougher spots. Mix baking soda with a small amount of water until you get a thick paste.
Apply it directly to the stained area and gently scrub with a soft cloth or sponge. Let it sit for 10-15 minutes before wiping it off with a damp cloth.
Baking soda’s mild abrasiveness helps lift ink without damaging your dryer’s surface.
| Step | Details |
|---|---|
| Mix | Baking soda + water to paste |
| Apply & Scrub | Use soft cloth, gentle pressure |
| Wait & Wipe Off | 10-15 minutes, then damp cloth |
This method works well for persistent ink stains you can’t remove with rubbing alcohol alone. Give it a try and see how it works for you!
Clean With a Magic Eraser
You’ll want to pick a magic eraser designed for delicate surfaces to avoid damage. Gently dampen the eraser and rub the ink stain in small, circular motions.
Just be careful not to scrub too hard. You want to protect your dryer’s finish, after all.
Choose the Right Eraser
Although many erasers can remove ink stains, choosing a magic eraser gives you the best chance of cleaning your dryer effectively without damaging the surface. Magic erasers are designed with micro-scrubbers that lift stains without harsh chemicals, making them safe for most dryer finishes.
When picking one, focus on quality and size to handle the stain properly. It really makes a difference!
Here’s what to think about when choosing the right eraser:
- Opt for a well-known brand to guarantee consistent performance.
- Select a size that fits the stain area to avoid waste.
- Check if it’s labeled safe for appliance surfaces.
- Avoid overly abrasive types that might scratch your dryer.
With the right magic eraser, you’re set for a cleaner, stain-free dryer. Easy, right?
Proper Cleaning Technique
When tackling ink stains on your dryer, start by dampening the magic eraser slightly to activate its cleaning power without soaking the surface. Gently rub the stained area using small, circular motions.
Apply only light pressure to avoid damaging the dryer’s finish. If the stain persists, just dampen the eraser again and continue carefully.
Avoid scrubbing too hard, as this can wear down the surface. After removing the ink, wipe the area with a clean, damp cloth to get rid of any residue from the eraser.
Finally, dry the surface with a soft towel. By following this technique, you’ll efficiently remove ink stains while keeping your dryer looking great and working well.
Prevent Future Ink Stains in Your Dryer
To keep ink stains out of your dryer, always check pockets carefully before washing. Use protective laundry bags for items that might still have ink on them.
Also, separate any ink-stained clothes from the rest to prevent spreading. It’s a simple step, but it really helps keep your laundry fresh and clean.
Check Pockets Thoroughly
Since ink stains often come from forgotten pens or markers left in pockets, you should always check them carefully before tossing clothes into the dryer. Taking a moment to inspect pockets can save you hours of scrubbing and prevent damage to your dryer drum.
Make it a habit to:
- Empty all pockets completely before laundry day.
- Shake out items that might be hidden inside, like receipts or small notes.
Also, look for any ink stains on fabric before washing to address them promptly. It’s a quick step that can save you a lot of hassle later.
And don’t forget to remind family members or roommates to check their pockets too. It’s a simple habit that really helps keep your laundry stain-free!
Use Protective Laundry Bags
Though you may carefully check pockets, ink stains can still sneak through during laundry. To protect your dryer, use protective laundry bags for items that might carry hidden ink marks.
These mesh bags act as a barrier, preventing ink from spreading inside the machine. Simply place pens, notebooks, or clothing with suspected ink stains into the bags before washing and drying.
This extra step helps contain any leaks and keeps your dryer drum clean. Plus, laundry bags protect delicate fabrics from damage.
Using them consistently reduces the risk of ink stains and extends your dryer’s lifespan. Make protective laundry bags a regular part of your routine to avoid unexpected messes and maintain your dryer’s condition.
Separate Ink-Stained Items
Whenever you spot ink stains on your clothes, make sure to separate these items from your regular laundry. This simple step prevents the ink from transferring to other garments or your dryer drum.
Treat the stained clothes as a special load to avoid spreading the mess.
Here’s how you can manage ink-stained laundry effectively:
- Wash ink-stained items separately with cold water.
- Avoid putting them directly in the dryer until stains are treated.
- Use a dedicated laundry bag for stained clothes if needed.
- Inspect the dryer drum regularly for any residual ink spots.
Frequently Asked Questions
Can Ink Stains Damage My Dryer’s Heating Element?
Ink stains themselves won’t damage your dryer’s heating element directly, but if ink seeps inside and causes buildup, it might affect performance.
You should clean spills quickly to prevent any potential damage or overheating issues. It’s better to tackle it early so your dryer keeps working smoothly.
Are Ink Stains Harmful to Clothes in the Dryer?
Ink stains in your dryer won’t directly harm your clothes, but they can transfer, causing new stains.
You’ll want to clean them promptly to avoid spreading ink onto your laundry and ruining your fabrics.
How Long Should I Wait Before Using the Dryer After Cleaning?
You should wait at least 24 hours after cleaning your dryer to make certain it’s completely dry and any cleaning agents have evaporated.
This helps prevent damage to clothes and ensures the dryer works efficiently without residue.
Basically, giving it a full day means you’re safe to start drying your clothes without any worries.
Can Professional Cleaning Services Remove Ink Stains From Dryers?
Think of pro cleaners as stain-fighting superheroes—they can often zap ink stains from your dryer effectively. You’ll save time and stress.
But remember, some stubborn marks might still leave a shadow behind despite their efforts.
Will Ink Stains Cause a Fire Hazard in My Dryer?
Ink stains in your dryer generally won’t cause a fire hazard, but they can build up lint or residue that might increase risk.
Conclusion
Getting ink stains out of your dryer is like tending a small garden—you can’t rush the process, but with patience and the right tools, you’ll see results bloom. Each step you take, from rubbing alcohol to baking soda paste, is like watering and nurturing your plants, gradually restoring your dryer’s clean surface.
By preventing future stains, you’re planting seeds for a longer-lasting, spotless machine. Keep caring for it, and it’ll serve you well for years to come. Remember, regular maintenance and prompt cleaning of ink stains will ensure your dryer stays in top shape, free from stubborn marks. Taking these simple steps will help you effectively remove ink stains from your dryer and keep it looking fresh and clean.