How to Clean Ink Off Leather Step by Step
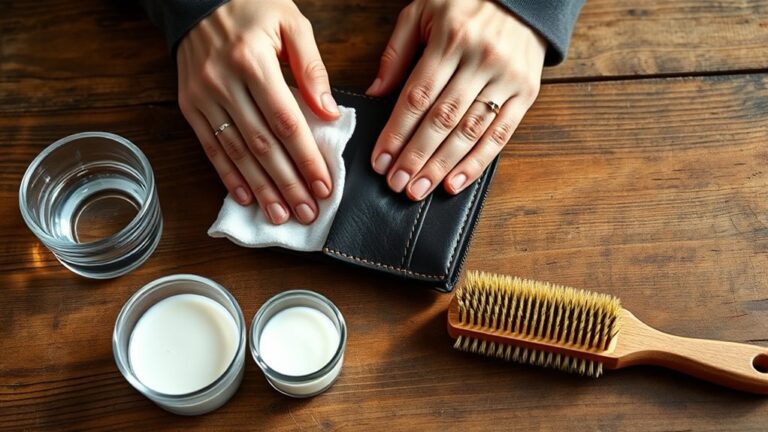
To clean ink off leather, start by identifying your leather type and the kind of ink stain you’re dealing with. This helps you pick the right cleaner and avoid damaging your leather. You’ll want to gather some soft cloths, a mild leather cleaner, and cotton swabs before you begin.
First, test your cleaner on a hidden spot to make sure it won’t cause any discoloration. Then, gently dab the ink stain with a cotton swab—don’t rub hard because that can spread the ink or harm the leather.
Blot away any excess ink carefully.
Next, wipe the area with a damp cloth and let it air dry naturally.
Once dry, finish by applying a leather conditioner to keep your leather looking supple and prevent it from drying out.
Want more detailed tips and care advice? Keep exploring to learn the best ways to maintain your leather’s beauty!
Key Takeaways
- Identify leather and ink types to choose the appropriate cleaning method and avoid damage.
- Gather mild leather cleaner, soft cloth, cotton swabs, distilled water, and isopropyl alcohol if needed.
- Test cleaning solution on a hidden leather spot for 10-15 minutes to check for adverse effects.
- Gently dab ink stain with cleaner using a soft cloth or cotton swab, avoiding harsh rubbing or scrubbing.
- Remove residue with a damp cloth, air dry naturally, and apply leather conditioner to restore moisture.
Identify the Type of Leather and Ink
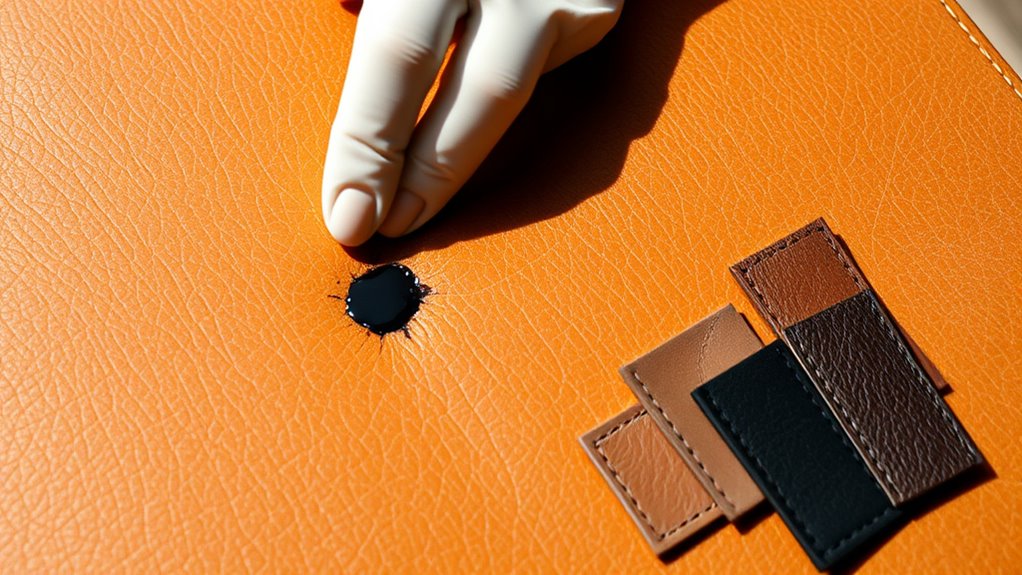
How can you effectively clean ink off leather without causing damage? First, you need to identify the type of leather and ink involved.
Different leathers—like aniline, semi-aniline, or pigmented—react differently to cleaning agents. Aniline leather is delicate and absorbs liquids quickly, so it requires gentle treatment. Pigmented leather has a protective coating, making it a bit easier to clean.
Next, consider the ink type. Is it from a ballpoint pen, marker, or fountain pen? Water-based inks tend to lift more easily than oil-based or permanent inks.
Knowing this helps you choose the safest cleaning method. Spend time examining the ink stain and leather texture carefully before proceeding to avoid worsening the damage.
Gather Necessary Cleaning Supplies
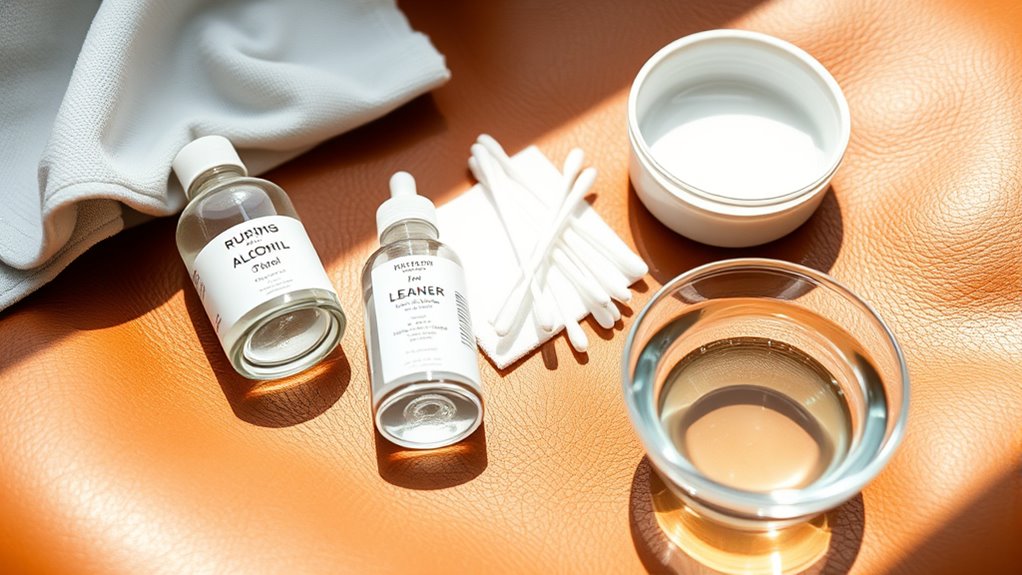
Once you know the type of leather and ink you’re dealing with, you can gather the right cleaning supplies to tackle the stain safely. Start with a soft, clean cloth or microfiber towel—these won’t scratch your leather.
Identify your leather and ink type first, then use a soft cloth to clean without scratching.
You’ll also need a mild leather cleaner or a gentle soap, like saddle soap, suitable for your leather type. Have some distilled water on hand to dilute the cleaner if necessary.
For stubborn ink, consider isopropyl alcohol (rubbing alcohol) or a leather-specific ink remover, but use them sparingly. Keep cotton swabs or cotton balls nearby for precise application.
Finally, have a leather conditioner ready to restore moisture after cleaning. Gathering these supplies beforehand guarantees you’re prepared and helps prevent further damage to your leather item.
Test Cleaning Solution on a Hidden Area
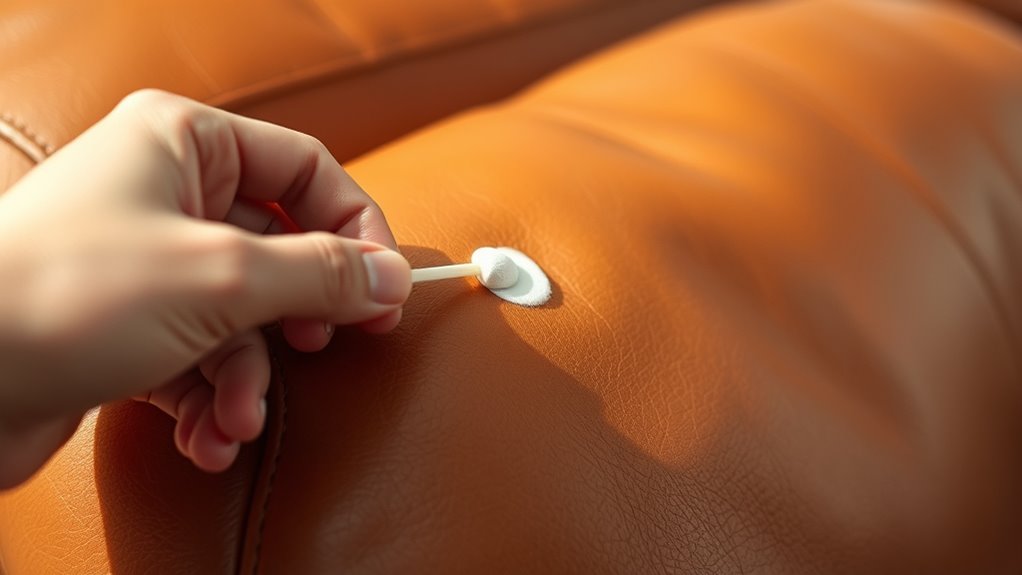
Before applying any cleaning solution to the visible parts of your leather, you should test it on a hidden area first. This step is vital to guarantee the solution won’t damage or discolor your leather.
Choose a small, inconspicuous spot—like the inside seam or under a flap. Apply a small amount of the cleaning solution using a cotton swab or soft cloth.
Wait for about 10-15 minutes to observe any changes in color, texture, or finish. If the leather shows no adverse effects, you can proceed confidently with cleaning the visible ink stain.
However, if you notice any damage, discoloration, or stiffness, stop immediately and consider a gentler solution or professional help. Testing prevents costly mistakes and preserves your leather’s appearance.
Apply the Cleaning Method Carefully
You’ve already tested the cleaner on a hidden spot, so now it’s time to apply it carefully. Use gentle motions to avoid damaging the leather’s surface.
Taking your time helps protect your leather while removing the ink effectively. Just be patient, and you’ll get the job done right!
Test Cleaner First
How can you guarantee your leather stays unharmed while removing ink? The key is to test your chosen cleaner on a hidden area first. Apply a small amount of the cleaner to an inconspicuous spot, like the inside seam or underside.
Wait several minutes to see if the leather’s color or texture changes. If you notice any discoloration, fading, or damage, stop immediately and try a different cleaner. This simple step helps you avoid ruining the visible part of your leather item.
Use Gentle Motions
Although it might be tempting to scrub vigorously, you should use gentle motions when cleaning ink off leather to avoid damaging the surface. Lightly dab or wipe the stained area with a soft cloth or cotton swab, applying the cleaning solution sparingly.
Avoid harsh rubbing, which can wear away the leather’s finish or cause discoloration. Move in small, circular motions to lift the ink without spreading it further.
If you need to repeat the process, be patient and gentle each time. Remember, leather is delicate, so treating it with care guarantees the material stays intact and looks good.
Using gentle motions helps you effectively remove the ink while preserving your leather’s texture and appearance. Just take your time, and you’ll get great results.
Remove Residue and Dry the Leather
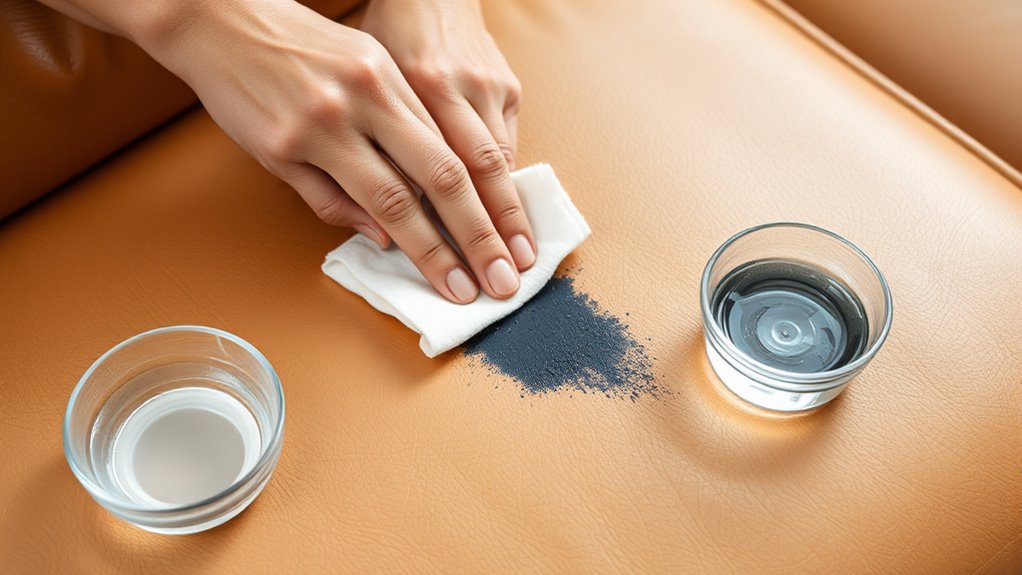
Once you’ve treated the ink stain, gently wipe away any excess residue with a soft cloth. Use a mild cleanser to remove leftover ink without damaging the leather’s surface.
Then, let the leather air dry naturally to preserve its texture and finish. It’s best to avoid using heat or direct sunlight, as that can dry out the leather too much. Just let it dry at its own pace.
Wipe Excess Ink
Why act quickly when wiping excess ink off leather? Because the longer the ink sits, the deeper it soaks into the leather fibers, making removal tougher.
Start by gently blotting the ink with a clean, dry cloth or paper towel. Avoid rubbing, as that can spread the stain or push it further in. Use light, dabbing motions to lift the ink without damaging the leather’s surface.
Once you’ve removed as much ink as possible, switch to a slightly damp cloth to wipe away any remaining residue. Finally, pat the area dry with a soft towel to prevent moisture from seeping in, which could cause discoloration or damage.
Acting fast and carefully now sets you up for better results in the next cleaning steps.
Use Gentle Cleanser
After gently blotting away excess ink, you’ll want to remove any lingering residue without harming the leather. Start by mixing a small amount of mild soap, like baby shampoo or a gentle leather cleaner, with warm water.
Dampen a soft cloth with the solution—make sure it’s not soaking wet—and gently wipe the stained area in circular motions. This helps lift ink particles without damaging the leather’s surface. Avoid harsh chemicals or abrasive scrubbing, as they can strip the leather’s finish.
Once you’ve cleaned the spot, take a dry microfiber cloth and carefully blot the area to absorb moisture. This step prevents water marks and prepares the leather for the next phase of drying and conditioning to restore its natural softness.
Air Dry Naturally
How should you dry your leather to keep it in the best condition? After gently cleaning off the ink, it’s essential to let your leather air dry naturally.
Avoid using heat sources like hair dryers or radiators, as they can dry out and crack the leather. Instead, place the item in a well-ventilated area away from direct sunlight.
This helps prevent damage while allowing any leftover moisture or cleaning residue to evaporate completely. Be patient—rushing the drying process can harm your leather’s texture and appearance.
Once dry, you can apply a leather conditioner to restore moisture and maintain suppleness. By air drying naturally, you protect your leather and extend the life of your carefully cleaned item.
Condition and Protect the Leather After Cleaning
Once you’ve removed the ink, you’ll want to restore the leather’s natural oils by applying a quality conditioner. This step keeps the leather supple and prevents cracking or drying out.
Use a soft cloth to apply a small amount of conditioner in circular motions, covering the entire cleaned area evenly. Allow it to absorb fully, usually for about 15-30 minutes.
Apply conditioner with a soft cloth in circular motions, letting it absorb for 15-30 minutes.
Afterward, buff the leather gently with a clean, dry cloth to bring out its natural shine.
To protect the leather from future stains, consider using a leather protector spray. This creates a barrier against spills and dirt.
Regular conditioning, every 3-6 months, will maintain the leather’s durability and appearance over time. It helps keep it looking its best, too.
Frequently Asked Questions
Can Ink Stains on Leather Be Completely Removed Every Time?
You can’t always completely remove ink stains from leather every time, but you can often reduce their appearance considerably.
Acting quickly and using the right techniques increases your chances of successful stain removal. So, it’s all about timing and method.
Is Professional Cleaning Better Than DIY for Ink on Leather?
Like a skilled artist restoring a masterpiece, professionals handle ink on leather better than DIY. You’ll avoid mistakes, preserve texture, and achieve spotless results.
Plus, it saves you the time and stress you might otherwise face on your own. Trusting an expert really makes all the difference.
How Long Should I Wait Before Cleaning Fresh Ink Stains?
You should start cleaning fresh ink stains as soon as possible, ideally within a few minutes. Waiting too long lets the ink set, making it harder to remove.
And that increases the risk of permanent damage to your leather. So, try to act fast to keep your leather looking great!
Are There Specific Ink Types That Damage Leather Permanently?
Yes, you’ll find permanent markers, ballpoint pens, and some printer inks can damage leather irreversibly.
You’ll want to act fast, handle gently, and test products first to protect your leather’s look and feel.
It’s all about being careful and quick before the ink sets in for good.
Can Ink Removal Products Harm Colored or Suede Leather?
Yes, ink removal products can harm colored or suede leather if you’re not careful. Always test on a hidden spot first.
And make sure to use products specifically designed for those materials. This helps avoid discoloration or texture damage.
Conclusion
Now that you know how to tackle ink stains on leather, you’re better prepared to keep your items looking great. Did you know that over 60% of people accidentally stain their leather goods each year?
By following these simple steps, you can save yourself time and money on replacements or professional cleaning. Just remember to test first, clean gently, and always condition afterward to keep your leather soft and protected.
Cleaning ink off leather doesn’t have to be stressful. With the right approach, you can maintain the beauty and durability of your leather items effortlessly. You’ve got this!