How to Refill Stamp Ink in 5 Easy Steps
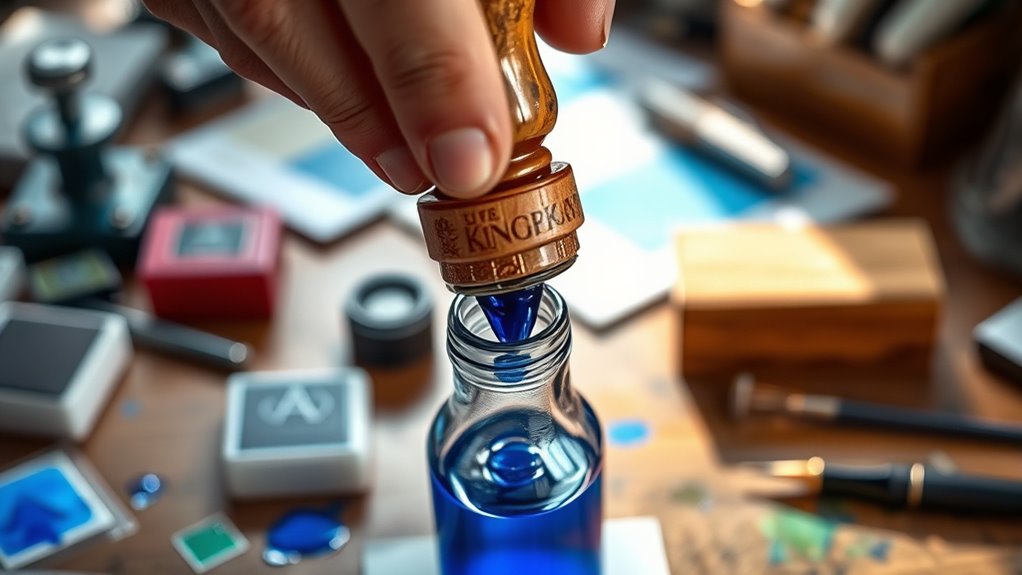
To refill your stamp ink, first gather your ink, dropper, gloves, and protect your workspace. Cleaning your stamp pad is important, so remove it if possible to make the process easier.
Next, gently drip ink onto the pad’s center—avoid soaking it—and spread the ink evenly across the surface. Let the pad soak up the ink for 10-15 minutes without any disturbance.
After that, test your stamp on scrap paper to ensure clear, even prints. If the impression looks light, feel free to add more ink.
Keep going for tips on maintaining your stamp’s best performance and ensuring it lasts longer with consistent, high-quality prints. It’s easier than you think!
Key Takeaways
- Gather necessary supplies including compatible ink, dropper, gloves, and prepare a protected workspace.
- Clean the stamp pad and remove it from the casing if possible for easier access.
- Apply a few drops of ink evenly onto the center of the pad without over-saturating.
- Let the ink absorb into the pad for 10-15 minutes without disturbing it.
- Test the stamp on scrap paper and add more ink if coverage is uneven before final use.
Gather Your Supplies
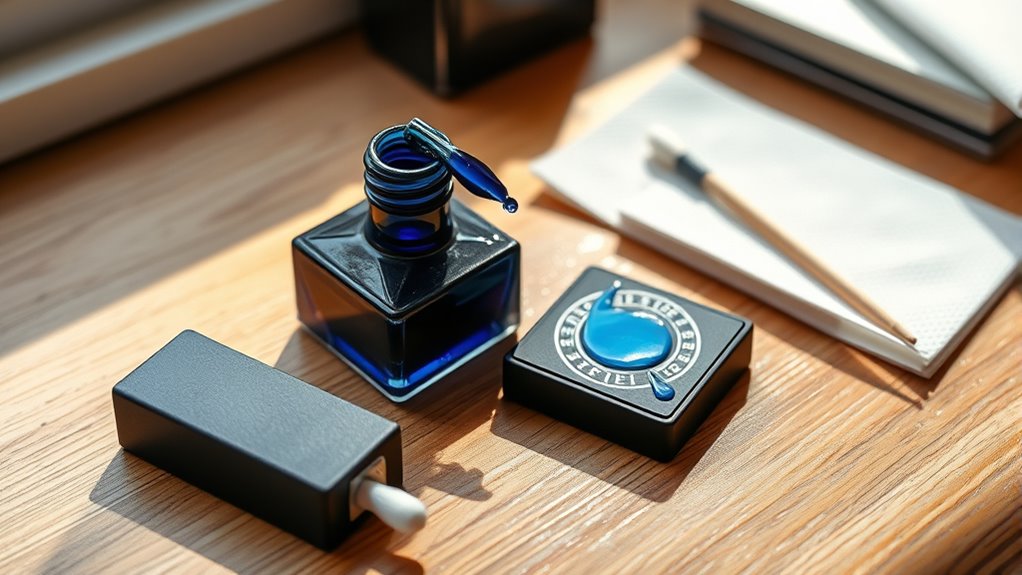
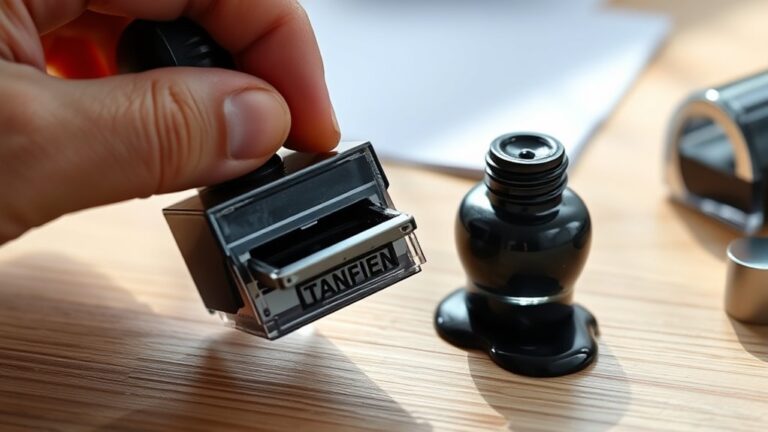
Before you begin refilling your stamp ink, gather all the necessary supplies in one place. You’ll need the right ink specific to your stamp type, a dropper or small syringe for precise application, and disposable gloves to keep your hands clean.
Have some paper towels or a cloth nearby to catch any spills. It’s helpful to keep a small container or tray to hold your tools and prevent messes.
Make sure your workspace is well-lit and protected with newspaper or a plastic sheet. Double-check your stamp’s instructions to confirm the compatible ink.
Prepare the Stamp for Refilling
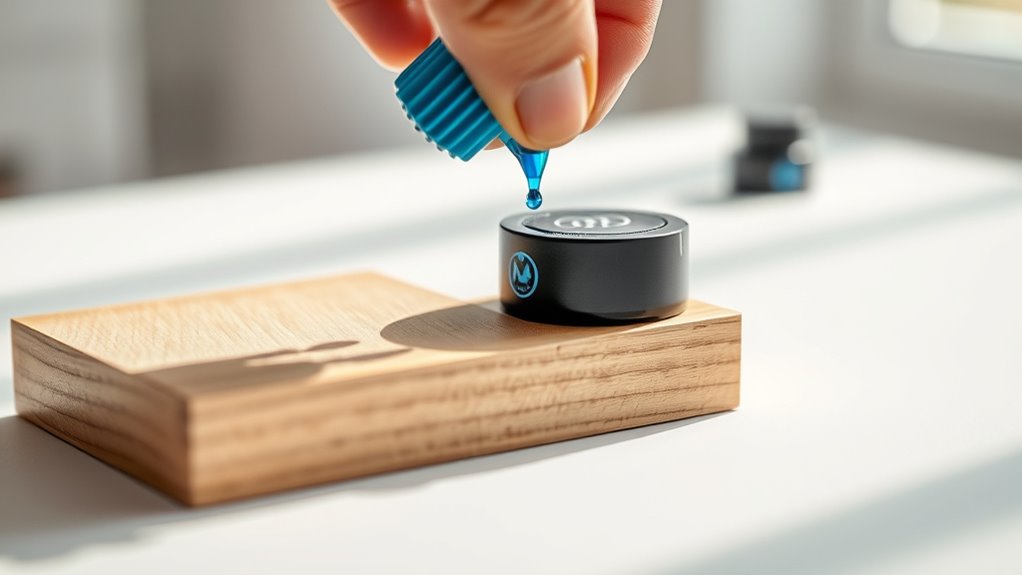
Although the ink refill process might seem straightforward, you’ll want to prepare your stamp properly to guarantee even ink distribution. Start by cleaning the stamp surface with a damp cloth to remove any dried ink or debris. This ensures the new ink adheres well and prevents smudging.
Next, remove the stamp from its casing if possible—some stamps have removable pads, making refilling easier. If your stamp doesn’t allow pad removal, position it so the pad is accessible without damaging the mechanism.
Check the pad’s condition; if it’s too worn or hardened, consider replacing it to achieve the best results. Finally, work in a well-lit area and protect your workspace with newspaper or paper towels to catch any spills. Now your stamp is ready for refilling.
Apply the Ink to the Stamp Pad
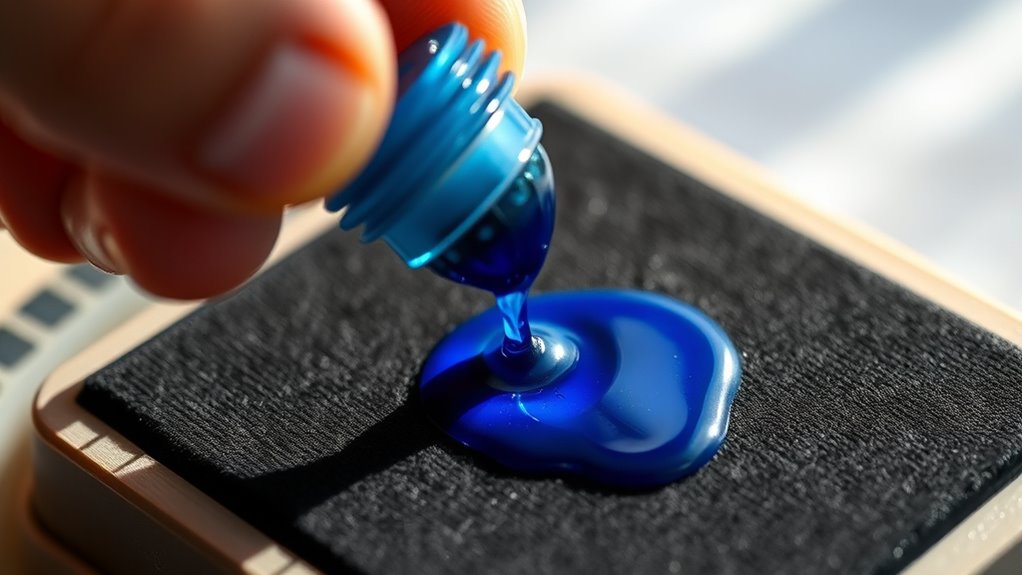
With your stamp pad clean and ready, you can now apply the ink evenly for the best results. Start by shaking the ink bottle gently, then drip a few drops onto the center of the pad. Avoid over-saturating to prevent smudges.
Use the table below as a guide for the amount of ink based on your stamp pad size:
| Pad Size (inches) | Ink Drops | Application Tip |
|---|---|---|
| 2 x 2 | 5-6 | Drop evenly in the center |
| 3 x 3 | 8-10 | Spread gently with finger |
| 4 x 4 | 12-15 | Use a cotton swab to spread |
| 5 x 5 | 15-18 | Apply in small sections |
| 6 x 6 | 20+ | Layer gradually |
Apply ink slowly and evenly to maintain a consistent surface for clear stamping. It really helps you get that nice, clean impression every time.
Allow the Ink to Absorb
Once you’ve applied the ink, let your stamp pad sit undisturbed for about 10 to 15 minutes to allow the ink to soak in fully. This step is vital because it ensures the ink distributes evenly throughout the pad’s fibers.
Allow your stamp pad to rest 10–15 minutes after inking for even absorption and optimal stamping results.
Don’t rush this process or press down on the pad during this time, as it can disrupt absorption and cause uneven ink coverage later. Instead, find a quiet spot to set your stamp pad aside where it won’t be disturbed.
After the waiting period, the pad should feel moist but not overly saturated. This balanced absorption helps maintain clean, crisp impressions when you use your stamp again.
Patience here prevents blotchy prints and extends the life of your stamp pad. Just give it a little time, and you’ll see the difference!
Test Your Stamp for Proper Ink Coverage
After the ink has absorbed properly, it’s time to check if your stamp is evenly covered. You want a clean, clear impression without smudges or gaps.
Here’s how to test it: Press the stamp firmly onto a scrap piece of paper. Then, lift the stamp straight up to avoid smearing.
Take a close look at the impression for any light or missing spots. If the coverage looks uneven, just apply a few more drops of ink and try again.
Testing your stamp like this ensures your documents or crafts look professional. Don’t rush this step — a well-inked stamp will save you time and frustration later.
If everything looks good, you’re ready to use your freshly refilled stamp with confidence.
Frequently Asked Questions
What Type of Ink Is Best for Different Stamp Materials?
You’ll want dye-based ink for paper stamps, pigment ink for fabric or wood, and solvent ink for non-porous surfaces like plastic or metal. Choose ink based on your stamp material for the best results every time.
Basically, different surfaces need different inks to really make your stamp pop. So, if you’re working with paper, go for dye-based ink—it soaks in nicely and dries fast. For fabric or wood, pigment ink is your best bet because it sits on top and gives vibrant color.
And when it comes to plastic or metal, solvent ink is the way to go since it sticks well to those slick surfaces. Picking the right ink makes all the difference in how your stamped image looks and lasts.
How Often Should I Refill My Stamp Ink?
Just like a candle flickers before it dies, you should refill your stamp ink whenever the impressions start fading.
Don’t wait too long—keeping it fresh guarantees crisp, clear marks every time you stamp.
Can I Use Colored Ink for Official Documents?
You generally shouldn’t use colored ink for official documents unless specified. Black or blue ink is usually required for legal clarity and authenticity.
Always check the guidelines to avoid your documents being rejected. It’s better to be safe than sorry!
How Do I Clean My Stamp Before Refilling?
Don’t worry about damaging your stamp; gently wipe the surface with a damp cloth or use a cotton swab dipped in rubbing alcohol.
This removes old ink and debris, ensuring your stamp’s ready for a fresh refill.
What Should I Do if the Stamp Ink Leaks?
If your stamp ink leaks, quickly blot the excess with a paper towel to prevent spreading.
Clean the stamp and surrounding area with mild soap and water, then let it dry completely before using or refilling again.
This way, you avoid making a bigger mess and keep your stamp in good shape!
Conclusion
Refilling your stamp ink is simpler than you might think! Did you know that regularly refilling your stamp can extend its life by up to 50%? By following these easy steps, you’re not only saving money but also reducing waste.
Just gather your supplies, prep your stamp, apply the ink, let it absorb, and test it. With a little care, your stamp will stay sharp and ready for countless impressions!
Taking the time to refill your stamp ink properly means you get the best results every time you use it. Not only does this keep your stamp looking fresh, but it also ensures clear, crisp impressions. Plus, by refilling instead of replacing, you’re being eco-friendly and economical. So next time your stamp starts to fade, remember these simple steps to refill stamp ink and keep your stamping projects going strong!