

How Do You Get Ink Off Plastic Step by Step
To get ink off plastic, it’s important to first identify what kind of ink and plastic you’re dealing with. This helps you pick a safe and effective cleaning method without damaging the surface.
You’ll want to gather some common supplies like rubbing alcohol, cotton balls, and mild soap before you start.
Next, test your chosen cleaner on a small, hidden spot on the plastic. This way, you avoid any unwanted damage or discoloration.
Once you’re confident, gently dab rubbing alcohol on the ink stain or try using a magic eraser for tougher marks. Then, rinse the area with lukewarm water and dry it off with a soft cloth.
If some ink still remains, don’t worry—just repeat the process carefully until the stain fades away.
Keep exploring different techniques and tips for the best results when removing ink from plastic surfaces.
Key Takeaways
- Identify the ink type and plastic surface to choose the safest and most effective cleaning method.
- Gather rubbing alcohol, cotton balls, mild soap, and a soft cloth or sponge for cleaning.
- Test the cleaning agent on a hidden plastic area to avoid damage or discoloration.
- Apply rubbing alcohol or a gentle cleaner with a cotton ball, scrubbing softly in circular motions.
- Rinse with lukewarm water, dry the area, and repeat the process if the ink stain persists.
Assess the Type of Ink and Plastic

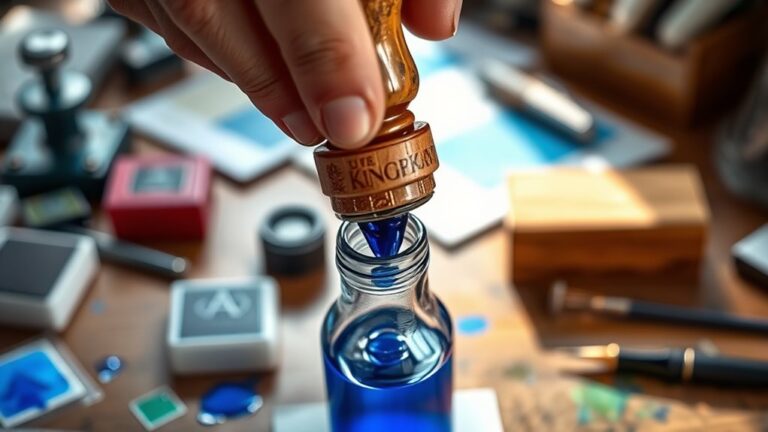
How do you know which method will work best for removing ink from plastic? First, identify the type of ink you’re dealing with—whether it’s permanent marker, ballpoint, or printer ink. Each reacts differently to cleaning agents.
Next, consider the plastic’s surface. Is it smooth and hard, like a plastic bottle, or softer and porous, like a plastic toy? Smooth plastics usually tolerate stronger solvents, while porous ones need gentler approaches to avoid damage.
Also, check if the plastic has special coatings or finishes that might be affected by harsh chemicals. By evaluating both the ink type and the plastic, you can choose a cleaning method that effectively removes the stain without harming the item.
This step saves you time and keeps your plastic looking great. It’s all about finding the right balance between cleaning power and care.
Gather Necessary Cleaning Supplies
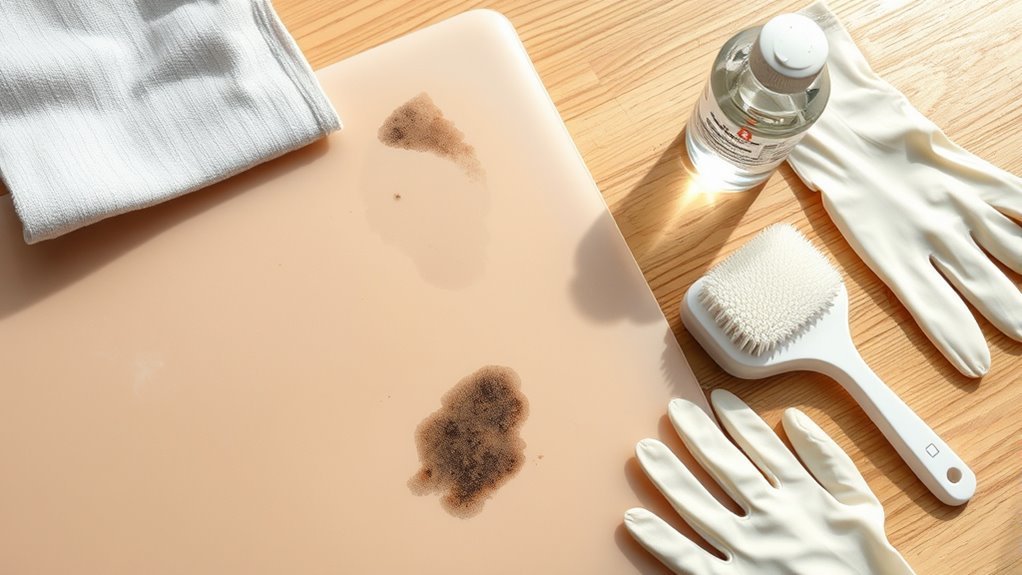
Before you start removing ink from plastic, gather the right cleaning supplies to guarantee the process goes smoothly. Having everything ready means you won’t have to stop midway, which can affect the results.
You’ll want to collect items that are gentle yet effective on plastic surfaces.
Choose cleaning supplies that are gentle but strong enough to safely remove ink from plastic surfaces.
Make sure you have:
- Rubbing alcohol or nail polish remover (acetone-free)
- Cotton balls or soft cloths
- Mild dish soap
- A soft-bristled toothbrush or sponge
These supplies will help you tackle the ink without damaging the plastic. Avoid harsh chemicals that can cause discoloration or deterioration.
Once you have these essentials, you’ll be prepared to proceed confidently with the ink removal process.
Test Cleaning Methods on a Small Area

Start by picking a hidden spot on the plastic to test your cleaning method. Apply a small amount and watch how the material reacts over a few minutes.
This helps you avoid damage before treating the entire area. It’s always better to be safe than sorry!
Choose Hidden Spot
Where should you test your cleaning method to avoid further damage? Always pick a hidden spot on the plastic surface. This helps you see how the material reacts without ruining the visible areas.
Look for places like inside corners or edges, the underside or bottom of the item, areas covered by labels or stickers, or behind removable parts or lids. These spots are out of sight but perfect for testing.
Testing in these discreet locations lets you check if the ink remover causes discoloration, warping, or surface damage. You’ll save yourself from unexpected results on the main visible parts.
Once you find a spot that reacts well, you can confidently clean the more noticeable areas. Choosing the right testing place is a vital step to protect your plastic item while removing ink safely.
Observe Reaction Time
How long should you leave the cleaning agent on the plastic? After applying it to the hidden spot, watch closely to see how the plastic reacts. Some agents work within seconds, while others may take several minutes.
Don’t rush this step—give it enough time to break down the ink without damaging the surface. If you notice any discoloration, warping, or sticky residue, wipe it off immediately.
Keep a timer handy, and check every 30 seconds to track progress. Once you see the ink start to lift without harming the plastic, you know the reaction time is right.
This careful observation helps you avoid ruining the entire item while effectively removing the ink. Always prioritize safety and patience during this testing phase.
Apply Ink Removal Techniques
Although ink stains on plastic can seem stubborn, you can effectively remove them by choosing the right technique based on the type of ink and the plastic surface. Start by testing a small, hidden area to avoid damage.
Then, apply one of these methods:
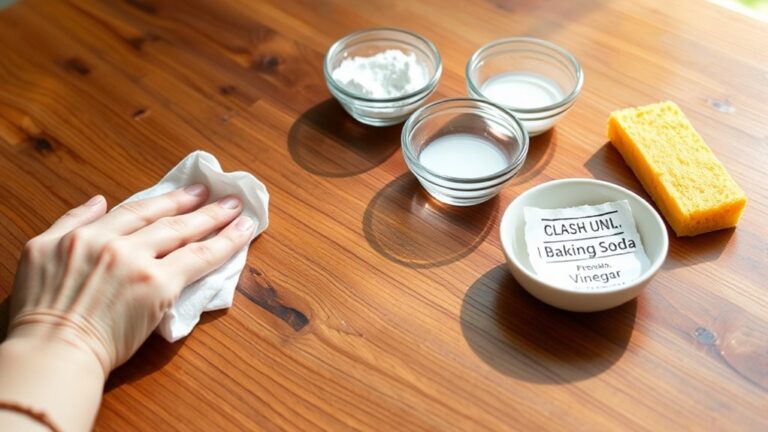
- Dab rubbing alcohol or hand sanitizer on the stain with a cotton ball.
- Use a magic eraser gently on the affected area.
- Apply a paste of baking soda and water, scrubbing lightly.
- Try a small amount of nail polish remover, but only on sturdy plastics.
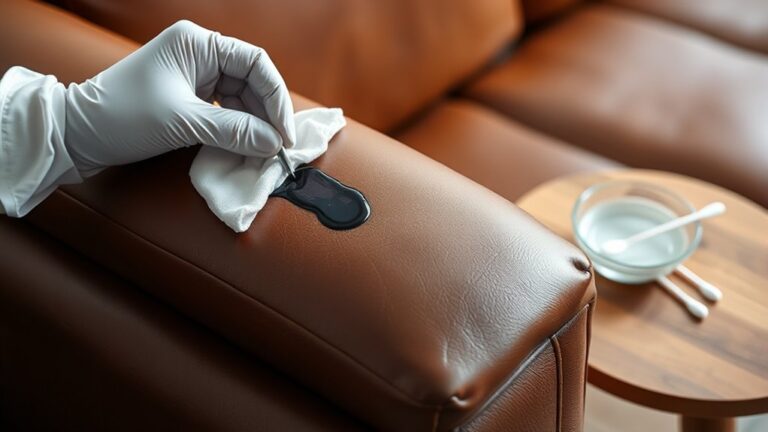
Work in small circular motions and avoid over-saturating the plastic. Keep a clean cloth handy to blot the ink as it lifts.
Rinse and Dry the Plastic Surface
After you’ve treated the ink stain, give the plastic surface a thorough rinse with lukewarm water to remove any leftover cleaning agents. This step is essential because residual chemicals can leave marks or cause damage over time.
Hold the plastic under a gentle stream of water or use a damp cloth to wipe away the cleaning solution completely. Once rinsed, grab a clean, soft towel or microfiber cloth and dry the surface carefully.
Avoid using abrasive materials that could scratch the plastic. Pat the area gently to absorb moisture, ensuring no water spots remain. Drying also helps you check if the stain has been fully removed or if further treatment is needed.
Taking your time here ensures the plastic stays clean and undamaged.
Repeat if Necessary for Persistent Stains
If the ink stain hasn’t fully disappeared, take a close look at the area to see how much it’s improved.
You can apply the cleaning method again to tackle any remaining marks. Keep repeating the process until the plastic looks clean or you decide to try a different approach.
Assess Stain Progress
While working on the stain, you’ll want to regularly check your progress to see how much ink has lifted from the plastic surface. This helps you decide if the stain needs more attention or if it’s nearly gone.
Take a close look at the affected area under good lighting. Use a clean cloth or paper towel to gently wipe away any loosened ink. Avoid rubbing too hard, as that might damage the plastic.
To effectively assess the stain progress, you should compare the stained area to the surrounding plastic for color difference. Also, note any fading or shrinking of the ink marks.
Check if residue or smudges remain after wiping. And confirm if the plastic surface feels smooth without sticky spots.
Keeping track of these factors ensures you know when to move forward. It’s a simple way to stay on top of the cleanup and get the best results.
Apply Additional Treatments
Once you’ve assessed the stain and see it’s still visible, it’s time to apply additional treatments. Don’t hesitate to repeat cleaning steps or try different methods until the ink fades completely.
Some stains need more than one approach, so be patient and persistent.
Here’s a quick guide to additional treatments:
| Treatment Method | Tips for Use |
|---|---|
| Rubbing Alcohol | Dab gently, avoid spreading the stain |
| Nail Polish Remover | Test on a small area first |
| Baking Soda Paste | Apply, let sit 10 mins, then scrub |
| Toothpaste | Use non-gel, scrub with soft cloth |
| Magic Eraser | Light pressure, don’t over-saturate |
Repeat as needed, monitoring the plastic’s condition each time. Just keep an eye on it and take your time.
Frequently Asked Questions
Can Ink Removal Damage the Plastic Permanently?
Yes, ink removal can damage plastic if you use harsh chemicals or scrub too hard.
You should test a small area first and use gentle methods to avoid permanent marks or weakening the plastic surface.
It’s always better to be cautious and patient when dealing with ink on plastic. That way, you reduce the risk of causing any lasting damage.
Are There Eco-Friendly Ink Removal Alternatives?
Sure, because who doesn’t want to turn their kitchen into a chemistry lab?
Luckily, you can use eco-friendly options like lemon juice, baking soda paste, or vinegar to lift ink gently without harming the planet—or your plastic.
How Long Does It Take for Ink Stains to Set on Plastic?
Ink stains can start setting on plastic within minutes, but they usually fully set after 24 hours.
To improve removal chances, you should treat the stain as soon as you notice it before it bonds firmly.
Can Ink Stains on Plastic Be Removed Using Household Items?
Yes, you can remove ink stains on plastic using household items like rubbing alcohol, nail polish remover, or baking soda paste.
Just apply gently, rub with a cloth, and rinse. You’ll see the stain fade quickly!
Is Professional Cleaning Necessary for Certain Ink Types on Plastic?
You don’t always need professional cleaning for ink on plastic, but if the ink is stubborn or permanent, it’s wise to consult experts.
They have specialized tools that can safely remove tough stains without damaging the plastic. Sometimes, trying to clean it yourself might make things worse, so it’s better to be cautious.
Conclusion
Now that you’ve given those ink marks a gentle nudge toward disappearance, your plastic surface is looking much more refreshed. Sometimes, a little extra patience and repetition can work wonders, so don’t be discouraged if the stain isn’t completely gone right away.
With these simple steps, you’re well on your way to restoring that shiny, carefree look your plastic deserves. Getting ink off plastic can feel tricky, but with some care, it’s definitely doable.
This cleaning journey becomes less like a chore and more like a small victory. Just keep at it, and soon your plastic will look as good as new!