How You Sign a Check in Blue Ink Correctly
To sign a check correctly in blue ink, start by using a ballpoint pen. This ensures smooth, smudge-free writing that looks neat and professional. Blue ink is often preferred because it shows originality and helps banks verify the check’s authenticity better than black ink.
When you sign, make sure your name is clear and fits within the designated signature box. Avoid signing near the edges or overlapping any printed text on the check. It’s also important to keep your signature consistent with what the bank has on file. This helps prevent any unnecessary delays or issues with processing.
Once you’ve signed, give the ink a moment to dry before handling the check. This simple step avoids smudges and keeps your signature legible.
Follow these easy tips to make sure your check is accepted without any problems. Want to perfect your signature even more? Keep practicing and stay consistent!
Key Takeaways
– Use a ballpoint pen with archival-quality blue ink for clear, fade-resistant signatures.
This helps keep your signature looking sharp over time.
– Sign in the designated bottom right corner, avoiding edges and overlapping text.
Sticking to the right spot makes it easier for banks to process your check.
– Maintain a consistent signature style matching your bank records for verification.
If your signature changes too much, it could cause delays or questions.
– Write steadily on a flat surface to prevent smudging and ensure legibility.
A steady hand means your signature is easy to read and looks professional.
– Allow the ink to dry fully before handling the check to avoid smears.
Just give it a moment, and you’ll avoid any messy smudges.
Why Blue Ink Is Preferred for Signing Checks
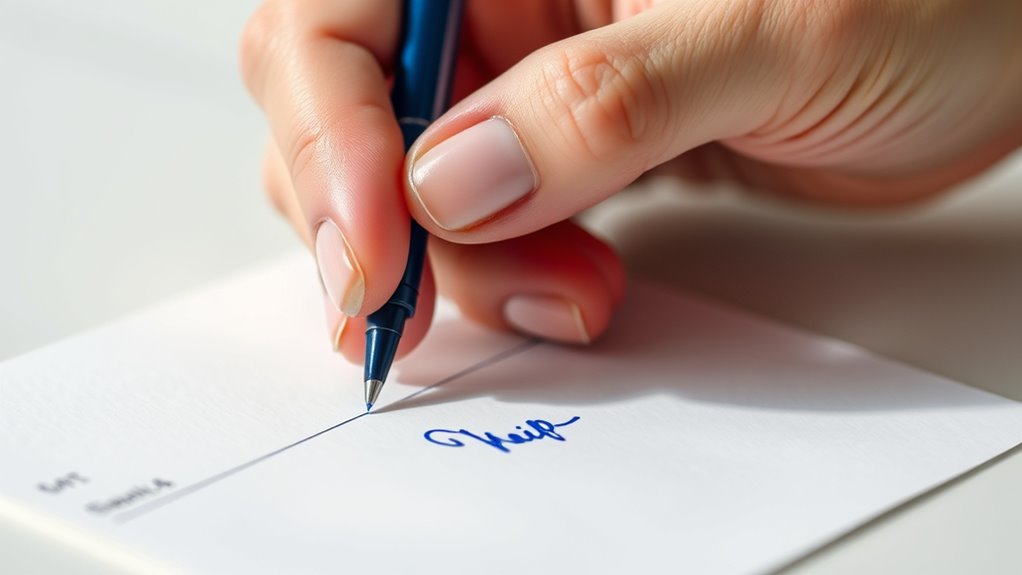
Although black ink might seem like a suitable choice, blue ink stands out when signing checks because it clearly distinguishes original signatures from photocopies. When you use blue ink, banks and recipients can quickly identify your authentic signature since photocopiers often reproduce black ink in shades of gray, making it harder to spot originals.
Blue ink also tends to resist fading over time, which helps maintain the check’s validity during processing. Additionally, blue ink contrasts well against the check’s printed text, ensuring your signature is easily readable.
Choosing the Right Pen for Blue Ink Signatures

When signing checks with blue ink, picking the right pen can make a big difference in how clear and durable your signature appears. You want a pen that writes smoothly and resists smudging to guarantee your signature looks professional and stays legible over time.
Here are some tips to help you choose the perfect pen:
- Opt for a ballpoint pen for consistent ink flow and minimal smudging.
- Consider gel pens if you prefer vibrant blue ink but check drying times.
- Avoid fountain pens as they can bleed and smudge easily on check paper.
- Choose pens with archival-quality ink to prevent fading or washing out.
- Test the pen on similar paper before using it to make sure it writes cleanly.
Selecting the right pen ensures your blue ink signature is both attractive and secure. It’s a small step that makes a big difference!
Positioning Your Signature on the Check
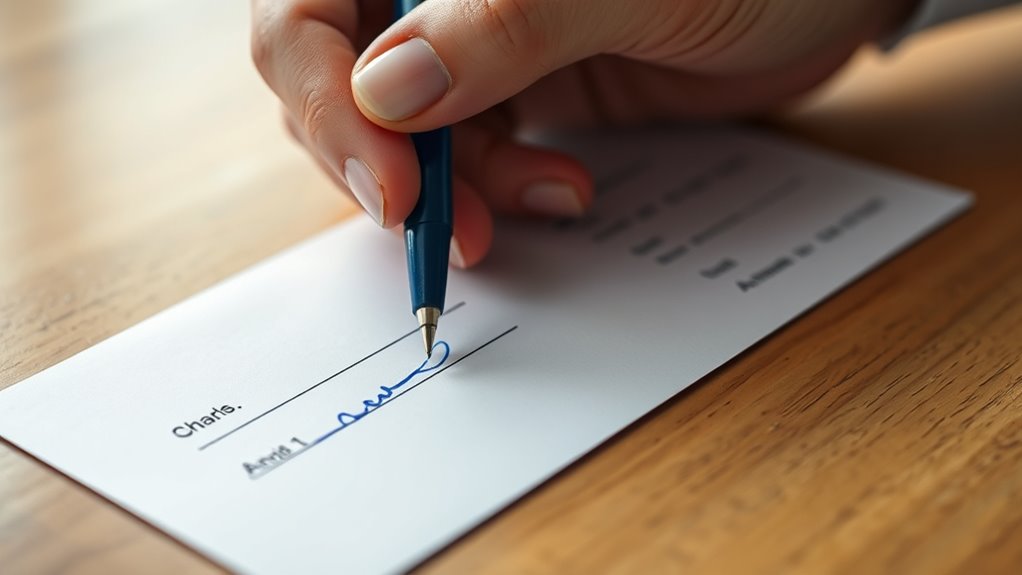
Since your signature verifies the authenticity of the check, you need to place it clearly and consistently in the designated area. This area is usually located on the bottom right corner of the check, marked by a line or space labeled “Signature.”
Make sure your signature fits neatly within this space without overlapping any printed text or borders. Positioning it properly helps avoid any confusion or rejection when the check is processed.
Before signing, hold the check steady and use your dominant hand to write smoothly, ensuring your signature is legible and confident. Avoid signing too close to the edges, as this may cause the signature to be cut off during scanning.
Proper placement guarantees your check is accepted quickly and securely every time.
Ensuring Your Signature Matches Bank Records
You need to keep your signature consistent every time you sign a check to avoid any issues with your bank. Using blue ink helps your signature stand out and makes it easier for the bank to verify.
Make sure your signature style matches what the bank has on record to prevent delays or rejected checks. It’s a simple step that can save you a lot of hassle!
Consistent Signature Style
Although it might seem minor, maintaining a consistent signature style is essential because your bank relies on it to verify your identity. Inconsistent signatures can trigger delays or even rejections when processing your checks.
To keep your signature consistent, focus on these key points:
- Use the same pen pressure and speed every time
- Stick to the same letter shapes and flourishes
Practice your signature regularly to build muscle memory. Avoid adding or skipping elements in your signature.
Also, sign on a flat, stable surface to maintain control. It really helps keep things uniform.
Ink Color Importance
When signing a check, selecting the right ink color really matters. Banks often require your signature to match their records exactly.
Using blue ink helps your signature stand out from black-and-white photocopies. This reduces the chance of fraud or rejection.
Many banks prefer blue because it clearly differentiates original documents from copies. So, sticking to blue ink guarantees your check is processed smoothly without delays.
| Ink Color | Bank Acceptance | Notes |
|---|---|---|
| Blue | High | Preferred for authenticity |
| Black | Moderate | Acceptable but less distinct |
| Red | Low | Often rejected |
| Green | Low | Rarely accepted |
Choosing blue ink keeps your transactions hassle-free and secure. It’s a simple step that saves you time and trouble.
Common Mistakes to Avoid When Signing Checks
When signing checks, you need to avoid smudging your ink to keep your signature clear. Stick to a consistent signature style so banks can easily verify it.
Also, make sure your signature doesn’t overlap with any text on the check to prevent confusion. It’s a simple step but really helps keep things smooth.
Avoid Smudging Ink
Since your signature is the key to validating a check, you should take care to prevent smudging the ink. Smudged ink can make your signature unclear, possibly causing the check to be rejected.
To avoid this, follow these practical tips:
- Use blue ink that dries quickly to minimize smearing.
- Hold the check steady while signing to prevent accidental smudges.
- Avoid touching the signature area immediately after signing.
- Allow a few seconds for the ink to dry before handling or folding the check.
- Keep your hands clean and dry to prevent transferring moisture or oils.
Just a little patience and care can save you from a lot of hassle later on!
Use Consistent Signature Style
Taking care to prevent smudging your signature helps maintain its clarity, but you also need to keep your signature style consistent every time you sign a check. Using the same handwriting, size, and flourish prevents confusion and helps banks verify your identity quickly.
If your signature varies wildly from check to check, banks might flag your transactions as suspicious, causing delays. Practice your signature until it feels natural and repeatable.
Avoid adding unnecessary embellishments or changing the slant of your letters. Consistency also shields you from potential fraud, as a familiar signature is easier to recognize as genuine.
Prevent Overlapping Text
How can you make sure your check is easy to read and process? Prevent overlapping text by keeping your writing clear and well-spaced.
Overlapping can confuse banks and delay processing. Here’s how you can avoid it:
- Write your signature within the designated area without spilling over other fields.
- Leave enough space between your signature and the amount written in numbers and words.
- Avoid pressing too hard; thick lines can merge with nearby text.
- Use neat, legible handwriting to prevent letters from crowding each other.
- Review the check before handing it over to ensure no parts overlap or touch.
Tips for Maintaining Legible and Consistent Signatures
Although signing a check may seem simple, keeping your signature clear and consistent is essential for preventing delays or disputes. Start by practicing your signature regularly to develop muscle memory, which helps maintain uniformity every time.
Use a steady hand and avoid rushing, as shaky or uneven strokes can make your signature hard to read. Stick to a legible style, balancing flair with clarity—overly elaborate signatures might cause confusion.
Use blue ink consistently, as it contrasts well with black printed text and ensures authenticity. If your signature changes over time, try to keep the core elements the same to avoid suspicion.
Frequently Asked Questions
Can I Use Blue Ink for Digital Check Signatures?
You can’t use blue ink for digital check signatures since digital signatures are electronic, not handwritten.
Instead, you create or upload a digital image or use signature software—ink color doesn’t apply in the digital format.
Is Blue Ink Legally Required for All Checks?
No, blue ink isn’t legally required for all checks. You can use black or blue ink, but blue helps distinguish original signatures from copies.
Just make sure your signature is clear and consistent to avoid issues. It’s all about making things easy to verify!
How Long Does Blue Ink Last on a Check?
Blue ink on a check can last several years without fading, depending on the ink quality and storage conditions.
You shouldn’t worry—blue ink’s durability guarantees your signature stays clear and verifiable for typical banking timelines. It’s pretty reliable when it comes to keeping your checks legible over time.
Can Blue Ink Prevent Check Fraud?
Blue ink alone can’t fully prevent check fraud, but it helps because it’s harder to photocopy or alter compared to black ink.
You should still use other security measures to protect your checks effectively.
Are There Specific Brands of Blue Ink Recommended?
You’ll want to choose trusted brands like Pilot or Uni-Ball. Their blue ink symbolizes reliability and clarity, standing firm against forgery.
Using their pens, you’ll make your signature both secure and unmistakably genuine. It’s a simple way to add an extra layer of trust to your documents.
Conclusion
Signing your check in blue ink is like planting a clear, vibrant flag on your financial landscape—it stands out and confirms your identity with confidence. By choosing the right pen and positioning your signature carefully, you guarantee your mark matches your bank’s records, avoiding common pitfalls.
Keep your signature legible and consistent, like a well-rehearsed dance, so every check you sign moves smoothly through the process without a hitch. Using blue ink not only helps your signature stand out but also reduces the risk of your check being questioned or rejected.
In conclusion, signing your check in blue ink correctly is essential for ensuring your payments are processed smoothly. Always use a reliable blue pen, position your signature properly, and keep it consistent with how your bank has it on file. This simple practice helps avoid delays and complications, making your financial transactions more secure and efficient.