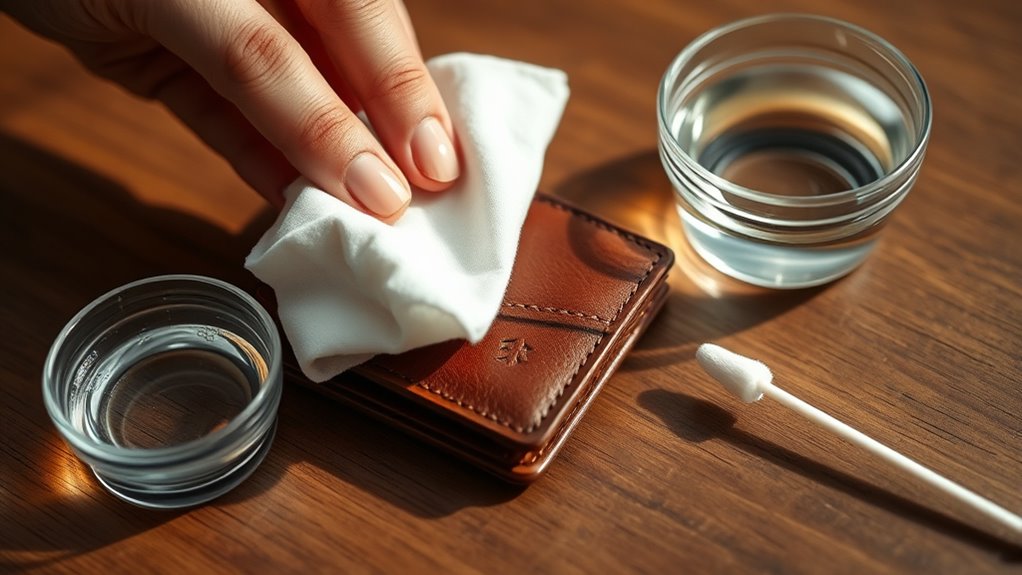
How to Remove Ink Stains From Leather Step by Step
To remove ink stains from leather, it’s important to first identify the type of leather and the kind of ink you’re dealing with. This helps you choose the right cleaner that won’t damage your leather.
You’ll want to gather a few supplies like a soft cloth, cotton swabs, a mild cleaner, and leather conditioner before you start.
Always test your cleaner on a hidden spot first to make sure it won’t harm the leather.
When you’re ready, gently dab the ink stain without rubbing it, which can spread the ink or damage the surface.
After that, wipe away any leftover cleaner with a damp cloth and let the leather air dry naturally.
Once the leather is dry, apply a leather conditioner to restore its softness and keep it looking great.
Taking these steps carefully will help protect your leather while effectively removing those stubborn ink stains.
Keep reading for more detailed instructions on how to safely clean and care for your leather.
Key Takeaways
- Identify the leather type and ink stain age to choose an appropriate cleaning method and prevent damage. This step is important because not all leathers react the same way to cleaning solutions.
- Test the cleaning solution on a hidden leather area to ensure no discoloration or texture change occurs. Better safe than sorry, right?
- Gently dab the ink stain with a mild leather cleaner or diluted isopropyl alcohol using a soft cloth or cotton swab. Take your time and be gentle to avoid spreading the stain.
- Wipe the area lightly with a damp cloth, then pat dry and let the leather air dry away from heat or sunlight. Avoid using heat because it can damage the leather.
- Once dry, apply leather conditioner evenly to restore moisture, softness, and shine to the cleaned area. This step helps keep your leather looking great after cleaning.
Assess the Type of Leather and Ink Stain
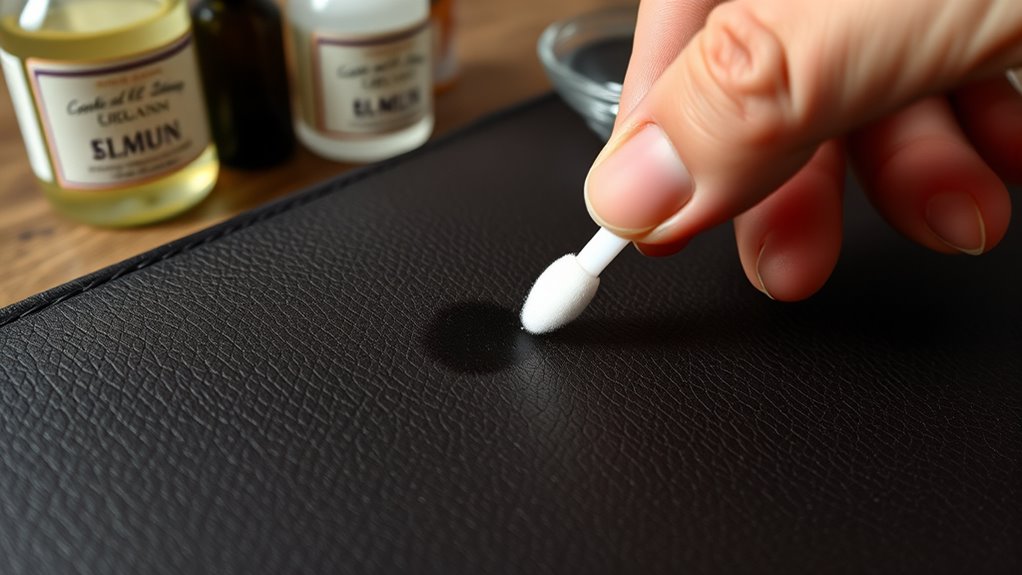
Before you begin cleaning, determine the type of leather and the kind of ink stain you’re dealing with. Not all leathers react the same way to cleaning methods, so identifying whether your leather is aniline, semi-aniline, or pigmented is essential.
Aniline leather is more delicate and prone to damage, while pigmented leather has a protective coating that can handle stronger treatments. Next, assess the ink stain itself. Is it fresh or old?
Fresh stains are easier to remove, but dried ink may require more careful handling. Also, note the ink type—ballpoint, fountain, or permanent marker—since some inks are more stubborn.
Taking the time to identify these factors helps you choose the safest, most effective cleaning approach for your leather item.
Gather Necessary Cleaning Supplies
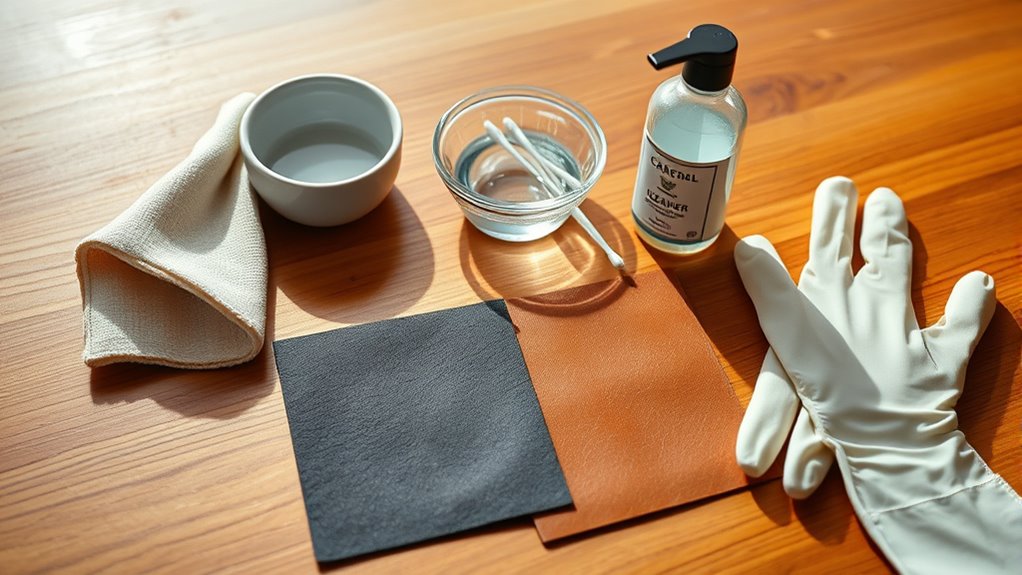
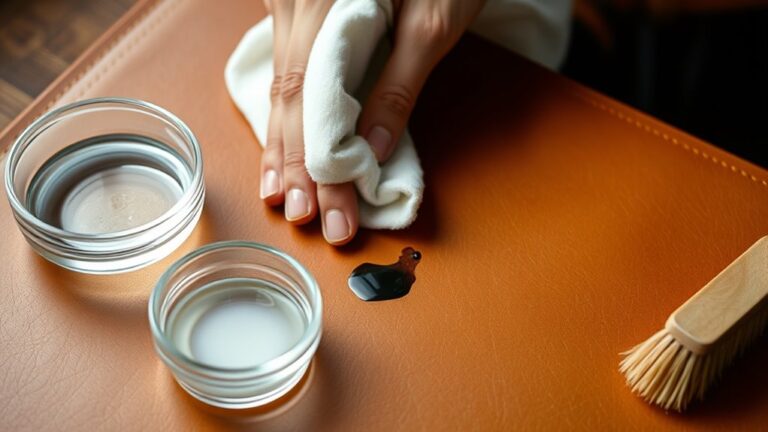
Once you’ve identified your leather type and ink stain, gather the right cleaning supplies to tackle the job safely. You’ll need a soft, clean cloth or microfiber towel to avoid scratching the leather.
Identify your leather and stain, then gather soft cloths and suitable cleaners to protect your leather while cleaning.
Grab some cotton swabs for precision cleaning in small or creased areas. Choose a mild leather cleaner or a gentle soap like saddle soap, ensuring it’s suitable for your leather type.
Have some distilled water on hand to dilute cleaning solutions if needed. You might also need isopropyl alcohol or rubbing alcohol for tougher stains, but use it sparingly.
Finally, keep a leather conditioner ready to restore moisture and protect the leather after cleaning. Having these supplies organized before you start will make the process smoother and more effective.
Test Cleaning Method on a Hidden Area
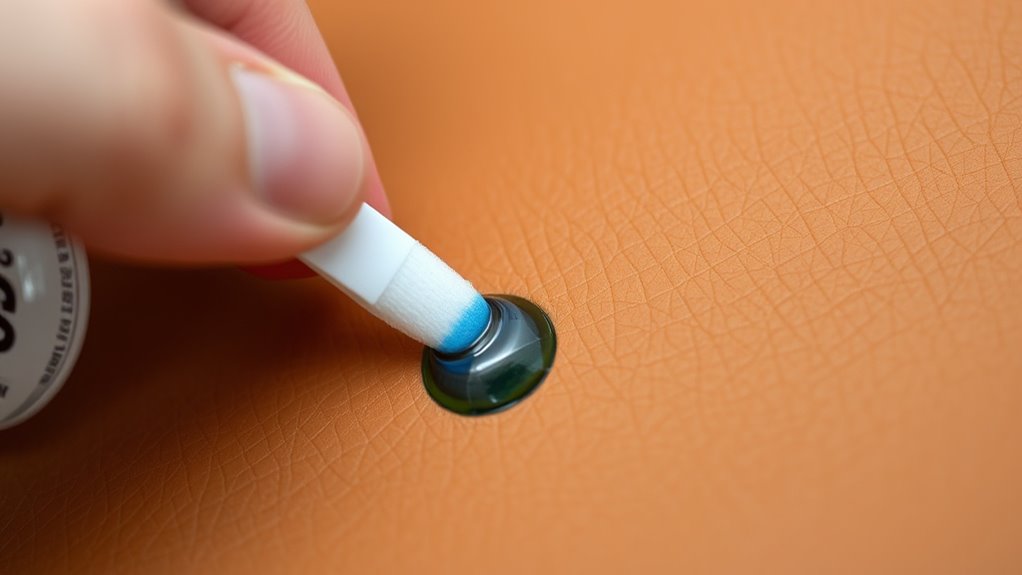
Although it might seem like an extra step, you should always test your chosen cleaning method on a hidden area of the leather first. This helps you verify the product won’t cause discoloration or damage.
Pick a spot that’s not easily visible, like the inside seam or underside. Apply a small amount of your cleaning solution using a cotton swab or soft cloth.
Wait a few minutes and check how the leather reacts—look for changes in color, texture, or any signs of weakening. If the leather shows no negative effects, you’re safe to proceed with cleaning the ink stain.
If you notice any damage, try a gentler method or different cleaner. Testing first protects your leather and avoids costly mistakes.
Apply Cleaning Solution Gently
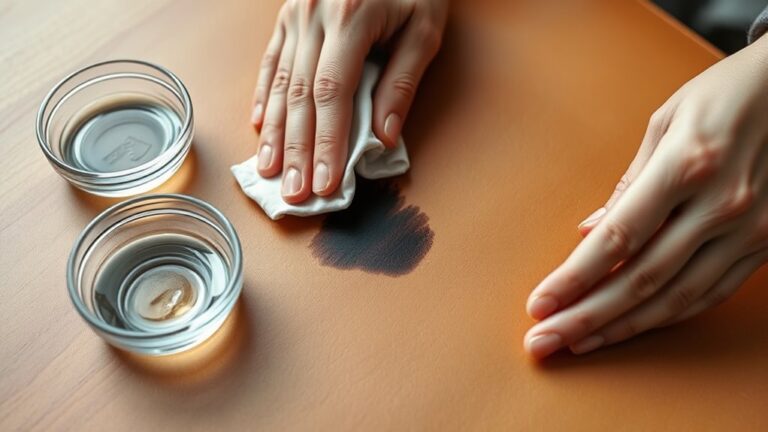
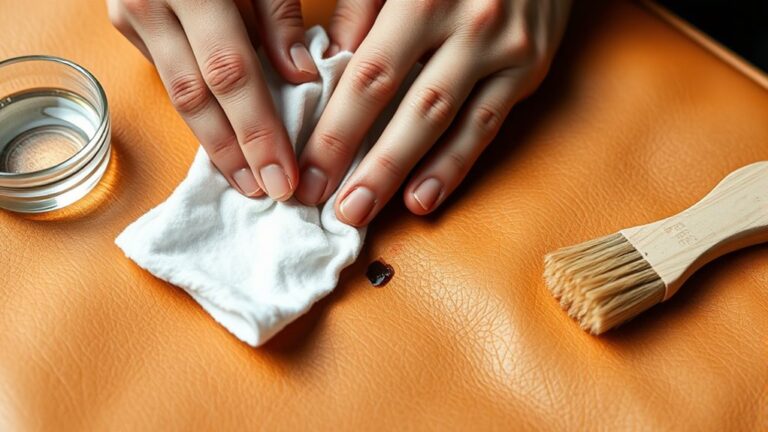
Because leather is delicate, you’ll want to apply the cleaning solution gently to avoid damaging the surface. Use a soft, clean cloth or cotton swab to dab a small amount of the solution onto the ink stain.
Avoid rubbing or scrubbing, as this can spread the ink or harm the leather’s finish. Instead, gently blot the stain, allowing the solution to break down the ink gradually.
Work from the outside of the stain inward to prevent it from spreading further. If needed, reapply the solution sparingly, but always keep your movements light and controlled.
Taking your time here guarantees you treat the stain effectively without compromising the leather’s texture or color. Just be patient and gentle, and you’ll get the best results.
Wipe and Dry the Leather Carefully
After letting the cleaning solution work on the ink stain, you’ll want to gently wipe the leather with a clean, damp cloth to remove any residue. Use light, circular motions to avoid damaging the leather’s surface.
Don’t scrub hard, as this could spread the stain or harm the material. Once you’ve removed the cleaning solution, take a dry, soft cloth and carefully pat the leather to absorb any remaining moisture.
Avoid rubbing, which can irritate the leather. Allow the leather to air dry naturally in a cool, well-ventilated area away from direct sunlight or heat sources.
This helps prevent drying out or cracking. Being patient and gentle during this step guarantees your leather stays clean without additional damage.
Condition the Leather After Cleaning
Once the leather is completely dry, you’ll want to restore its natural oils and softness by applying a quality leather conditioner. This step is essential because cleaning can strip the leather of essential moisture, leaving it brittle and prone to cracking.
To condition effectively, use a small amount of conditioner on a soft cloth to avoid over-saturating the leather. Then, apply it in gentle, circular motions, covering the entire cleaned area evenly.
Let the conditioner absorb fully before buffing with a dry cloth to bring out the leather’s natural shine. Conditioning not only revitalizes the leather’s texture but also extends its lifespan.
It keeps your item looking great long after the ink stain is gone. So, remember, regular conditioning is key to maintaining leather’s durability and appearance.
Frequently Asked Questions
Can Ink Stains Be Removed From Suede Leather?
Yes, you can remove ink stains from suede leather. You’ll need a suede eraser or white vinegar applied gently.
Avoid soaking it, and always test on a hidden spot first to prevent damage or discoloration. That way, you can be sure it won’t ruin your suede!
How Long Do Ink Stains Need to Set Before Cleaning?
Did you know 90% of ink stains become permanent after 24 hours? You shouldn’t let ink set more than 10-15 minutes before cleaning.
Acting quickly boosts your chance to remove the stain effectively. So, the faster you tackle it, the better your results will be.
Are There Any Commercial Products Recommended for Ink Removal?
Yes, you can try commercial products like leather cleaner with ink remover, rubbing alcohol-based solutions, or specialized stain removers.
Just test first on a hidden spot to avoid damage, and follow the instructions carefully.
It’s always better to be safe than sorry, right? Give it a go, but keep an eye on how your leather reacts!
Can Ink Stains Damage Leather Permanently?
Ink stains can permanently damage leather if left untreated, with over 60% of untreated stains causing discoloration or texture changes.
You should act quickly to prevent lasting harm and preserve your leather’s appearance. Don’t wait too long—addressing the stain early can make all the difference.
Is Professional Cleaning Necessary for Old Ink Stains?
You don’t always need professional cleaning for old ink stains, but if they’re stubborn or deep, it’s wise to seek advice from an expert.
DIY methods might worsen damage, so professionals ensure safe, effective stain removal without harming your leather.
Conclusion
Removing ink stains from leather is like carefully restoring a cherished painting—you need patience and the right touch. By evaluating your leather type, testing solutions, and cleaning gently, you’ll keep your item looking fresh without damage.
Don’t forget to condition the leather afterward to maintain its softness and shine. This step is crucial to prevent the leather from drying out or cracking after cleaning.
With these steps, you’ll turn a frustrating stain into just a small bump on your leather’s smooth journey. Remember, using the right techniques to remove ink stains from leather helps preserve its appearance and durability over time. You’ve got this!